DIY Paper Star Lanterns for Christmas
25 DIY Paper Star Lanterns That Make Christmas Glow
There is something quietly magical about a paper star glowing in a dark window. Long before electric Christmas lights became the norm, families across Europe folded stars from paper, slipped a candle or a string of fairy lights inside, and hung them where the whole street could see the glow. A DIY paper star lantern for Christmas carries that same old-fashioned warmth, and the best part is that it costs almost nothing to make. A few sheets of paper, a pair of scissors, some glue and a battery fairy light are all you need to turn an ordinary December evening into something that feels like a scene from a storybook.
This guide walks you through 25 different ways to make and style a DIY paper star lantern for Christmas, from the classic white five-pointed star that every beginner should try first to oversized outdoor stars, advent countdown stars and delicate vellum lanterns that glow like frosted glass. Every idea includes a simple materials list, an honest cost estimate and a time estimate, so you can pick the projects that fit your evening, your budget and your skill level. Most of these lanterns take less than an hour, and many use paper you already have at home, which makes them one of the most budget-friendly Christmas crafts you will ever try.
Before you start folding, gather a few basics that will serve you through the whole list: a bone folder or the back of a spoon for crisp creases, a craft knife and cutting mat for clean edges, a glue stick and a hot glue gun, fishing line or clear thread for hanging, and battery-operated LED fairy lights or flameless tea lights. Real candles should never go inside a paper lantern, no matter how pretty the idea sounds. LED lights give you the same warm flicker with none of the risk, and they stay cool enough that even tissue-thin paper is safe. Once your supplies are ready, pick a star and start folding.
1. Classic White Paper Star Lantern
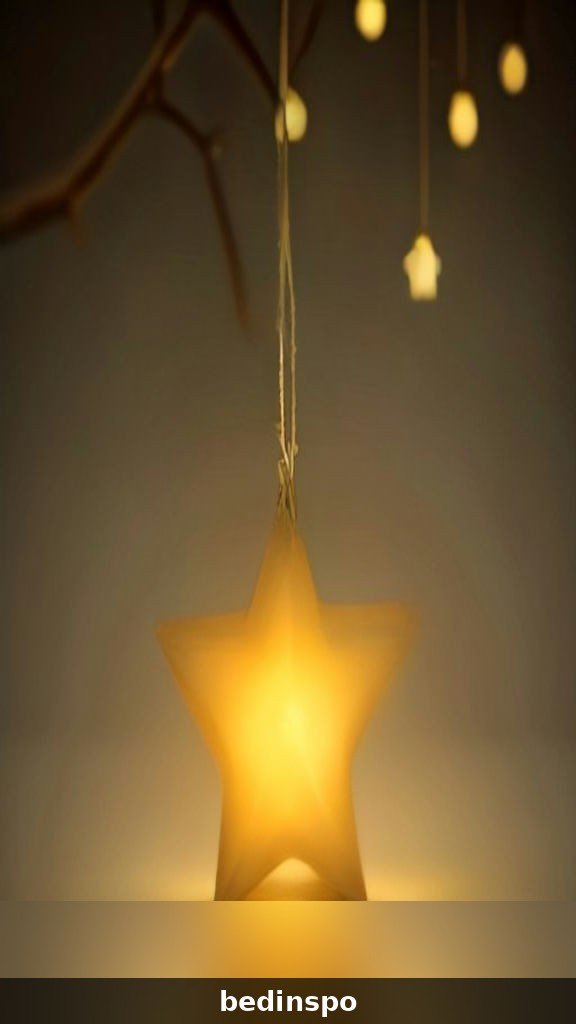
The classic white paper star lantern is where every paper star maker begins, and it is still the most beautiful version of all. Five identical folded points come together into a three-dimensional star, and when a warm fairy light glows inside, the white paper turns soft gold and throws gentle star-shaped shadows across the room. Hang one in a front window and it becomes the kind of decoration neighbours stop to admire, even though it took you less than an hour and cost less than a coffee.
Start with five sheets of white printer paper or light cardstock, each folded into a pointed star tip using the traditional accordion fold. Score every fold line first with a bone folder so the creases stay sharp, then glue the five points together at their bases and add a small loop of thread at the top. Slip a battery fairy light inside before you close the final point, and keep the battery pack tucked just outside the lantern or hidden behind the star where it cannot be seen from the front. A touch of gold thread for hanging makes the whole thing look far more expensive than it is.
- 5 sheets white A4 paper or light cardstock
- Glue stick and hot glue gun
- Bone folder or spoon handle
- Battery-operated fairy lights
- Gold thread or fishing line
Cost: about $3. Time: 45 minutes.
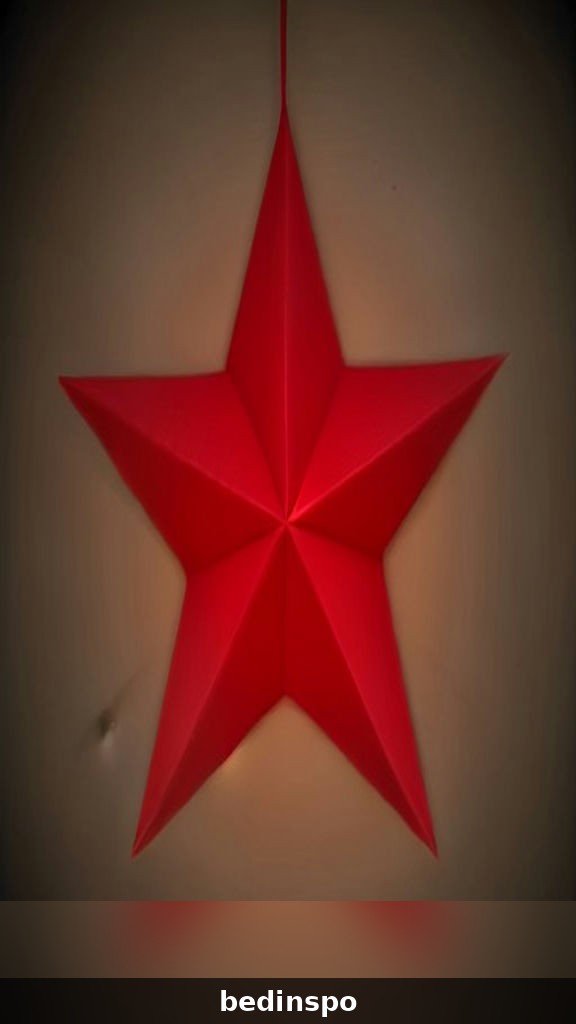
2. Red Paper Star Lantern for a Bold Glow
A red paper star lantern brings instant drama to a Christmas room. Red paper filters the fairy light inside into a deep, rosy glow that feels warm and festive against dark December evenings, and it looks wonderful paired with green garland, gold ornaments or a simple white mantel. This is the star to make if your Christmas palette leans traditional, and it photographs beautifully for holiday cards too.
Choose a medium-weight red cardstock rather than thin printer paper, because the richer paper holds its points better and gives the glow a deeper tone. Cut your star points slightly larger than usual so the lantern reads boldly from across the room, and line the inside edges with a thin strip of gold washi tape for a finished look. When the light goes on, the red deepens and the gold edges catch the glow, which makes the whole lantern look like something bought from an expensive holiday shop instead of folded at the kitchen table.
- 5 sheets red cardstock
- Gold washi tape
- Glue stick and hot glue gun
- Warm white LED fairy lights
- Clear thread for hanging
Cost: about $4. Time: 50 minutes.
3. Gold Foil Paper Star Lantern
Few things catch Christmas light like gold foil, and a gold paper star lantern is pure sparkle. The metallic surface bounces the fairy light around inside the star and throws shimmering reflections onto the ceiling and walls, which makes even a small lantern feel like the centrepiece of the room. This version is perfect for a glamorous tree, a New Year party or a mantel that needs one show-stopping piece.
Gold foil cardstock can be slippery, so use a hot glue gun rather than a glue stick for the joins, and press each seam for a few seconds until it sets. Score the fold lines gently with a craft knife held at a shallow angle, because a hard score will crack the foil and leave white lines. Keep the points neat and even, and hang the finished star where it can catch both the fairy light inside and the room light outside. A gold star beside a green wreath is one of the simplest luxury looks in all of Christmas decorating.
- 5 sheets gold foil cardstock
- Hot glue gun and glue sticks
- Craft knife and cutting mat
- Warm white fairy lights
- Gold ribbon for hanging
Cost: about $5. Time: 45 minutes.
4. Kraft Paper Star Lantern with Rustic Charm
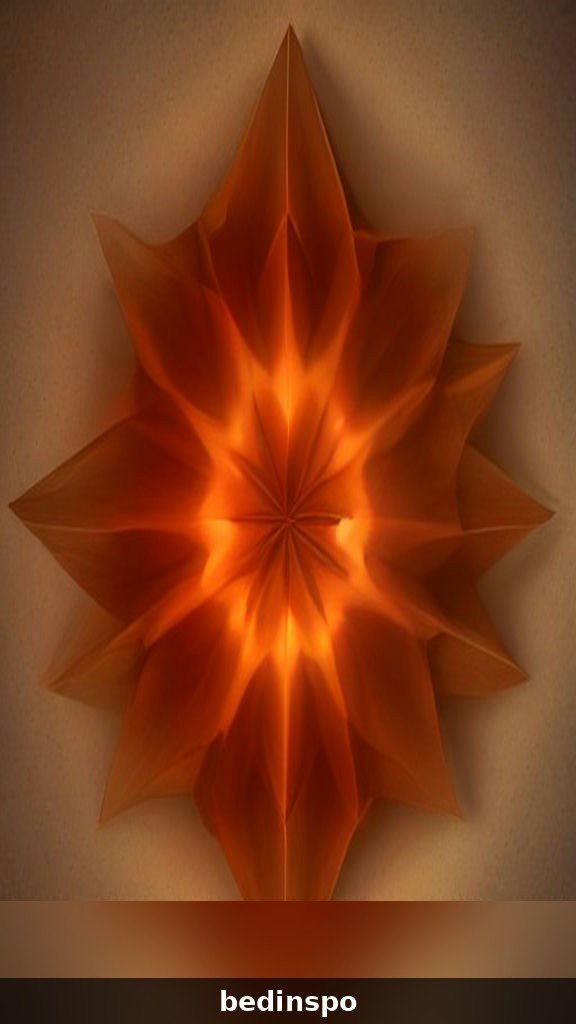
If your Christmas style leans farmhouse, cabin or rustic, a kraft paper star lantern is the one to make. The warm brown paper glows amber when lit, like a lantern in an old country cottage, and it pairs perfectly with pinecones, plaid ribbon, dried orange slices and wooden ornaments. It is also one of the cheapest stars on this list, because a single roll of kraft wrapping paper makes a whole sky of stars.
Cut your points from brown kraft wrapping paper or kraft cardstock, and stamp a simple snowflake or star pattern onto each point with white craft paint before you fold. A light dusting of white paint along the edges mimics snow and makes the brown paper look soft and wintry. Tie the finished lantern with twine instead of thread, and hang it from a wooden beam, a branch or a rustic ladder for a look that feels gathered rather than bought. This star also makes a lovely gift topper.
- Kraft wrapping paper or kraft cardstock
- White craft paint and small stamp
- Glue stick and hot glue gun
- LED tea light or fairy lights
- Twine for hanging
Cost: about $3. Time: 50 minutes.
5. Star Lantern on a Windowsill
A paper star lantern sitting on a windowsill is the simplest styling idea in this whole guide, and one of the most effective. From the street, the glowing star becomes a beacon of Christmas warmth, and from inside, it frames the dark garden beyond with a soft golden shape. It needs no hooks, no nails and no hanging, which makes it perfect for renters and for anyone who wants instant Christmas atmosphere with zero installation.
Choose a lantern with a flat base, or set your star inside a shallow tray, a wooden box or a large glass hurricane so it sits steady and cannot roll. Battery fairy lights work best here because the battery pack can hide behind the lantern on the sill, and a timer function means the star switches itself on at dusk every evening. Add a small sprig of pine, a pinecone or two and a dusting of fake snow around the base, and the windowsill becomes a tiny Christmas scene all on its own.
- 1 finished paper star lantern
- Shallow wooden tray or box
- Battery fairy lights with timer
- Pine sprigs and pinecones
- Fake snow or cotton batting
Cost: about $4. Time: 15 minutes to style.
6. Star Lanterns Hanging from the Ceiling
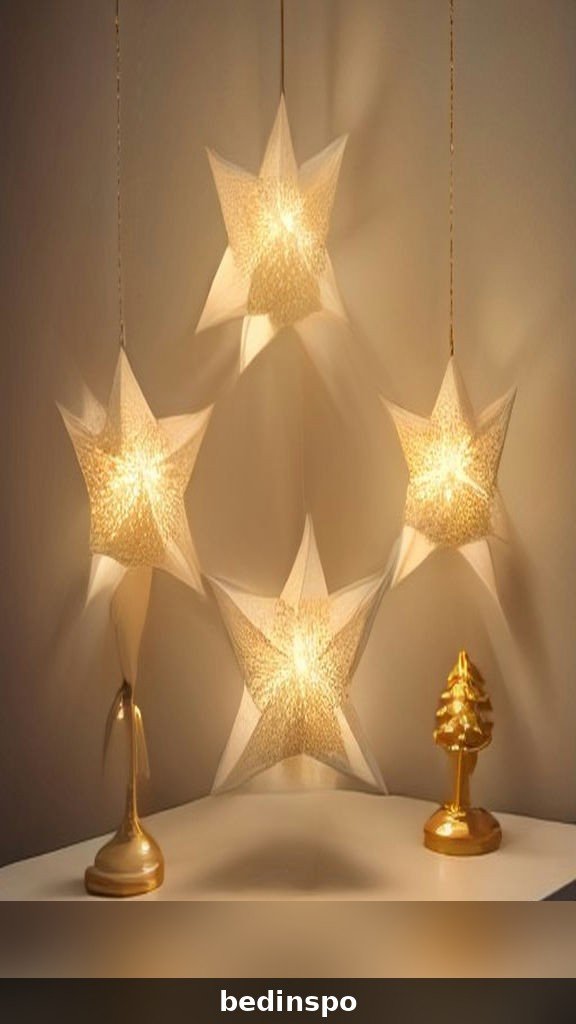
A cluster of paper star lanterns hanging from the ceiling at different heights turns an ordinary room into a winter sky. The stars drift gently when the heating comes on, and the layered glow from several lanterns at once fills the room with warm light that no single lamp can match. This is a wonderful look for a Christmas dinner party, because guests sit beneath a canopy of light all evening.
Hang three to five stars using clear fishing line from small adhesive ceiling hooks, varying the lengths so the stars sit at staggered heights. Keep the heaviest star in the middle and the lightest ones toward the edges, and make sure every lantern hangs well above head height and away from curtains. Battery fairy lights keep the whole arrangement cord-free, and switching them all on at the same moment as the main lights go off is a small piece of theatre your guests will remember.
- 3 to 5 paper star lanterns
- Clear fishing line
- Adhesive ceiling hooks
- Battery fairy lights for each star
- Step ladder
Cost: about $12 for a cluster of five. Time: 1 hour to hang.
7. Star Lantern on the Mantel
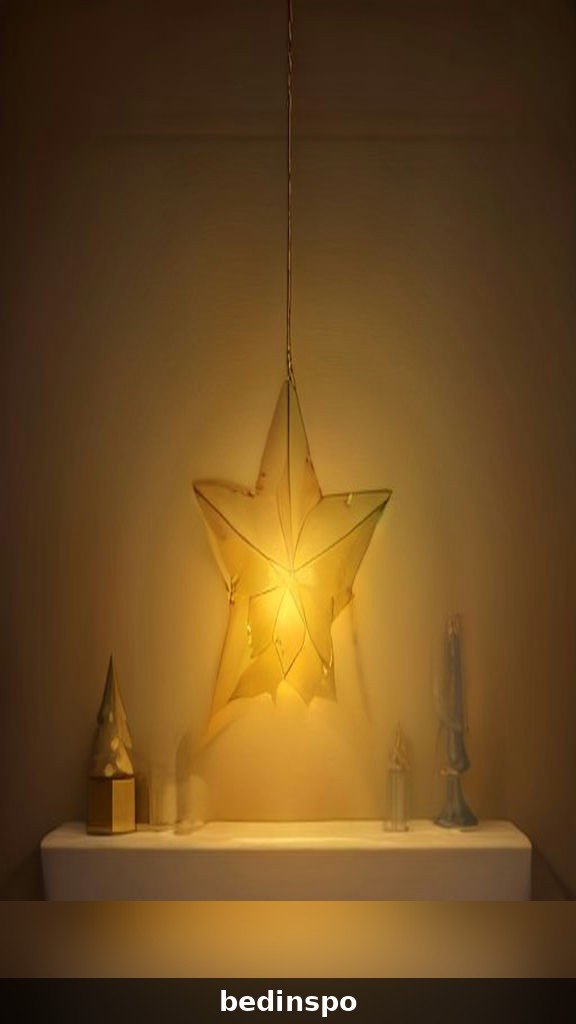
The mantel is the natural home of a paper star lantern at Christmas. One large glowing star in the centre, flanked by garland and candles, anchors the whole fireplace display and draws the eye the moment someone walks into the room. It works with every mantel style, from a grand stone fireplace to a simple shelf above an electric heater.
Build your mantel star a little larger than your usual window star, using A3 paper or two joined sheets for each point, so it holds its own against the scale of the fireplace. Set it on a small wooden stand or a stack of books so it sits above the garland line, and run the fairy light battery pack behind the garland where it disappears completely. Keep the star at least a handspan away from any real flame, and surround it with pine branches, dried oranges and a few brass candlesticks for a mantel that looks styled by a professional.
- Large paper star lantern
- Small wooden stand or books
- Garland and pine branches
- Battery fairy lights
- Brass candlesticks
Cost: about $6. Time: 1 hour to make and style.
8. Mini Star Lantern Garland
Mini star lanterns strung into a garland are the sweetest way to use up leftover paper, and they look delightful draped across a doorway, a bookshelf or the front of a sideboard. Each tiny star glows like a jewel, and together they make a twinkling line of light that feels handmade in the best possible way. Children love helping with this one, because the small stars are quick to fold and quick to finish.
Make eight to twelve mini stars from squares of paper about fifteen centimetres across, using the same folding method as a full-size star but with a lighter touch. Thread them onto a length of twine with a large needle, spacing them evenly, and tuck a single fairy light bulb behind each star so every point glows. The garland takes an evening to make and costs almost nothing, yet it becomes the decoration people ask about first. Drape it where the light can be seen from the sofa for maximum effect.
- 12 small paper squares, 15 cm each
- Twine and a large needle
- String of battery fairy lights
- Glue stick
- Scissors
Cost: about $5. Time: 1 hour 30 minutes.
9. Star Lantern with Fairy Lights Inside
The fairy lights inside a paper star lantern are what turn folded paper into magic, so it is worth choosing them carefully. Warm white lights give a candle-like glow, multicoloured lights turn the star into a party piece, and copper wire fairy lights can be shaped to fill every point of the star evenly. The right lights make the difference between a star that looks nice and a star that makes people gasp.
Use a short string of twenty micro LED lights on copper wire, and coil it loosely inside the star before you seal the last point, letting a few lights reach into the tips so no point stays dark. Choose a battery pack with a timer so the star glows for six hours every evening and switches itself off, which saves batteries and means you never have to remember. If the glow looks patchy, add a small ball of white tissue paper in the centre to diffuse the light evenly through all five points.
- 20 micro LED copper wire fairy lights
- Battery pack with timer
- White tissue paper for diffusion
- Paper star lantern shell
- Clear tape
Cost: about $4. Time: 10 minutes to light a finished star.
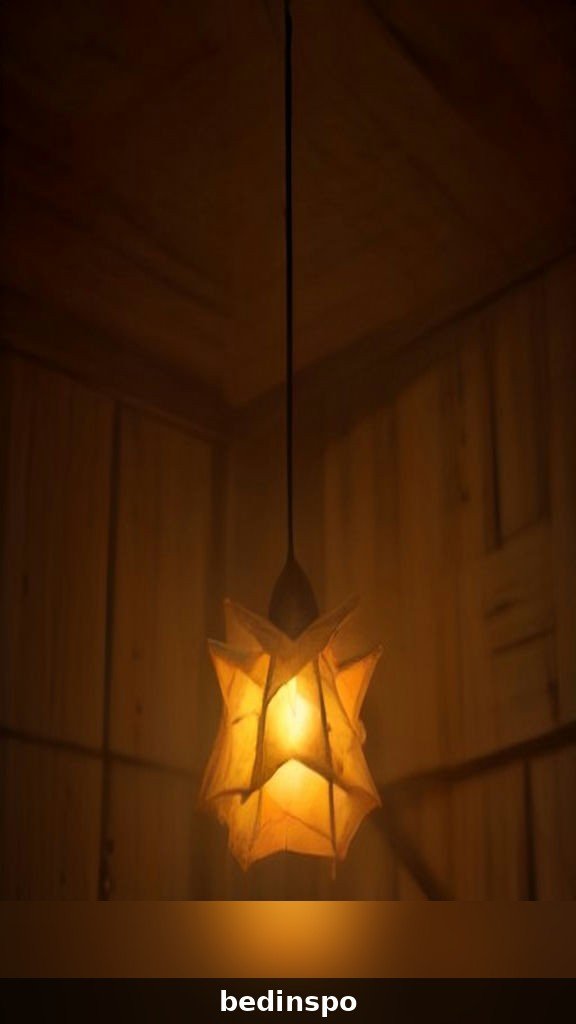
10. Star Lantern in a Window at Dusk
There is a particular hour at dusk when a paper star lantern in a window looks its absolute best, with the blue-grey light outside and the warm gold glow inside meeting in the glass. This is the classic Scandinavian window star, and it is the image that sells a thousand paper craft kits every December. The good news is that you can make the real thing in an evening for a few dollars.
Hang the star from a suction hook in the centre of the window, with the fairy light battery pack hidden on the sill behind a small plant or a stack of books. A white or cream star shows up best against the dark glass, while a red star reads beautifully against snowy light. Set the lights on a timer for four in the afternoon so the star is already glowing when you come home, and leave it up through January, because a window star is one of the few Christmas decorations that still looks right after the tree comes down.
- White or red paper star lantern
- Suction hook for the window
- Battery fairy lights with timer
- Clear thread
- Small plant to hide the battery pack
Cost: about $4. Time: 15 minutes to hang.
11. Flat-Lay Star Lantern Craft Station
Before you fold a single point, set up a flat-lay craft station, because a tidy workspace makes the whole project easier and far more enjoyable. A clean table with your paper, scissors, glue, lights and a cutting mat laid out in order means you can fold star after star without hunting for tools, and it turns an ordinary craft evening into a small ritual. This is also the perfect setup for a craft night with friends.
Cover the table with kraft paper to protect it and to give the flat-lay a warm, crafty look, then arrange your supplies in a neat row: paper stacks on the left, cutting tools in the middle, glue and lights on the right. Keep a finished star nearby as your reference, and put on a Christmas playlist while you work. Photograph the flat-lay before you start folding, because the arrangement of paper, scissors, twine and a glowing finished star makes one of the prettiest craft photos you will take all season.
- Kraft paper table covering
- Paper, scissors, craft knife
- Glue stick and hot glue gun
- Fairy lights and twine
- One finished star as a reference
Cost: about $2 for supplies on hand. Time: 10 minutes to set up.
12. Star Lantern on the Christmas Tree
A paper star lantern on the Christmas tree works as both an ornament and a light source, and it is far more interesting than a plain glass bauble. Tuck a small glowing star deep into the branches and it lights the tree from the inside out, creating depth and warmth that string lights alone cannot achieve. A star lantern also makes a beautiful tree topper for a small tree.
Make a mini star from lightweight paper so it does not weigh the branch down, and use a single LED tea light or three micro fairy lights inside rather than a full string. Attach the star with a loop of ribbon tied firmly to the branch, and place it where the branches are strong enough to hold it without drooping. Three small stars spaced around the tree at different heights look better than one large one, and they echo the star on top of the tree in a way that ties the whole design together.
- 3 mini paper star lanterns
- LED tea lights
- Ribbon for tying
- Lightweight paper
- Glue stick
Cost: about $5 for three. Time: 1 hour.
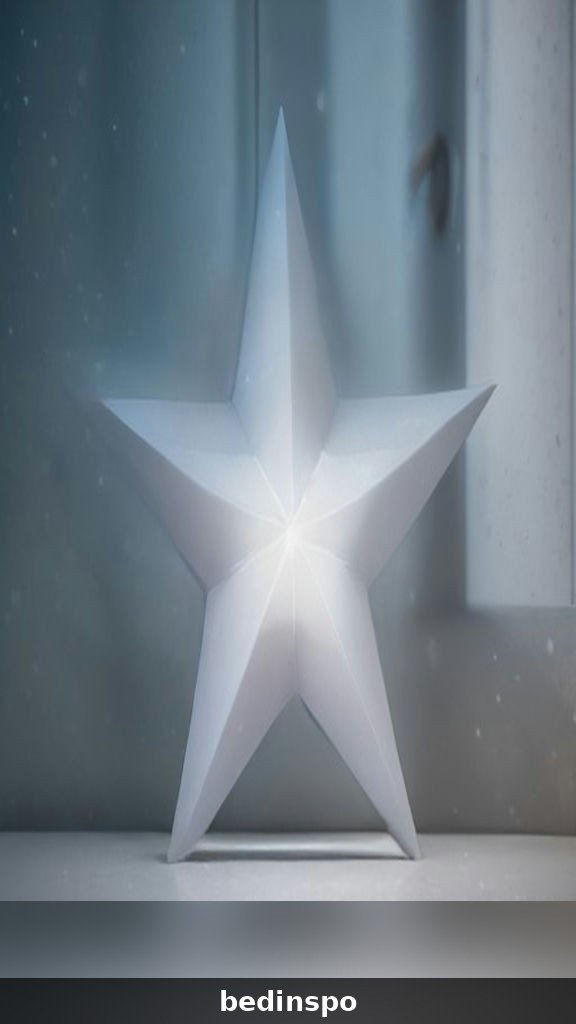
13. Large Star Lantern Table Centerpiece
A large paper star lantern as a table centerpiece is the kind of decoration that makes a Christmas dinner feel special before anyone sits down. The star glows gently in the middle of the table, surrounded by pine branches and candlelight, and guests naturally gather their eyes toward it all evening. It costs a fraction of a bought centrepiece and takes less time than cooking the dinner itself.
Build the star from A3 cardstock so it stands tall above the plates, and set it on a low wooden board or a round tray to protect the tablecloth. Weave a few sprigs of eucalyptus or pine around the base, scatter dried orange slices and cinnamon sticks nearby, and keep the fairy light battery pack tucked under the tray. Choose warm white lights for a candlelit feel, and make sure the star sits low enough that guests can still see each other across the table.
- A3 cardstock, 5 sheets
- Wooden board or round tray
- Eucalyptus or pine sprigs
- Dried orange slices and cinnamon sticks
- Battery fairy lights
Cost: about $7. Time: 1 hour 15 minutes.
14. Star Lanterns in Different Sizes Grouped Together
A group of paper star lanterns in different sizes has a charm that a single star cannot match. The large star anchors the display, the medium stars fill the middle ground, and the tiny stars add sparkle at the edges, like a family of stars gathered on one shelf. This grouping trick is used by professional stylists because it makes any surface look intentional and layered.
Make three stars in the same paper so the group feels connected, using full-size, half-size and quarter-size points. Arrange them on a sideboard, a staircase landing or a deep windowsill, with the largest star at the back and the smallest at the front, and light each one with its own short fairy light string. The varied heights catch the eye and make the display look generous, even though the total cost is only a few dollars more than a single star.
- Paper in three sizes
- Glue stick and hot glue gun
- 3 short fairy light strings
- Clear thread or twine
- Scissors and bone folder
Cost: about $8 for a set of three. Time: 1 hour 30 minutes.
15. Star Lantern with Snowflake Cutouts
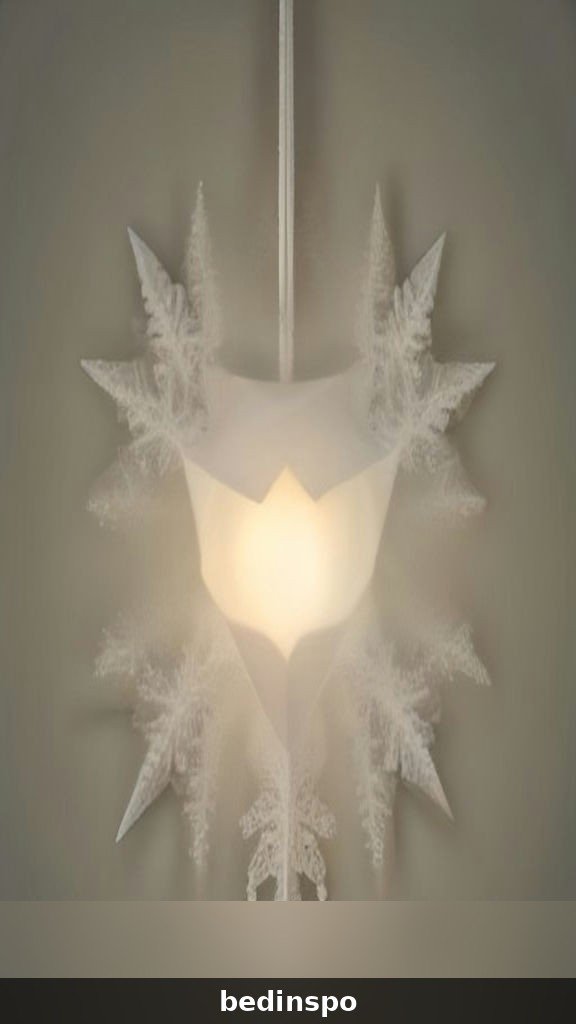
Cutting tiny snowflakes into the points of a paper star lantern creates a double layer of magic, because the fairy light inside shines through the cutouts and throws snowflake patterns onto the walls and ceiling. When the room is dark, the whole space fills with dancing flakes of light. It is a little more work than a plain star, but the effect is worth every careful snip.
Fold each star point and cut small snowflake shapes into the folded edges with a sharp craft knife or small scissors, working slowly and keeping the cuts small so the paper stays strong. Open the point to check the pattern, then fold it again before assembly. Use white or pale blue paper for the frostiest effect, and hang the finished lantern in a dark corner where the projected snowflakes have a plain wall to land on. The result looks like winter itself, captured in paper.
- White or pale blue cardstock
- Sharp craft knife and cutting mat
- Small scissors
- Glue stick and hot glue gun
- Warm white fairy lights
Cost: about $4. Time: 1 hour 15 minutes.
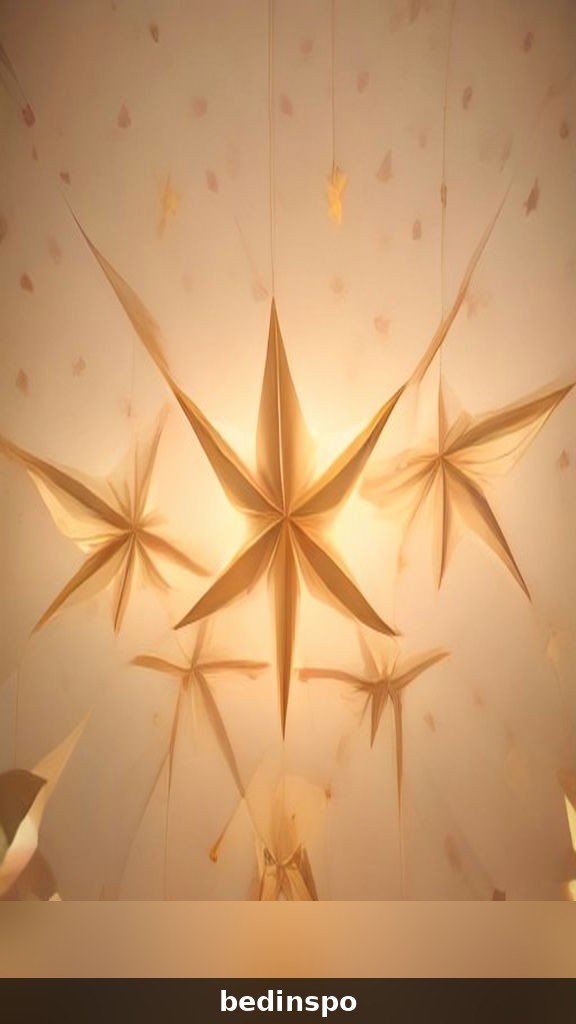
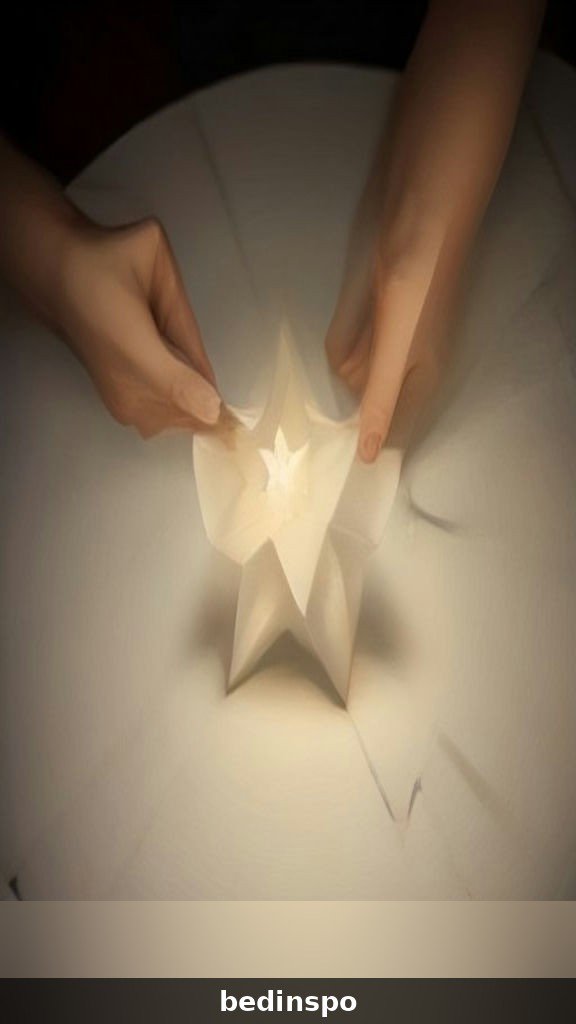
16. Hands-On Folding: Your First Paper Star
If you have never folded a paper star before, this is the version to start with, because it breaks the process into small, forgiving steps. The trick is not speed but patience: sharp creases, even folds and a little glue at the right moment will give you a star that looks neat even on your very first try. Most beginners finish their first star in under an hour, and the second one takes half the time.
Begin with five identical squares of paper and fold each one into a pointed tip by bringing the corners to the centre, creasing firmly with a bone folder at every step. Do not rush the creases, because a crisp fold is what makes the points hold their shape. Glue the five points together one at a time, holding each join for ten seconds, and leave the finished star to dry flat before you hang it. If a point looks wonky, gently reshape it while the glue is still warm, and remember that a fairy light inside forgives a multitude of small imperfections.
- 5 squares of paper, 20 cm each
- Bone folder
- Glue stick and hot glue gun
- Ruler and pencil
- Battery fairy lights
Cost: about $3. Time: 1 hour for a first star.
17. Vellum Paper Star Lantern
A vellum paper star lantern glows like frosted glass, with a soft, diffused light that feels almost like moonlight. Vellum is translucent, so the fairy light inside spreads evenly through the whole star without hot spots, and the surface takes ink beautifully if you want to stamp a pattern or write a Christmas message on each point. This is the most elegant star on the list, and a lovely choice for a wedding-season Christmas or a quiet, grown-up tree.
Handle vellum gently, because it creases permanently and shows every fingerprint, so wash your hands before folding and work on a clean surface. Score the fold lines with a bone folder rather than a knife, and use double-sided tape or a clear-drying craft glue instead of hot glue, which can show through the translucent paper. A single warm white light is enough for vellum, and the star looks best hanging in a white or pale room where its soft glow can be fully appreciated.
- 5 sheets translucent vellum
- Bone folder
- Double-sided tape or clear glue
- Warm white LED fairy lights
- White thread for hanging
Cost: about $6. Time: 1 hour.
18. Star Lantern with Dried Orange Slices
Dried orange slices and paper stars are a match made in Christmas heaven. The amber glow of the lantern picks up the golden colour of the oranges, and the citrus scent drifting from the slices makes the whole room smell like Christmas baking. Hang a few slices from the bottom points of the star and it becomes a decoration for more than one sense at once.
Dry orange slices in a low oven for two to three hours until they are firm and translucent, then thread them onto twine and tie them to the lower points of the star with small bows. Add a cinnamon stick or two and a sprig of dried rosemary for extra scent and texture. The slices will keep for the whole season if the room stays dry, and when the lantern is lit in the evening, the oranges glow like stained glass. This star also makes a beautiful gift for a food-loving friend.
- 2 oranges, sliced and dried
- Paper star lantern
- Twine and small bows
- Cinnamon sticks
- Battery fairy lights
Cost: about $5. Time: 3 hours including drying, 20 minutes to assemble.
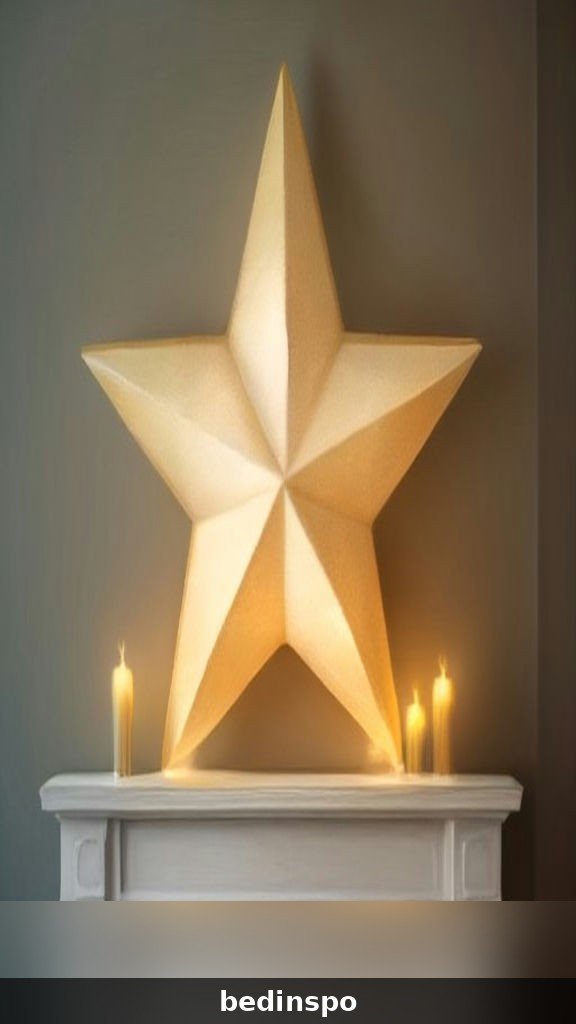
19. Black and White Scandinavian Star Lantern
Scandinavian Christmas style is all about black, white and wood, and a black and white paper star lantern fits it perfectly. The contrast is graphic and modern, the white points glow warmly while the black points stay dramatic, and the whole star looks like a piece of design rather than a craft project. It is the star to make for a minimalist home or a monochrome tree.
Alternate black and white points around the star, three of one colour and two of the other, so the contrast feels balanced rather than random. Use matte black cardstock, because glossy black shows fingerprints and reflects the fairy light harshly, and keep the hanging thread black too so it disappears against the star. Set the finished lantern against a white wall or a pale wooden shelf, where the graphic pattern can be seen clearly, and pair it with simple white candles and wooden ornaments for a calm, Nordic Christmas.
- 3 sheets white cardstock, 2 sheets black
- Glue stick and hot glue gun
- Bone folder
- Warm white fairy lights
- Black thread
Cost: about $4. Time: 50 minutes.
20. Pastel Paper Star Lantern for a Soft Glow
Pastel paper stars bring a soft, dreamy glow to Christmas, and they are perfect for a nursery, a pastel-themed tree or a home where the usual red and green feels too loud. Blush pink, mint, pale blue and lavender paper all glow beautifully with warm fairy lights, and a cluster of pastel stars looks like a watercolour painting when the lights come on. This is also a lovely star for a baby’s first Christmas.
Choose pastel cardstock in three or four shades and mix them within a single star, or make a set of stars in one colour each for a gentle rainbow effect. The light inside warms the pastel tones, so avoid cool white lights and choose warm white or soft pink fairy lights instead. Hang pastel stars at different heights in a corner with a white sheepskin rug below, and the corner becomes the softest, cosiest spot in the house all December.
- Pastel cardstock in 3 to 4 shades
- Glue stick and hot glue gun
- Bone folder
- Warm white or pink fairy lights
- Clear thread
Cost: about $4. Time: 50 minutes.
21. Star Lantern with Cinnamon Sticks
Cinnamon sticks tied to a paper star lantern add scent, texture and a lovely rustic detail that makes the star feel like part of a Christmas kitchen. The warm brown sticks echo the glow of the fairy lights, and their spicy smell fills the room every time the heating comes on. This is a wonderful star to hang near the dining table or in the kitchen, where the scent belongs.
Bundle three short cinnamon sticks together with twine and tie the bundle to the bottom point of the star, letting it hang like a small tassel. Add a dried orange slice and a sprig of pine to the bundle for a full Christmas potpourri effect, and keep the bundle light so it does not pull the star out of shape. The cinnamon will scent the room for weeks, and when the season ends, the bundle can be untied and dropped into a drawer as a natural air freshener.
- 3 short cinnamon sticks
- Paper star lantern
- Twine
- Dried orange slice
- Battery fairy lights
Cost: about $4. Time: 15 minutes to decorate a finished star.
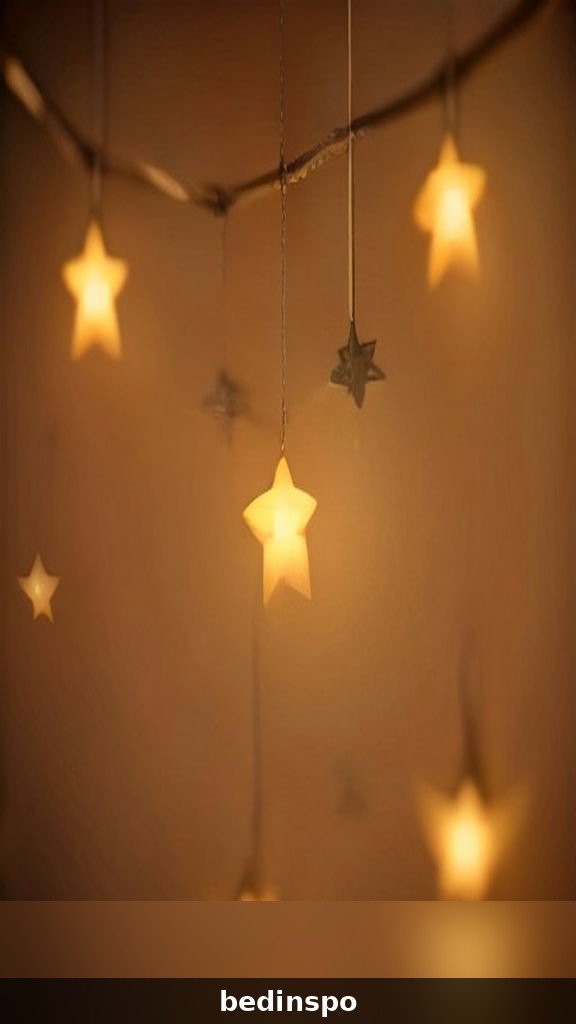
22. Star Lantern Luminaries for the Porch
Paper star lanterns can light up a porch too, as long as they stay dry and sheltered. A row of glowing stars along a covered porch railing or hanging from the porch ceiling welcomes guests with warm light and tells the whole street that Christmas has arrived at your house. They are a budget alternative to bought outdoor lights, and they look far more handmade and charming.
Make the stars from heavier cardstock or laminate the finished points with clear contact paper so a little damp air does not soften them, and always use battery lights, never mains power, outside. Hang the stars under the porch roof where rain cannot reach them, and bring them indoors on wet or windy nights. A timer set for dusk means the porch glows every evening without you having to remember, and the stars will last the whole season if they stay dry.
- Heavy cardstock stars
- Clear contact paper for sealing
- Battery fairy lights with timer
- Fishing line and hooks
- Hot glue gun
Cost: about $6 per star. Time: 1 hour per star.
23. Star Lantern with Ribbon and Beads
Ribbon and beads turn a simple paper star into a jewelled Christmas ornament, and this is the version to make when you want your lantern to feel dressed up. A velvet ribbon loop at the top, a beaded tassel at the bottom and a few tiny beads glued along the points catch the fairy light and add sparkle to every angle. It is the perfect star for a formal tree or a gift that needs to look extra special.
Choose a wide velvet ribbon in deep red, green or gold, and tie it into a generous loop at the top of the star with the tails left long so they drape elegantly. Thread wooden or glass beads onto a length of twine for the tassel, and glue a few matching beads along the folded edges of the points. Keep the beads small and light so the star stays balanced, and let the ribbon do most of the talking. The finished star looks like it came from a boutique, not a craft table.
- Velvet ribbon, 1 metre
- Wooden or glass beads
- Twine for the tassel
- Paper star lantern
- Hot glue gun
Cost: about $6. Time: 30 minutes to decorate a finished star.
24. Star Lantern Advent Countdown
An advent countdown made of twenty-four mini paper stars is one of the most joyful Christmas crafts you can make with children, and it turns the whole of December into a daily moment of light. Each star hides a small treat or a tiny note, and lighting one new star every evening becomes a ritual the whole family looks forward to. By Christmas Eve, the whole wall glows.
Fold twenty-four mini stars from numbered paper squares, writing the numbers one to twenty-four on the front of each star before you fold it, and tuck a small sweet, a joke or a kindness challenge inside each one. Hang the stars in four rows of six on a large branch or a string across the wall, and light each new star with a single micro fairy light as its day arrives. The countdown takes a weekend to prepare, but the daily delight it brings is worth every minute, and the stars can be refilled and reused next year.
- 24 small paper squares
- Number stickers or a pen
- Small treats or notes
- Micro fairy lights
- Branch or string for hanging
Cost: about $10 for the set. Time: 3 hours to make the set.
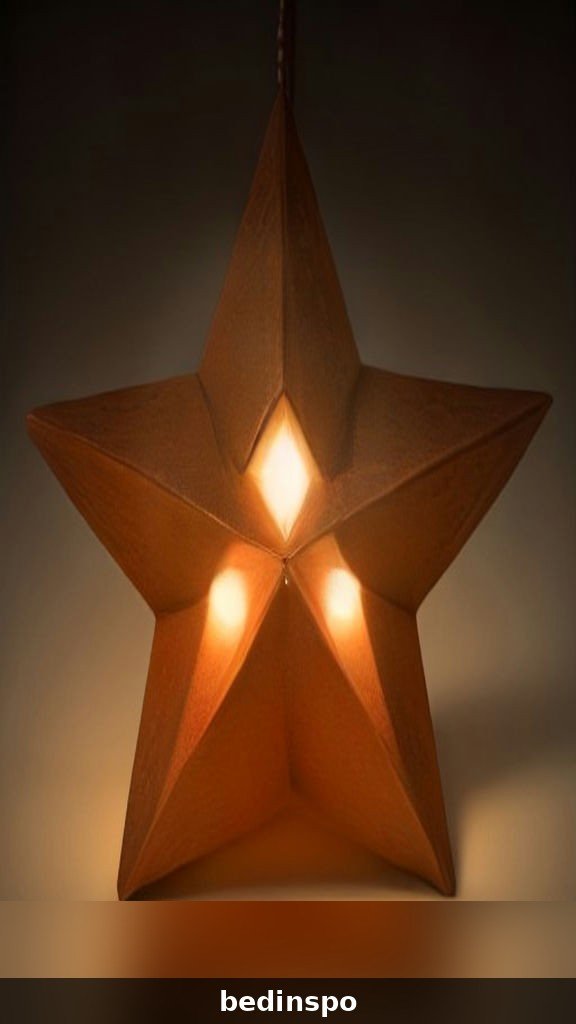
25. Giant Outdoor Paper Star Lantern
A giant paper star lantern is the grand finale of this list, and it is the decoration that makes passers-by stop and stare. Built from large sheets of cardstock and hung from a porch beam or a sturdy tree branch, a star a metre across glows like a beacon on a dark winter night. It takes an afternoon to build, but it becomes the single most memorable decoration in your whole Christmas display.
Scale up the classic five-point fold using A2 cardstock or joined sheets of poster board, and reinforce every seam with hot glue and a strip of tape on the inside so the big points hold their shape in the cold air. Use a long string of outdoor-rated battery fairy lights inside, and hang the star from a strong hook with wire rather than thread. Keep it under cover where rain cannot soak it, and switch it on at dusk. The giant star will be the first thing your guests mention, and the last thing they forget.
- A2 cardstock or poster board
- Hot glue gun and tape
- Outdoor-rated battery fairy lights
- Wire and a strong hook
- Craft knife and cutting mat
Cost: about $12. Time: 2 hours 30 minutes.
Frequently Asked Questions
Before you start folding, here are the answers to the questions most people ask about making a DIY paper star lantern for Christmas, from the best paper to use to how to keep the lantern safe with lights inside.
What is the best paper for a DIY paper star lantern?
Medium-weight cardstock between 160 and 220 gsm is the best choice for most paper star lanterns, because it holds crisp folds and keeps its shape when hung. Light printer paper works for small stars and for practice, while vellum gives a beautiful frosted glow. Avoid very thick board for small stars, because it cracks at the folds, and avoid tissue paper for large stars, because it sags. If you are unsure, start with standard white cardstock and adjust from there.
Can I put real candles inside a paper star lantern?
No, never put a real candle or any open flame inside a paper star lantern. Paper is flammable, and even a small tea light can set a lantern alight in seconds. Always use battery-operated LED fairy lights or flameless LED tea lights, which stay cool and give the same warm glow with none of the risk. Keep paper lanterns away from fireplaces, radiators and real candles at all times.
How long does it take to make a paper star lantern?
A simple paper star lantern takes about 45 minutes to an hour for a beginner, and about 30 minutes once you have folded a few. Mini stars take around 15 minutes each, while a giant outdoor star can take two to three hours. Most of the time goes into folding and creasing the five points, so your second and third stars will always be faster than your first.
How do I hang a paper star lantern?
Hang a paper star lantern from a small loop of clear fishing line, gold thread or ribbon threaded through the top point, and use a suction hook for windows, an adhesive hook for ceilings or a nail for beams. Keep the lantern away from curtains and heat sources, and make sure it hangs high enough that nobody walks into it. For a cluster of stars, vary the line lengths so the stars sit at different heights.
Can paper star lanterns be used outdoors?
Yes, paper star lanterns can be used outdoors if they stay dry and sheltered under a porch roof or covered entryway. Use heavy cardstock, seal the points with clear contact paper, and always use battery lights rather than mains power. Bring the lanterns inside during rain, snow or strong wind, because wet paper softens quickly and will lose its shape.
How do I store paper star lanterns after Christmas?
Store paper star lanterns flat or in a large box lined with tissue paper, with each star wrapped separately so the points do not crush each other. Remove the batteries from the fairy lights before storing, and keep the box in a dry place away from damp. Well-made cardstock stars will last for several Christmases if they are stored carefully, and the advent set can simply be refilled and reused next year.
Conclusion
A DIY paper star lantern for Christmas is proof that the most magical decorations are often the simplest ones. Five sheets of paper, a little patience and a string of fairy lights are all it takes to fill a window, a mantel or a whole ceiling with warm, glowing light, and every star on this list costs less than a shop-bought decoration while looking far more personal. Whether you fold one classic white star for the window or a whole advent countdown for the family, the glow you make with your own hands will mean more than anything you could buy.
So pick a star from this list, clear the kitchen table, put on your favourite Christmas music and start folding. Make one for yourself, make one as a gift, and make a few extra to hang where the neighbours can see them, because a glowing paper star has a way of spreading Christmas cheer far beyond the room it hangs in. When the lights go on at dusk and your paper star starts to glow, you will understand why families have been folding stars at Christmas for generations, and why this simple craft never goes out of style.
You may also enjoy these easy Christmas crafts: