DIY Plaster Gnome Ornaments: 25 Ideas
DIY Plaster Gnome Ornaments: 25 Whimsical Ideas for a Magical Tree
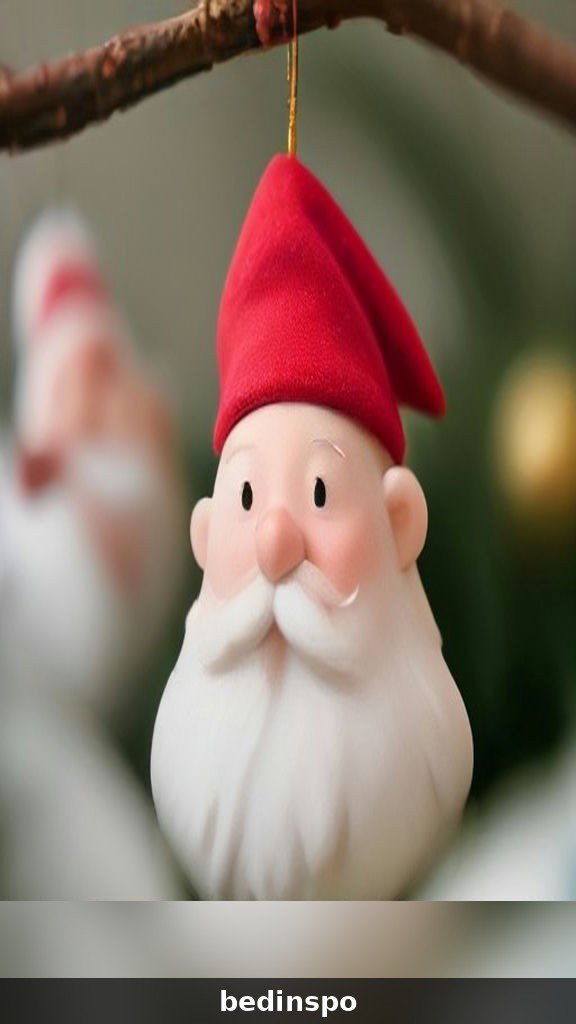
There is something wonderfully whimsical about a Christmas tree dressed in plaster gnomes. DIY plaster gnome ornaments turn a little plaster, a bit of paint, and a quiet afternoon into decorations that look like tiny forest guardians with long beards and pointy hats. The plaster gives each gnome a lovely weight and a smooth finish, and because you choose every color yourself, no two gnomes ever look exactly alike.
Plaster gnomes are one of the most satisfying budget crafts you can try, and they suit every skill level. If you can mix plaster, pour it into a mold, and paint, you can make a plaster gnome, and the paint hides small mistakes beautifully. Most of these ornaments take under an hour including drying time, cost only a few dollars, and make beautiful gifts, stocking stuffers, and tree decorations that feel far more personal than anything from a store.
Before you begin, gather your basics: plaster of Paris, a gnome mold or a simple cone mold, felt in Christmas colors, acrylic paint, paintbrushes, craft glue, and ribbon for hanging. A mixing bowl, a stir stick, a tray to catch drips, and a Christmas playlist make the work even more enjoyable. Let us turn a bag of plaster into a tree full of whimsical gnomes.
1. Classic Plaster Gnome
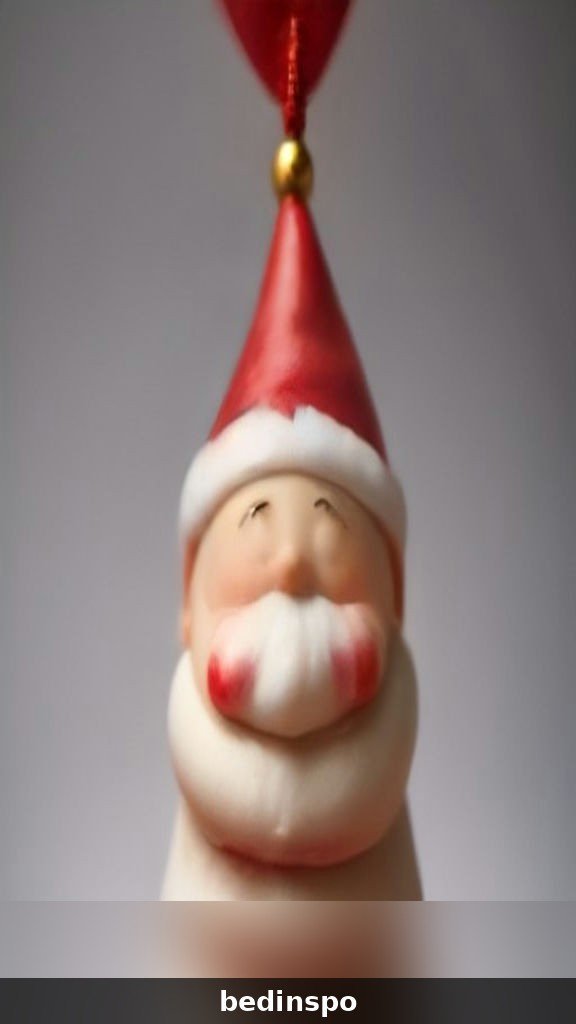
The classic plaster gnome is the place every gnome crafter should start. A simple gnome with a long white beard, a red pointy hat, and a round nose is beautiful on its own and needs almost no skill at all. Mix the plaster according to the package directions, pour it into a gnome mold, and let it dry completely. Paint the beard white, the hat red, and the nose pink, then glue on a ribbon loop for hanging.
Classic gnomes look wonderful on a traditional tree with red and green decorations, where their jolly faces stand out beautifully. Make a set in different sizes for a layered look, and try different hat colors for variety.
Materials: Plaster of Paris, gnome mold, acrylic paint, paintbrushes, ribbon, craft glue
Cost: about $2 · Time: about 30 minutes each plus drying.
2. Plaster Gnome with Long Beard
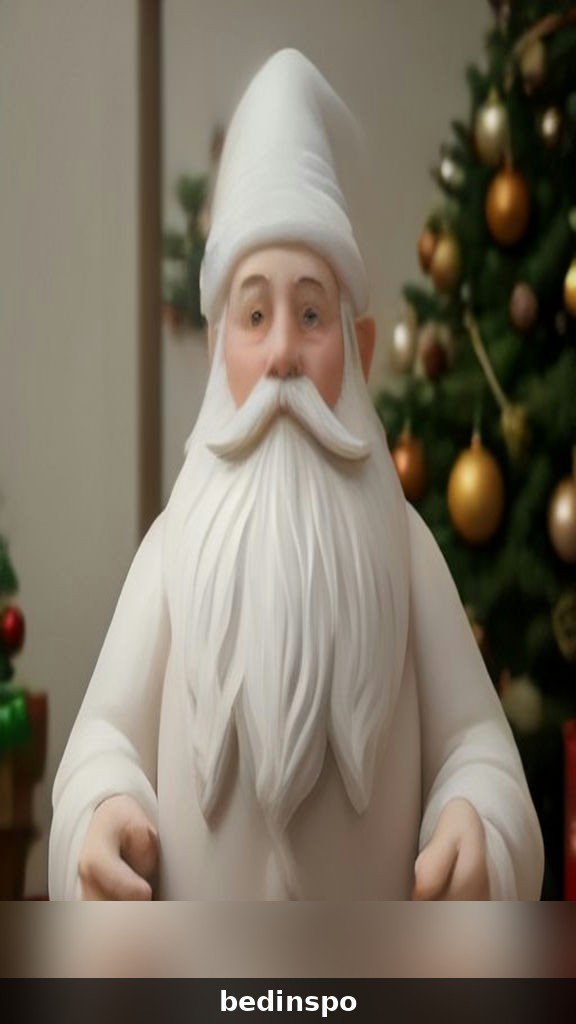
A plaster gnome with a long, flowing beard is a grand ornament with lots of personality. The long beard makes the gnome look wise and ancient, and it is one of the most charming gnomes in this collection. Pour the plaster into a tall gnome mold, let it dry, and paint the beard in soft white with a little grey shading. Add a red pointy hat with a white brim, a pink nose, and a ribbon loop, and the gnome is ready for the tree.
Long-bearded gnomes look best near the front of the tree, where their beards can be seen clearly. Make them in a set with different beard lengths for a playful look, and keep the paint neat for a polished finish.
Materials: Plaster of Paris, tall gnome mold, acrylic paint, paintbrushes, ribbon, craft glue
Cost: about $2 · Time: about 30 minutes each plus drying.

3. Mini Plaster Gnome
Mini plaster gnomes are tiny ornaments that take only minutes to make, and they are perfect for a small tree or a garland. Their small size makes them adorable, and a set of them fills a branch beautifully. Pour plaster into a small gnome mold, let it dry, and paint the tiny gnome with a red hat, a white beard, and a pink nose. A short thread loop hangs the gnome, and the whole ornament takes only minutes to paint.
Mini gnomes look wonderful hung in a row along a garland, or clustered on one branch of a small tabletop tree. Make them in a set of six for a balanced look, and vary the hat colors for a cheerful display.
Materials: Plaster of Paris, small gnome mold, acrylic paint, paintbrushes, thread, craft glue
Cost: about $1 · Time: about 20 minutes each plus drying.
4. Plaster Gnome with Green Hat
A plaster gnome with a green hat is a fresh twist on the classic red-hat gnome. The green hat makes the gnome look like a forest guardian, and it is a lovely change for a tree with green decorations. Pour the plaster into a gnome mold, let it dry, and paint the hat green instead of red. Add a white felt brim and a small white pom pom at the tip, then paint the beard white and the nose pink.
Green-hat gnomes look wonderful on a tree with green and gold decorations, where their hats blend beautifully. Make them in a set with red-hat gnomes for a coordinated look, and vary the hat sizes for a playful display.
Materials: Plaster of Paris, gnome mold, green and white acrylic paint, white pom pom, paintbrushes, ribbon, craft glue
Cost: about $2 · Time: about 30 minutes each plus drying.
5. Plaster Gnome with Glasses
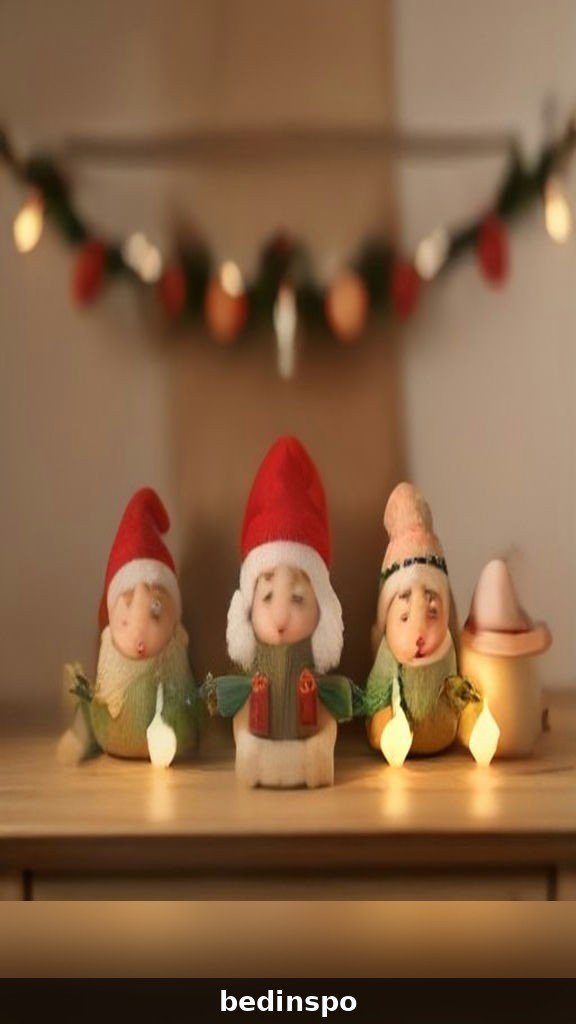
A plaster gnome with tiny round glasses is a clever ornament with lots of character. The glasses make the gnome look wise and bookish, and it is the gnome that makes adults smile. Make a classic plaster gnome, then bend a piece of thin wire into two small circles joined in the middle for glasses. Glue the glasses to the face, paint two black eyes behind the lenses, and add a pink nose below.
Glasses gnomes look wonderful on a tree with a vintage or nostalgic theme, where their old-fashioned charm fits perfectly. Make them in a set with different wire colors for variety, and keep the glasses small so they sit neatly on the face.
Materials: Plaster of Paris, gnome mold, thin wire, acrylic paint, paintbrushes, ribbon, craft glue
Cost: about $2 · Time: about 35 minutes each plus drying.
6. Plaster Gnome with Felt Hat
A plaster gnome with a soft felt hat is a cozy ornament with a lovely texture. The felt hat adds warmth, and it looks beautiful against the smooth plaster. Pour the plaster into a gnome mold without a hat, let it dry, and paint the beard white and the nose pink. Cut a pointy hat from felt, glue it to the top of the gnome, and add a ribbon loop for hanging.
Felt-hat gnomes look wonderful on a rustic or farmhouse tree, where their cozy hats fit perfectly. Make them in a set with different felt colors for variety, and keep the hats pointy for a classic gnome look.
Materials: Plaster of Paris, gnome mold, felt, acrylic paint, paintbrushes, ribbon, craft glue
Cost: about $2 · Time: about 30 minutes each plus drying.
7. Plaster Gnome Garland
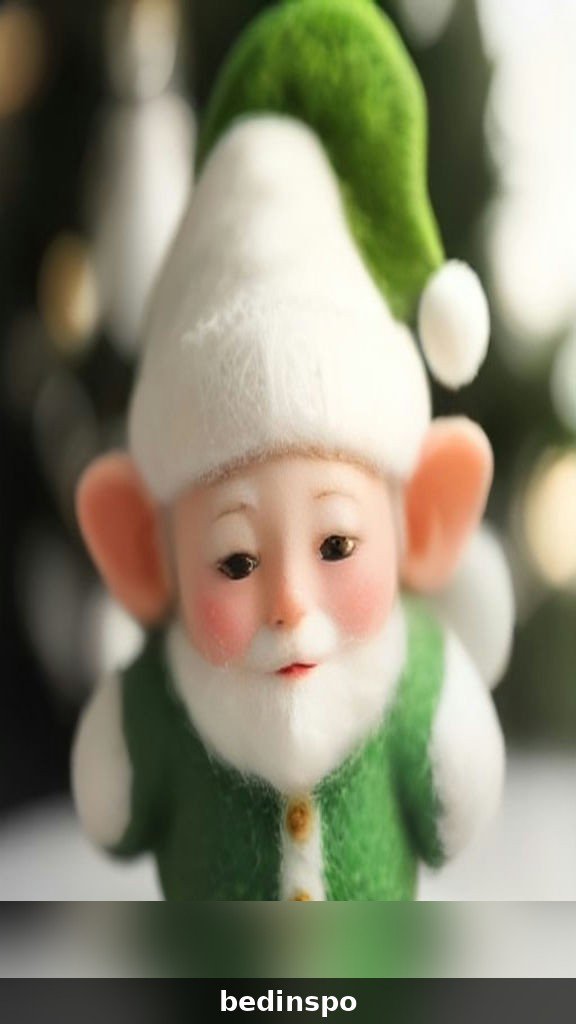
A plaster gnome garland is a string of small gnomes hung along a length of twine, and it turns a plain wall into a festive scene. It is a beautiful way to display a whole set of gnomes at once. Make six small plaster gnomes in different hat colors, tie each one to a long piece of twine with a small knot, and space them evenly along the twine. Hang the garland across a mantel or a window, and the gnomes will sway gently.
Garlands look wonderful draped across a mantel with greenery and fairy lights, and they make lovely gifts when rolled up in tissue paper. Make the garland as long as you like, and vary the gnome sizes for a natural look.
Materials: Plaster of Paris, small gnome molds, acrylic paint, paintbrushes, twine, craft glue
Cost: about $6 per garland · Time: about 90 minutes per garland plus drying.
8. Plaster Gnome with Jingle Bell Hat
A plaster gnome with a tiny bell on the tip of his hat is a sweet ornament that rings softly when the tree moves. It is the gnome that children always reach for first, because it makes a sound. Make a classic plaster gnome, then glue a small jingle bell to the tip of the pointy hat. Add a white felt brim and a ribbon loop, and the bell sits on top like a tiny Christmas jewel.
Bell-hat gnomes look best near the edge of the tree, where the bell can move freely and ring softly. Make them in a set for a cheerful sound, and choose bells in gold or silver to match your tree.
Materials: Plaster of Paris, gnome mold, small jingle bell, acrylic paint, paintbrushes, ribbon, craft glue
Cost: about $2 · Time: about 30 minutes each plus drying.
9. Plaster Gnome with Mushroom
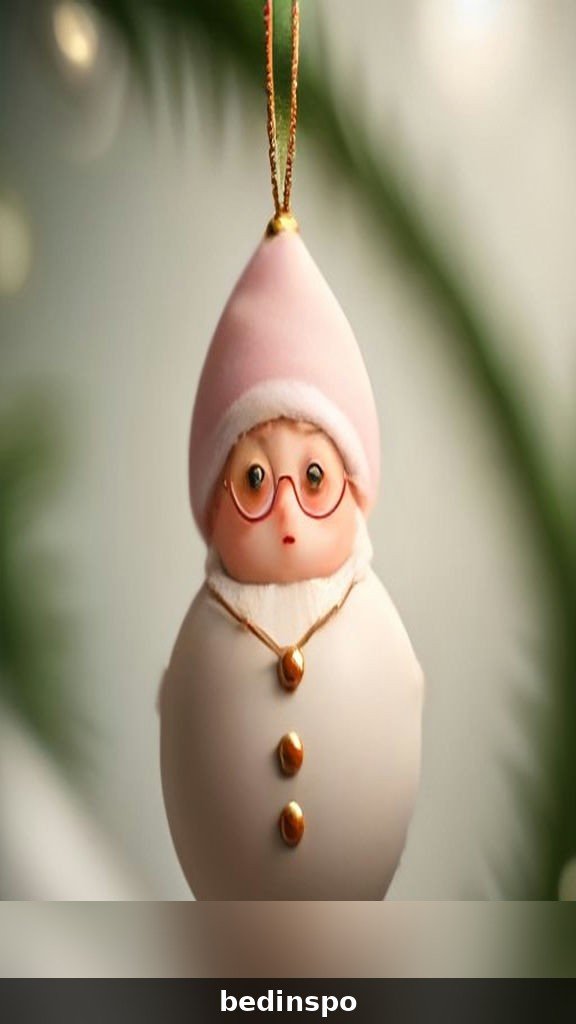
A plaster gnome sitting beside a tiny mushroom is a charming ornament with a story to tell. The little mushroom makes the gnome look like a forest guardian, and it is one of the most delightful gnomes in this collection. Pour the plaster into a gnome mold, let it dry, and paint the gnome as usual. Make a tiny mushroom from plaster in a small mold, paint it red with white dots, and glue it beside the gnome on a small piece of felt.
Gnome and mushroom pairs look wonderful on a woodland tree, where their story fits perfectly. Make them in a set with different mushroom sizes for variety, and keep the pair small so they hang neatly.
Materials: Plaster of Paris, gnome and mushroom molds, acrylic paint, paintbrushes, ribbon, craft glue
Cost: about $3 · Time: about 40 minutes each plus drying.
10. Plaster Gnome Couple
A plaster gnome couple is a pair of gnomes, one in red and one in green, that hang together on the tree. They are a sweet symbol of togetherness, and they make a lovely gift for a couple. Make two small plaster gnomes, one with a red hat and one with a green hat, and glue them side by side on a small piece of felt. Add a shared ribbon loop at the top, and the couple hangs together on the branch.
Gnome couples look wonderful on a tree with a romantic theme, and they are perfect as a wedding or anniversary gift. Make them in a set with different hat colors for variety, and keep the pair small so they hang neatly.
Materials: Plaster of Paris, gnome molds, acrylic paint, paintbrushes, ribbon, craft glue
Cost: about $3 · Time: about 40 minutes each plus drying.
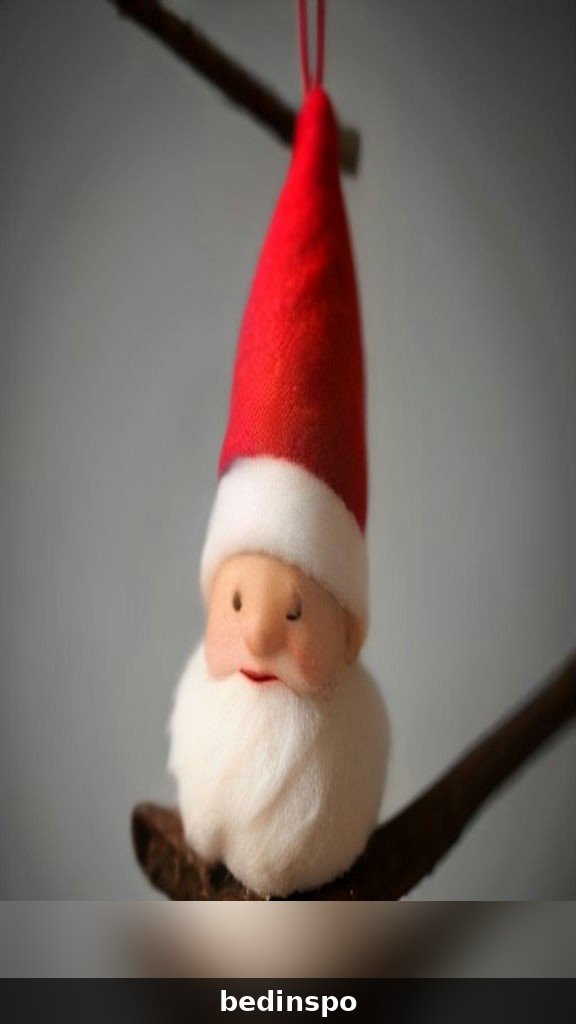
11. Plaster Gnome with Snowflakes
A plaster gnome with tiny snowflakes on his beard is a magical ornament that looks like he just walked through a snowstorm. The snowflakes add a wintery sparkle, and they look beautiful against the white beard. Make a classic plaster gnome, then glue tiny white snowflake cutouts or small white beads to the beard. Add a red pointy hat and a ribbon loop, and the gnome looks like he is dusted with fresh snow.
Snowflake gnomes look wonderful on a white or silver tree, where their snowy beards blend beautifully. Make them in a set for a coordinated look, and vary the snowflake placement so each gnome is unique.
Materials: Plaster of Paris, gnome mold, white snowflake cutouts, acrylic paint, paintbrushes, ribbon, craft glue
Cost: about $2 · Time: about 35 minutes each plus drying.
12. Plaster Gnome Tree Topper
A plaster gnome tree topper is a large gnome that sits on top of the tree, and it is the crown of the whole display. It is bigger than the other gnomes, but it is made in exactly the same way. Pour the plaster into a large gnome mold, let it dry, and paint the gnome with a long white beard and a tall red hat. Glue a small cone of cardboard to the back so it sits on the tree top, and add a ribbon bow at the base.
Tree toppers look wonderful on a small or medium tree, where their size is in proportion. Choose a gnome with a long beard for the topper, and make it a little larger than you think, since it needs to be seen from across the room.
Materials: Plaster of Paris, large gnome mold, acrylic paint, paintbrushes, ribbon, craft glue
Cost: about $4 · Time: about 40 minutes each plus drying.
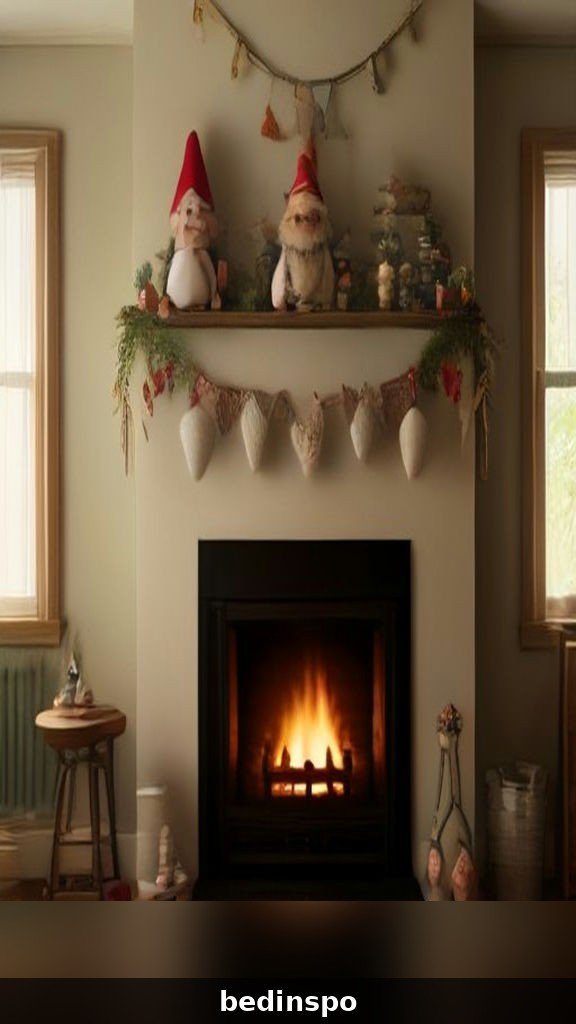
13. Plaster Gnome with Reindeer
A plaster gnome with a tiny reindeer beside him is a charming ornament with a story to tell. The little reindeer makes the gnome look like he is ready for his Christmas Eve journey. Make a small plaster gnome, then make a tiny reindeer from a wooden bead and twigs. Glue the reindeer beside the gnome on a small piece of felt, and add a shared ribbon loop at the top.
Gnome and reindeer pairs look wonderful on a woodland tree, where their story fits perfectly. Make them in a set with different reindeer sizes for variety, and keep the pair small so they hang neatly.
Materials: Plaster of Paris, gnome mold, wooden beads, tiny twigs, acrylic paint, paintbrushes, ribbon, craft glue
Cost: about $3 · Time: about 40 minutes each plus drying.
14. Plaster Gnome Gift Tags
A plaster gnome gift tag is a small gnome with a handwritten name, and it turns a wrapped gift into something special. The tag is a keepsake in itself, and many people keep them long after the gift is opened. Make a mini plaster gnome, glue a small paper tag to the back, and write a name on the tag with a fine pen. Thread a piece of twine through a ribbon loop and tie the tag to the gift.
Gift tags look wonderful on brown paper parcels tied with twine, and they are perfect for a rustic Christmas morning. Make a set for the whole family, and write the names in your best handwriting for a personal touch.
Materials: Plaster of Paris, small gnome mold, small paper tags, fine pen, twine, acrylic paint, paintbrushes, craft glue
Cost: about $1 · Time: about 25 minutes each plus drying.

15. Plaster Gnome with Candy Cane
A plaster gnome holding a tiny candy cane is a sweet ornament with a festive touch. The candy cane adds a pop of red and white, and it looks beautiful against the fluffy beard. Make a classic plaster gnome, then glue a miniature candy cane to one side of the beard, as if the gnome is holding it. Add a red pointy hat and a ribbon loop, and the gnome is ready for the tree.
Candy cane gnomes look wonderful on a tree with red and white decorations, and they are perfect for a children’s tree. Make them in a set for a coordinated look, and vary the candy cane sizes for a playful display.
Materials: Plaster of Paris, gnome mold, miniature candy canes, acrylic paint, paintbrushes, ribbon, craft glue
Cost: about $2 · Time: about 30 minutes each plus drying.
16. Plaster Gnome with Plaid Scarf
A plaster gnome with a tiny plaid scarf is a cozy ornament that looks warm and snug. The plaid scarf adds a rustic touch, and it looks beautiful against the white beard. Make a classic plaster gnome, then cut a small strip of plaid fabric and tie it around the gnome’s neck like a scarf. Add a red pointy hat and a ribbon loop, and the gnome looks ready for a snowy night.
Plaid-scarf gnomes look wonderful on a rustic or farmhouse tree, where their cozy scarves fit perfectly. Make them in a set with different plaid patterns for variety, and keep the scarves small so they do not overwhelm the gnome.
Materials: Plaster of Paris, gnome mold, plaid fabric, acrylic paint, paintbrushes, ribbon, craft glue
Cost: about $2 · Time: about 30 minutes each plus drying.
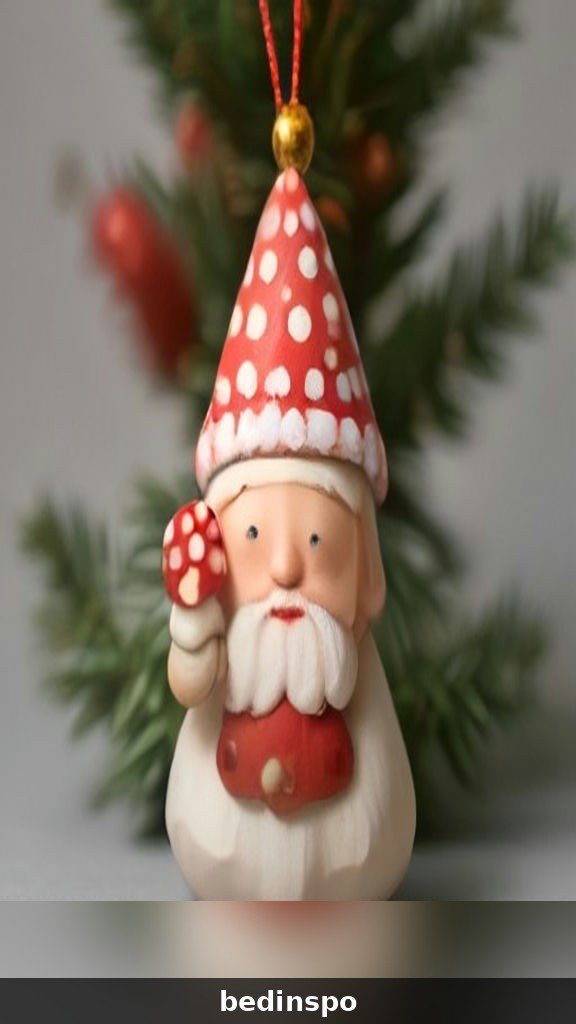
17. Plaster Gnome Mobile
A plaster gnome mobile is a hanging display of small gnomes on different lengths of thread, and it turns a plain corner into a festive scene. It is a beautiful way to display a whole set of gnomes at once. Make five small plaster gnomes in different hat colors, tie each one to a different length of thread, and hang them from a small wooden hoop. Hang the mobile from the ceiling or a branch, and the gnomes will sway gently.
Mobiles look wonderful hung in a window or above a mantel, where the gnomes catch the light. Make the mobile as large as you like, and vary the gnome colors for a cheerful display.
Materials: Plaster of Paris, small gnome molds, acrylic paint, paintbrushes, wooden hoop, thread, craft glue
Cost: about $6 per mobile · Time: about 90 minutes per mobile plus drying.
18. Plaster Gnome with Star Wand
A plaster gnome holding a tiny star wand is a magical ornament that looks like he is about to grant a wish. The star wand adds a touch of sparkle, and it is one of the most delightful gnomes in this collection. Make a classic plaster gnome, then glue a tiny star cut from gold card to the end of a small wooden stick. Glue the wand to one side of the beard, as if the gnome is holding it, and add a ribbon loop.
Star-wand gnomes look wonderful on a tree with a magical theme, where their sparkle fits perfectly. Make them in a set for a coordinated look, and vary the star colors for a playful display.
Materials: Plaster of Paris, gnome mold, gold card, small wooden stick, acrylic paint, paintbrushes, ribbon, craft glue
Cost: about $2 · Time: about 35 minutes each plus drying.
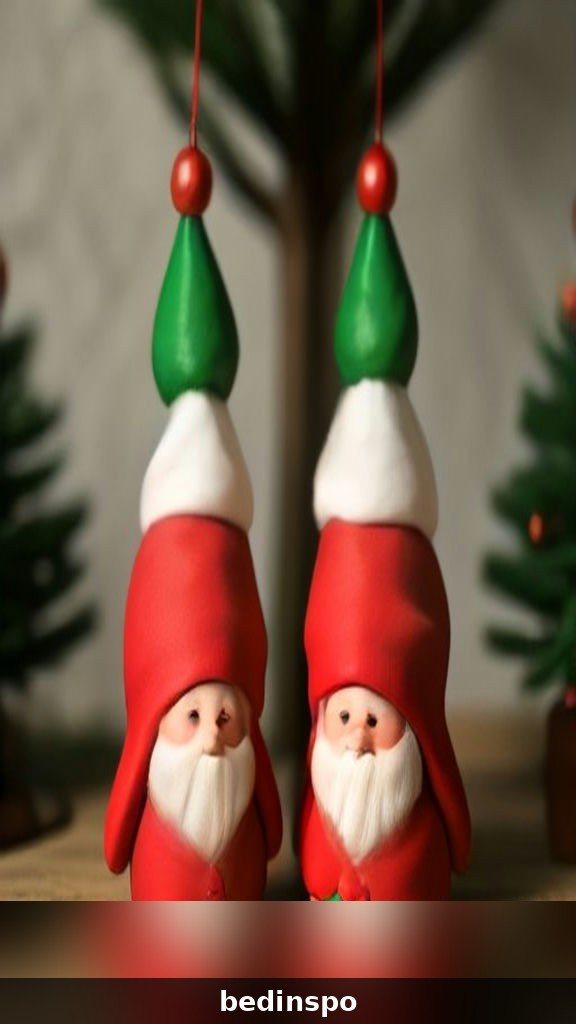
19. Plaster Gnome with Mrs. Gnome
A plaster gnome with a Mrs. Gnome beside him is a sweet pair that tells the whole Christmas story. Mrs. Gnome has a white yarn bun and a red dress, and together they make a lovely gift for a couple. Make a small plaster gnome and a small Mrs. Gnome with a white yarn bun and a red felt dress, then glue them side by side on a small piece of felt. Add a shared ribbon loop at the top, and the couple hangs together.
Gnome couples look wonderful on a tree with a romantic theme, and they are perfect as a wedding or anniversary gift. Make them in a set with different dress colors for variety, and keep the pair small so they hang neatly.
Materials: Plaster of Paris, gnome molds, white yarn, red felt, acrylic paint, paintbrushes, ribbon, craft glue
Cost: about $3 · Time: about 45 minutes each plus drying.
20. Plaster Gnome with Sleigh
A plaster gnome in a tiny sleigh is a charming ornament with a whole Christmas scene. The little sleigh makes the gnome look like he is on his way, and it is one of the most delightful gnomes in this collection. Make a small plaster gnome, then build a tiny sleigh from popsicle sticks and red felt. Glue the gnome into the sleigh, add a ribbon loop at the top, and the sleigh is ready for the tree.
Sleigh gnomes look wonderful on a tree with a traditional theme, where their story fits perfectly. Make them in a set with different sleigh colors for variety, and keep the sleigh small so it hangs neatly.
Materials: Plaster of Paris, gnome mold, popsicle sticks, red felt, acrylic paint, paintbrushes, ribbon, craft glue
Cost: about $3 · Time: about 45 minutes each plus drying.
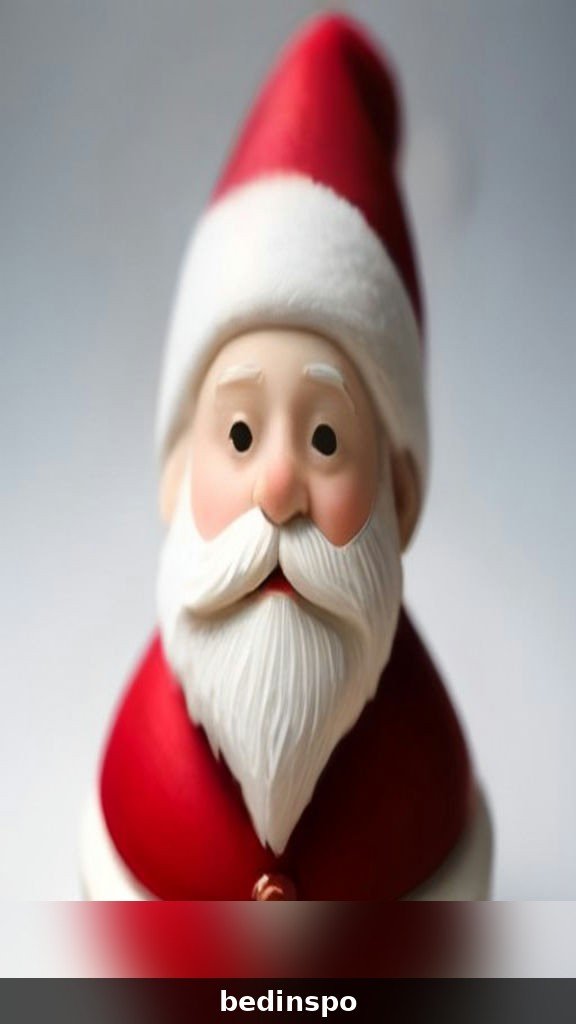
21. Plaster Gnome with Christmas Tree
A plaster gnome holding a tiny Christmas tree is a sweet ornament with a festive touch. The little tree adds a pop of green, and it looks beautiful against the fluffy beard. Make a classic plaster gnome, then glue a miniature Christmas tree made from green felt to one side of the beard, as if the gnome is holding it. Add a red pointy hat and a ribbon loop, and the gnome is ready for the tree.
Tree-holding gnomes look wonderful on a tree with green decorations, and they are perfect for a children’s tree. Make them in a set for a coordinated look, and vary the tree sizes for a playful display.
Materials: Plaster of Paris, gnome mold, green felt, acrylic paint, paintbrushes, ribbon, craft glue
Cost: about $2 · Time: about 35 minutes each plus drying.
22. Plaster Gnome with Hot Cocoa
A plaster gnome holding a tiny mug of hot cocoa is a cozy ornament that looks warm and snug. The little mug adds a charming detail, and it looks beautiful against the white beard. Make a classic plaster gnome, then glue a miniature mug made from a small wooden bead and felt to one side of the beard, as if the gnome is holding it. Add a red pointy hat and a ribbon loop, and the gnome is ready for the tree.
Hot cocoa gnomes look wonderful on a tree with a cozy theme, where their warmth fits perfectly. Make them in a set for a coordinated look, and vary the mug colors for a playful display.
Materials: Plaster of Paris, gnome mold, small wooden bead, felt, acrylic paint, paintbrushes, ribbon, craft glue
Cost: about $2 · Time: about 35 minutes each plus drying.
23. Plaster Gnome Advent Ornaments
A plaster gnome advent set is twenty-four tiny gnomes, one for each day of December, each with a number painted on it. It is the countdown that children remember for years, and it is a beautiful family tradition. Make twenty-four mini plaster gnomes in Christmas colors, paint a number on each hat with a fine gold pen, and hang them on a small branch or a wall hanging. Each day of December, a child takes one gnome down and hangs it on the tree.
Advent gnomes are a wonderful family tradition, and the whimsical set becomes more precious every year. Use sturdy plaster and a clear sealer so the numbers survive little hands, and store the set in a small box between Christmases.
Materials: Plaster of Paris, small gnome molds, acrylic paint, fine gold pen, clear sealer, twine, branch, paintbrushes, craft glue
Cost: about $10 per set · Time: about 150 minutes per set plus drying.
24. Plaster Gnome Snow Globe
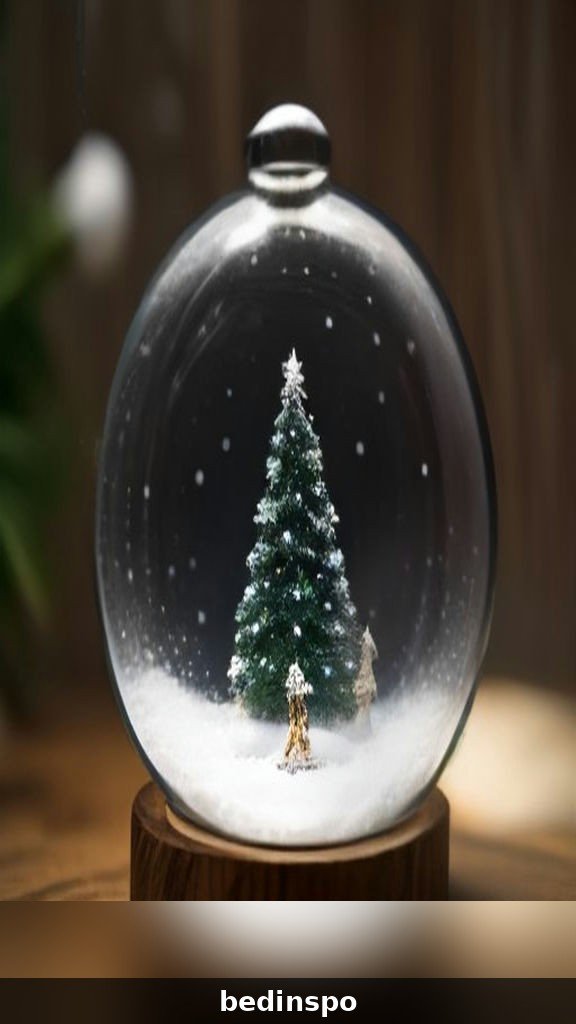
A tiny plaster gnome snow globe is a clear bauble filled with a small gnome and fake snow, and it is a magical ornament that children love. The gnome inside looks like he is standing in a winter storm. Place a mini plaster gnome inside a clear plastic bauble, add a pinch of fake snow, and close the bauble tightly. A ribbon loop at the top hangs the globe on the tree, and the gnome looks like he is standing in a snowstorm.
Snow globes are delightful on a winter tree, where their clear shells catch the light. Make them in different gnome hat colors for a whole winter village in miniature, and seal the baubles well so the snow stays inside.
Materials: Clear plastic baubles, plaster of Paris, small gnome mold, fake snow, ribbon, acrylic paint, paintbrushes, craft glue
Cost: about $3 · Time: about 30 minutes each plus drying.
25. Giant Plaster Gnome Wall Hanging
A giant plaster gnome wall hanging is a large gnome that hangs on the wall, and it is the centerpiece of the whole Christmas display. It is bigger than the other gnomes, but it is made in exactly the same way. Pour the plaster into a large gnome mold, let it dry, and paint the gnome with a long white beard and a tall red hat. Add a ribbon loop at the top for hanging, and hang the gnome on the wall above the mantel.
Wall hangings look wonderful above a mantel or a doorway, where their size can be appreciated. Choose a gnome with a long beard for the wall hanging, and make it a little larger than you think, since it needs to be seen from across the room.
Materials: Plaster of Paris, large gnome mold, acrylic paint, paintbrushes, ribbon, craft glue
Cost: about $5 · Time: about 45 minutes each plus drying.
Frequently Asked Questions About DIY Plaster Gnome Ornaments
What kind of plaster should I use for gnome ornaments?
Plaster of Paris works best for gnome ornaments, because it sets quickly, dries hard and smooth, and takes paint beautifully. It is easy to find in craft stores and hardware stores, and a single bag makes dozens of small gnomes. Avoid plaster that is old or damp, because it may not set properly. Always mix the plaster in a disposable container, because it hardens quickly and can ruin good bowls.
How do I keep plaster gnomes from cracking?
Plaster gnomes crack when they dry too quickly or when air bubbles are trapped inside, so tap the mold gently after pouring to release bubbles, and let the gnomes dry slowly at room temperature. Never dry plaster in an oven or with a hair dryer, because the heat causes cracks. Seal the finished gnomes with a clear acrylic spray, which protects the surface and keeps the paint from chipping.
What paint works best on plaster?
Acrylic craft paint works best on plaster, because it sticks well to the smooth surface, dries quickly, and comes in every Christmas color. Apply a thin coat of white primer first, so the colors look bright and even, and use two thin coats rather than one thick coat. Seal the finished gnome with a clear acrylic spray, which protects the paint and gives the gnome a soft shine.
Do I need a mold to make plaster gnomes?
A silicone gnome mold makes the work much easier, because it gives you a perfect gnome shape every time, and the plaster pops out cleanly once it is dry. If you do not have a mold, you can shape a simple gnome from plaster in a cone-shaped paper cup, then paint the details by hand. Small silicone molds are inexpensive in craft stores, and a single mold can be used again and again.
Can children make plaster gnome ornaments?
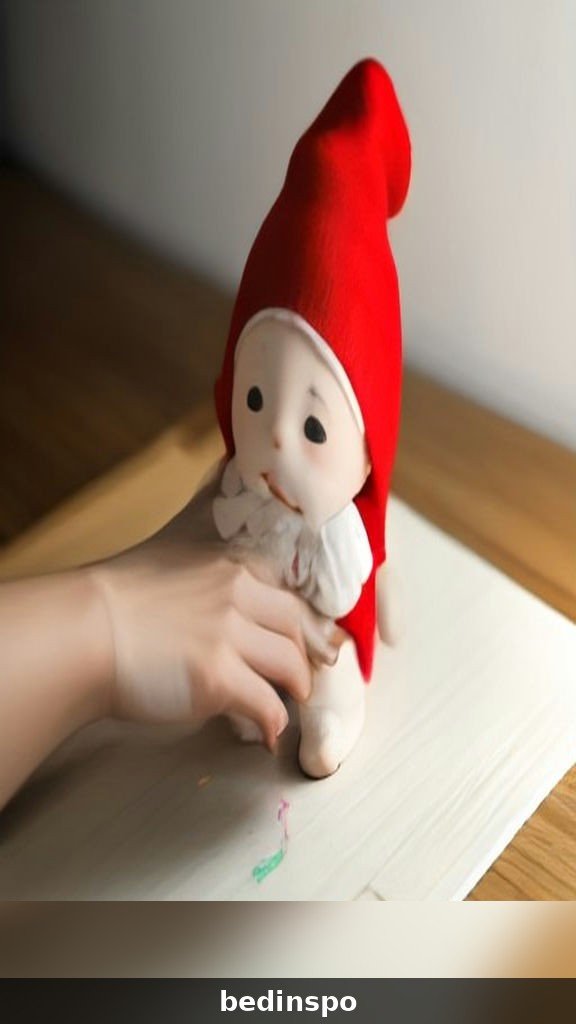
Yes, plaster gnome ornaments are wonderful for children, because pouring plaster and painting gnomes is simple and fun. Let children paint the gnomes and choose the colors, while an adult mixes and pours the plaster, because plaster dust should not be breathed in. Use washable paint for young children, and always supervise the work so little hands stay safe. A plaster gnome made by a child is the most precious ornament on any tree.
How do I store plaster gnome ornaments?
Store plaster gnome ornaments in a dry box with tissue paper between each gnome, so the paint does not chip and the gnomes do not knock together. Plaster is fragile, so wrap each gnome in tissue paper and pack the box snugly. Keep the box in a cool, dry place, and check the gnomes each year before you hang them. Touch up any chipped paint with a small brush, and re-seal the gnomes if the sealer looks worn.
Conclusion
DIY plaster gnome ornaments are proof that the most whimsical decorations are the ones made slowly with our own hands. Each gnome carries the warmth of a quiet afternoon, the magic of a little plaster and paint, and the little imperfections that make handmade things so much more meaningful than anything from a store. Whether you made a single classic gnome or a whole tree of whimsical gnomes, your ornaments are now part of your family’s Christmas story.
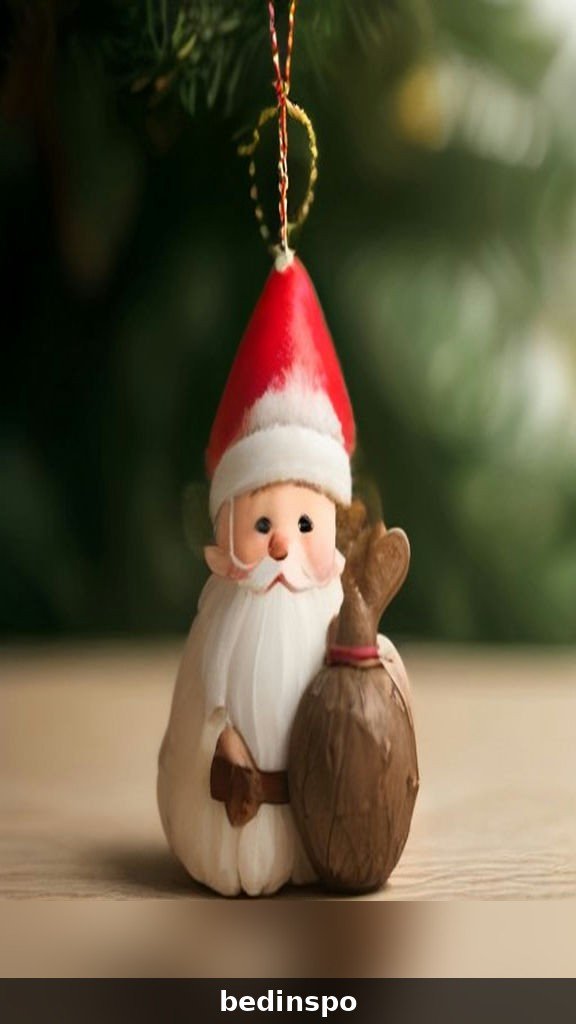
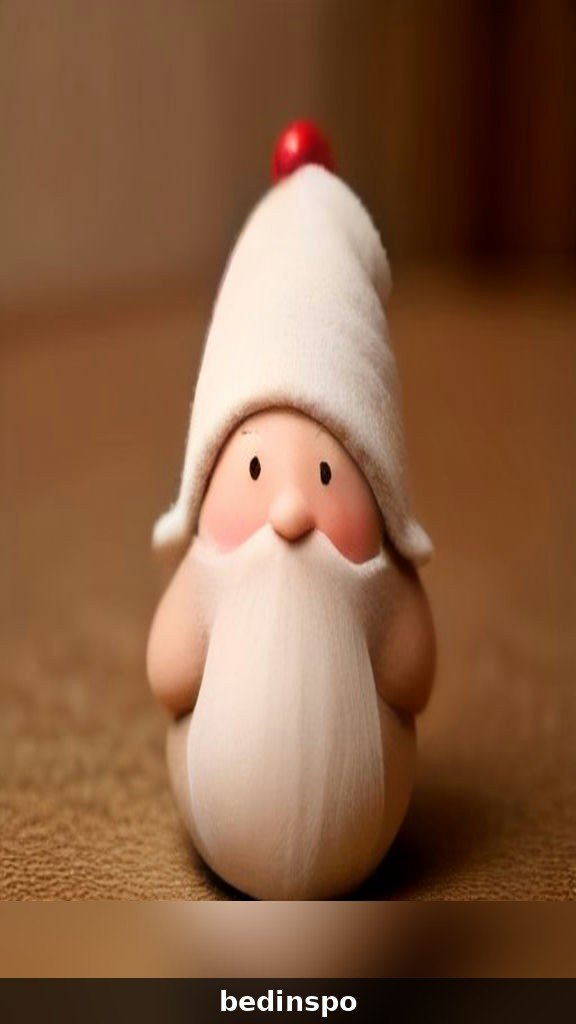
Start with one gnome tonight, even if it is just a small plaster gnome made from a bag of plaster of Paris, and see how quickly the collection grows. Before you know it, your tree will be full of whimsical gnomes, your gift list will be shorter, and you will have a new Christmas tradition to look forward to every year. Happy crafting, and may your holidays be as magical as your handmade tree.
If you loved these plaster gnomes, you will love these handmade Christmas ideas too:
- DIY Christmas Gnome Ornaments — whimsical gnomes for a magical tree.
- DIY Mushroom Christmas Ornaments — whimsical mushrooms for a woodland tree.
- DIY Acorn Christmas Ornaments — charming acorn ideas for a woodland tree.
- DIY Wood Slice Christmas Ornaments — rustic wooden ornaments with a handmade, natural feel.