22 DIY Paper Honeycomb Ornaments for Christmas
22 DIY Paper Honeycomb Ornaments for Christmas
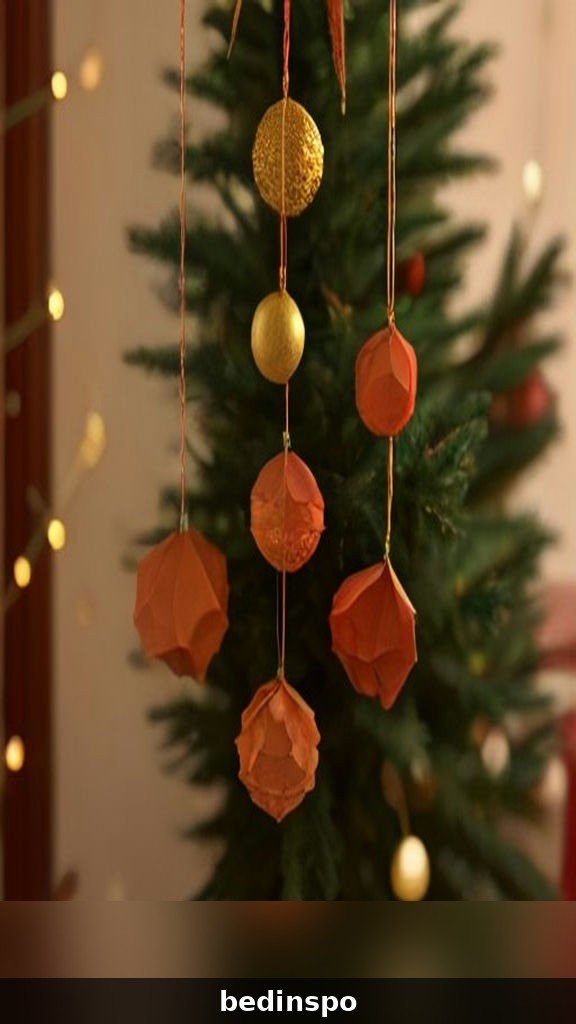
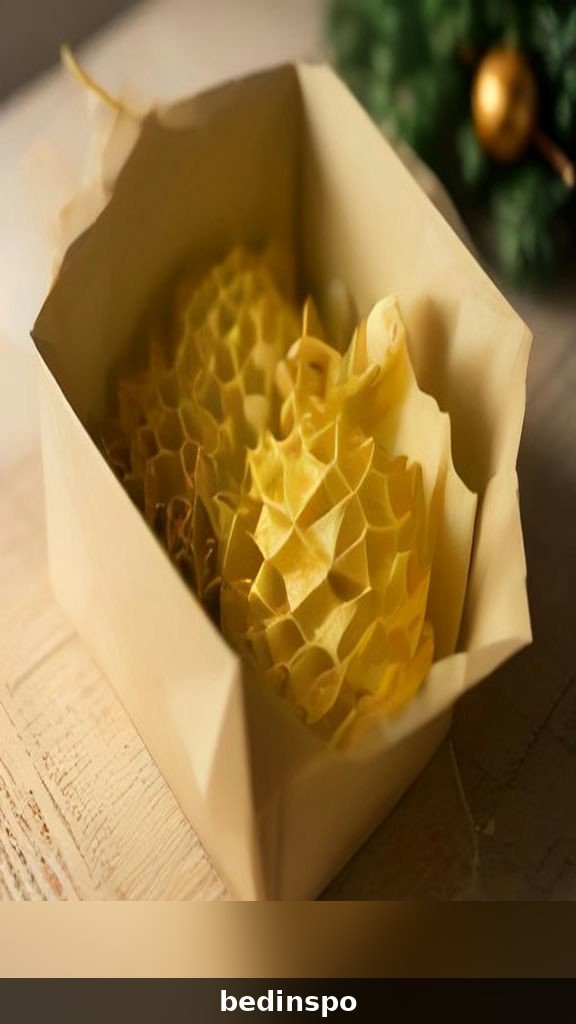
There is something truly magical about a paper honeycomb ornament. It starts as a flat stack of tissue paper, just a few cents worth of supplies, and then you pull it open and it pops into a round, fluffy ball, a star, a tree, or a snowflake that looks like it came from a fancy holiday shop. That little moment of unfolding never gets old, and it is exactly why DIY paper honeycomb ornaments are one of the most loved budget Christmas crafts on Pinterest right now.
The best part is how easy and affordable they are. You do not need a craft room full of tools, a cutting machine, or any special skill. With tissue paper, a glue stick, some string, and about twenty minutes, you can make a whole set of ornaments for your tree, your mantel, your windows, or a handmade gift. In this guide, you will find 22 DIY paper honeycomb ornament ideas, plus the basic technique, the materials list, the cost breakdown, and plenty of tips so your ornaments turn out full, even, and beautiful every single time.
1. Classic Red and Green Honeycomb Balls
Start with the classic that never fails: round honeycomb balls in traditional Christmas red and deep green. These are the ornaments most of us picture when we think of paper honeycomb crafts, and they look wonderful mixed in with baubles, fairy lights, and pine branches. Choose tissue paper in a rich, true red and a forest green, and make a mix of small, medium, and large balls so your tree has depth and rhythm.
To make one ball, cut about twenty circles of tissue paper, glue them together in the classic honeycomb pattern with thin lines of glue, then fold the stack in half, glue the two flat sides together, and open it up into a ball. Tie a loop of gold or red ribbon at the top before you open it fully, so it is ready to hang. A set of six balls costs about two to three dollars in tissue paper and ribbon, and each ball takes about fifteen to twenty minutes once you get the rhythm. Hang them at different heights on the tree, or cluster three together on a mantel garland for a fuller look.
If your ball looks a little lopsided, do not worry. Gently pull the layers apart and fluff them with your fingertips, working your way around the ball in a circle. A small dab of glue on any loose edge will hold it in place. Store the balls flat by folding them closed again after Christmas, and they will be ready to open and use again next year, which makes this classic idea even more budget-friendly.
2. White and Gold Honeycomb Snowflakes
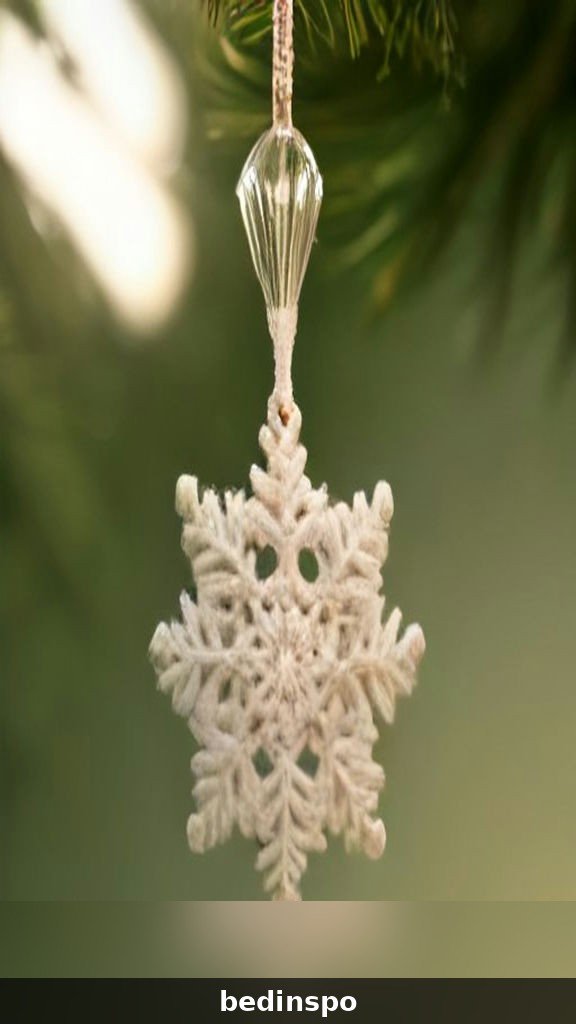
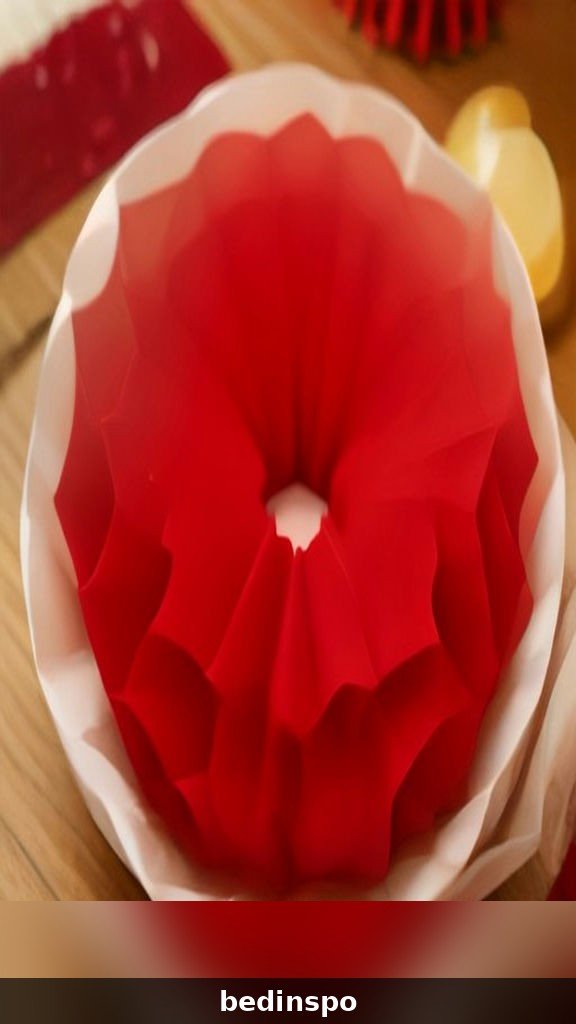
White and gold honeycomb snowflakes feel elegant, calm, and a little bit magical, especially if your Christmas style leans Scandinavian, modern, or minimal. White tissue paper opens into a soft, cloud-like shape, and a touch of gold ribbon or a gold-painted edge makes it glow in the tree lights. These are perfect for a white tree, a winter wedding table, or a window display.
For a snowflake shape, cut your tissue paper into a hexagon or a circle, then cut small notches or points around the edge before you glue the layers together. When you open the ornament, those cuts turn into pretty points and curves that read as a snowflake. Use white tissue paper for the main body and add one layer of pale gold tissue in the middle for a subtle shimmer that shows through the folds. A snowflake takes about twenty minutes, and a set of eight costs roughly three dollars.
Hang white and gold snowflakes in a window where daylight can shine through the tissue paper. The light makes the layers glow and casts soft shadows on the wall, which is a beautiful effect for almost no money. You can also tie them to a branch in a vase for a simple winter centerpiece, or use them as gift toppers on plain kraft paper parcels for a coordinated, handmade look.
3. Honeycomb Paper Christmas Trees
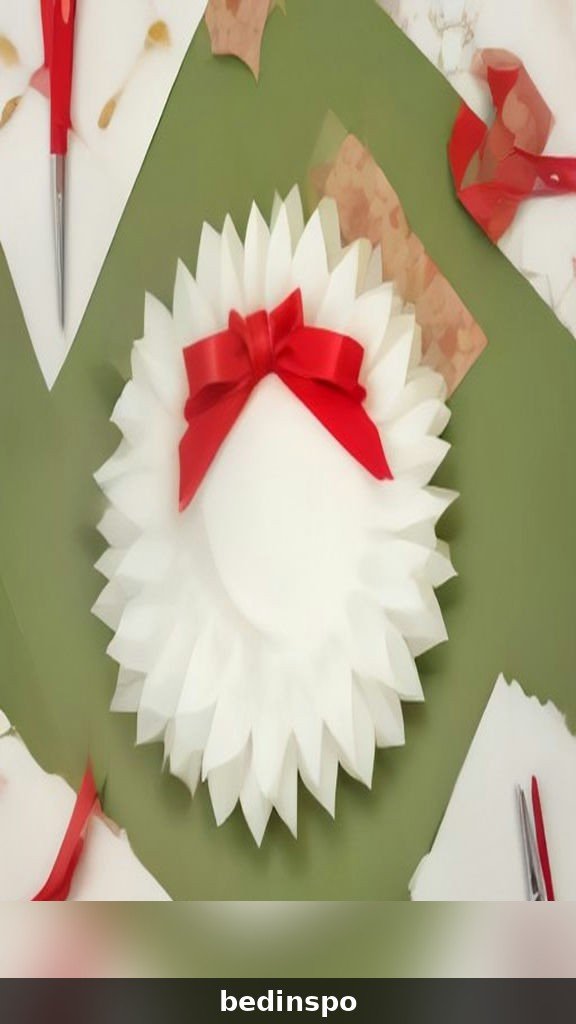
A honeycomb Christmas tree is one of the cutest ornaments you can make, and it is a great first project if you have never tried the honeycomb technique before. The triangle shape is forgiving, the layers look like tiny branches, and a small star or a gold bead on top finishes it perfectly. Make them in green, white, or even pink for a modern tree.
Cut your tissue paper into triangles instead of circles, keeping the stack neat and the points lined up. Glue the layers together, fold, and open the shape into a three-dimensional tree that stands on its own. A small wooden bead or a folded paper star glued to the top makes a lovely tree topper, and a loop of twine at the back lets you hang it on the tree. Each tree costs well under a dollar, takes about fifteen minutes, and is sturdy enough to stand on a mantel or a shelf.
Try making a little forest of honeycomb trees in different sizes and shades of green, and line them up along a windowsill or a mantel. Add a dusting of white glitter glue on the edges for snow, or tiny gold dots for ornaments. Children love helping with this one, because the trees are simple to fold and fun to open, so it is a wonderful family craft for a cozy December afternoon.

4. Blush Pink and Cream Honeycomb Balls
If your Christmas decor is soft, romantic, and a little bit modern, blush pink and cream honeycomb balls are the answer. They look beautiful on a flocked tree, against white walls, or mixed with eucalyptus and dried oranges on a mantel. The soft colors keep the holiday feeling gentle instead of busy, and they photograph beautifully for Pinterest.
Use tissue paper in blush pink, dusty rose, and warm cream, and make balls in a few sizes. The trick with pale colors is to use enough layers, about twenty to twenty-four sheets, so the ball looks full and not see-through. A thin gold ribbon loop adds just enough sparkle without overpowering the soft palette. A set of six costs about three dollars, and each ball takes around twenty minutes to make.
Pair blush honeycomb balls with cream paper stars, white fairy lights, and a few sprigs of greenery for a calm, elegant tree. They also make lovely table decor when you place one on each plate as a place setting, tied with a name tag in gold ink. Guests can take them home, which turns a simple decoration into a sweet, handmade party favor.
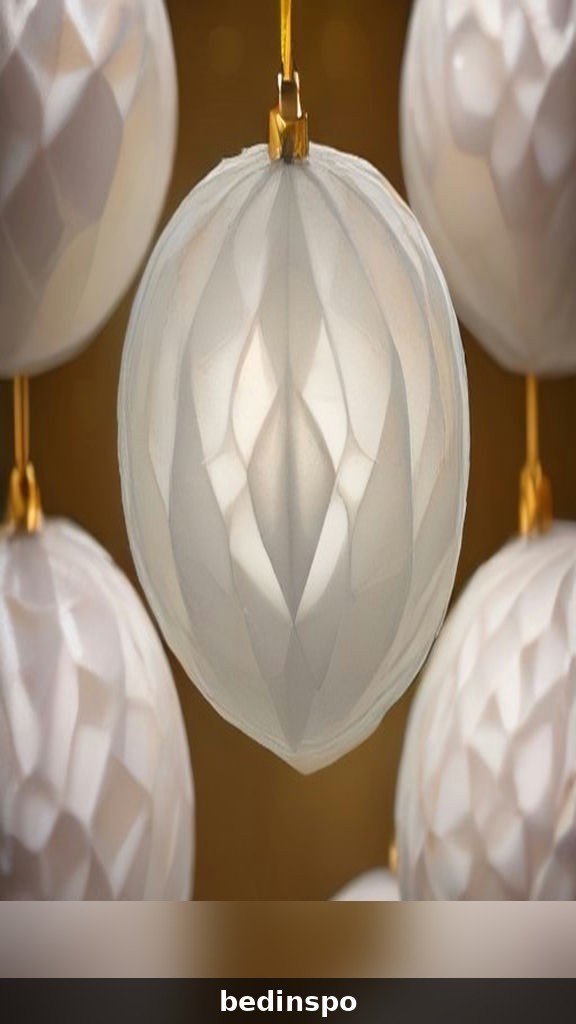
5. Rainbow Honeycomb Ornament Set
A rainbow set is pure joy. Bright red, orange, yellow, green, blue, and purple honeycomb balls hung together make a tree that feels playful, cheerful, and completely handmade in the best way. This is a great choice for a family tree, a classroom tree, or a kids room, where color is the whole point.
Make one ball in each color of the rainbow, or layer two colors in a single ball for an ombre effect. For example, start with red layers on the outside and move to orange and then yellow in the middle, so the ball changes color as it opens. Keep the balls the same size for a neat, coordinated look, or vary the sizes for a more playful feel. A full rainbow set of six to eight balls costs about four dollars and takes around two hours in total, which is perfect for a weekend craft session.
Hang the rainbow balls at eye level where the colors can really shine, and pair them with simple white lights so the colors stay bright. You can also use the set as a garland by threading the balls on a long piece of ribbon and hanging it across a doorway or a mantel. It is a cheerful, budget-friendly way to fill a big space with color for very little money.

6. Gold and Cream Honeycomb Stars
Honeycomb stars feel festive and a little bit glamorous, and gold and cream is the most elegant color combination of all. These stars catch the light beautifully, they look expensive, and they are surprisingly simple to make once you know the folding trick. Hang them on the tree, in a window, or from a chandelier for instant holiday sparkle.
To make a star, cut your tissue paper into a five-pointed star shape, or cut a circle and then snip five deep notches around the edge before gluing. Use cream tissue paper for most of the layers and add a few sheets of metallic gold tissue in the middle for a warm glow. A gold ribbon loop and a tiny gold bead in the center finish the star perfectly. Each star takes about twenty to twenty-five minutes and costs less than a dollar.
Make a set of stars in different sizes and hang them at different lengths from a branch or a curtain rod to create a star mobile. The stars will turn gently in the air and catch the light from every angle. They also look wonderful as gift toppers, tied onto a plain box with gold ribbon, or as a table decoration scattered along a holiday runner with pine sprigs and candles.
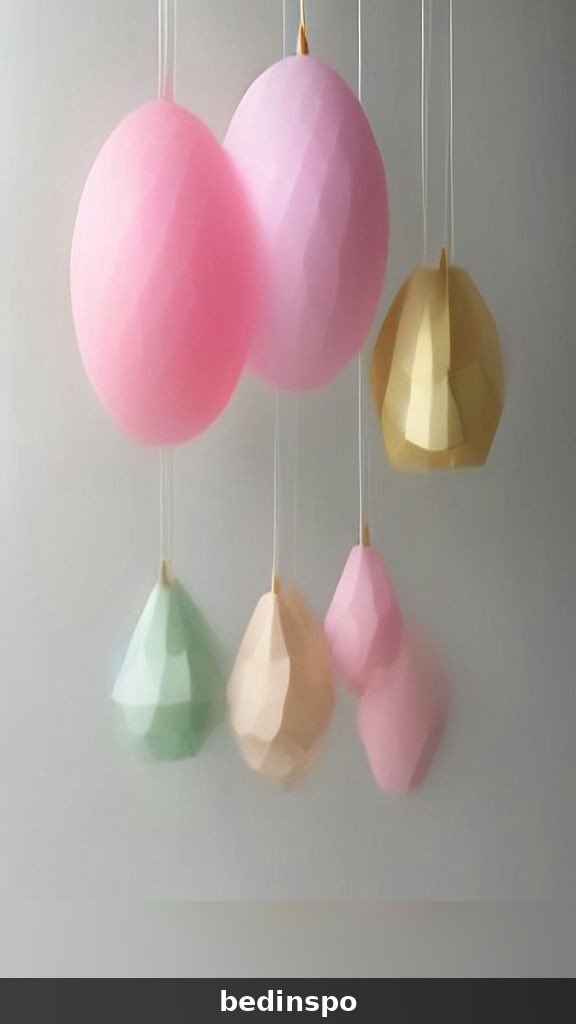
7. How to Make the Basic Honeycomb Ball Step by Step
Before you try the fancier shapes, it helps to learn the basic honeycomb ball, because every other design in this guide uses the same technique. You will need tissue paper, a glue stick or a small bottle of craft glue, scissors, a pencil, a piece of cardboard for a template, and ribbon or string for hanging. A full materials list for a set of six ornaments costs about five dollars, and most crafters already have scissors and glue at home.
First, trace and cut about twenty circles from your tissue paper, all the same size. Stack them neatly, then draw two thin glue lines across the stack, one near the top and one near the bottom, and press the layers together. Repeat this gluing pattern, alternating the glue lines, until the whole stack is joined. Then fold the stack in half, glue the two flat outer sides together, and gently open the shape into a ball. Tie your ribbon loop at the top before you open it all the way, and fluff the layers with your fingertips until the ball looks full and even.
The most common mistake is using too much glue, which makes the tissue paper soggy and stiff. Use thin lines, let each layer press down for a few seconds, and work on a clean, dry surface. If a layer tears, just replace that one sheet and keep going. After one or two practice balls, your hands will know the rhythm, and the rest of the set will come together quickly and neatly.

8. Honeycomb Garland for the Mantel
A honeycomb garland turns a whole mantel, doorway, or staircase into a holiday showpiece for just a few dollars. Instead of hanging each ornament on its own, you thread a row of small honeycomb balls, stars, and trees onto a long ribbon or piece of twine, and the result looks full, festive, and wonderfully handmade.
Make eight to twelve small ornaments in two or three coordinating colors, and keep them on the smaller side, about three to four inches across, so the garland does not get too heavy. Thread a needle with ribbon or twine, pass it through the top loop of each ornament, and space them about four inches apart. Add sprigs of faux pine, dried orange slices, or cinnamon sticks between the ornaments for a fuller, more finished look. A full garland costs about six to eight dollars and takes around two hours to make, including the ornaments.
Hang the garland with small clear hooks or command strips so you do not damage your mantel or wall. If you want a fuller look, layer two garlands together, one slightly longer than the other, so the ornaments hang at different depths. When the season ends, fold each ornament flat, slip the garland into a large bag, and store it flat in a box so it is ready to hang again next year.
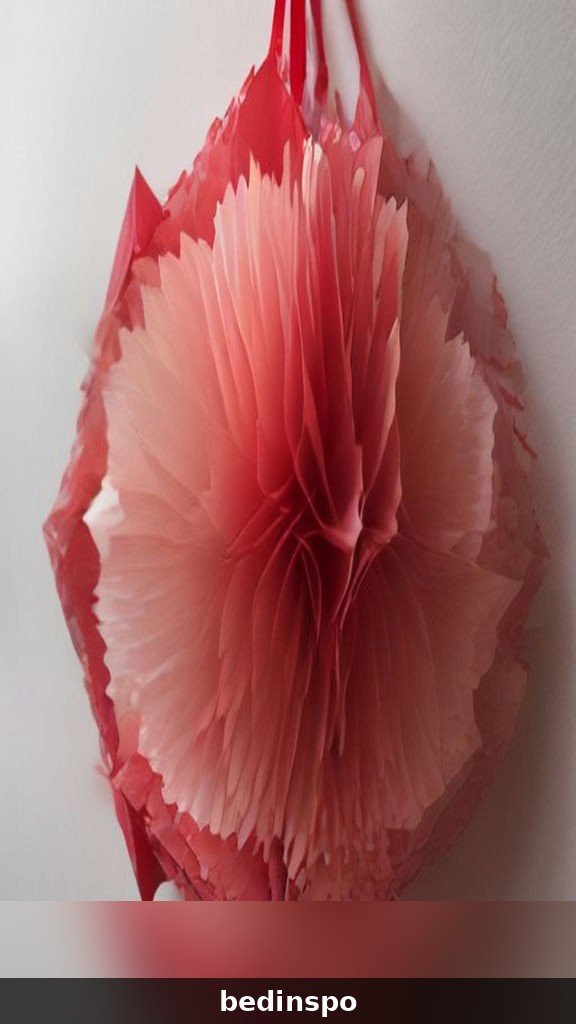
9. Mini Honeycomb Ornaments for a Small Tree
Mini ornaments are perfect for a tabletop tree, a small apartment tree, or a tree in a bedroom or office. They use less tissue paper, they are quicker to make, and they look adorable in a cluster. A mini honeycomb ball is only two to three inches across, so you can fit a whole set on a tiny tree without it looking crowded.
Cut your circles smaller, about three inches across, and use twelve to fifteen layers instead of twenty, so the mini ball stays light and full. Make them in a mix of red, green, gold, and white, and use thin ribbon or baker twine for the hanging loops so the loops do not overwhelp the small ornament. Each mini ornament takes about ten minutes and costs just a few cents, so you can make a set of twelve for about two dollars.
Mini ornaments also make sweet gift toppers, party favors, and advent calendar surprises. Tuck one into a small gift bag, tie one onto a stocking, or hang a few from a branch in a vase as a tiny winter display. They are also a great way to use up leftover tissue paper from bigger projects, so nothing goes to waste.

10. Burgundy and Teal Jewel-Tone Ornaments
Jewel tones like burgundy, teal, emerald, and deep plum give honeycomb ornaments a rich, luxurious feeling that works beautifully for an evening holiday party or a moody, elegant tree. These colors look stunning against dark green branches and warm white lights, and they pair well with gold and brass accents.
Choose tissue paper in deep, saturated colors, and make balls in a few jewel tones rather than just one, so the tree has depth. A burgundy ball next to a teal ball next to an emerald ball creates a rich, layered look that feels expensive. Add a gold ribbon loop and a tiny gold bead at the bottom of each ball for a polished finish. A set of six jewel-tone balls costs about three to four dollars and takes around two hours.
For a party table, place one jewel-tone ornament on each plate with a sprig of greenery and a name card, or hang a cluster of them from a chandelier above the dining table. The deep colors catch the candlelight beautifully and make the whole room feel warm and festive. They also photograph well, so they are a great choice if you love sharing your holiday decor on Pinterest.

11. Honeycomb Paper Angels
A honeycomb angel is a sweet, old-fashioned ornament that looks lovely on a tree or as a tree topper. The honeycomb body forms the dress, a small paper circle makes the head, and folded paper wings complete the figure. It is a gentle, nostalgic design that works well for a traditional or vintage Christmas.
Make a half-ball or a cone-shaped honeycomb body in white, cream, or pale gold, then glue a small wooden bead or a paper ball on top for the head. Cut two small wings from white card or tissue paper and glue them to the back, and add a tiny gold halo made from a thin circle of gold paper or a small gold ring. Each angel takes about twenty-five minutes and costs under a dollar, and you can make a whole choir of them in different sizes.
Hang angels near the top of the tree, where they can be seen, or use one large angel as a tree topper by making the honeycomb body a little taller and adding a longer ribbon. They also make thoughtful handmade gifts, especially for grandparents or anyone who loves vintage Christmas decor. Tuck one into a gift box with tissue paper and a handwritten note for a present that feels truly personal.

12. Frosty Blue and White Winter Ornaments
Blue and white honeycomb ornaments bring a cool, frosty winter feeling to your tree, even if you live somewhere warm. Pale blue, icy aqua, and crisp white layers look like snow and ice, and they pair beautifully with silver ribbon, white lights, and snowflake decorations for a winter wonderland theme.
Use tissue paper in pale blue, soft aqua, and white, and make a mix of balls, stars, and snowflakes. A little silver glitter glue on the edges, applied lightly after the ornament is open, adds a frosty sparkle that catches the light. Keep the glitter light, so the tissue paper does not get heavy or stiff. A set of eight frosty ornaments costs about three dollars and takes around two and a half hours.
Hang blue and white ornaments in a window, where the daylight shines through the pale tissue paper and makes them glow like ice. They also look wonderful on a white or silver tree, or mixed with white paper snowflakes on a mantel garland. If you want a coordinated look, wrap your gifts in pale blue paper with white ribbon and top each one with a matching mini honeycomb ball.

13. Honeycomb Ornaments with Glitter Edges
A little glitter goes a long way on a honeycomb ornament. A thin line of glitter glue along the outer edge of each layer adds sparkle without making the ornament heavy or messy, and it catches the tree lights in a beautiful way. Gold glitter on red, silver glitter on white, and green glitter on cream are all lovely combinations.
Make your ornament first and open it fully, then use a fine-tipped glitter glue pen to trace along the outer edges of the tissue paper. Work slowly and let the glitter dry completely before you hang the ornament, so the layers do not stick together. If you do not have glitter glue, you can brush a thin line of craft glue on the edge and sprinkle fine glitter over it, then shake off the extra over a piece of paper. Each ornament takes about five extra minutes for the glitter step, and a bottle of glitter glue costs about two dollars and lasts for many ornaments.
Glitter-edged ornaments are perfect for a glamorous tree or a holiday party, where a little sparkle makes everything feel more festive. They also look wonderful in a window at night, when the tree lights reflect off the glitter. Just be gentle when you store them, and fold them flat with a sheet of tissue paper between the layers so the glitter does not transfer to the next ornament.
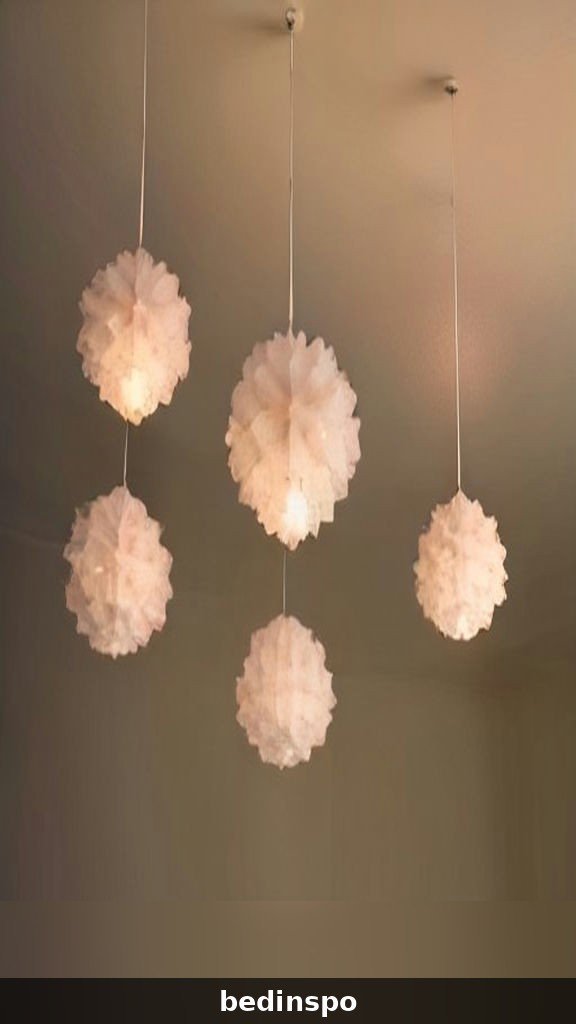
14. Rustic Kraft and Twine Honeycomb Balls
For a rustic, farmhouse Christmas, try honeycomb balls in kraft brown, cream, and natural tones, hung with jute twine instead of ribbon. The natural colors and textures feel warm and homey, and they pair beautifully with pinecones, burlap, plaid, and wooden ornaments for a cozy cabin look.
Use kraft tissue paper or thin brown paper for the layers, and cream tissue paper for a second ball to alternate on the tree. Tie the hanging loop with jute twine and add a small wooden bead or a sprig of dried greenery at the top for a finished, rustic touch. Each ball costs well under a dollar and takes about fifteen to twenty minutes, and a set of six costs about two to three dollars.
Hang rustic honeycomb balls on a tree decorated with pinecones, wooden stars, and plaid ribbon, or use them on a mantel garland with dried orange slices and cinnamon sticks. They also make lovely gift toppers on kraft paper parcels tied with twine. The natural look is calm and timeless, and it works just as well in a modern farmhouse as it does in a cozy cabin.

15. Honeycomb Snowman Ornaments
A honeycomb snowman is a cheerful, playful ornament that kids will love, and it is a fun way to use the honeycomb technique in a new shape. Stack two white honeycomb balls, one larger and one smaller, and add a tiny paper hat, a carrot nose, and a smile for a snowman that looks like it is ready for the tree.
Make a medium white ball for the body and a smaller white ball for the head, then glue them together with a dab of craft glue. Cut a small black paper hat, a tiny orange paper triangle for the nose, and two small black dots for eyes, and glue them in place. A red ribbon scarf tied around the neck finishes the snowman perfectly. Each snowman takes about thirty minutes and costs under a dollar, and you can make a whole snowman family in different sizes.
Hang snowmen on the tree at eye level where their cute faces can be seen, or line them up on a mantel with a few mini trees for a winter scene. They also make sweet gifts for teachers, neighbors, or friends, especially when you tuck one into a small gift bag with a candy cane. Store them flat by folding each ball closed, and they will be ready to open again next year.
16. Metallic Gold Honeycomb Balls
Metallic gold honeycomb balls are the easiest way to make your tree look expensive for almost no money. Gold tissue paper opens into a warm, glowing ball that reflects the tree lights beautifully, and a set of gold balls mixed with cream and white ornaments creates a luxe, coordinated look that feels straight out of a holiday magazine.
Use metallic gold tissue paper, which you can find at most craft stores and dollar stores, and make the balls in a few sizes. Because metallic tissue can be a little stiffer than regular tissue, use twenty-two to twenty-four layers so the ball looks full, and be gentle when you open it so the layers do not crack. A gold ribbon loop and a tiny gold bead finish each ball. A set of six costs about four dollars and takes around two hours.
Hang gold balls on a green tree with warm white lights, or on a white tree for a bright, glamorous look. They also look stunning in a bowl or a glass vase as a table centerpiece, mixed with pine sprigs and fairy lights. If you want a coordinated gift wrap, use gold tissue paper to wrap small gifts and top each one with a mini gold honeycomb ball.
17. Honeycomb Ornaments for Gift Toppers
One of the best uses for honeycomb ornaments is as a gift topper. A mini honeycomb ball, star, or tree tied onto a plain wrapped gift turns a simple present into something that looks thoughtful, handmade, and beautiful. The recipient gets a gift and a keepsake ornament in one, which is a lovely touch.
Make mini ornaments in colors that match your wrapping paper, and tie them on with ribbon or twine instead of tape, so the ornament can be removed without tearing. A mini ball on a kraft parcel, a gold star on a white box, and a red tree on a green box all look wonderful and coordinated. Each topper takes about ten minutes and costs just a few cents, so you can make a whole set for your Christmas gifts for about two dollars.
For a really polished look, wrap all your gifts in the same paper, use the same ribbon, and vary only the honeycomb topper color or shape. The gifts will look like a coordinated set under the tree, and they will photograph beautifully. Add a small handwritten tag tied to the ribbon, and your gifts will look like they came from a boutique, not a last-minute rush.
18. Oversized Honeycomb Balls for Big Impact
Sometimes bigger really is better. Oversized honeycomb balls, eight to ten inches across, make a huge impact on a large tree, in a window, or hanging from a ceiling at a holiday party. They are surprisingly easy to make, they just need bigger circles and more layers, and they cost only a dollar or two each.
Cut circles about ten inches across from tissue paper, and use twenty-four to twenty-eight layers so the big ball stays full and does not collapse. You will need a larger workspace and a little more patience, but the technique is exactly the same as a small ball. Use a sturdy ribbon loop, because a big ball is heavier, and hang it from a strong branch or a ceiling hook. Each oversized ball takes about thirty minutes and costs about one to two dollars.
Hang two or three oversized balls at different heights in a corner, in a window, or above a party table for a dramatic, festive display. They also look wonderful in a large empty fireplace, where they fill the space with color and texture. When the season ends, fold them flat carefully and store them in a large box with tissue paper between the layers.
19. Honeycomb Ornaments in a Window Display
Hanging honeycomb ornaments in a window is one of the prettiest ways to enjoy them, because the daylight shines through the tissue paper and makes the colors glow. A row of ornaments at different heights, hung from a curtain rod or a branch, turns an ordinary window into a holiday display that you can enjoy from inside and outside.
Choose light, bright colors like white, pale pink, gold, and soft green, which glow beautifully in daylight. Hang each ornament from a clear thread or a thin ribbon so it looks like it is floating, and vary the lengths so the ornaments hang at different heights. A window display of eight to ten ornaments costs about four dollars and takes around three hours to make, including the hanging time.
For a fuller look, add a string of fairy lights behind the ornaments, or hang a few paper snowflakes between them. At night, the lights will shine through the tissue paper and create a warm, glowing display that looks magical from the street. It is a simple, budget-friendly way to decorate a window without buying expensive window decorations.
20. Honeycomb Ornaments with Dried Orange and Greenery
Pairing paper honeycomb ornaments with dried orange slices and fresh greenery creates a natural, fragrant, old-fashioned Christmas look that feels warm and inviting. The bright orange slices, the green pine, and the soft paper ornaments complement each other beautifully, and the whole arrangement smells wonderful.
Make honeycomb balls in cream, red, and gold, and thread them onto a garland with dried orange slices, cinnamon sticks, and sprigs of pine or eucalyptus. You can dry orange slices in a low oven for a few hours, or buy them ready-made at a craft store. A garland with six ornaments, six orange slices, and greenery costs about eight dollars and takes around two and a half hours to make.
Hang the garland on a mantel, across a doorway, or along a staircase, and add a few fairy lights for a warm glow. The dried oranges will last for several weeks, and the honeycomb ornaments can be folded flat and reused next year. It is a beautiful, natural decoration that costs a fraction of a store-bought garland and looks far more personal.
21. Honeycomb Ornaments for a Kids Craft Party
Honeycomb ornaments are a perfect craft for a kids Christmas party, because they are safe, simple, and fun, and every child can make one to take home. Set up a craft table with pre-cut tissue paper circles, glue sticks, ribbon, and a few finished examples, and let the kids choose their own colors and shapes.
For kids, use larger circles and fewer layers, about twelve sheets, so the ornaments are easier to handle and open. Pre-cut the circles and the ribbon loops, and help younger children with the gluing and folding steps. Each child can make one ornament in about twenty minutes, and a party set for ten kids costs about ten dollars in supplies. Add stickers, glitter glue, and markers so kids can decorate their ornaments and make them their own.
At the end of the party, hang all the ornaments on a small tree or a branch together, so everyone can see the colorful collection they made. Then let each child take their ornament home in a small paper bag. It is a craft, a party activity, and a party favor all in one, and it keeps kids happily busy while the adults enjoy the party.
22. Storing and Reusing Your Honeycomb Ornaments
One of the best things about paper honeycomb ornaments is that you can reuse them year after year if you store them properly. After Christmas, gently fold each ornament flat again, press it closed, and slip it into a large zip bag or a flat box with a sheet of tissue paper between the layers. Label the box with the colors and sizes inside, so you can find what you need next year.
Store the box in a cool, dry place, away from damp and direct sunlight, which can fade the tissue paper colors. Avoid stacking heavy boxes on top of your ornament box, because the weight can crush the layers. If an ornament gets a little creased or flat after storage, just open it gently and fluff the layers with your fingertips, and it will look full again in a few minutes.
Reusing your ornaments makes this craft even more budget-friendly, because a set that costs three dollars to make can last for three or four Christmases. It is also a kinder, more sustainable way to decorate, since you are not buying new plastic ornaments every year. Each December, opening your box of honeycomb ornaments feels like greeting old friends, and adding one or two new colors each year keeps the collection fresh.
Frequently Asked Questions
What paper is best for DIY paper honeycomb ornaments?
Standard tissue paper is the best choice for DIY paper honeycomb ornaments, because it is light, flexible, and easy to fold and open. Look for tissue paper that is not too thin, so it does not tear easily, and not too thick, so it still opens into a full, fluffy shape. Craft stores, dollar stores, and online shops all sell tissue paper in Christmas colors for about one dollar a pack, and one pack makes several ornaments.
How many layers of tissue paper do I need for a honeycomb ball?
For a standard honeycomb ball about four to five inches across, you need about twenty layers of tissue paper. Smaller ornaments need twelve to fifteen layers, and oversized ornaments need twenty-four to twenty-eight layers. Using enough layers is the key to a full, round shape, so do not skimp on the tissue paper, even though it is tempting to save a few sheets.
How much do DIY paper honeycomb ornaments cost to make?
DIY paper honeycomb ornaments are very budget-friendly. A single ornament costs well under a dollar, usually about thirty to fifty cents, and a set of six costs about two to four dollars in tissue paper, glue, and ribbon. Most crafters already have scissors and glue at home, so the only supplies you need to buy are tissue paper and ribbon, which keeps the total cost very low.
How long does it take to make a paper honeycomb ornament?
A single honeycomb ball takes about fifteen to twenty minutes once you know the technique, including cutting, gluing, and opening the shape. Your first ornament may take a little longer, about twenty-five to thirty minutes, while you learn the folding and gluing pattern. A set of six ornaments takes about two hours in total, which makes it a perfect weekend craft project.
Can I reuse paper honeycomb ornaments next year?
Yes, you can reuse paper honeycomb ornaments for several years if you store them carefully. Fold each ornament flat after Christmas, place a sheet of tissue paper between the layers, and store the ornaments in a flat box in a cool, dry place. Avoid crushing the box, and the ornaments will open up and look full again next December with just a little fluffing.
Why is my honeycomb ornament lopsided or flat on one side?
A lopsided honeycomb ornament usually means the glue lines were uneven, or some layers stuck together while you were opening it. Gently pull the layers apart with your fingertips, working your way around the ball in a circle, and add a tiny dab of glue to any loose edge. Using thin, even glue lines and letting each layer press down for a few seconds before you add the next one will help your next ornament turn out rounder and fuller.
Conclusion
DIY paper honeycomb ornaments are proof that the prettiest Christmas decorations do not have to cost a lot of money. With a few sheets of tissue paper, a glue stick, and a little time, you can make ornaments that look handmade, heartfelt, and beautiful, whether you choose classic red and green, soft blush pink, rich jewel tones, or a cheerful rainbow. Each one is a small, joyful project that fills your home with color and your tree with personality.
Start with one simple ball, learn the basic technique, and then try a star, a tree, or a garland. Make a set for your own tree, a few for gifts, and one for a window display, and enjoy the moment when each flat stack of paper pops open into something beautiful. Save this guide to your Christmas crafts board on Pinterest, share it with a friend who loves handmade holidays, and come back next year to add a new color to your collection. Happy crafting, and merry Christmas!
Love these handmade Christmas ideas? Keep the crafting going with these related reads: