Crockpot Turkey Breast (Juicy, Tender & So Easy!)
Crockpot Turkey Breast (Juicy, Tender & So Easy!)

If the thought of roasting a whole turkey makes you a little nervous — the brining, the basting, the oven Tetris with all those side dishes — this crockpot turkey breast is about to become your new best friend. It is the holiday shortcut that does not taste like a shortcut: tender, sliceable, unbelievably juicy meat, golden crispy skin, and a rich homemade gravy, all with about fifteen minutes of hands-on work.
Here is the beautiful thing about cooking a turkey breast in the slow cooker. The crockpot traps gentle steam around the meat, so the breast bastes itself for hours while you are free to make the mashed potatoes, set the table, or actually sit down with a cup of coffee. No dry, sawdusty turkey. No wrestling a twenty-pound bird into a roasting pan. Just a perfectly sized centerpiece that fits smaller gatherings, smaller kitchens, and smaller budgets.
In this guide you will find everything you need: how to choose the right turkey breast, the garlic herb butter that makes it taste incredible, a step-by-step recipe, a cook-time chart for every size, the two-minute broiler trick for crispy skin, and an easy gravy made right from the drippings. Pin this one now — Thanksgiving, Christmas, or a cozy Sunday dinner, you are going to make it again and again.
1. Why You’ll Love This Crockpot Turkey Breast
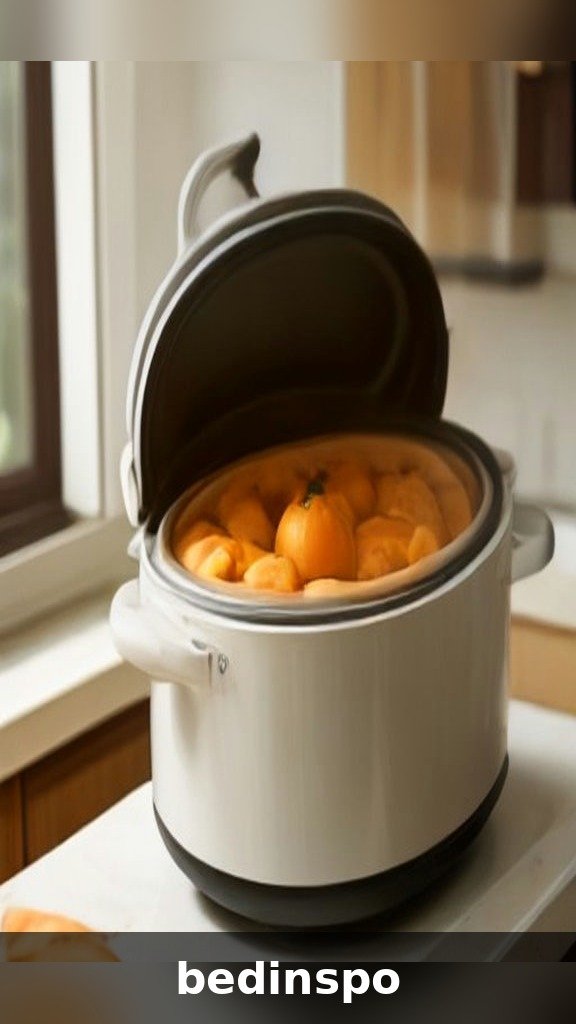
There are so many reasons this recipe earns a permanent spot in your holiday rotation. First, it frees up your oven. On Thanksgiving, oven space is prime real estate, and moving the turkey to the countertop slow cooker means your stuffing, casseroles, and pies all get their turn without a scheduling meltdown.
Second, it is genuinely hands-off. Once the lid goes on, there is no basting, no turning, and no babysitting — the slow cooker does the work while the turkey quietly turns tender. Third, the meat stays moist and juicy in a way oven roasting often is not, because the breast cooks in its own savory steam instead of dry heat.
It is also wonderfully practical. A turkey breast feeds a smaller group without a mountain of leftovers (unless you want them — more on that below), costs less per serving than a whole bird, and carves in minutes with zero drama. And because the drippings collect right in the crock, you are halfway to the best gravy of your life before you even pick up a whisk.
2. How to Choose the Best Turkey Breast
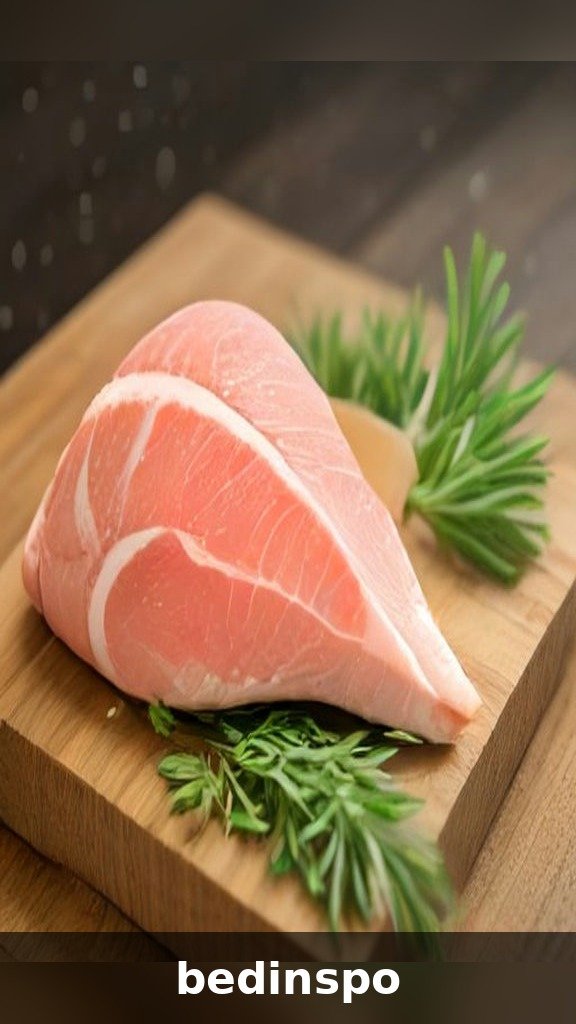
A great result starts at the grocery store, so here is what to look for. Turkey breasts typically range from about 3 to 8 pounds. Plan on roughly 3/4 to 1 pound per person for a bone-in breast (the bone adds weight you do not eat), or about 1/2 pound per person for boneless. Feeding six people? A 6 to 7 pound bone-in breast is the sweet spot.
Check the fit before you buy, because this matters more than anything: a bone-in breast needs a 6 to 7 quart oval slow cooker. If you only have a smaller round crockpot, choose a boneless breast in the 3 pound range instead. The lid must close completely for safe, even cooking.
Fresh or frozen both work beautifully — just remember a frozen breast needs time to thaw safely in the refrigerator, about 24 hours for every 4 pounds. Look for skin-on if you can; the skin protects the meat and crisps up at the end. If the label says “self-basting” or the bird is kosher, it has already been salted, so cut the salt in the recipe by about half. Finally, give it a quick once-over: plump, smooth skin with no tears and no off smells — that is your bird.
3. Bone-In vs. Boneless Turkey Breast

Both options make a delicious crockpot turkey breast, so this comes down to your priorities. A bone-in, skin-on breast is the flavor champion. The bone insulates the meat and adds richness, the skin bastes as it cooks, and the whole thing tends to stay juicier — plus it is usually cheaper per pound. The trade-offs: it cooks a little longer, needs a bigger slow cooker, and carving takes one extra step.
A boneless breast is the convenience pick. It cooks faster, fits smaller crockpots, and slices into perfect, even pieces that are wonderful for sandwiches. Many boneless breasts come wrapped in a string net — leave the net on during cooking so the breast holds its shape, then snip it off before carving. Because boneless meat is leaner and often skinless, it is less forgiving: watch the thermometer closely and pull it right at temperature so it stays juicy.
Our honest recommendation? Bone-in and skin-on for a holiday table, boneless for weeknight meal prep. Either way, this method has you covered.
4. Ingredients You’ll Need
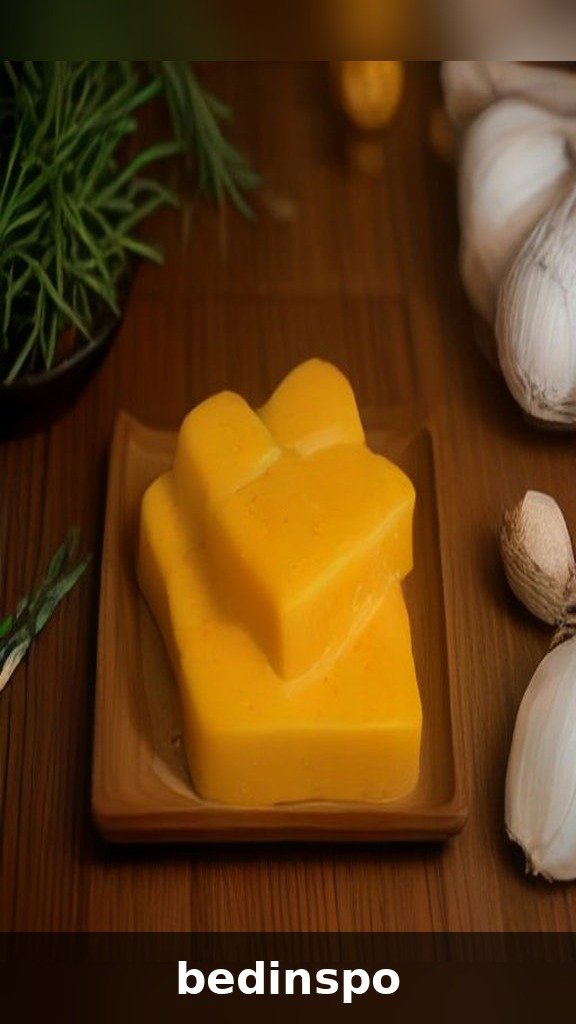
Nothing fancy here — just simple, fresh ingredients that let the turkey shine. This recipe is written for a 6 to 7 pound bone-in breast; if yours is smaller, scale the butter mixture down by about a third.
For the turkey:
- 1 bone-in, skin-on turkey breast (6-7 lbs), fully thawed and patted dry
- 1 large yellow onion, cut into thick slices
- 3 celery stalks, cut into chunks
- 2 carrots, cut into chunks
- 1 cup low-sodium chicken or turkey broth
For the garlic herb butter:
- 1/2 cup (1 stick) unsalted butter, softened to room temperature
- 4 cloves garlic, minced
- 1 tablespoon fresh thyme leaves (or 1 teaspoon dried)
- 1 tablespoon fresh rosemary, finely chopped
- 1 tablespoon fresh sage, finely chopped
- 1 teaspoon smoked paprika
- 1 teaspoon onion powder
- 2 teaspoons kosher salt
- 1 teaspoon black pepper
- 1 teaspoon melted butter or olive oil, for brushing before broiling
The onion, celery, and carrots are not just filler — they lift the breast up out of the liquid like a natural roasting rack, flavor the drippings, and make your gravy taste like you worked on it all day. Do not skip them!
5. The Secret: Garlic Herb Butter
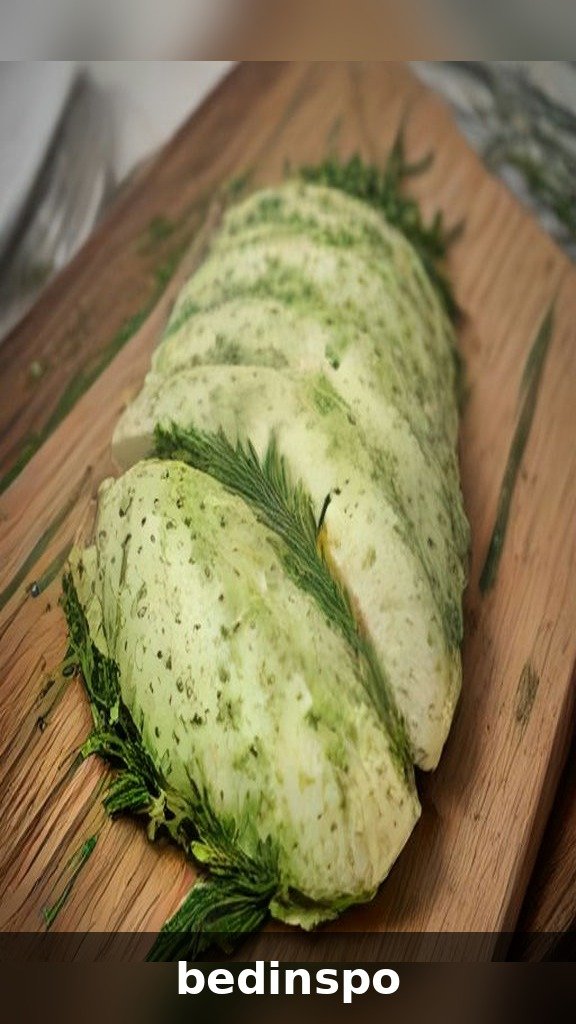
If this recipe has a hero, it is the herb butter. Softened butter mixed with garlic, fresh herbs, and warm spices gets tucked under the skin, where it melts down through the meat as it cooks, basting every bite from the inside out. The remaining butter goes over the top, seasoning the skin so it finishes deeply golden and flavorful.
Making it takes two minutes: mash the softened butter with the garlic, herbs, paprika, onion powder, salt, and pepper until it looks like a fragrant, speckled spread. A quick tip — the butter must be truly soft, not melted. Melted butter slides right off; soft butter stays where you put it.
To get it under the skin, slide your fingers gently between the skin and the meat at the thick end of the breast and ease the skin loose, keeping it attached at the edges. Push about two-thirds of the butter underneath and massage it from the outside to spread it evenly, then rub the rest all over the skin. You can even mix the butter a day or two ahead and keep it in the fridge — one less thing to do on the big day. Want to switch it up? Add lemon zest for brightness, a spoonful of maple syrup for a sweet-savory glaze vibe, or a pinch of cayenne if your crew likes a little warmth.
6. How to Make Crockpot Turkey Breast (Step by Step)
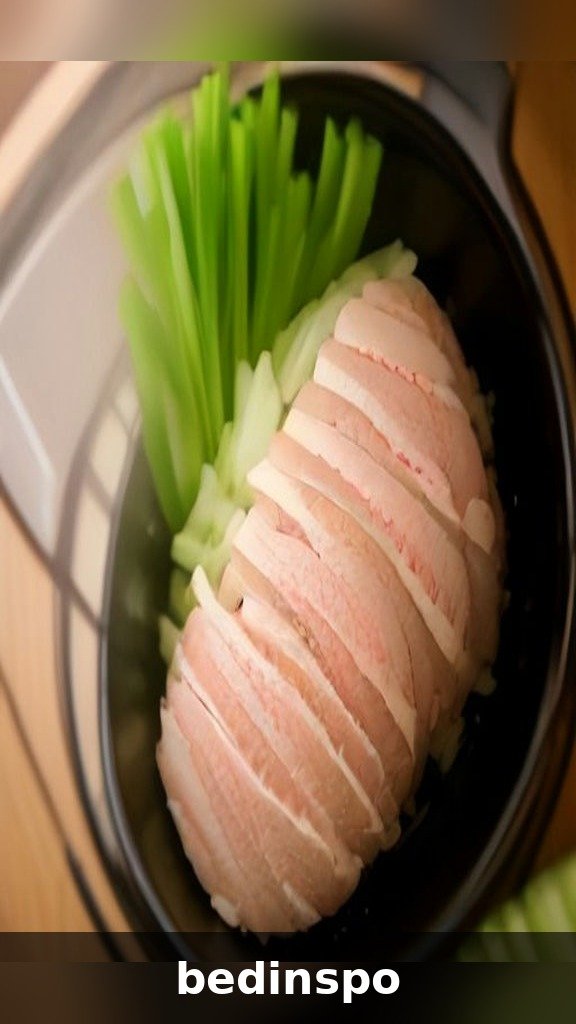
Here is the full method, start to finish. Read it through once and you will see just how easy this really is:
- Prep the turkey. Make sure your breast is fully thawed. Remove it from the packaging, take out any giblet packet tucked inside the cavity, and pat the skin very dry with paper towels — dry skin seasons better and crisps better later.
- Build the vegetable rack. Scatter the onion slices, celery, and carrots across the bottom of your slow cooker and pour in the broth. This cozy bed keeps the turkey up out of the liquid so it steams and roasts instead of boiling.
- Make the herb butter. Mash the softened butter with the garlic, thyme, rosemary, sage, paprika, onion powder, salt, and pepper until completely combined.
- Butter under and over. Gently loosen the skin with your fingertips, push about two-thirds of the herb butter underneath, and smooth it around from the outside. Rub the remaining butter all over the skin.
- Into the crockpot. Set the breast on top of the vegetables, breast side up, and put the lid on. It should sit snugly above the vegetables, not submerged in broth.
- Cook low and slow. Cook on LOW according to the chart in the next section — a 6 to 7 pound bone-in breast takes about 6 to 7 hours. Resist the urge to lift the lid; every peek lets out the steam that keeps the meat moist.
- Check the temperature. The turkey is done when a meat thermometer in the thickest part of the breast (not touching bone) reads 165°F. Start checking about 30 minutes before the earliest chart time — every slow cooker runs a little differently.
- Crisp the skin. Carefully lift the breast onto a foil-lined, oven-safe pan, brush the skin lightly with melted butter or oil, and broil using the quick method in Section 8.
- Rest. Tent the breast loosely with foil and let it rest for 15 to 20 minutes. Meanwhile, strain the drippings from the crockpot — that liquid gold is your gravy base.
- Carve and serve. Slice the turkey, arrange it on a warm platter, and spoon a little warm gravy or strained broth over the top to keep every slice glistening.
7. Crockpot Turkey Breast Cook Times by Weight

Slow cookers vary, so treat this chart as your roadmap and your meat thermometer as the final word. Always cook to 165°F in the thickest part of the breast, and always start checking early — an overcooked breast is the only real way this recipe can go wrong.
| Turkey Breast | On LOW | On HIGH |
|---|---|---|
| Boneless, 2-3 lbs | 3-4 hours | 1½-2 hours |
| Boneless, 3-4 lbs | 4-5 hours | 2-2½ hours |
| Bone-in, 4-5 lbs | 5-6 hours | 2½-3 hours |
| Bone-in, 6-7 lbs | 6-7 hours | 3-3½ hours |
| Bone-in, 7-8 lbs | 7-8 hours | 3½-4 hours |
A few timing notes from our kitchen to yours: LOW is strongly recommended — the gentle heat gives noticeably juicier, more tender meat than HIGH. If your breast finishes a little early, most slow cookers can hold it on the WARM setting for up to an hour without drying out. And if the top of the breast pokes above the vegetables, that is perfectly fine; it is the trapped steam doing the cooking.
8. The Crispy Skin Trick (Broiler Finish)

Let us be honest: slow cookers do many things beautifully, but crispy skin is not one of them. After hours in a steamy crock, the skin comes out pale and soft. The fix takes less than five minutes and transforms the whole bird — a quick blast under the broiler.
Here is how: move the cooked breast to a foil-lined baking sheet or oven-safe skillet. Pat the skin dry once more with a paper towel (moisture is the enemy of crisp), then brush it with a little melted butter or olive oil. Broil on HIGH, about 6 inches from the heat, for 3 to 5 minutes, watching it the entire time. The skin will turn deep golden and crackly right before your eyes — and it goes from golden to burnt fast, so do not walk away.
No broiler? An air fryer works too: 400°F for 4 to 6 minutes, if your breast fits. Boneless or skinless breast? Just skip this step entirely — a generous drizzle of warm gravy over the slices gives you all the shine and moisture you need.
9. Easy Gravy From the Drippings

That flavorful liquid at the bottom of the crockpot is the best gravy starter you will ever have — the turkey, herbs, and vegetables have been infusing it for hours. Turning it into silky gravy takes about ten minutes.
You will need:
- About 2 cups strained crockpot drippings (top up with chicken or turkey broth if you are short)
- 3 tablespoons butter or skimmed turkey fat
- 3 tablespoons all-purpose flour
- Salt and black pepper, to taste
- Optional: a tiny splash of soy sauce or Worcestershire for depth, and a pinch of fresh thyme
To make it: Strain the drippings through a fine-mesh sieve into a measuring cup and skim off the fat (save 3 tablespoons of that fat if you like — it makes the richest roux). Melt the butter or fat in a saucepan over medium heat, whisk in the flour, and cook for 1 to 2 minutes until it smells nutty and turns light golden. Slowly pour in the drippings while whisking constantly, then simmer for 3 to 5 minutes until the gravy thickens enough to coat the back of a spoon. Taste, season, and serve hot.
Too thin? Simmer a few minutes more, or whisk in a cornstarch slurry (1 tablespoon cornstarch + 1 tablespoon cold water) — which, bonus, also keeps the gravy gluten-free if you skip the roux entirely. Lumpy? A vigorous whisk or a quick strain fixes it. Nobody will ever know.
10. Resting & Carving Like a Pro

The resting step is not optional, friend — it is the difference between juicy slices and a cutting board flooded with all the juices that should have stayed in the meat. Tent the breast loosely with foil and rest it for 15 to 20 minutes. The temperature will coast up a few degrees and the juices will redistribute through every slice.
Carving a bone-in breast is easier than it looks. Set the breast on a sturdy board and slice straight down along one side of the breastbone, following the curve of the rib cage with your knife until the whole lobe of meat releases in one big piece. Lay that piece flat and slice it across the grain into neat 1/2-inch slices, keeping a band of that crispy skin on each one. Repeat on the other side, and save the bone — it makes the most wonderful turkey stock for soup day.
Arrange the slices slightly overlapping on a warm platter, spoon a little warm gravy or reserved broth over the top, and scatter a few fresh herb sprigs around for that Pinterest-pretty finish.
11. What to Serve With Crockpot Turkey Breast

This turkey plays well with all the classics. Creamy mashed potatoes are practically mandatory — they are the perfect landing pad for that gravy. Add a green bean casserole or honey-glazed carrots for color, a savory stuffing (cooked in the oven your turkey so generously freed up), and a bright cranberry sauce to cut the richness. Fluffy dinner rolls for mopping up every last drop are never a bad idea.
For a slightly lighter spread, try roasted sweet potatoes, a shaved Brussels sprouts salad, or garlicky green beans with almonds. And do not forget dessert — a slice of pumpkin pie or an easy apple crisp is exactly the ending this meal deserves. Because the main dish asked so little of you, you will actually have the energy to enjoy all of it.
12. How to Store & Reheat Leftovers
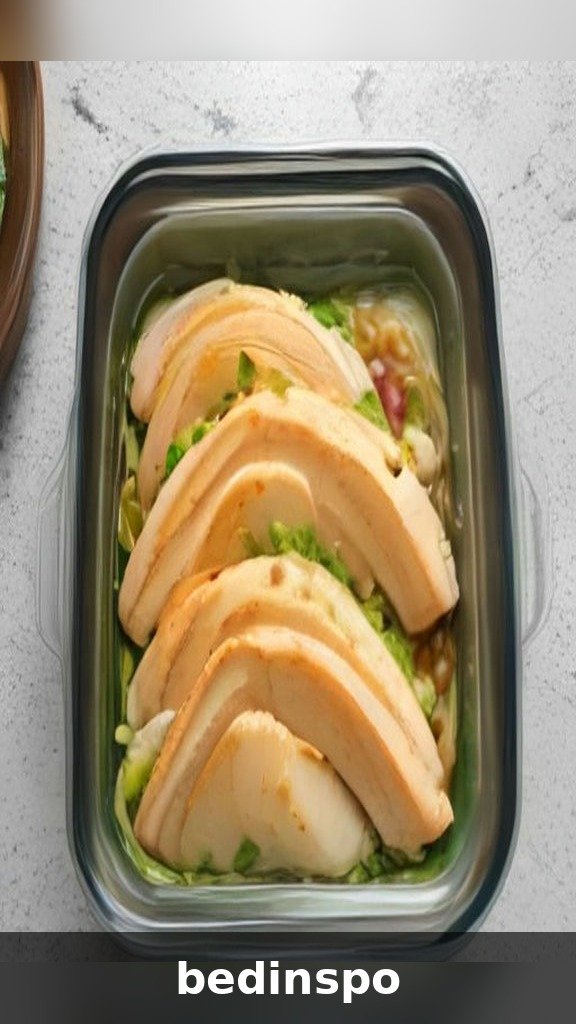
Leftover turkey is a gift — if it is stored right. Let the meat cool, then slice it off the bone and refrigerate it in an airtight container within two hours of serving. Here is the genius trick: spoon a few tablespoons of the reserved drippings or broth over the slices before sealing the container. That little bath of broth keeps the meat moist for days. Stored this way, leftovers keep 3 to 4 days in the fridge or up to 3 months in the freezer (freeze in portions with a little broth, well sealed).
To reheat without drying it out, gentle and covered is the rule. In the oven: arrange slices in a baking dish with a splash of broth, cover tightly with foil, and warm at 325°F for 15 to 20 minutes. In the microwave: cover and use 50% power in short bursts. In a skillet: a quick warm-through over medium-low heat with a spoonful of broth gives you lovely edges for sandwiches. Skip high, dry heat — that is how good turkey turns into sad turkey.
13. 5 Yummy Ways to Use Leftover Turkey

Now for the fun part. That container of leftover crockpot turkey breast is the start of at least five more easy meals:
- Turkey pot pie — fold chunks of turkey into a creamy vegetable filling, top with a store-bought crust or biscuit dough, and bake until bubbling and golden.
- Turkey noodle soup — simmer the saved carcass (or good broth) with carrots, celery, onion, egg noodles, and shredded turkey for the coziest bowl of the season.
- Classic turkey club sandwiches — those even slices were made for this: toasted bread, mayo, lettuce, tomato, and a little crispy bacon if you are feeling fancy.
- Turkey tetrazzini — a creamy, cheesy baked pasta with mushrooms and a crunchy breadcrumb top. Pure comfort, and it freezes beautifully.
- Cranberry pecan turkey salad — chop the turkey and toss with mayo, celery, dried cranberries, and toasted pecans. Serve it on croissants and watch it disappear.
Bonus move: freeze the bone and vegetable scraps in a zip-top bag. On your next lazy Sunday, you are one pot of water away from homemade stock.
14. Pro Tips for Juicy Turkey Every Time

After many, many test turkeys, these are the small things that make the biggest difference:
- Use a meat thermometer. This is the whole game. Time charts guide you, but 165°F in the thickest part is the only guarantee of juicy, safe turkey.
- Do not lift the lid. Every peek releases the steam the slow cooker needs and can add 15 to 20 minutes of cooking time.
- Pat the skin dry first. Seasoning sticks better, and dry skin crisps far better under the broiler.
- Butter goes under the skin. On top is good; underneath is where the self-basting magic happens.
- Cook on LOW. HIGH works in a pinch, but low and slow is noticeably more tender.
- Thaw completely. A partially frozen center cooks unevenly and can linger too long in the temperature danger zone — plan ahead and thaw in the fridge.
- Rest before slicing. Fifteen minutes under foil keeps the juices in the meat instead of on the board.
- Serve on a warm platter. A quick rinse under hot water keeps hot turkey hot at the table. Little thing, big difference.
15. Crockpot Turkey Breast FAQs

Can I cook a frozen turkey breast in the crockpot?
It is tempting, but please do not. Food-safety guidance is clear that frozen meat spends too long in the temperature “danger zone” in a slow cooker, where bacteria can grow. Thaw your breast completely in the refrigerator first — about 24 hours per 4 pounds — then cook as directed. Your slow cooker will thank you, and so will your guests.
Why did my turkey breast turn out dry?
Almost always, it cooked too long. Slow cookers run at different temperatures, and a breast that goes an hour past 165°F will dry out no matter how good the butter is. Check early, trust the thermometer, and remember that boneless, skinless breasts dry out fastest of all — start checking those a full 45 minutes early.
Do I need to add liquid to the crockpot?
Just the 1 cup of broth in this recipe. The turkey and vegetables release plenty of their own juices as they cook — you will be surprised how much liquid is in the crock at the end. Adding much more than a cup dilutes the drippings and poaches the meat instead of steaming it, which means weaker gravy later.
Can I make crockpot turkey breast ahead of time?
Yes, and it is a wonderful holiday strategy. Cook the breast a day ahead, let it cool in its drippings, slice it, and refrigerate the slices in the strained broth. Reheat gently, covered, at 325°F with the broth until warmed through — the meat will be just as juicy, and your Thanksgiving morning will be blissfully calm.
What size slow cooker do I need?
For a 6 to 7 pound bone-in breast, reach for a 6 to 7 quart oval slow cooker — the shape matters as much as the volume. A boneless 3 pound breast fits happily in a 4 to 5 quart model. Whatever you use, the lid must close all the way; if it is propped open by the turkey, the cooker cannot do its job safely.
Conclusion
And there you have it — a crockpot turkey breast that is juicy, golden, and genuinely easy, with silky homemade gravy and a whole plan for the leftovers. No oven drama, no dry meat, no stress: just a beautiful centerpiece that practically cooks itself while you enjoy the day.
Whether it is the star of your Thanksgiving table or a cozy Sunday dinner that makes the whole house smell amazing, this is the kind of recipe that turns into a tradition. Save it, pin it, and share it with anyone who has ever feared the big bird. Happy cooking, friend — and happy holidays!