Best Basque Cheesecake Recipe (Burnt, Creamy & Silky Smooth!)
Best Basque Cheesecake Recipe (Burnt, Creamy & Silky Smooth!)
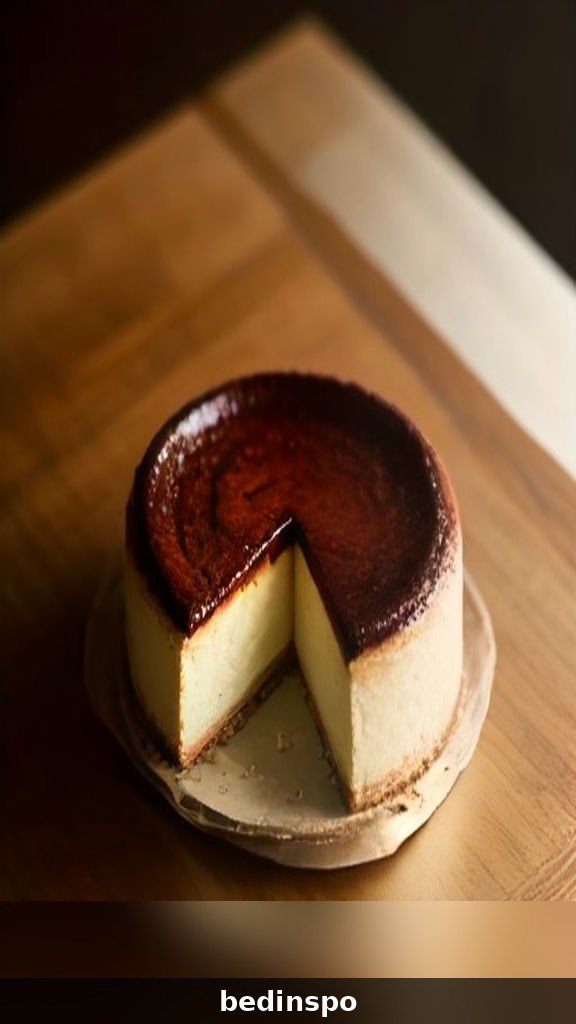
Yes, it’s supposed to look burnt. That’s the first thing to know about Basque cheesecake — and the reason it’s the most forgiving, most dramatic, most delicious cheesecake you’ll ever bake. This is a cheesecake that breaks every cheesecake rule: no crust, no water bath, no gentle low oven, no panic about cracks. Instead, you blast it in a ripping-hot oven until the top turns deep mahogany — nearly black in spots — and underneath that caramelized cap hides the silkiest, creamiest, most custardy center imaginable.
If traditional cheesecake has ever intimidated you (the springform leaks, the water bath, the dreaded crack down the middle), Basque cheesecake is your redemption. The batter is six simple ingredients whisked together in one bowl. The “burnt” top is not a mistake to avoid — it’s the whole point, and it tastes like the toasted top of crème brûlée crossed with caramel. Bitter-sweet on top, lush and creamy underneath. It is, bite for bite, one of the great desserts of the world.
In this post I’ll show you exactly how to make it: the parchment trick that gives the cake its rustic pleated edges, the hot-oven method, how to nail the perfect jiggle so the center stays custardy, and all my favorite variations. Pin it now — this is the cheesecake recipe you’ll be asked for at every gathering from now on.
Why You’ll Love This Basque Cheesecake
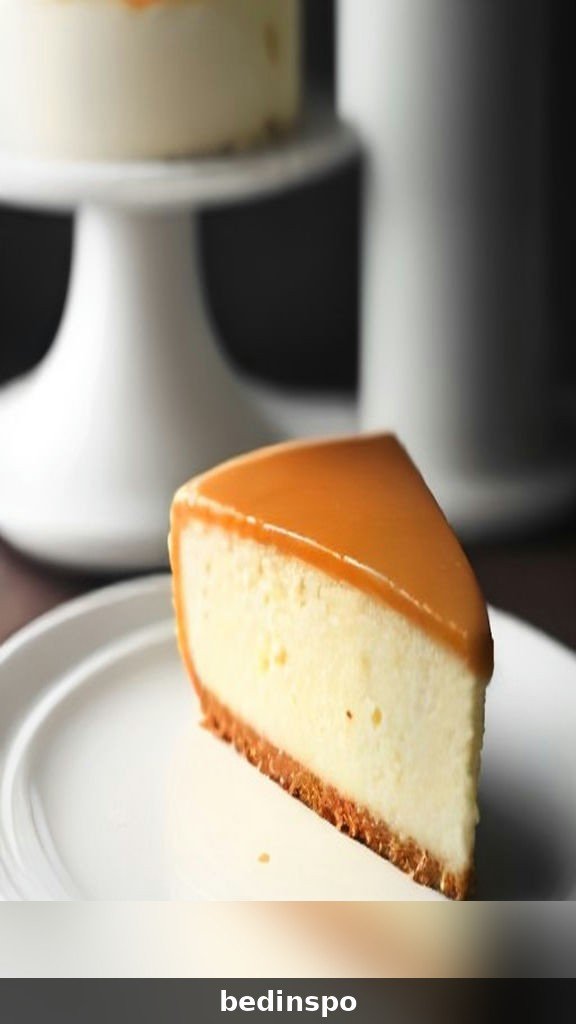
Let me count the ways. First, it’s nearly impossible to mess up. Cracks? Supposed to be there. Dark top? That’s the goal. Sunken center? Completely normal — it settles as it cools into that signature custardy dip. Every “flaw” that ruins a New York cheesecake is a feature here.
Second, the flavor is extraordinary for so little effort. The high heat caramelizes the sugars on the surface, creating deep notes of toffee, burnt caramel and toasted cream that play against the tangy, rich filling. The edges bake up firmer and almost flan-like, while the center stays soft and spoonable. Every slice gives you three textures in one bite.
And third, it’s practical: six ingredients, one bowl, no crust to make, no water bath to wrangle, and it keeps beautifully for days — in fact, many people swear it tastes even better on day two, when the flavors have had time to deepen. Make it ahead for a dinner party and you’ll look like a pastry chef with a secret. The secret is just a hot oven and the confidence to let it get dark.
What Is Basque Cheesecake?
Basque cheesecake — often called Basque burnt cheesecake, San Sebastián cheesecake, or tarta de queso — comes from the Basque Country in northern Spain. It was created in 1990 by Santiago Rivera at La Viña, a beloved pintxos bar in San Sebastián, and it has since become one of the most famous desserts in the world.
Unlike American cheesecake, it has no crust at all. The batter — cream cheese, sugar, eggs, cream, a little flour and salt — is baked in a parchment-lined pan at a very high temperature. The parchment rises above the rim and crinkles around the cake, giving it rustic, pleated sides. The fierce heat scorches and caramelizes the top while the inside stays pale, soft and creamy. That contrast between the dark, almost-burnt exterior and the custardy interior is the entire identity of the cake, and it’s why bakers from Tokyo to New York have fallen in love with it.
Ingredients You’ll Need
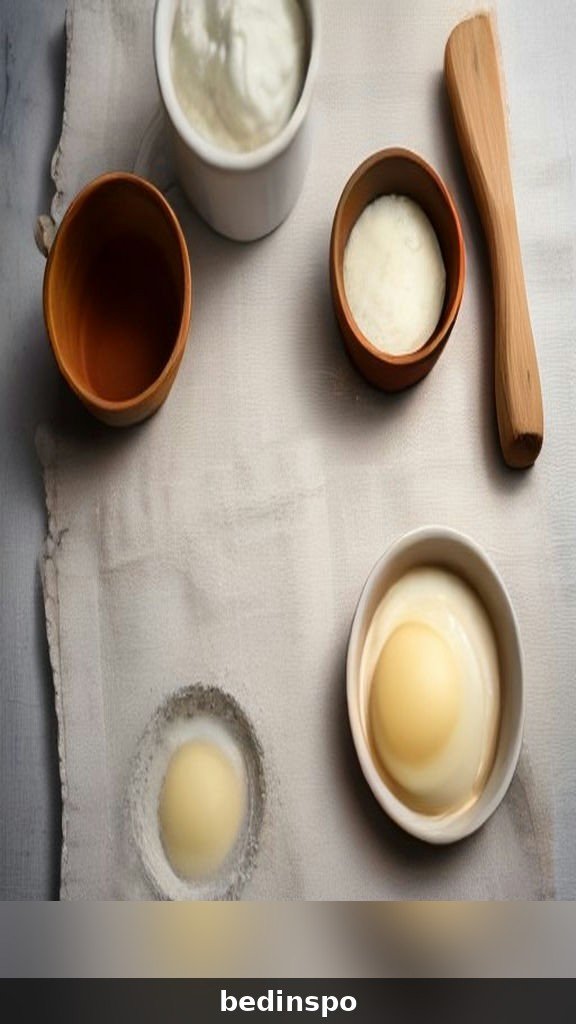
Six ingredients (plus salt). That’s it. Because the list is so short, quality matters — use full-fat cream cheese and real vanilla if you can.
- 2 pounds (four 8-ounce blocks) full-fat cream cheese, at room temperature — this is non-negotiable for the right texture; low-fat versions bake up grainy
- 1 1/4 cups granulated sugar — it sweetens and helps the top caramelize
- 6 large eggs, at room temperature
- 2 cups heavy cream (heavy whipping cream), at room temperature
- 1 teaspoon vanilla extract
- 1 teaspoon kosher salt — it balances the sweetness and deepens the caramel notes
- 1/4 cup all-purpose flour, sifted — just enough to set the custard (see the FAQs for a gluten-free swap)
Yield: one 9-inch cheesecake, about 10–12 slices. Prep time: 15 minutes. Bake time: 50–60 minutes. Cooling and chilling: at least 4 hours, ideally overnight. Total time: about 5 hours 15 minutes (mostly hands-off).
One ingredient note that makes a real difference: everything should be at room temperature. Cold cream cheese beats up lumpy, and lumps in the batter mean an uneven texture in the finished cake. Set the cream cheese, eggs and cream out about an hour before you start. If you forget, unwrap the cream cheese, cut it into chunks, and microwave it in 10-second bursts until just soft — not melted.
How to Make Basque Cheesecake (Step by Step)
Step 1: Prepare the Pan and Oven
Position a rack in the center of the oven and preheat to 475°F (245°C) — yes, that hot. Grease a 9-inch springform pan lightly, then line it with two overlapping sheets of parchment paper, pressing the paper into the pan and letting it crinkle and rise at least 2 inches above the rim. Those messy pleats are exactly what you want: they give Basque cheesecake its signature rustic edges and stop the batter from spilling as it puffs. Trim any paper that flops over too far, but don’t aim for neatness here.
Step 2: Beat the Cream Cheese and Sugar
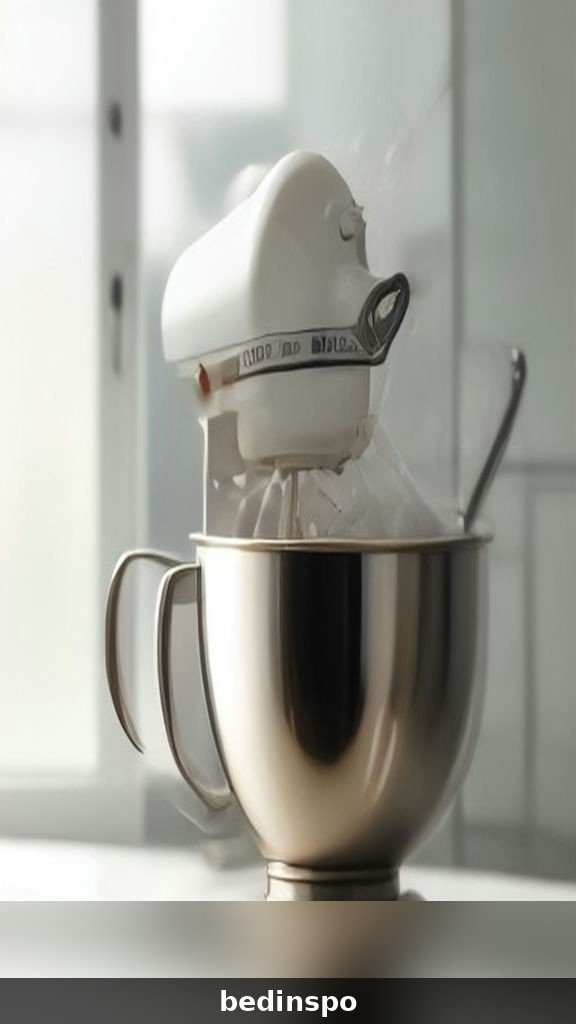
In a large bowl (or the bowl of a stand mixer with the paddle), beat the room-temperature cream cheese and sugar on medium speed for about 2–3 minutes, until completely smooth, fluffy and pale, scraping down the bowl once or twice. This step matters: any lumps now will still be there in the finished cake. Add the salt and vanilla and mix to combine.
Step 3: Add the Eggs and Cream
Add the eggs one at a time, mixing on low after each just until the yolk disappears. Pour in the heavy cream and mix on low until the batter is silky and unified. Finally, sift the flour over the batter and fold or mix it in on the lowest speed just until no streaks remain. The finished batter will be quite thin — like a heavy cream consistency — and that’s correct. For the smoothest result, pour the batter into the pan through a fine-mesh sieve to catch any stray lumps.
Step 4: Bake Until Deeply Caramelized
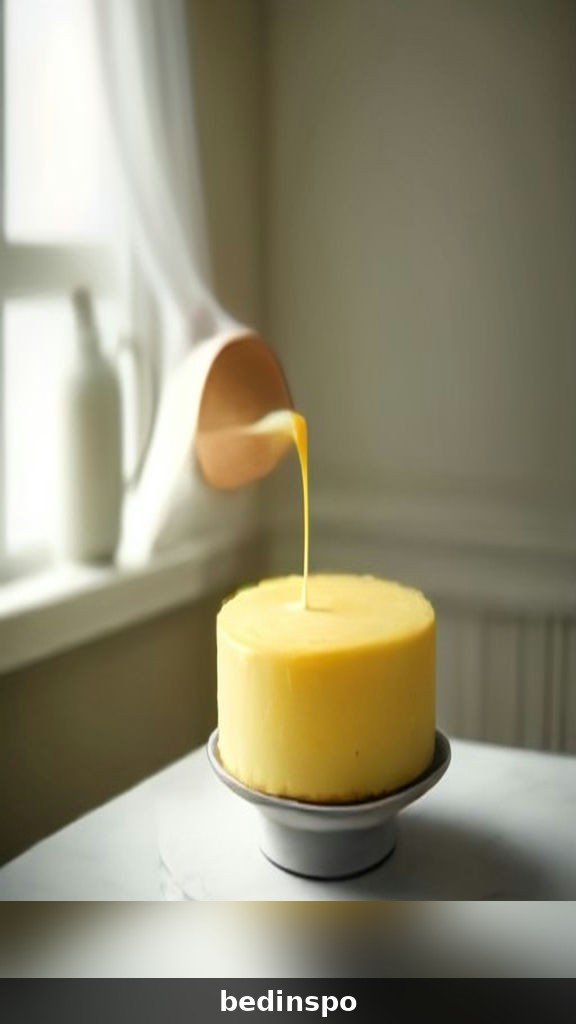
Pour the batter into the prepared pan (it will come close to the top — that’s fine) and give the pan a gentle tap on the counter to release big air bubbles.

Bake for 50–60 minutes, until the top is deeply bronzed — a dark amber to mahogany color, darker at the edges, with a few nearly-black spots welcome — and the cake has puffed up impressively. Every oven runs differently, so start watching at 45 minutes. If your top is still pale at 50 minutes, your oven runs cool: give it more time, because color is flavor here. Do not open the door in the first 40 minutes.
Step 5: Cool Slowly, Then Chill
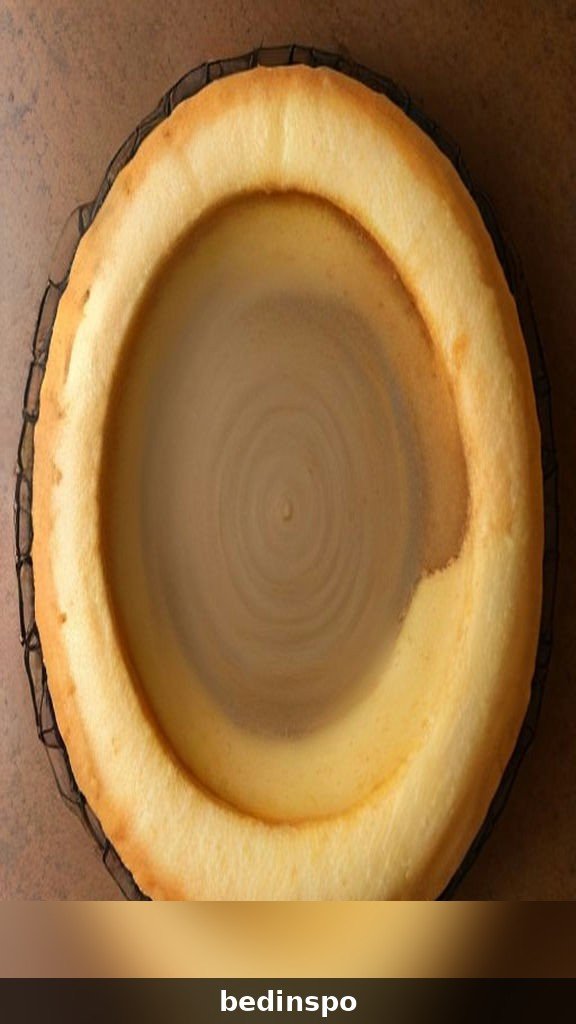
The cake is done when the edges look set but the center still has a pronounced jiggle (more on that below). Turn off the oven and let the cheesecake cool in the oven with the door cracked for about 30 minutes, then move it to a rack to cool to room temperature. It will sink in the middle as it cools — that’s expected and correct. Refrigerate for at least 4 hours, ideally overnight, before slicing. The chill sets the custard into that dense-yet-silky texture and deepens the caramel flavor.
How to Know When Basque Cheesecake Is Done
This is the step that makes people nervous, so let’s make it simple. A perfectly baked Basque cheesecake should jiggle like set gelatin when you gently shake the pan: the outer 2 inches look firm and matte, while the center 3–4 inches wobble as one soft mass. If the whole surface ripples like liquid, it needs 5 more minutes. If nothing moves at all, it’s overbaked (still delicious — just firmer, more like a classic cheesecake).
For those who like numbers: the internal temperature at the center should read about 150–155°F on an instant-read thermometer when you pull it. Residual heat and the long chill will finish setting it to a perfect custardy slice. Remember, the cake firms up enormously as it cools — always err on the side of pulling it a touch early rather than late.
How to Slice and Serve Like a Pro
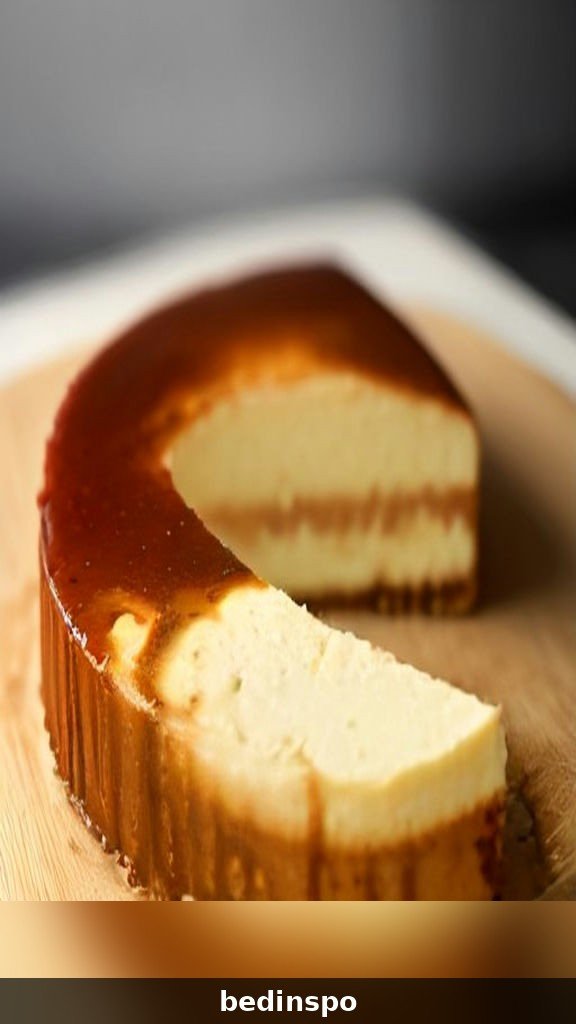
Unmold the chilled cheesecake by releasing the springform ring and gently peeling the parchment away from the sides. For clean slices, use a long, thin knife dipped in hot water and wiped dry between every cut — the custardy center loves to cling to the blade, and the hot knife glides through like butter. Cut with a confident sawing motion and let the slice settle onto the plate.
Here’s the serving secret most people miss: Basque cheesecake is best not fridge-cold. Take it out of the refrigerator about 30–45 minutes before serving so the center relaxes back to a soft, creamy, almost spoonable texture. Stone-cold, it’s firm and muted; at cool room temperature, it’s lush and the caramel top sings. Serve slices exactly as they are — no sauce, no fuss — the first time. The cake needs nothing.
Serving Ideas
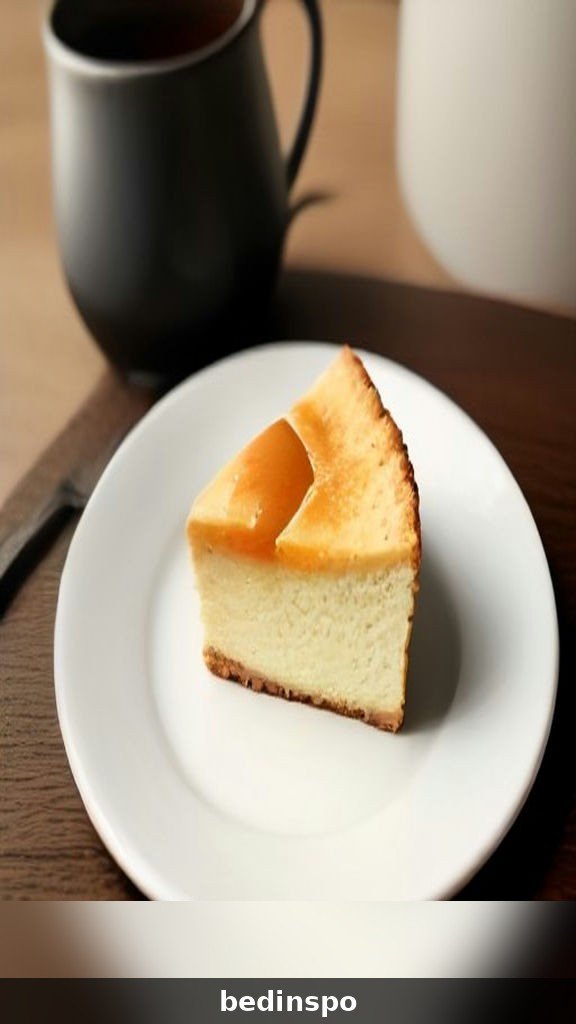
Plain is classic, but a Basque cheesecake makes a wonderful canvas for a coffee-and-dessert moment. Serve slices with strong black coffee or espresso — the bitterness is a perfect partner to the caramelized top. For a dinner party, a small glass of sherry or a late-harvest wine alongside is very much in the San Sebastián spirit.
If you want a little adornment, keep it minimal so the cake stays the star: a loose handful of fresh berries, a spoonful of macerated strawberries, a small dollop of barely sweetened whipped cream, or a drizzle of salted caramel for the truly devoted. A cup of tea and a slice on the porch in the afternoon is also a completely valid serving suggestion. I speak from experience.
Tips for the Perfect Basque Cheesecake
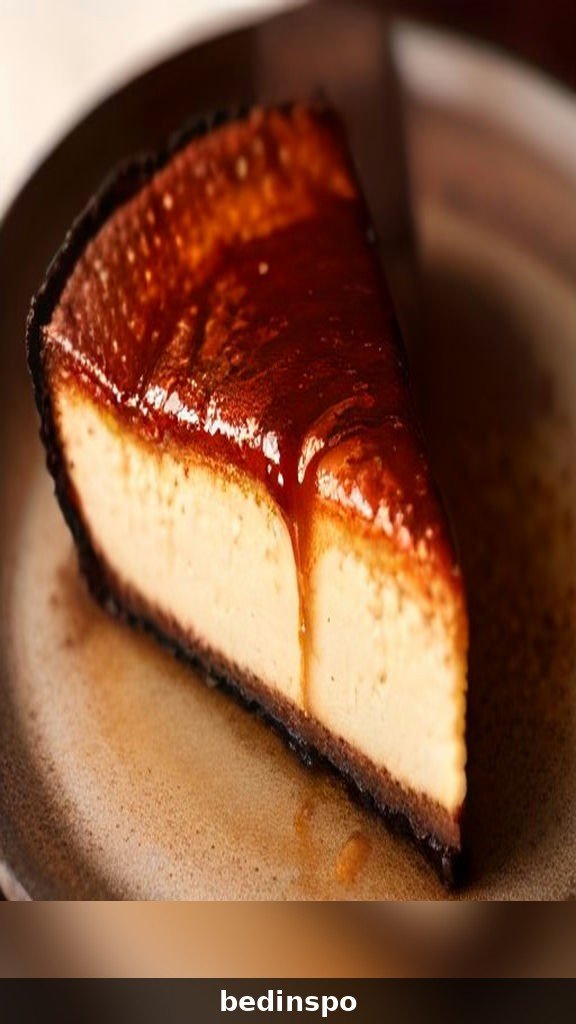
- Embrace the dark. A pale Basque cheesecake is an underbaked one. You want a deep mahogany top — the caramelized, slightly bitter notes are what balance the rich filling. Trust the process.
- Room temperature ingredients, always. Cold cream cheese = lumpy batter. Give everything an hour on the counter.
- Two sheets of parchment, crinkled. One sheet can tear or sit too low. Overlapping two sheets guarantees the paper rises above the batter and gives you those rustic pleats.
- Strain the batter. Pouring through a sieve takes 20 seconds and guarantees a flawlessly smooth custard.
- Know your oven. Home ovens vary wildly at high heat. If your cakes always brown slowly, your oven runs cool — add 25 degrees. An oven thermometer is a Basque cheesecake’s best friend.
- Don’t overbake chasing firmness. The center must jiggle when it comes out. It sets in the fridge — pull it earlier than your instincts say.
- Chill overnight if you can. Day-two Basque cheesecake is denser, silkier and more deeply flavored. It’s the ultimate make-ahead dessert.
Delicious Variations to Try
The original is perfect, but Basque cheesecake has inspired bakers everywhere to play. These variations all use the same method — just mix, pour, blast, chill.
Mini Basque Cheesecakes
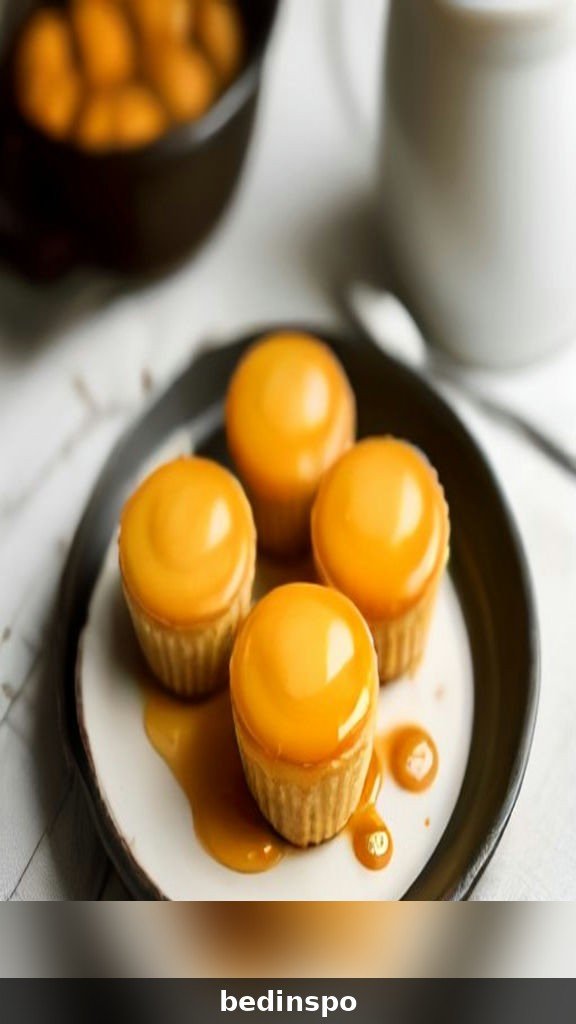
Line a muffin tin or small ramekins with parchment rounds and divide the batter between them (about 2/3 full). Bake at 475°F for 20–25 minutes, until deeply bronzed and jiggly in the center. Perfect individual portions for parties — and everyone gets their own caramelized top.
Berry Basque Cheesecake
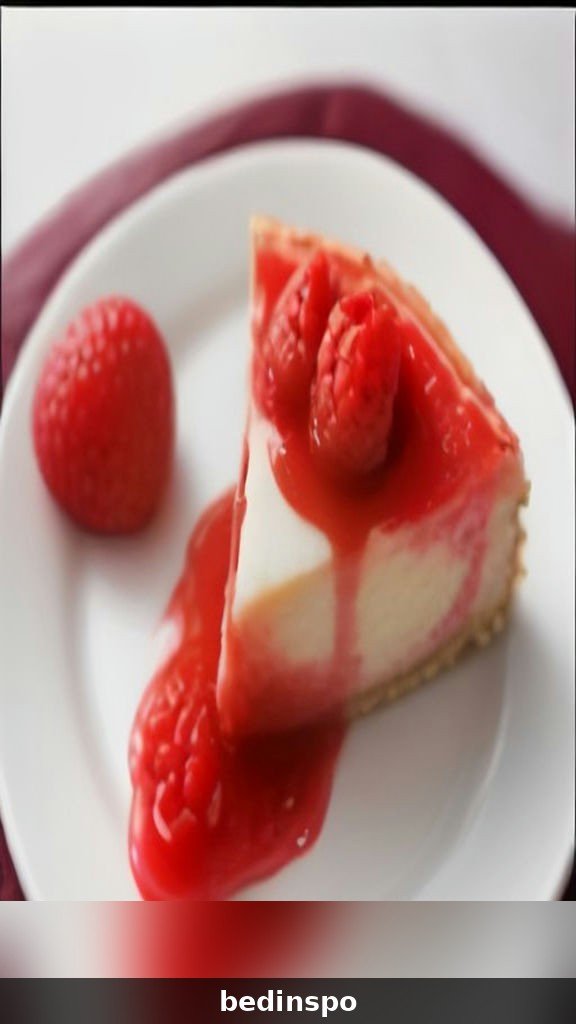
Bake the classic cake, then spoon a glossy berry compote over each slice: simmer 2 cups of raspberries, strawberries or cherries with 2 tablespoons of sugar and a squeeze of lemon for 5 minutes, until jammy. The tart fruit against the caramel and cream is stunning. Fresh berries scattered on top work beautifully too.
Chocolate Basque Cheesecake
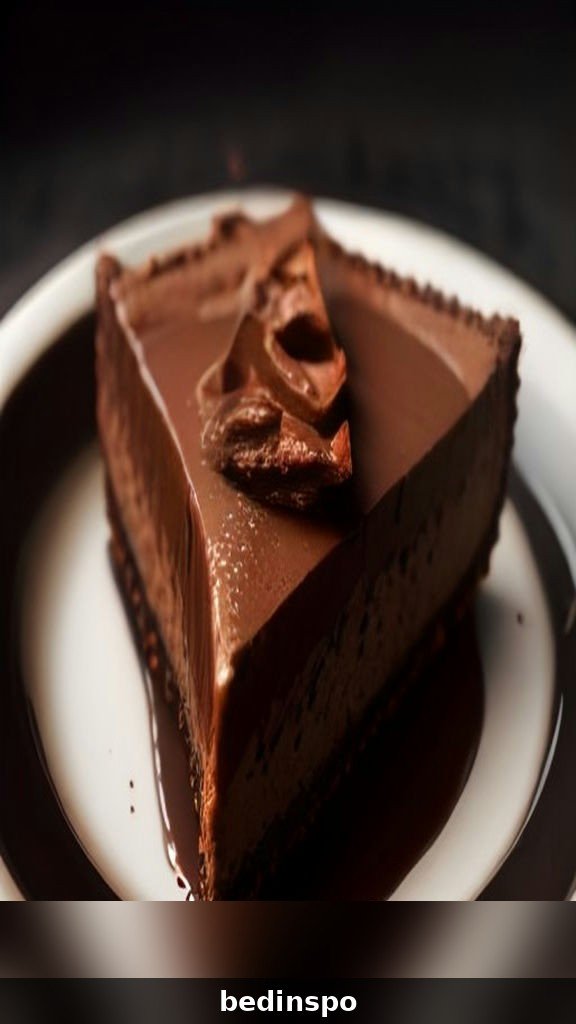
Melt 6 ounces of dark chocolate (60–70%) and whisk it into the warm cream before adding it to the batter, and swap 2 tablespoons of the flour for cocoa powder. The result is like a baked chocolate truffle with a burnt top — intensely rich and completely irresistible to chocolate lovers.
More Flavor Twists
Try matcha (sift in 2 tablespoons of matcha with the flour), salted caramel (swirl 1/3 cup of caramel into the batter and finish slices with flaky salt), coffee (add 2 teaspoons of espresso powder), or pumpkin spice for fall (whisk in 3/4 cup of pumpkin purée and a teaspoon of pumpkin pie spice). The base formula welcomes them all.
Make-Ahead, Storage & Freezing Instructions
This is one of the best make-ahead desserts in existence. The cheesecake needs at least 4 hours of chilling and is honestly better after a full night in the fridge, so baking it the day before a gathering isn’t a compromise — it’s the ideal plan.
In the refrigerator: Cover the cake (or wrap slices individually) and refrigerate for up to 5 days. The texture stays silky and the flavor deepens; just remember to let slices sit out for 30–45 minutes before serving for the creamiest bite.
In the freezer: Basque cheesecake freezes remarkably well. Wrap the whole cake or individual slices tightly in plastic wrap and then foil, and freeze for up to 2 months. Thaw overnight in the refrigerator, then bring to cool room temperature before serving. It’s a wonderful thing to have waiting in the freezer for unexpected guests.
Troubleshooting: Fixing Common Basque Cheesecake Problems
The top is pale, not burnt. Your oven runs cool, or the rack was too low. Bake on the center or upper-center rack, verify the temperature with an oven thermometer, and don’t be afraid to add 5–10 more minutes — color is flavor in this cake.
The center is runny after chilling. It was underbaked. The center should jiggle like gelatin, not slosh like liquid. Next time bake until just the middle 3–4 inches wobble. (This time, serve it in bowls with spoons and call it Basque cheesecake custard — it’s still delicious.)
The texture is grainy or curdled. Usually caused by cold ingredients or overbaking. Start with everything at room temperature, mix the flour in gently at the end, and pull the cake while the center still jiggles.
The cake cracked deeply. With Basque cheesecake, surface cracks and a sunken middle are normal and rustic — genuinely nothing to fix. Deep fissures can mean a very hot oven, but the cake will still taste wonderful.
The bottom is soggy. The parchment trapped steam, or the cake sat in the pan too long after baking. Move it to a rack once it’s out of the oven, and unmold after chilling rather than leaving it in the pan for days.
Basque Cheesecake FAQs
Is Basque cheesecake supposed to be burnt?
Yes! The deeply caramelized, almost-black top is intentional and essential. It’s not burnt sugar bitterness — it’s a balanced, toffee-like caramelization that contrasts with the sweet, creamy center. If the top is golden-blonde, the cake is underbaked by Basque standards.
Can I make Basque cheesecake gluten-free?
Easily. Replace the 1/4 cup of all-purpose flour with the same amount of cornstarch or a 1:1 gluten-free flour blend. The flour’s role is minimal, so the swap barely changes the texture — many bakers use cornstarch by default for an even silkier set.
Why did my cheesecake sink in the middle?
Because it’s supposed to. Basque cheesecake puffs dramatically in the hot oven and settles as it cools, leaving a gently sunken, custardy center. That dip is the signature look of a correct bake — embrace it.
Can I make it without a springform pan?
Yes. A regular 9-inch cake pan lined generously with the two crinkled parchment sheets works fine — the parchment overhang acts as handles to lift the chilled cake out. Just make sure your pan has sides at least 3 inches tall, or scale the recipe down slightly.
How long does Basque cheesecake need to chill?
A minimum of 4 hours to set properly, but overnight is best for flavor and texture. If you’re in a rush, 4 hours gives a softer, more delicate slice; 24 hours gives the dense, silky, sliceable perfection the cake is famous for.
Can I reduce the sugar?
You can trim it to 1 cup without hurting the set, but don’t go much lower — the sugar is a key player in caramelizing the top and balancing the tang of the cream cheese. The finished cake is rich but not overly sweet, thanks to the salt and the dark top.
Conclusion
That’s the whole beautiful deal: six ingredients, one bowl, a parchment-lined pan and a fearlessly hot oven. Basque cheesecake asks you to break every cheesecake rule you’ve ever learned — and rewards you with a caramelized, custardy, utterly unforgettable dessert that people will talk about long after the plates are cleared.
Bake it this weekend, let it get properly dark, and serve it at that just-right cool room temperature. Then get ready to share the recipe, because everyone will ask. Pin this Basque cheesecake to your baking board now so it’s waiting for your next dinner party, holiday table or quiet afternoon with coffee. Happy baking! 🍰