Amaryllis Care Tips: 15 Expert Tips for Stunning Blooms
Amaryllis Care Tips: 15 Expert Tips for Stunning Blooms
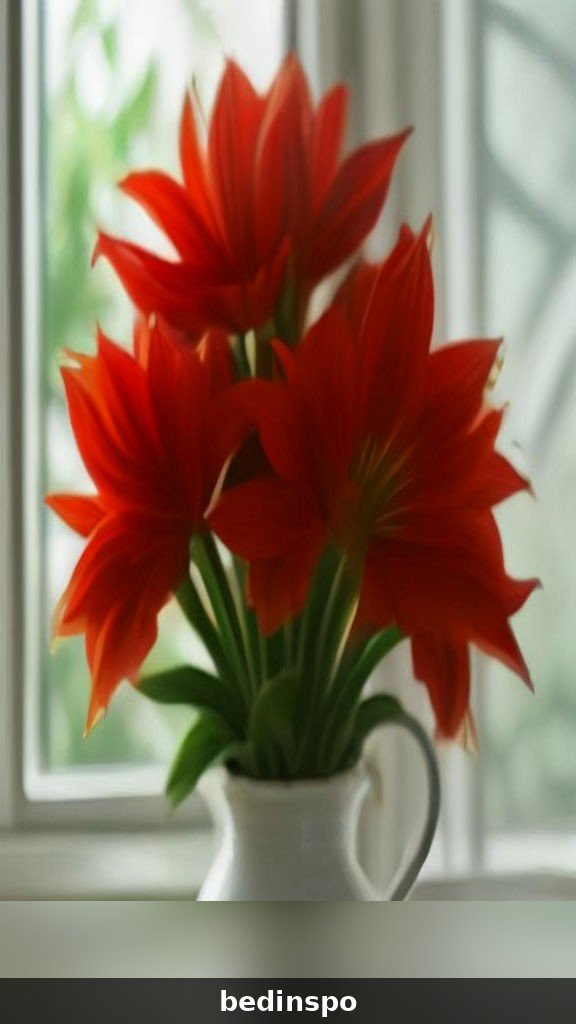
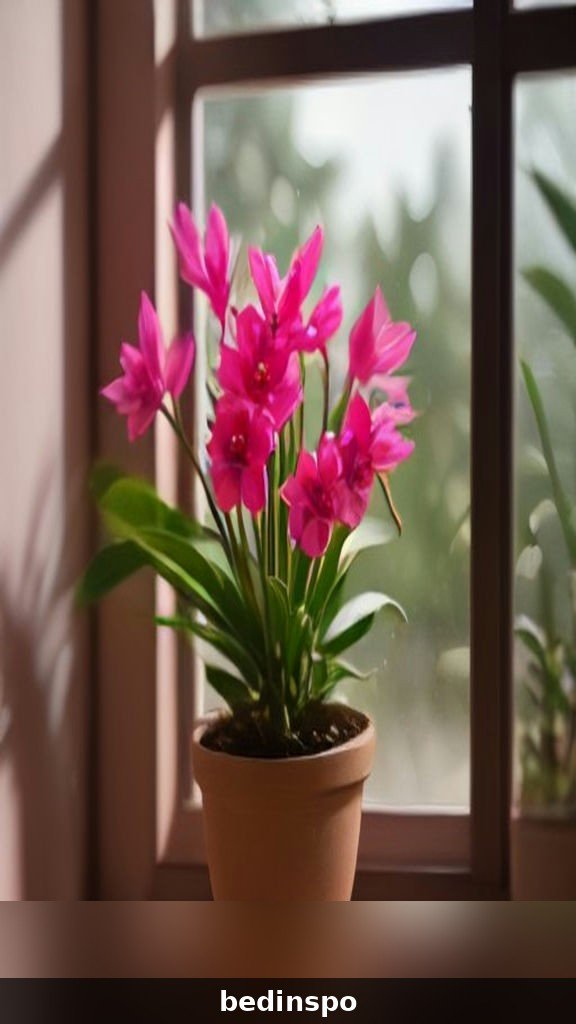
There is nothing quite like an amaryllis in full bloom. Those huge, trumpet-shaped flowers — sometimes four or five on a single stalk, each one the size of your hand — can turn an ordinary windowsill into the most photographed corner of your house. And the best part? Amaryllis bulbs are one of the easiest flowering plants you can grow indoors, even if you have never kept a houseplant alive before.
But here is what most people do not realize: that gorgeous holiday amaryllis is not a one-season wonder. With the right care, the same bulb can bloom again next year, and the year after that, getting bigger and more spectacular each time. The secret is understanding what the plant needs at each stage of its life — planting, blooming, growing, resting, and reblooming.
These 15 amaryllis care tips walk you through the whole cycle, from picking out a bulb at the store to waking it up for its second (and third, and fourth) season of flowers. Whether your amaryllis came as a gift in a pretty box or you bought the bulb yourself, follow these steps and you will be rewarded with bigger, bolder blooms every winter.
1. Start With a Big, Healthy Bulb

Everything begins with the bulb, and bigger really is better when it comes to amaryllis. A large bulb has more stored energy, which means more flower stalks and more blooms per stalk. When you are shopping, look for bulbs that feel heavy and firm in your hand — they should be at least two to three inches across, about the size of a tennis ball or bigger. Avoid any bulb that feels soft, squishy, or lightweight, since those are signs of rot or dehydration.
Give the bulb a quick inspection before you buy. The papery outer skin may be a little loose or flaky, and that is perfectly normal. What you do not want to see are dark soft spots, mold, or a sour smell. A healthy bulb often already shows a small green sprout poking out of the top or a tuft of firm white roots at the base — both are great signs that it is alive and ready to grow. If you are buying online, stick with reputable bulb sellers and choose the largest size grade they offer; the price difference is small and the flower show is dramatically better.
2. Plant It at the Right Depth
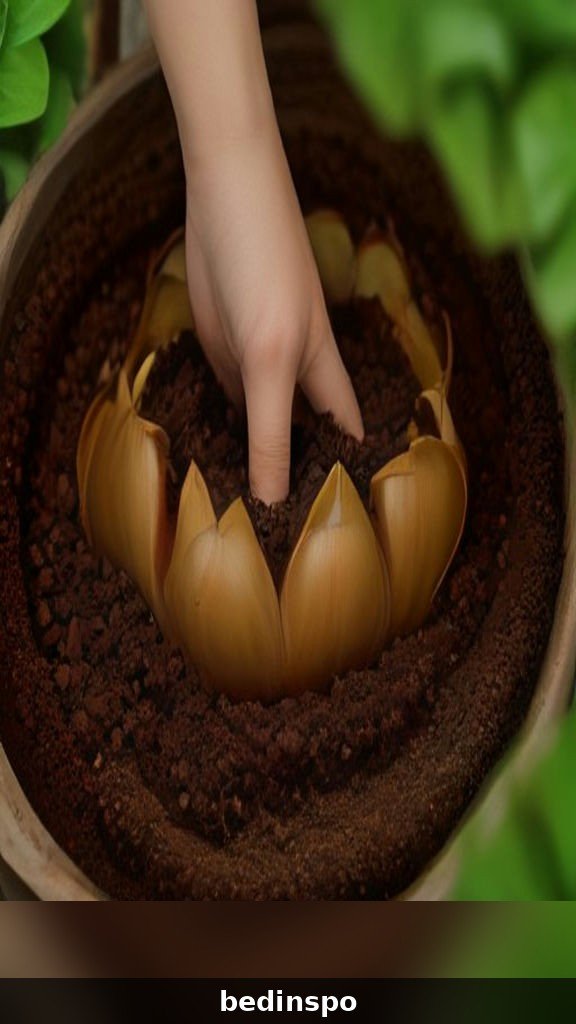
Amaryllis bulbs like to sit high in their pots — this is one plant where you should not bury the bulb completely. The rule of thumb is to plant it so the top one-third of the bulb stays above the soil line, with only the bottom two-thirds tucked into the potting mix. Planting too deep is one of the most common reasons amaryllis bulbs rot before they ever bloom.
Choose a pot that is only one to two inches wider than the bulb itself. Amaryllis actually bloom best when they are slightly snug; a pot that is too big holds too much wet soil around the bulb and invites rot. A heavy pot — ceramic or terracotta — is ideal because the tall flower stalks can make a lightweight plastic pot top-heavy and tippy. Make sure the pot has drainage holes, settle the bulb in with the pointed end up, firm the soil gently around it, and leave that top third exposed to the air. It will look a little odd at first, but it is exactly right.
3. Use a Fast-Draining Soil Mix
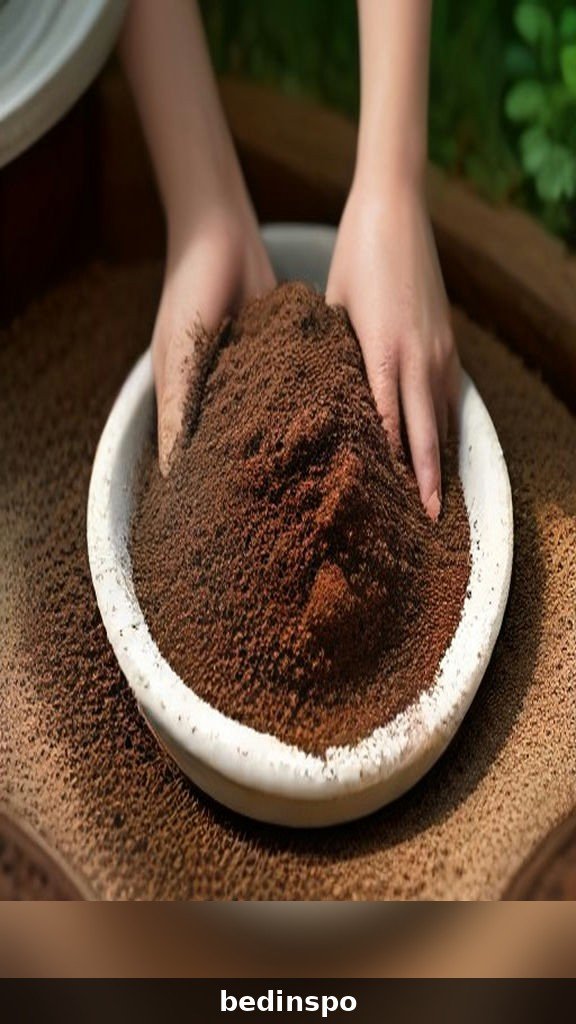
Amaryllis bulbs hate sitting in soggy soil. In the wild, their relatives grow in gritty, well-drained ground, and your potted bulb wants the same. A standard houseplant potting mix works fine as a base, but improve the drainage by mixing in about one part perlite or coarse sand for every two parts of potting soil. The mix should feel light and crumbly, not dense and heavy.
You can also buy a pre-made cactus or succulent mix and use it straight — it drains beautifully and amaryllis thrives in it. Whatever you choose, avoid garden soil from outside, which compacts in pots and can carry pests or disease. Fill the pot about halfway with your mix, set the bulb in place, then fill in around it, leaving the top third of the bulb exposed as described above. Press the soil down lightly — firm enough that the bulb does not wobble, but not packed hard. Good drainage from day one prevents the number-one amaryllis killer: bulb rot.
4. Water Sparingly at First
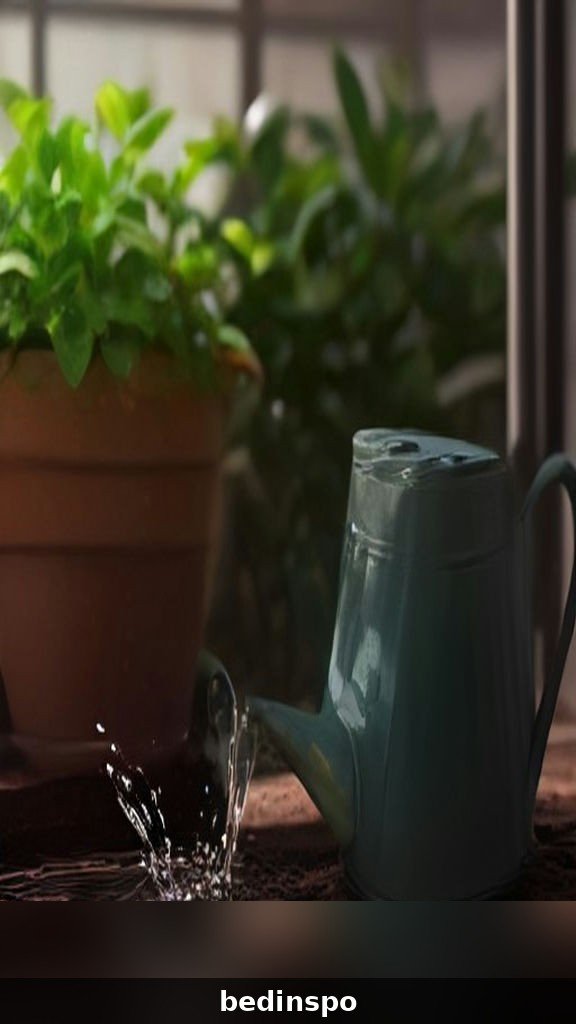
Here is the watering rule that surprises most beginners: after planting, water the bulb once to settle the soil — and then do not water again until you see growth. A freshly planted amaryllis bulb has no leaves and no roots actively drinking, so extra water just sits around it and encourages rot. This waiting period usually lasts one to three weeks.
Once the flower stalk or leaves emerge, start watering whenever the top inch of soil feels dry to the touch. Water thoroughly so it drains from the bottom of the pot, then empty the saucer so the pot never sits in standing water. As the plant grows and blooms, it will drink more — a blooming amaryllis in a warm room may need water every few days. After flowering, when only leaves remain, keep watering regularly through spring and summer; those leaves are recharging the bulb for next year. When the leaves start yellowing in fall, taper off — that is the plant telling you it is ready to rest.
5. Give It Bright, Indirect Light
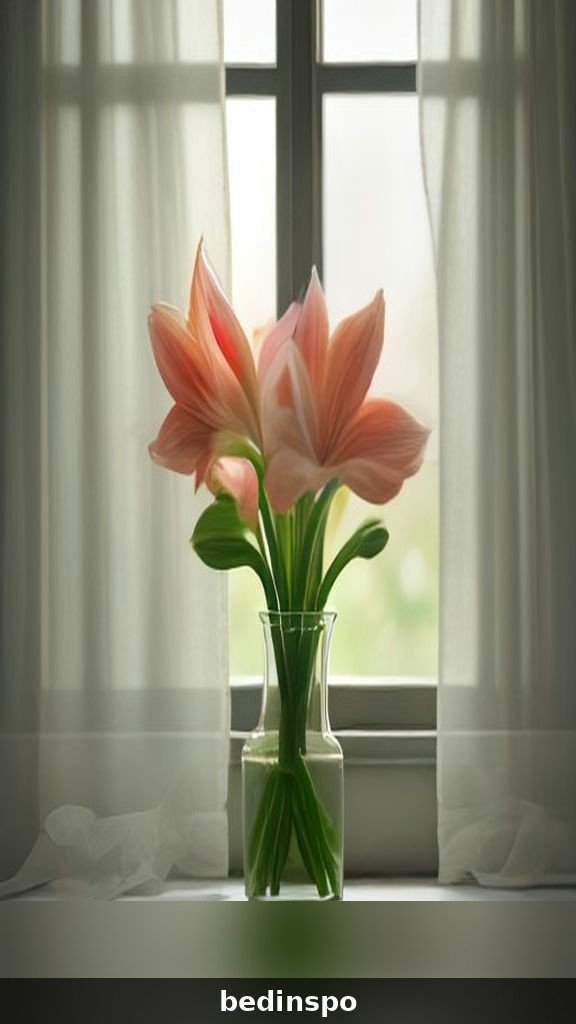
Light is the fuel for those enormous flowers, and amaryllis wants a lot of it — just not harsh, direct midday sun beating through glass, which can scorch the leaves and fade the blooms. A bright east- or south-facing windowsill with a sheer curtain is the sweet spot: plenty of brightness, gently filtered.
If your amaryllis is not getting enough light, you will know. The flower stalk will stretch tall, pale, and floppy, reaching desperately toward the window, and the blooms may be smaller and fewer. In a bright spot, stalks stay sturdy and compact with rich color. During the growing season after blooming, light matters even more — those long strap-like leaves need strong light to photosynthesize and pack energy back into the bulb. A dim corner in summer means a weak bloom (or no bloom) next winter. When in doubt, move it closer to the light; amaryllis can handle more brightness than most people expect.
6. Keep It Warm While It Grows
Amaryllis is a warmth lover, especially when it is waking up and sending up its flower stalk. Aim for room temperatures between 68 and 75 degrees Fahrenheit during the growing and blooming period — basically, comfortable indoor temperatures. Warmth speeds up growth; a bulb kept in a cool room will sprout much more slowly and may bloom weeks later than expected.
Once the flowers open, you can actually extend their life by moving the plant to a slightly cooler spot, around 60 to 65 degrees. Cooler air slows the aging of the blooms, and flowers that might last a week in a hot room can last two weeks or more somewhere cooler. Just keep the plant away from heating vents, radiators, and fireplaces — blasts of hot, dry air will shrivel buds before they open and crisp the leaf edges. Consistent, gentle warmth is the goal, not heat.
7. Stake Tall Stalks Early

Those magnificent flower stalks can reach two feet tall, topped with several heavy blooms — and that is a recipe for flopping. Do not wait until the stalk is leaning to add support. As soon as the stalk is about a foot tall, gently insert a slim bamboo stake or decorative plant support into the soil near (not through) the bulb, and loosely tie the stalk to it with soft twine or a plant tie.
Tie in two places if the stalk is very tall: once around the middle and once just below the flower head. Keep the ties loose enough that the stalk can still thicken as it grows — a tight tie can pinch and damage it. Staking early keeps the stalk growing straight and upright, which looks far more elegant and prevents the heartbreak of a snapped stem the day before the flowers open. If you are growing several bulbs in one pot, one stake per stalk is still the safest approach.
8. Rotate the Pot for Straight Growth
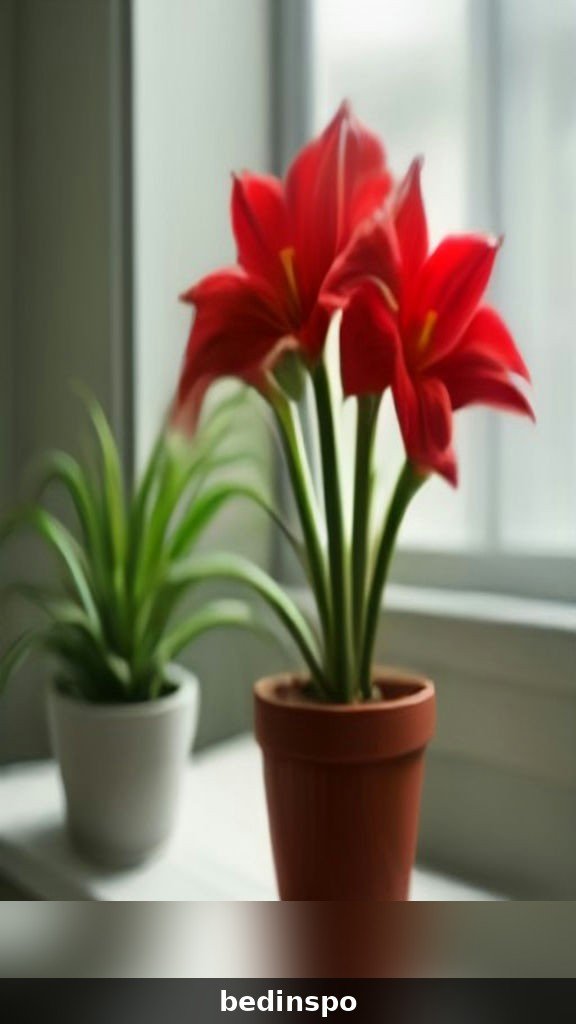
Plants lean toward light — it is called phototropism — and amaryllis stalks are champion leaners. If you leave the pot in one position, the stalk will bend dramatically toward the window, and you will end up with a sideways flower spike instead of a proud upright one. The fix is wonderfully simple: give the pot a quarter turn every few days.
Rotating keeps the growth even on all sides, so the stalk rises straight and the leaves spread symmetrically. It takes five seconds and makes a visible difference within a week. This is especially important in the fast-growth phase when the stalk can add an inch or more per day — a stalk that leans early will keep leaning. Make it a habit: every time you check the soil moisture, rotate the pot. Your future self, photographing those perfect upright blooms, will thank you.
9. Deadhead Spent Blooms Promptly
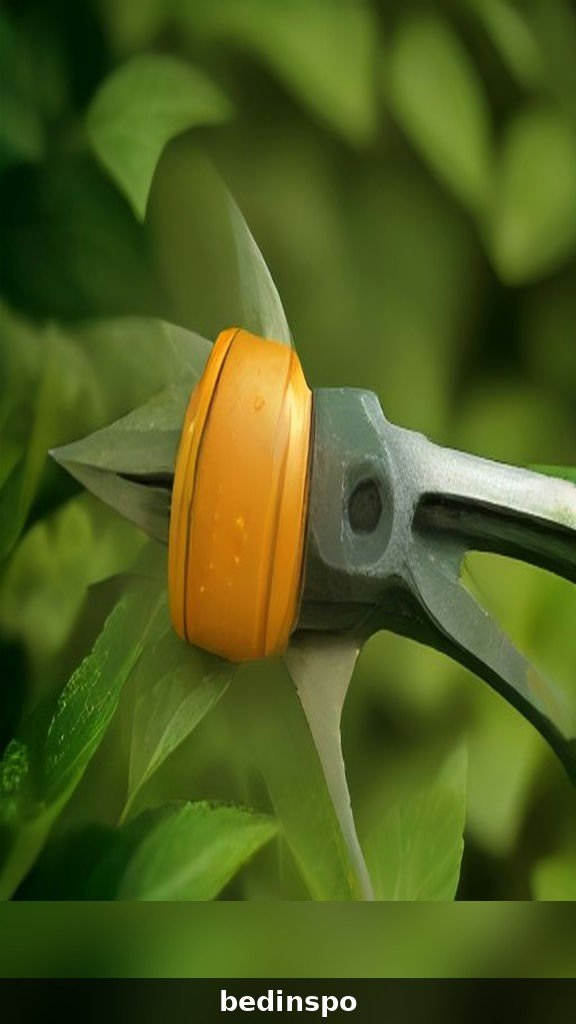
Each amaryllis flower lasts several days, but they do not all fade at once — blooms on the same stalk open in sequence over a week or two. As each individual flower wilts, snip it off at the base of its short stem, right where it meets the main stalk. This is called deadheading, and it keeps the plant looking tidy while directing energy away from seed production.
Here is the important part: remove only the faded flowers, not the whole stalk — not yet. The thick green flower stalk is still photosynthesizing and feeding the bulb, so leave it standing until it turns yellow and soft on its own. Then cut the whole stalk down to about an inch above the bulb. Never cut green leaves, either; every leaf is a solar panel recharging the bulb for next year’s flowers. Deadheading is quick, satisfying garden maintenance that genuinely improves reblooming.
10. Let the Leaves Keep Growing After Blooming

This is the step most people skip — and it is the entire secret to reblooming. After the flowers fade, your amaryllis is not done; it is just getting started on next year. Those long, strap-like green leaves need to grow vigorously for months, soaking up light and building up the bulb’s energy reserves. A bulb that is allowed a full growing season will bloom bigger next winter. A bulb whose leaves are cut off or neglected will shrink and may never bloom again.
Treat the plant like a regular houseplant from spring through summer: bright light, regular water, and monthly fertilizer (more on that next). The leaves may grow two feet long and look a little wild — that is perfect. Do not braid them, tie them up, or trim them; every inch of leaf is working for you. Think of the blooming season as the performance and the leafy months as rehearsals. Skip the rehearsal and there is no show.
11. Feed It Through the Growing Season
An amaryllis bulb works incredibly hard — producing a two-foot stalk and a handful of dinner-plate-sized flowers takes a lot of energy. Help it refuel with regular feeding during the leafy growing season, from spring through early fall. A balanced liquid houseplant fertilizer (like a 10-10-10 or 20-20-20 formula) diluted to half strength, applied once a month, is all it needs.
Start fertilizing about a month after blooming ends, once the leaves are actively growing, and stop in late summer when you begin preparing the plant for dormancy. Do not fertilize a dormant bulb or one that is just starting to sprout — there are no roots or leaves to use the nutrients yet, and excess salts can damage the bulb. Think of fertilizer as the plant’s recovery meal: it is what turns this year’s spent bulb into next year’s spectacular bloomer. Consistent, modest feeding beats occasional heavy doses every time.
12. Summer It Outdoors in Bright Shade
If you have a patio, balcony, or yard, your amaryllis will love a summer vacation outside. After the last frost, move the pot to a spot with bright, indirect light — under a tree, on a covered porch, or on the north side of the house. Outdoor light is far stronger than indoor light, and the plant will reward you with vigorous leaf growth and a noticeably plumper bulb by fall.
Keep watering and fertilizing on schedule, and sink the pot into the ground or mulch around it if you like — just remember where you put it. Bring the plant back indoors before nighttime temperatures drop below 50 degrees. One caution: check for pests like mealybugs or spider mites before bringing it inside, and give the leaves a gentle shower to wash off any hitchhikers. A summer outdoors is the single best thing you can do for reblooming, and many growers consider it non-negotiable.
13. Let It Go Dormant in the Fall
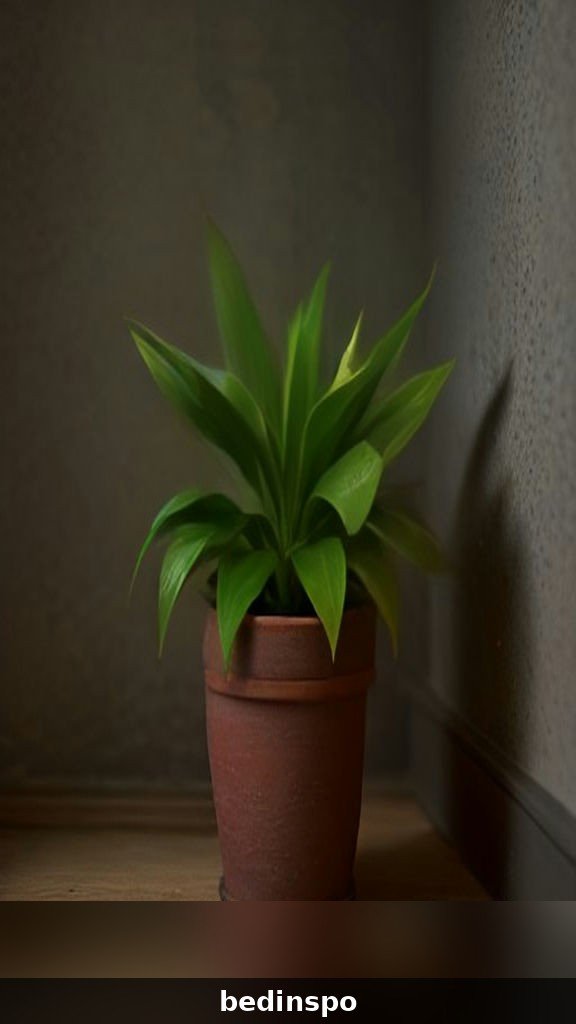
Amaryllis needs a rest period of eight to twelve weeks to reset its bloom cycle — without dormancy, it will just keep making leaves and never flower. In early fall (around September or October), start preparing: move the plant to a cooler spot, stop fertilizing, and gradually reduce watering. The leaves will yellow and flop over naturally over several weeks. This looks alarming but is completely normal.
Once the leaves have fully yellowed, cut them off about two inches above the bulb and stop watering entirely. Do not rush this step by cutting green leaves — the plant is still moving nutrients down into the bulb until the leaves are fully spent. Patience here pays off directly in flowers: a bulb that gets a full, proper dormancy will send up a strong flower stalk when it wakes, while a bulb that never rests may skip blooming altogether.
14. Store the Bulb Cool and Dark
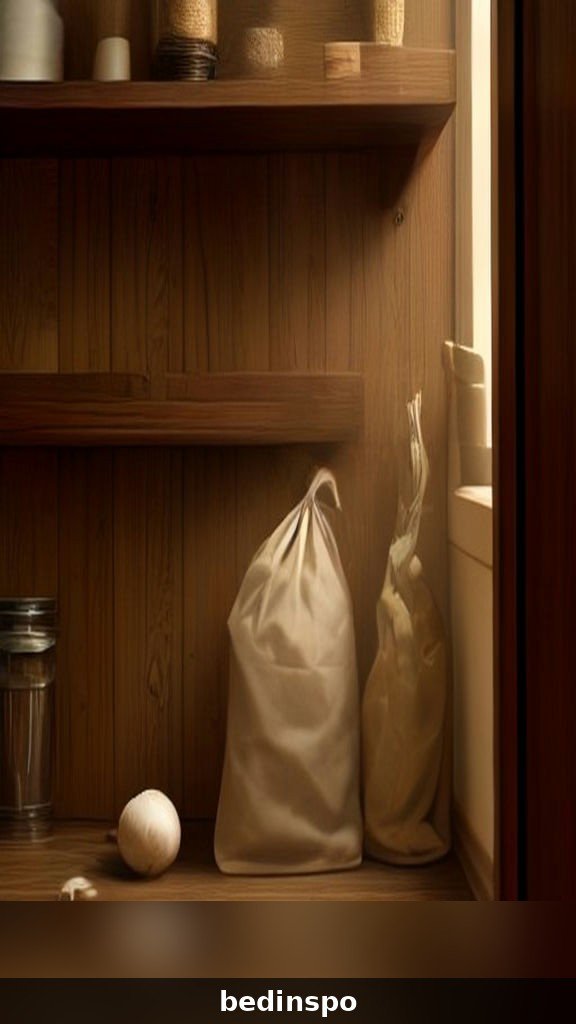
During dormancy, the bulb wants conditions that mimic a cool, dry winter: temperatures between 50 and 60 degrees, darkness, and no water at all. A basement, garage, or cool closet works perfectly. You can leave the bulb in its pot — just lay the pot on its side so any stray moisture drains away — or unpot it, brush off the soil, and store it in a paper bag.
Check on the bulb once or twice during dormancy. It should stay firm; if it feels soft or shows mold, improve the air circulation and make sure it is truly dry. Do not water it “just a little” — dormant bulbs need drought, and even small amounts of water can trigger rot or premature sprouting. Mark your calendar for eight to ten weeks after dormancy begins. When the rest period is over, the bulb will often show you it is ready by pushing out a tiny green nose or a root tip on its own.
15. Wake It Up for Blooms Next Season
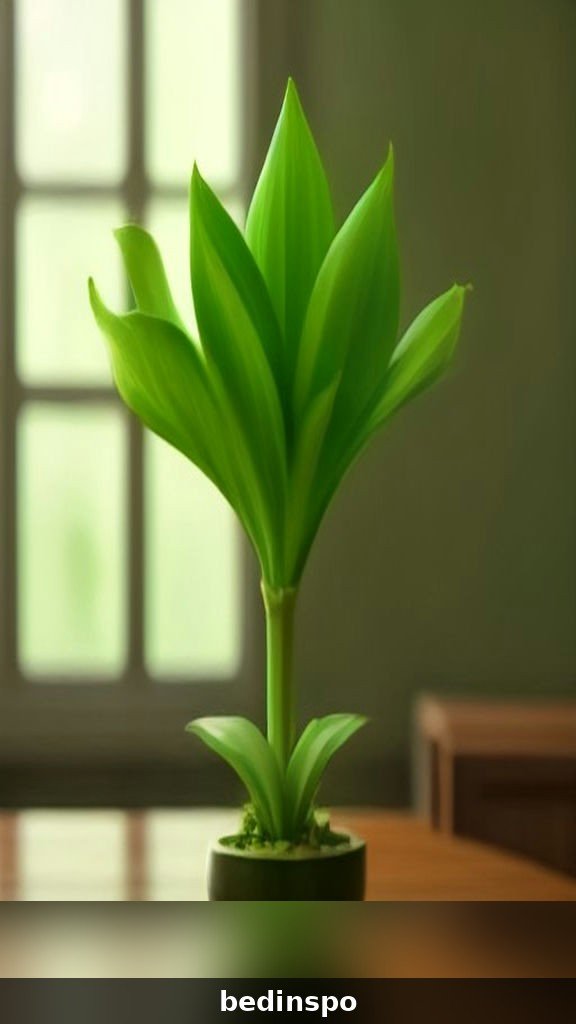
About six to eight weeks before you want flowers — late October for Christmas blooms — bring the bulb back into warmth and light. Repot it in fresh potting mix if the old soil is exhausted (keeping the top third of the bulb exposed), water it thoroughly once, and place it in a warm, bright spot. Then wait, and resist the urge to overwater: no more water until you see the flower stalk or leaves emerging.
Growth is usually fast once it starts — the stalk can shoot up an inch a day in a warm room. Resume normal watering and start rotating the pot, and within six to eight weeks you should have flowers again. Here is a fun trick: start bulbs two weeks apart and you will get a staggered sequence of blooms that lasts for months. And do not discard a bulb that sends up only leaves the first year back — it is rebuilding strength and will very likely bloom the following season. Amaryllis rewards patience like few other plants.
Amaryllis Reblooming Calendar
Keeping the whole cycle straight is easier with a simple timeline. Here is the year in the life of a reblooming amaryllis, assuming you want flowers for the holidays:
December–January: Enjoy the blooms! Water when the top inch of soil is dry, rotate the pot, deadhead spent flowers, and move to a cooler spot to extend flowering. February–March: Cut the yellowed flower stalk, keep the leaves growing in bright light, and begin monthly half-strength fertilizer once leaves are active. April–May: After the last frost, move the pot outdoors to bright shade; keep watering and feeding. June–August: Peak growing season — the leaves are recharging the bulb; watch for pests. September: Bring indoors before nights drop below 50°F; stop fertilizing and taper watering. October: Let leaves yellow fully, then cut them back and store the bulb cool, dark, and dry. Late October–November: Repot in fresh mix, water once, and place in warmth and bright light — flowers in six to eight weeks.
Amaryllis Care FAQ
Why is my amaryllis growing leaves but no flowers?
The most common cause is a skipped or shortened dormancy — without eight to twelve weeks of cool, dry rest, the bulb will not set flower buds. The second most common cause is weak leaves the previous season: too little light or no fertilizer means the bulb never rebuilt enough energy to bloom. Give it a full growing season and a proper dormancy, and it should flower next cycle.
Can I plant my amaryllis outside permanently?
In USDA zones 8 through 10, yes — amaryllis can live outdoors year-round in the ground, where it will bloom in spring. In colder zones, the bulb will not survive winter freezes, so keep it in a pot and bring it indoors each fall. Even in warm zones, gardeners often lift the bulbs to control the dormancy timing for holiday blooms.
Is amaryllis toxic to pets?
Yes. All parts of the amaryllis plant, especially the bulb, contain lycorine and are toxic to cats, dogs, and humans if ingested. Symptoms include vomiting, drooling, and abdominal pain. Keep amaryllis out of reach of curious pets and small children, and wash your hands after handling the bulb.
How long do amaryllis bulbs live?
With good care, an amaryllis bulb can live and bloom for decades — twenty years or more is not unusual. The bulb actually grows larger each year, and bigger bulbs produce more flower stalks. Many gardeners have “heirloom” amaryllis bulbs passed along through the family that bloom reliably every single winter.
Conclusion
Amaryllis care is not complicated — it is just seasonal. Plant the bulb high, water with restraint, give it all the light you can, feed it through summer, rest it in fall, and wake it in warmth. Follow that rhythm and a single bulb becomes a holiday tradition that outshines any bouquet, year after year.
So whether your amaryllis just finished blooming or you are holding a brand-new bulb in the garden center, you now know exactly what to do. Pin this guide for next fall, share it with the friend who always throws their bulb away in January, and get ready — those spectacular trumpets are coming back.