Snow Globe Cookies: Magical Christmas Cookies
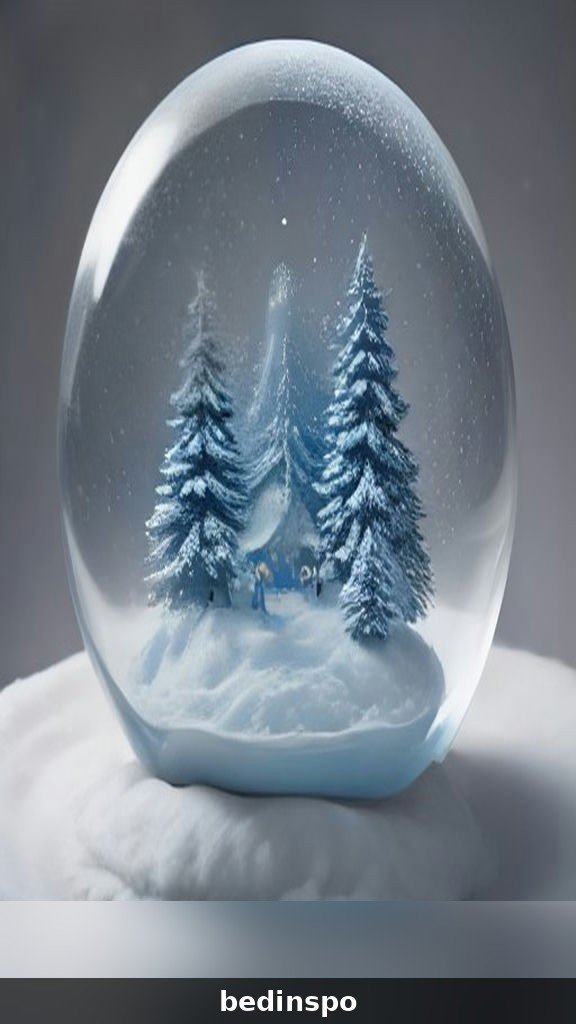
There is a special kind of magic that happens when you hold a snow globe in your hands. You give it a little shake, and suddenly a tiny winter world comes alive — snowflakes swirling around a little Christmas tree, a cheerful snowman, or a cozy cottage with glowing windows. Now imagine capturing that same magic in a cookie you can actually eat. That is exactly what snow globe cookies are, and once you see them on a holiday cookie tray, you will understand why they have become one of the most pinned Christmas treats of the season.
Snow globe cookies are buttery sugar cookies decorated to look like miniature snow globes. A round cookie base becomes the snowy ground, royal icing builds a tiny winter scene inside, and a glossy dome of icing or clear isomalt creates the illusion of glass. A sprinkle of edible glitter and white sanding sugar finishes the effect, so every cookie looks like it has just been shaken. They are beautiful, delicious, and far easier to make than they look — and I am going to walk you through every step, from the cookie dough to the very last snowflake sprinkle.
I am Huma, and I have made hundreds of these cookies for cookie exchanges, school parties, neighbor gifts, and my own family’s Christmas dessert table. In this guide, I will share my favorite no-spread sugar cookie recipe, my foolproof royal icing method, four different ways to create the glass dome effect, and all the little tricks that keep your winter scenes crisp and your cookies picture-perfect. Whether you are a confident decorator or someone who has never picked up a piping bag, you can make snow globe cookies that will have everyone reaching for their phone before they reach for a bite.
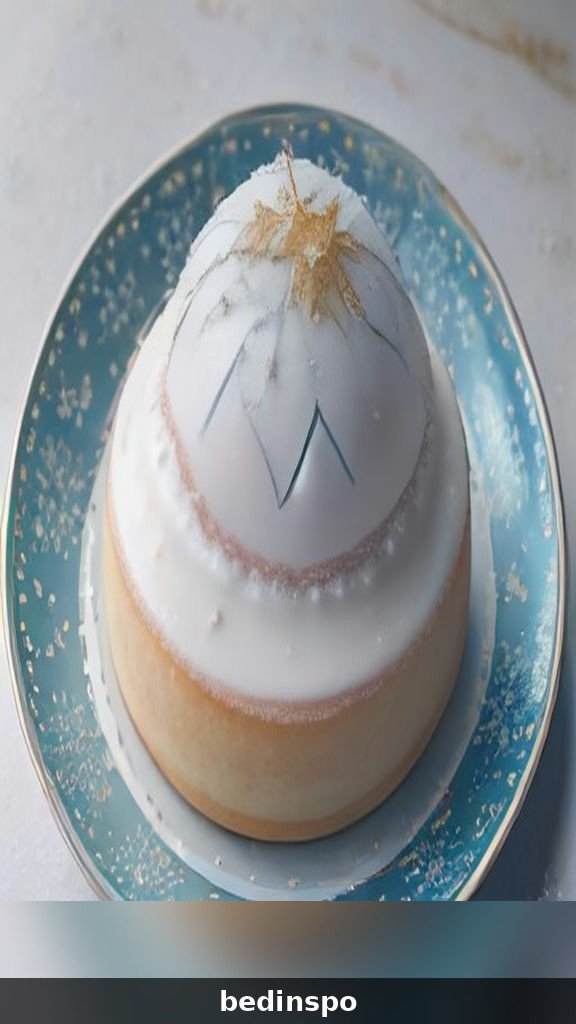
What Are Snow Globe Cookies?
Snow globe cookies are decorated sugar cookies designed to look like the classic Christmas snow globes we all grew up shaking. The design usually starts with a round cookie, often cut with a circle cutter or a snow globe-shaped cutter if you have one. The bottom third of the cookie is iced in white or pale blue to look like snow, a tiny scene is piped on top — a Christmas tree, a snowman, a little house, or a reindeer — and then the whole scene is framed inside a dome shape. The dome itself is created with glossy royal icing, clear piping gel, or poured isomalt, and the finishing touch is a dusting of white sanding sugar and edible glitter that reads as falling snow.
What makes these cookies so special is that they are equal parts dessert and decoration. They look stunning arranged on a cake stand or tucked into a cookie gift box, and they taste like the classic buttery, vanilla-scented sugar cookies everyone loves at Christmas. Unlike some elaborately decorated cookies that are all looks and no flavor, snow globe cookies are built on a genuinely delicious cookie base, so people actually want to eat them — and they do, quickly.
Why Snow Globe Cookies Are So Popular at Christmas
Part of the appeal is nostalgia. Snow globes are one of those objects that instantly take us back to childhood winters, and turning that memory into a cookie feels like a small act of holiday magic. They are also incredibly photogenic, which is why they perform so well on Pinterest and Instagram. A tray of snow globe cookies in reds, greens, whites, and golds is one of the prettiest things you can put on a Christmas dessert table, and they photograph beautifully from every angle.
They are also wonderfully versatile. You can keep the scenes simple — a single green tree with a star — or go all out with layered scenes, tiny gingerbread houses, and hand-piped snowmen. Kids love helping with the sprinkles, and adults love the way the finished cookies look. They work as party favors, teacher gifts, cookie exchange showstoppers, and edible place cards at a Christmas dinner. One batch covers a lot of holiday ground, which is exactly what a busy December needs.
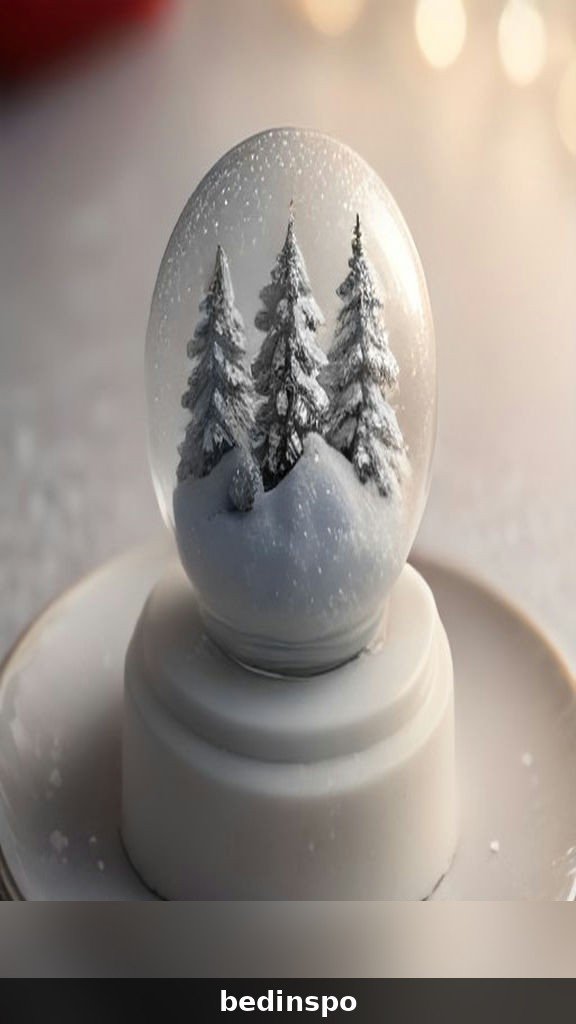
Why You Will Love This Snow Globe Cookies Recipe
I have tested this recipe through many Decembers, and it is the version I come back to every single year. Here is why I think you will love it too:
- The cookies hold their shape: This is a true no-spread sugar cookie dough. Your circles stay circles, your domes stay domes, and your scenes have a clean, crisp base to sit on.
- Buttery, soft, and flavorful: The cookies bake up tender with lightly golden edges, a soft center, and a rich vanilla-butter flavor that pairs perfectly with sweet royal icing.
- Beginner-friendly decorating: You do not need fancy skills or expensive tools. A few piping bags, three icing consistencies, and some sprinkles are all it takes to make cookies that look bakery-made.
- Four dome options: I will show you how to create the glass dome with royal icing, piping gel, isomalt, or even a simple glossy flood — so you can pick the method that matches your comfort level.
- Make-ahead friendly: The dough chills beautifully, the baked cookies freeze well, and the decorated cookies stay fresh for up to two weeks. That makes them ideal for holiday planning.
- Kid-approved and gift-ready: Little hands can help with the sprinkles and the snow, and the finished cookies package beautifully in clear bags with ribbon.
Whether you are baking for a cookie exchange, a school holiday party, or just a cozy afternoon of Christmas baking at home, these snow globe cookies deliver that wow factor without the stress. Let us get baking.
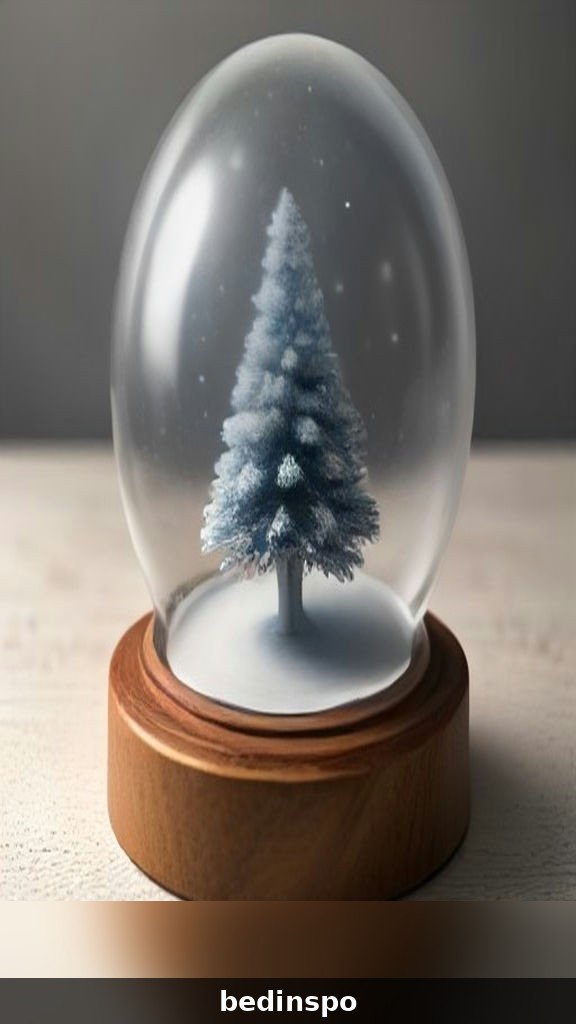
Ingredients for Snow Globe Cookies
Great snow globe cookies start with two things: a reliable sugar cookie dough and a smooth royal icing. Everything else is decoration, and you can scale the decorating up or down depending on how much time you have. Here is the full list.
For the Sugar Cookie Dough
- 1 cup (2 sticks) unsalted butter, softened — real butter gives the cookies their rich flavor and tender crumb
- 1 cup granulated sugar — just sweet enough without making the cookies too crisp
- 1 large egg, room temperature — binds the dough and adds richness
- 1 1/2 teaspoons pure vanilla extract — the signature flavor of a classic sugar cookie
- 1/2 teaspoon almond extract — optional, but it adds a lovely bakery-style depth
- 3 cups all-purpose flour, spooned and leveled — measure carefully, since too much flour makes dry cookies
- 1/2 teaspoon baking powder — just enough lift for a soft, slightly puffy cookie
- 1/2 teaspoon fine salt — balances the sweetness and sharpens the vanilla flavor
For the Royal Icing
- 4 cups powdered sugar, sifted — sifting keeps the icing silky and clog-free
- 3 tablespoons meringue powder — gives the icing structure and a safe, stable set
- 6 to 7 tablespoons lukewarm water — add gradually until you reach the right consistency
- 1 teaspoon clear vanilla extract — clear extract keeps white icing truly white
- 1/2 teaspoon light corn syrup — optional, but it adds a soft shine to the finished icing
- Gel food coloring — white, sky blue, green, red, and gold cover almost every scene you will want to make
For Decorating the Winter Scenes
- White sanding sugar and edible glitter — this is your snow, so do not be shy with it
- Edible snowflake sprinkles and tiny sugar pearls — they add sparkle and dimension inside the globe
- Mini star sprinkles — perfect for tree toppers and starry skies
- Clear piping gel — for a glossy dome effect without working with hot sugar
- Red, green, and white nonpareils — tiny dots that read as ornaments on your piped trees
- Edible gold stars or gold sanding sugar — a little gold goes a long way on Christmas cookies
That is the full lineup. You probably have the cookie ingredients in your pantry already, and the decorating supplies are easy to find at any craft store or online during the holidays. Keep reading for the step-by-step method.

Tools You Will Need
You do not need a professional decorating kit to make beautiful snow globe cookies, but a few basic tools make the process much smoother. Here is what I reach for every time.
Essential Baking Tools
- Round cookie cutters (3 to 3.5 inches) — circles are the classic snow globe shape, and this size gives you plenty of room for a scene
- Rolling pin with thickness guides or two wooden dowels — rolling to an even 1/4 inch keeps your cookies baking evenly
- Parchment paper and baking sheets — parchment prevents sticking and makes cleanup easy
- Stand mixer or hand mixer — for creaming the butter and whipping the royal icing
- Plastic wrap — for chilling the dough, which is the secret to no-spread cookies
Decorating Tools
- Piping bags and small round tips (PM E #1, #2, and #3) — one for outlining, one for flooding, and one for fine details
- Toothpicks or a scribe tool — for popping air bubbles and guiding icing into corners
- Small squeeze bottles — my favorite shortcut for flooding large areas smoothly
- Food-safe paintbrushes — handy for brushing on edible glitter and painting gold accents
- A cookie turntable or lazy Susan — optional, but it makes outlining circles so much easier
If you are missing a tool or two, do not let that stop you. A zip-top bag with the corner snipped works as a piping bag, and a toothpick handles most of the detail work. The cookies will still be gorgeous.

How to Make Snow Globe Cookies Step by Step
Here is the full process, broken into manageable stages. I recommend spreading the work over two days: bake on day one, decorate on day two. It keeps everything relaxed and gives your cookies time to cool completely, which is essential for crisp icing.
Step 1: Make the Cookie Dough
In the bowl of a stand mixer fitted with the paddle attachment, beat the softened butter and granulated sugar together on medium speed for 2 to 3 minutes, until the mixture is light, fluffy, and pale in color. Add the egg, vanilla extract, and almond extract, and beat until fully combined, scraping down the sides of the bowl as needed. In a separate bowl, whisk together the flour, baking powder, and salt. Add the dry ingredients to the butter mixture in two additions, mixing on low speed just until the dough comes together. Do not overmix — overmixed dough makes tough cookies. The dough should be soft but not sticky.
Step 2: Chill the Dough
Divide the dough into two flat discs, wrap each tightly in plastic wrap, and refrigerate for at least 1 hour, or up to 3 days. Chilling is not optional with this recipe. Cold dough holds its shape in the oven, which is how you get perfectly round snow globes instead of puffy blobs. If you are short on time, 30 minutes in the freezer works in a pinch, but an hour in the fridge gives the best results.

Step 3: Roll, Cut, and Bake
Preheat your oven to 350°F (175°C) and line your baking sheets with parchment paper. Working with one disc at a time, roll the dough out on a lightly floured surface to an even 1/4 inch thick. Cut out circles with your round cutter, dipping the cutter in flour between cuts so the dough releases cleanly. Place the circles about 2 inches apart on the prepared baking sheets and chill the cut cookies in the fridge for 10 minutes before baking — this extra chill is my secret weapon for perfectly sharp edges. Bake for 10 to 12 minutes, until the edges are just beginning to turn the palest gold and the centers still look slightly soft. Let the cookies cool on the baking sheet for 5 minutes, then transfer them to a wire rack to cool completely. This recipe makes about 24 cookies.
Step 4: Make the Royal Icing
While the cookies cool, make your royal icing. In the bowl of a stand mixer, combine the sifted powdered sugar, meringue powder, and 6 tablespoons of lukewarm water. Beat on low speed for a minute to combine, then increase to medium-high and beat for 3 to 4 minutes, until the icing is thick, glossy, and holds stiff peaks. This is your stiff consistency, perfect for piping outlines and details. For flood consistency — the thinner icing you use to fill in large areas — thin a portion of the icing with water, a teaspoon at a time, until it flows like honey and settles smooth within about 10 to 15 seconds when you drizzle it back into the bowl. Tint your icing with gel food coloring: white for the snow, pale blue for the sky, green for trees, and red for accents.
Step 5: Outline and Flood the Globe
Start by piping a thin outline around the top two-thirds of each cookie to define the dome, using stiff white or pale blue icing. Then flood the inside of the dome with thinned icing in a pale sky blue or white, using a toothpick to guide the icing right up to the outline. Flood the bottom third of the cookie with white icing to create the snowy ground, slightly overlapping the dome so the two areas blend. Let this base layer dry for at least 6 to 8 hours, or overnight, before adding details. Patience here is everything — decorating on a wet base causes colors to bleed and details to sink.
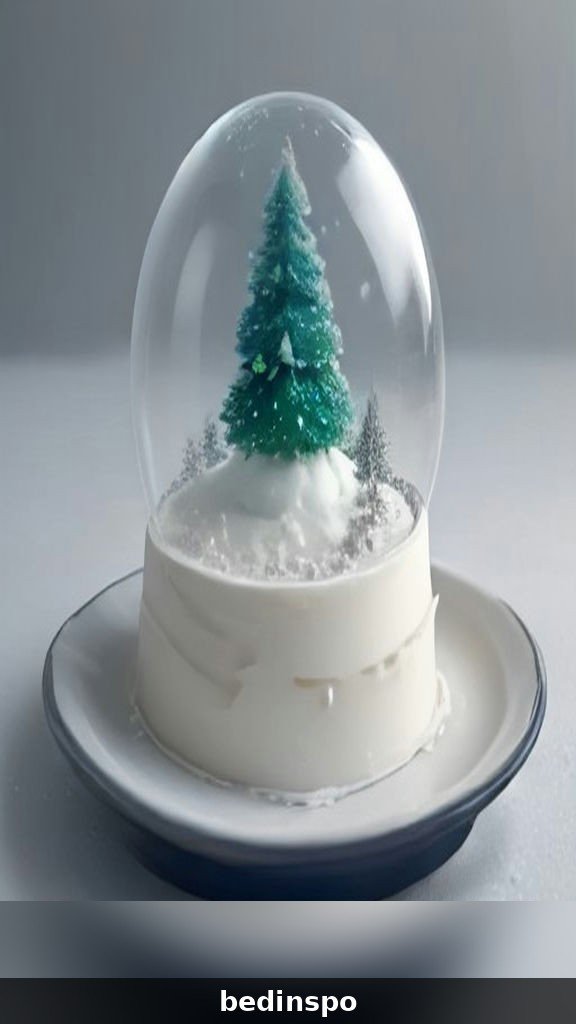
Step 6: Pipe the Winter Scene
Once the base is fully dry, the fun begins. Pipe a simple Christmas tree in the center of the globe using green stiff icing, working from the top down in little zigzag layers, then add a gold star on top and tiny dots of red and white for ornaments. Or pipe a snowman with two stacked white circles, a carrot-orange triangle nose, and a tiny black hat. A little house with a snowy roof and glowing yellow windows is another favorite. Keep your scenes simple and bold — tiny details get lost at cookie scale, and clean shapes read beautifully inside the dome.
Step 7: Add the Snow and Sparkle
While your detail icing is still slightly wet, sprinkle white sanding sugar over the snowy ground and a pinch of edible glitter across the dome to suggest falling snow. Add a few sugar pearls and snowflake sprinkles, pressing them gently into the wet icing so they stick. For the glass effect, brush a thin layer of clear piping gel over the dome, or pipe a glossy outline of clear gel around the dome edge. Let the cookies dry completely for another 8 to 12 hours before stacking or packaging. The result is a cookie that looks like a tiny winter world, frozen mid-snowfall.
Tips for Perfect Snow Globe Cookies Every Time
Decorated cookies reward a little patience and a few good habits. These are the tips I share with every friend who asks me how my cookies turn out so clean and polished.
Chill Your Dough Twice
Chilling the dough before rolling and chilling the cut shapes before baking are the two moves that make the biggest difference in how your cookies look. Cold butter melts more slowly in the oven, so the cookies keep their shape instead of spreading into ovals. If your kitchen is warm, pop the baking sheet into the fridge for 10 minutes before it goes into the oven. This one habit alone will transform your results, and it costs nothing but a few minutes.
Keep Your Icing Covered
Royal icing starts to dry the moment it meets air, and a crusty bowl of icing is almost impossible to work with. Always keep your icing bowls covered with a damp towel or plastic wrap pressed directly onto the surface of the icing, and cover the tip of your piping bag with a damp paper towel when you pause. If your icing does start to thicken, stir in water a few drops at a time until it flows smoothly again. Never try to pipe with icing that has formed a skin — it will clog your tip and ruin your lines.
Use Gel Food Coloring, Not Liquid
Liquid food coloring adds too much water to royal icing and can make it runny and dull. Gel coloring is concentrated, so a tiny amount gives you rich, vivid color without changing the consistency of your icing. For the palest sky blue, dip a toothpick into the gel and stir it in — you can always add more, but you cannot take color away. For deep reds and greens, let the icing sit for 20 to 30 minutes after coloring, since gel colors deepen as they rest.
Let Each Layer Dry Completely
The single most common mistake with decorated cookies is rushing the drying time. If you pipe details onto a base that is still wet, the colors will bleed into each other and your crisp lines will soften into blobs. Give the flood layer a full 6 to 8 hours, or ideally overnight, before adding details. Use a fan on low speed in the room to speed up drying, and avoid humid days if you can — humidity is the enemy of royal icing and can double your drying time.
4 Ways to Create the Glass Dome Effect
The dome is what makes a snow globe cookie look like a snow globe, and there are several ways to achieve it. Each method has its own look and difficulty level, so pick the one that suits you.
1. Glossy Royal Icing Dome
The simplest method is also the most popular. Flood the dome area with pale blue or white icing thinned to flood consistency, then add a few drops of clear corn syrup to the icing for extra shine. Once it dries, brush the dome lightly with a thin layer of clear piping gel for a glassy finish. This method is beginner-friendly, tastes great, and photographs beautifully.
2. Clear Piping Gel Dome
For a truly glass-like look, pipe an outline of stiff icing around the dome, then fill the inside with clear piping gel. Use a toothpick to spread the gel evenly and pop any bubbles. The gel stays soft and glossy, and it magnifies the scene underneath slightly, just like real glass. This is my favorite method when I want the most realistic snow globe effect.
3. Isomalt Dome
Isomalt is a sugar substitute that melts into a clear, glass-like liquid and hardens into a shiny dome. You can pour it into a silicone dome mold and set the hardened dome over your decorated cookie for a stunning three-dimensional effect. This method looks incredible, but isomalt is hot to work with and humidity can make it sticky, so it is best for experienced decorators or special occasions. Always handle melted isomalt with care and keep it away from children while it is hot.
4. Edible Glitter and Sugar Snow Dome
If you want maximum sparkle with minimum fuss, flood the dome with white icing and immediately cover it with white sanding sugar, edible glitter, and tiny snowflake sprinkles. The texture reads as swirling snow, and the sparkle catches the light beautifully. This is the easiest method of all, and it is perfect for baking with kids, who love shaking the sprinkles over the cookies.
7 Snow Globe Cookie Design Ideas
Once you have the technique down, the designs are endless. Here are seven of my favorite scenes to pipe inside the globe, from the simplest to the most detailed.
1. Classic Christmas Tree
A single green tree with a gold star topper is the easiest scene and one of the prettiest. Pipe the tree in zigzag layers, add tiny dots for ornaments, and finish with a dusting of white sanding sugar on the branches to look like snow. This design is perfect for beginners and looks wonderful in a row on a cookie tray.
2. Cheerful Snowman
Two stacked white circles, a carrot nose, coal eyes, and a tiny scarf in red or green icing make an irresistible snowman. Add stick arms with thin lines of brown icing and a top hat for extra charm. Kids especially love this design, and it is a great one to make together as a family.

3. Cozy Little Cottage
A small house with a snowy roof, a red door, and glowing yellow windows tells a whole story in one cookie. Pipe the house shape in a warm color, add white icing drips along the roofline for snow, and finish with a tiny wreath on the door. This design feels warm and nostalgic, like a Christmas card you can eat.
4. Reindeer in the Snow
A simple reindeer face — a brown circle, two antlers, a red nose, and two eyes — is instantly recognizable and always gets smiles. Pipe the antlers with a fine tip and add a sprinkle of edible glitter around the face for falling snow. Rudolph has never looked so cute.
5. Winter Forest Scene
Three trees of different heights, a few white dots for snowflakes, and a pale blue sky make a peaceful woodland scene. Vary the greens slightly for depth, and add a tiny red bird or a gold star for a pop of color. This design looks sophisticated and is surprisingly easy to pipe.
6. Gingerbread House Globe
Pipe a tiny gingerbread house with white icing details, gumdrop dots, and a candy cane by the door. The warm browns of the gingerbread contrast beautifully with the white snow and pale blue sky. This one is a showstopper on a dessert table.
7. Starry Night Snow Globe
A deep blue dome with white stars, a crescent moon, and a single snowy tree makes a magical nighttime scene. Use edible gold stars and a little gold sanding sugar for the moon glow. This design is elegant enough for an adult holiday party and simple enough for a confident beginner.

How to Store Snow Globe Cookies
Proper storage keeps your decorated cookies looking fresh and tasting delicious. Once the icing is completely dry — give it a full 24 hours to be safe — store the cookies in a single layer in an airtight container at room temperature, with sheets of parchment paper between layers if you need to stack them. They will stay fresh for up to 2 weeks, though the icing is at its crispest and prettiest in the first week.
A few important storage notes: keep the cookies away from humidity, which can soften royal icing and make the colors bleed. Do not refrigerate decorated cookies, since condensation forms when they come back to room temperature and can spot the icing. Keep them out of direct sunlight, which can fade gel food colors over time. And handle them by the edges — fingerprints on royal icing are hard to remove.
Can You Freeze Snow Globe Cookies?
Yes, and this is one of my favorite holiday shortcuts. Bake the undecorated cookies, let them cool completely, and freeze them in a single layer in a freezer bag for up to 3 months. Thaw them at room temperature, still sealed in the bag, so condensation forms on the bag instead of the cookie. You can also freeze fully decorated cookies, though the icing can sometimes develop tiny cracks — for best results, freeze the plain cookies and decorate them closer to your event. Royal icing itself does not freeze well, so always make the icing fresh.

How to Gift Snow Globe Cookies
Snow globe cookies were made for gifting. Their beauty does the talking, and a little thoughtful packaging turns them into a present people remember. Here are my three favorite ways to package them.
Clear Cellophane Bags with Ribbon
Place one or two cookies in a clear cellophane bag, tie it with red, green, or gold ribbon, and add a small gift tag with a handwritten holiday message. The clear bag shows off the design, the ribbon makes it festive, and the whole thing costs pennies. These are perfect for teacher gifts, coworker gifts, and party favors.
Cookie Gift Boxes
Bakery boxes with a clear window are ideal for gifting a set of four or six snow globe cookies. Line the box with tissue paper, arrange the cookies in a single layer, and tie the box with twine and a sprig of faux pine or a candy cane. A boxed set of snow globe cookies looks like something from a high-end bakery, and it makes a wonderful host gift.
Cookie Exchange Showstoppers
If you are bringing snow globe cookies to a cookie exchange, arrange them on a cake stand or a pretty platter and let them be the centerpiece. Bring the recipe printed on a cute card so other bakers can try them at home — it is a thoughtful touch that always gets compliments. And bring a few extra, because people will ask to take one home for someone who could not make it.
Snow Globe Cookies for Cookie Exchanges and Parties
Snow globe cookies are one of the best choices you can make for a cookie exchange, because they stand out on a table full of familiar cookies. While everyone else brings chocolate chip and snickerdoodles, your snow globes will be the cookies people photograph first and remember longest. Make a double batch — one dozen for the exchange and one dozen to keep at home — because you will want some for your own table too.
For holiday parties, set up a snow globe cookie decorating station and let guests decorate their own. Pre-bake the cookies and pre-fill piping bags with a few colors of icing, then set out bowls of sprinkles, sanding sugar, and edible glitter. Guests, especially kids, love creating their own winter scenes, and the cookies double as both an activity and a party favor. Just be sure to have plenty of napkins and a drying area, since wet royal icing and party clothes do not mix well.
They also make lovely edible place cards for a Christmas dinner. Pipe each guest’s initial on the snowy base of the globe, or write their name in icing on the bottom of the cookie. Tuck one onto each plate, and your table will look like a winter wonderland before anyone even sits down.
Troubleshooting Common Snow Globe Cookie Problems
Even experienced bakers run into trouble with decorated cookies sometimes. Here are the most common problems and how to fix them.
Why Did My Cookies Spread in the Oven?
Spreading usually means the dough was too warm or the butter was too soft when you mixed it. Make sure your butter is softened but still cool to the touch — it should give slightly when pressed, not feel greasy. Chill the dough for at least an hour, chill the cut shapes for 10 minutes before baking, and check that your oven temperature is accurate with an oven thermometer. Too much baking powder can also cause spreading, so measure carefully.
Why Is My Royal Icing Lumpy or Grainy?
Lumpy icing usually means the powdered sugar was not sifted, or the icing was overbeaten and started to dry out in the bowl. Always sift your powdered sugar before mixing, and keep the icing covered with a damp towel while you work. If lumps do appear, you can push the icing through a fine mesh strainer to smooth it out before piping.
Why Did My Colors Bleed Into Each Other?
Color bleeding happens when you decorate on a base layer that is not fully dry, or when the icing is too thin. Let the flood layer dry for at least 6 to 8 hours, or overnight, before adding details. Use stiff consistency icing for details, and avoid decorating in a humid kitchen. If bleeding does happen, let the cookie dry completely — sometimes the colors settle as they dry and the effect is much less noticeable than it looks when wet.
Why Did My Icing Crack as It Dried?
Cracking usually means the icing dried too quickly, often because of a fan blowing directly on the cookies or very dry air. Let the cookies dry at room temperature away from direct airflow. Adding a little corn syrup to your icing can also help, since it keeps the icing slightly flexible as it sets. If a cookie does crack, you can often hide the crack with a sprinkle of sanding sugar or a strategically placed sprinkle.
Frequently Asked Questions About Snow Globe Cookies
Got questions? I have answers! Here are the most common questions I hear about making snow globe cookies at home.
Do I need a special snow globe cookie cutter?
No, a plain round cutter works beautifully and is what I use most of the time. The dome shape is created with the icing, not the cutter. That said, if you love this design and plan to make it every year, a snow globe-shaped cutter with a little base at the bottom is a fun investment and makes the cookies instantly recognizable. Either way, the cookies will look wonderful.
Can I make snow globe cookies without royal icing?
Yes, though royal icing gives the crispest, most detailed results. If you prefer not to work with royal icing, you can use a simple powdered sugar glaze made from powdered sugar, milk, and vanilla, flooded over the cookie and decorated while still wet. The designs will be softer and less detailed, but still pretty. You can also use store-bought cookie icing in tubes, which is a great shortcut for beginners and kids.
How far in advance can I make snow globe cookies for Christmas?
You can bake the cookies up to 3 months in advance and freeze them undecorated. Once decorated, the cookies stay fresh for up to 2 weeks in an airtight container at room temperature. I recommend decorating them 2 to 3 days before your event so the icing is fully set and the colors are at their brightest. The dough itself can be refrigerated for up to 3 days before baking, which makes holiday scheduling much easier.
Are snow globe cookies safe for kids to help make?
Absolutely — these are one of the best Christmas cookies to make with kids. Little ones can help roll the dough, cut the circles, and, best of all, shake the sprinkles and sanding sugar over the wet icing. The piping is better left to adults or older kids, since it takes a steady hand, but children love choosing the colors and placing the sprinkles. Just be aware that royal icing contains meringue powder, which is made from dried egg whites, so check for egg allergies before sharing.
Can I make snow globe cookies gluten-free?
Yes, you can swap in a good 1-to-1 gluten-free flour blend in place of the all-purpose flour. Look for a blend that contains xanthan gum, which helps the cookies hold their shape. The dough may be slightly softer, so chill it a little longer before rolling. The royal icing and decorations are naturally gluten-free, but always check the labels on your sprinkles and food coloring to be sure.
What is the best way to get a shiny glass dome?
For the shiniest dome, add a half teaspoon of light corn syrup to your flood icing, which gives it a soft sheen as it dries. Once the icing is fully dry, brush a thin layer of clear piping gel over the dome with a food-safe brush. The gel adds a glossy, glass-like finish that really sells the snow globe effect. Avoid brushing the gel on too thickly, or it can look cloudy instead of clear.
How do I keep the sprinkles from falling off?
Sprinkles need to be added while the icing is still wet so they sink in and stick as it dries. If you wait until the icing has started to crust over, the sprinkles will just sit on top and fall off. For extra security, press larger sprinkles and sugar pearls gently into the wet icing with a toothpick. If you are adding sprinkles to a fully dried cookie, dab a tiny dot of fresh icing underneath each one as glue.
Final Thoughts
And there you have it — everything you need to make magical snow globe cookies that look like tiny winter worlds and taste like the best sugar cookies you have ever had. They are buttery, sweet, sparkly, and completely unforgettable on a Christmas cookie tray. Whether you keep the scenes simple with a single tree or go all out with cottages, snowmen, and starry skies, these cookies bring a little extra wonder to the holiday season.
I would love to hear how your snow globe cookies turn out! Did you try the classic Christmas tree, the cheerful snowman, or a design all your own? However you decorate them, I hope these cookies bring a little extra magic to your Christmas baking this year. Merry Christmas, happy decorating, and do not forget to shake a little extra snow over the top — after all, that is what a snow globe is for.

If you loved these snow globe cookies, you will also enjoy these festive holiday treats from the blog:
- Snowball Cookies Recipe — buttery melt-in-your-mouth cookies rolled in powdered sugar
- Christmas Crack Recipe — the famously addictive saltine toffee bark everyone fights over
- Hot Cocoa Bombs Recipe — magical chocolate spheres that melt into the coziest hot cocoa
- Reindeer Chow Recipe — crunchy, chocolatey, peanut-buttery Christmas snack mix