Hot Cocoa Bombs Recipe: Easy DIY Chocolate Bombs
Few things capture the magic of the holiday season quite like a hot cocoa bomb. You drop a glossy chocolate sphere into a mug of steaming milk, and for a few suspended seconds, nothing happens. Then the shell begins to crack, hot cocoa mix and a blizzard of mini marshmallows burst out from the inside, and the whole mug transforms into the richest, creamiest hot chocolate you have ever tasted. It is part dessert, part science experiment, and entirely unforgettable, which is exactly why this hot cocoa bombs recipe has become a December staple in so many homes.
The wonderful news is that hot cocoa bombs look far more complicated than they are. There is no candy thermometer, no tempering degree in chocolate science, and no expensive equipment required. You need a silicone sphere mold (a few dollars online), good chocolate, cocoa mix, and marshmallows. The technique is simple: paint melted chocolate into the molds, chill, fill, seal, and decorate. Once you make your first batch, you will wonder why you ever paid five dollars apiece for them at a holiday market.
Homemade hot cocoa bombs also beat store-bought ones on every front that matters. You control the chocolate quality, so they taste richer. You control the sweetness, so they are not cloying. You can customize the flavors endlessly: peppermint, salted caramel, cookies and cream, Mexican hot chocolate with cinnamon and cayenne. And they make the most delightful edible gifts. Tucked into a cellophane bag with a ribbon and a tag that says “drop in hot milk,” they look like something from a fancy chocolatier.
In this complete guide, you will learn exactly how to make hot cocoa bombs step by step, with all the troubleshooting tips I have gathered from many batches: how to get smooth, crack-free shells, the best chocolate to use, how to seal the spheres without fingerprints everywhere, tons of flavor and decorating variations, how to store them, and how to package them as gifts. Let us make some magic.
What Are Hot Cocoa Bombs?
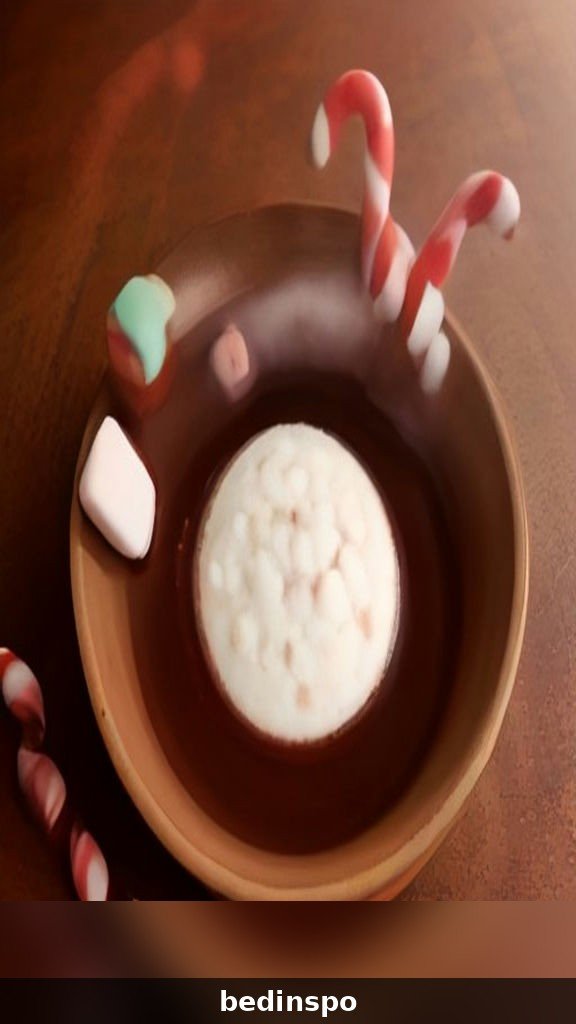
If you somehow missed the craze, here is the concept: a hot cocoa bomb is a hollow chocolate sphere filled with hot cocoa mix and mini marshmallows (plus any fun extras). You place it in a mug, pour hot milk over it, and the heat melts the shell so the filling erupts into the milk. Stir, and you have a mug of decadent hot chocolate with floating marshmallows. The “bomb” name comes from that dramatic burst moment, which is genuinely thrilling every single time, especially for kids.
They became a viral sensation a few holiday seasons ago, selling out at bakeries and costing a small fortune. But the homemade version is easy, affordable (pennies per bomb compared to store prices), and endlessly customizable. They are also a fantastic make-ahead holiday project: one afternoon of chocolate work yields weeks of cozy mugs and a whole gift list checked off.
Why You’ll Love This Hot Cocoa Bombs Recipe
First, the experience factor is off the charts. Serving someone a hot cocoa bomb is not just handing them a drink; it is giving them a little show. That moment when the shell cracks and the marshmallows float up never gets old. It is the kind of thing kids talk about for weeks and adults secretly love just as much.
Second, they are surprisingly simple. The whole process is just melting, painting, chilling, filling, and sealing. There is no baking, no precise temperatures, and no finicky dough. If you can melt chocolate and use a spoon, you can make hot cocoa bombs. The hardest part is waiting for the shells to chill.
Third, they are the ultimate make-ahead holiday gift. A batch of twelve bombs costs a fraction of what you would pay at a shop, takes about an hour of active time, and looks absolutely stunning packaged up. Teachers, neighbors, coworkers, hostess gifts, stocking stuffers: one batch covers them all.
Finally, the flavor possibilities are endless. The basic formula (chocolate shell plus cocoa mix plus marshmallows) is just the starting point. From there you can go peppermint, caramel, mocha, white chocolate strawberry, dark chocolate orange, and beyond. This guide includes a whole menu of variations to try.
Ingredients You’ll Need
The ingredient list is short and sweet. This recipe makes about six standard hot cocoa bombs (using a 2.5-inch sphere mold), and it doubles or triples easily. Quality matters here since there are so few ingredients, so use the best chocolate you can.
- 12 ounces good-quality chocolate (semi-sweet, milk, dark, or white), chopped — chocolate chips work, but bar chocolate melts smoother
- 6 tablespoons hot cocoa mix (about 1 tablespoon per bomb; use your favorite brand or homemade)
- 1/2 cup mini marshmallows, plus extra for decorating
- Optional fillings: crushed peppermint candies, caramel bits, instant espresso powder, sprinkles
- Optional decorations: melted white chocolate for drizzling, crushed candy canes, gold sprinkles, cocoa powder for dusting
A note on chocolate choice: chocolate labeled for baking or couverture melts the smoothest and sets with the nicest snap. Standard chocolate chips contain stabilizers that make them a bit thicker when melted, but they still work fine; you may just need to paint slightly thicker shells. White chocolate is trickier because it scorches easily, so melt it gently and stir often.
Equipment & Tools
- Silicone half-sphere mold (2.5-inch cavities are standard; this is the one essential purchase)
- Microwave-safe bowl or double boiler for melting chocolate
- Small food-safe paintbrush or the back of a spoon for painting the molds
- Baking sheet lined with parchment paper
- Small plate, warmed, for sealing the spheres
- Piping bag or zip-top bag with the corner snipped, for decorating drizzles
- Cellophane bags, ribbon, and gift tags if gifting
If you do not have a silicone mold yet, they are inexpensive and widely available, and you will use yours far beyond this recipe: they are great for chocolate-covered oreos, frozen yogurt bites, and even ice cubes. Get the food-grade silicone kind, which releases the chocolate shells effortlessly.

How to Make Hot Cocoa Bombs (Step by Step)
Here is the full method. Active time is about forty-five minutes, plus chilling. Read through once, then dive in. The rhythm is: melt, paint, chill, fill, seal, decorate.
Step 1: Melt the Chocolate
Place the chopped chocolate in a microwave-safe bowl. Microwave in 30-second bursts, stirring well between each, until about 90 percent melted, then stir until the residual heat melts the rest. This gentle approach prevents scorching. Alternatively, melt it in a double boiler over simmering water, stirring until smooth. The chocolate should be fluid and glossy, not thick or grainy.
Step 2: Paint the Molds
Spoon about a tablespoon of melted chocolate into each half-sphere cavity. Using the back of the spoon or a small brush, paint the chocolate up the sides in an even layer, making sure there are no thin spots or holes, especially around the rim. The rim needs to be sturdy since it becomes the sealing edge. Place the mold on a baking sheet and refrigerate for ten minutes until fully set.

Step 3: Add a Second Coat
Remove the mold from the fridge and inspect each shell against the light; touch up any thin or translucent spots with more melted chocolate. A second thin coat on the rims and any weak areas makes the bombs sturdy enough to handle without cracking. Chill again for five to ten minutes until completely firm and set.
Step 4: Unmold the Shells
Gently push each chocolate half-sphere out of the silicone mold, handling the shells by their edges. If a shell resists, chill the mold a few more minutes; cold chocolate releases cleanly. You should now have twelve perfect half-spheres. If any crack, just remelt that chocolate and repaint; nothing is wasted.
Step 5: Fill the Bombs
Set six of the half-spheres open-side up (these are your bases). Add one tablespoon of hot cocoa mix to each, then a generous pinch of mini marshmallows, then any extras: a few crushed peppermint pieces, a pinch of espresso powder, caramel bits. Do not overfill; the filling should sit below the rim so the top half can seal flat.

Step 6: Seal the Spheres
Warm a small plate in the microwave for about thirty seconds. Take an empty half-sphere, press its rim gently onto the warm plate for two to three seconds until the edge just begins to melt, then immediately place it on top of a filled base and hold for a few seconds to seal. The melted rims fuse together. Run a clean fingertip (or a small brush dipped in melted chocolate) around the seam to smooth it. Repeat for all six bombs.
Step 7: Decorate
This is the fun part. Drizzle the sealed bombs with contrasting melted chocolate (white chocolate over dark shells looks stunning), then immediately sprinkle with crushed candy canes, sprinkles, cocoa powder, or a pinch of flaky sea salt before the drizzle sets. Let them firm up at room temperature for twenty minutes, and they are done.

How to Serve Hot Cocoa Bombs
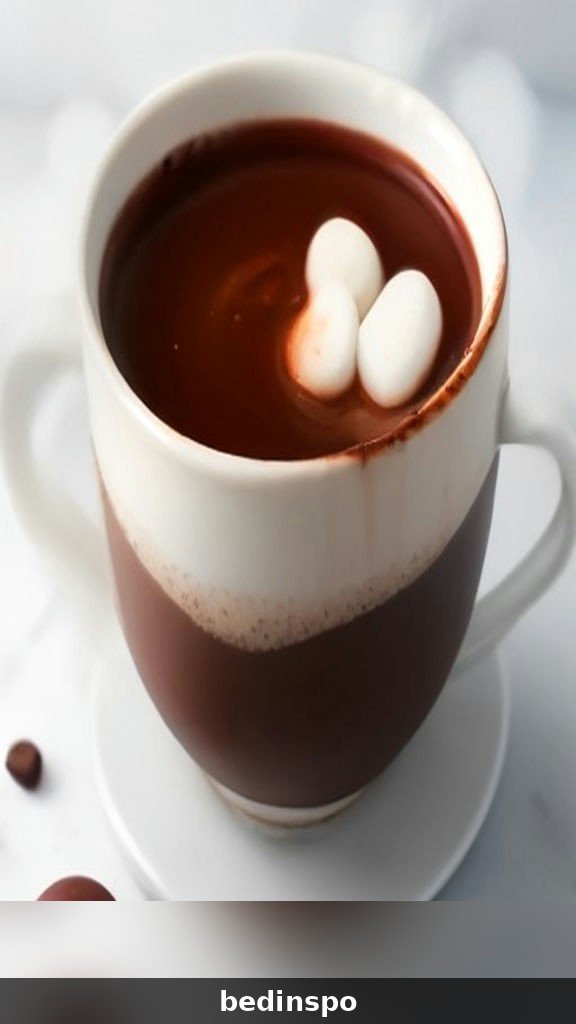
Serving is the payoff for all your work, so do it right. Place one bomb in the bottom of a large, sturdy mug. Heat milk (dairy or your favorite alternative) until steaming but not boiling, about 180 degrees; boiling milk can make the chocolate seize and taste scorched. Pour about eight to ten ounces of hot milk over the bomb and watch the magic: the shell will crack, the cocoa mix will bloom, and the marshmallows will rise to the top like a tiny blizzard.
Let it sit for about thirty seconds, then stir well to fully dissolve the shell and cocoa mix into the milk. The result should be rich, creamy, and deeply chocolatey. For an extra-decadent mug, top with whipped cream, a drizzle of chocolate sauce, and a few more marshmallows. Serve immediately while it is steaming.
For a party, set up a hot cocoa bomb bar: arrange the bombs on a tiered stand, keep a slow cooker of hot milk nearby, and put out toppings like whipped cream, crushed peppermint, caramel sauce, and cinnamon sticks. Guests choose their bomb and build their own mug. It is interactive, gorgeous, and almost no work on the day.
Tips for Perfect, Crack-Free Shells
The shells are the only slightly technical part of this hot cocoa bombs recipe, so here is everything I have learned about getting them smooth and sturdy. First, paint two coats. One coat almost always has thin spots that crack when you unmold or handle the bomb. The second coat takes two extra minutes and prevents ninety percent of breakage.
Second, keep the shells chilled until you fill them. Warm chocolate is soft chocolate. Work with the filled bases straight from the fridge, and if your kitchen is warm, pop the sealed bombs back in the fridge for ten minutes to firm up before decorating.
Third, do not make the shells too thin at the rims. The rim is the structural edge and the sealing surface; paint it a little thicker than the dome. When you seal on the warm plate, press gently and briefly; too much heat melts the rim away instead of just softening it.
Fourth, handle finished bombs as little as possible, and always by the “equator” seam rather than the dome. Body heat melts chocolate faster than you would think. If you are making dozens for gifts, work in batches and keep finished ones cool.
Finally, if a shell cracks, do not despair. Small cracks can be patched with a dab of melted chocolate applied with a brush or fingertip. Big cracks mean that shell becomes the cook’s treat (melt it into your own mug) and you repaint a fresh one. Chocolate is forgiving like that.

Flavor Variations to Try
The basic bomb is wonderful, but variations are where homemade really shines. Keep the shell-plus-cocoa-mix-plus-marshmallow formula and swap any element:
- Peppermint: Dark chocolate shell, regular cocoa mix, crushed candy canes inside and on top. The classic holiday bomb.
- Salted caramel: Milk chocolate shell, cocoa mix, caramel bits inside, drizzle with caramel sauce and flaky sea salt.
- Cookies and cream: White chocolate shell, cocoa mix, crushed chocolate sandwich cookies inside and sprinkled on top.
- Mexican hot chocolate: Dark chocolate shell, cocoa mix plus a pinch of cinnamon and the tiniest pinch of cayenne inside. Warm and complex.
- Mocha: Semi-sweet shell, cocoa mix plus a teaspoon of instant espresso powder inside. Coffee lovers’ heaven.
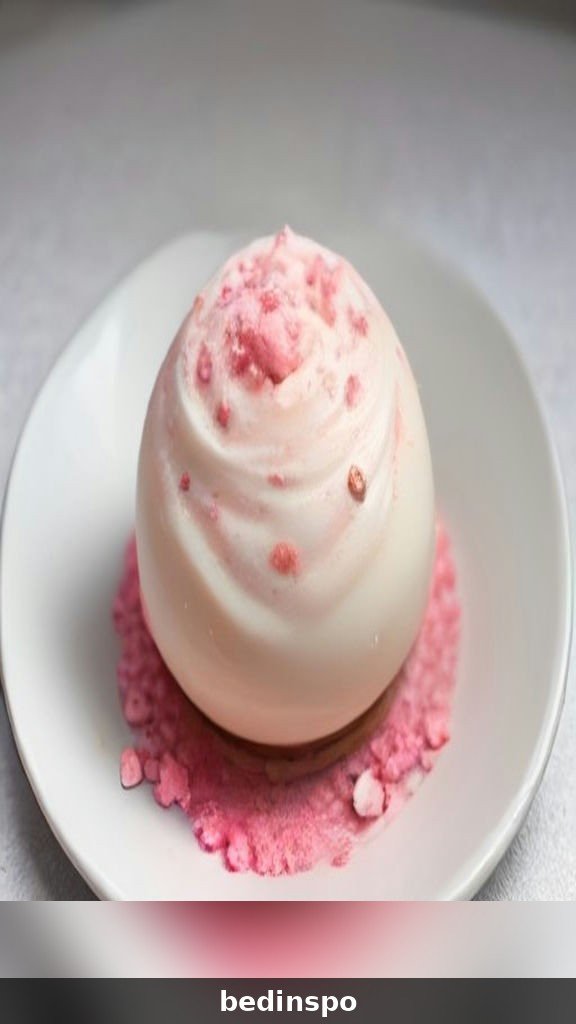
- Strawberry white chocolate: White chocolate shell, white hot cocoa mix or vanilla cocoa mix, freeze-dried strawberry pieces inside. Pretty in pink.
- Dark chocolate orange: Dark chocolate shell, cocoa mix, a little orange zest inside. Sophisticated and festive.
- Gingerbread: Milk chocolate shell, cocoa mix plus a pinch of gingerbread spice inside, crushed gingersnaps on top.
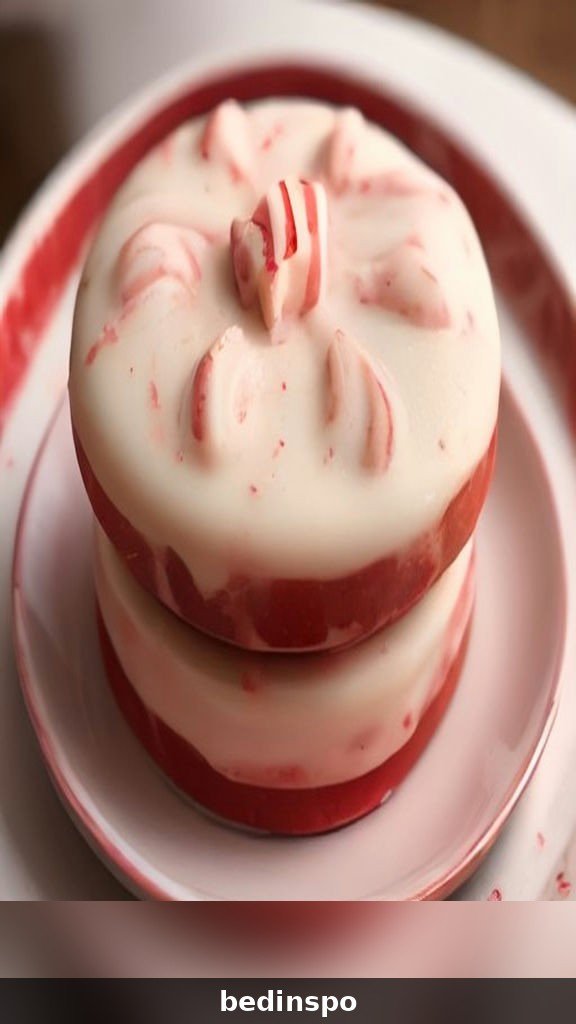
You can also vary the shell itself: swirl two chocolates together in the mold for a marbled effect, or paint the mold with colored cocoa butter for a professional chocolatier look. A red-and-white swirled peppermint bomb is almost too pretty to melt. Almost.
Decorating Ideas
Decorating is what turns a tasty bomb into a gift-worthy one, and it is the step kids love most. The golden rule: decorate while the drizzle is still wet so toppings stick. Here are ideas that always look great:
- Classic drizzle: Zigzag contrasting chocolate over the top with a piping bag. Simple, elegant, foolproof.
- Candy cane crunch: White chocolate drizzle plus crushed candy canes. Instantly reads “holiday.”
- Gold and glam: Dark shell, gold sprinkles, and a pinch of edible glitter. New Year’s Eve in a mug.
- Snowy: White chocolate shell dusted with powdered sugar and tiny snowflake sprinkles.
- Rustic: Milk chocolate shell, cocoa powder dusting, and a mini marshmallow stuck on top with a dab of chocolate.
- Striped: Paint stripes of white chocolate inside the mold before adding the milk chocolate for a striped shell.
Match the decoration to the flavor so recipients can tell them apart: peppermint gets candy cane pieces, caramel gets a caramel drizzle, mocha gets a dusting of espresso powder. A little system saves you from labeling every single bomb.
Make-Ahead and Storage
Hot cocoa bombs are a dream make-ahead project. Stored properly, they keep beautifully for weeks, which means you can make your entire holiday gift stash in one or two sessions. Keep finished bombs in an airtight container at cool room temperature for up to two weeks. A single layer is best; if you must stack, place parchment between layers.
For longer storage, refrigerate them for up to a month, but bring them to room temperature before serving or gifting so the shells do not sweat. You can also freeze them for up to two months in a freezer-safe container; thaw overnight in the fridge, then bring to room temperature. The marshmallows inside freeze and thaw just fine.
Keep them away from heat, humidity, and strong odors (chocolate absorbs smells). Do not store them near the stove or in a sunny spot. If your house runs warm, the refrigerator is safer than the counter, even for short-term storage.
How to Package Hot Cocoa Bombs as Gifts
Presentation turns your kitchen project into a gift people treasure. The simplest beautiful package: place one bomb in a clear cellophane bag, tie it with ribbon, and attach a tag with serving instructions (“Place in a mug, pour 10 oz hot milk over it, stir, and enjoy!”). Add a candy cane tied alongside the ribbon for a festive touch.
For a gift box, nestle two or three bombs in crinkle-cut paper shred inside a small kraft box, and include a packet of fancy marshmallows or a cinnamon stick. For teachers and coworkers, a single bomb in a mug (thrifted mugs are perfect for this) with cellophane over the top is charming and useful.
If you are shipping bombs, wrap each one individually in tissue, cushion generously, and ship in cool weather; chocolate and summer mail do not mix. Include a little card with the flavor and instructions. Homemade gifts with instructions feel thoughtful rather than homemade-looking, and these always get the biggest reactions.

Troubleshooting Common Problems
- Shells crack when unmolding. They are too thin or too warm. Paint a second coat, chill longer, and make sure the mold is fully cold before you push the shells out.
- Chocolate is thick and hard to paint. It may be slightly overheated or a naturally thick chocolate. Stir in a teaspoon of coconut oil or cocoa butter to thin it. Do not add water; even a drop can seize chocolate.
- Chocolate seized (grainy and stiff). Water got in, or it overheated. For bombs, you can sometimes rescue it by stirring in warm cream a teaspoon at a time, but the texture will be softer. Often it is simplest to start that portion fresh.
- Seams will not seal. The plate was not warm enough, or the rims are uneven. Rewarm the plate, press a touch longer, and smooth the seam with a fingertip dipped in melted chocolate as backup.
- White chocolate will not melt smoothly. White chocolate scorches easily. Use very short microwave bursts (15 to 20 seconds), stir constantly, and stop when it is mostly melted; residual heat finishes the job.
- Bombs melt while decorating. Your hands or kitchen are too warm. Chill the bombs for ten minutes, work quickly, and handle them minimally.

Hot Cocoa Bombs for Kids
Kids are the ideal audience for hot cocoa bombs, both as makers and as drinkers. The filling step is perfect for little hands: let them spoon in the cocoa mix and drop in the marshmallows. Decorating is even better; set out bowls of sprinkles, crushed candy canes, and mini marshmallows and let them go wild. The results will be gloriously messy and they will be so proud.
Keep the melting and sealing steps as grown-up jobs, since they involve heat. Older kids can paint the molds with supervision. For serving to young children, use warm (not hot) milk and a slightly smaller bomb, or split one bomb between two small mugs. The magic moment works at any temperature as long as the milk is warm enough to melt the shell.
Hot cocoa bomb making also makes a wonderful holiday party activity or classroom project. Prep the shells ahead of time, then let each child fill, seal (with help), and decorate their own bomb to take home. It is a craft and a treat in one.
Scaling Up: Making Big Batches
Once you start gifting, you will want dozens. Here is how to scale efficiently. First, get two or three silicone molds so you can paint one batch while another chills; this assembly line cuts the total time dramatically. Second, melt chocolate in larger batches but work with it in bowls; chocolate that sits too long thickens as it cools.
Set up stations: a melting station, a painting station, a filling station with all the cocoa mix and extras in bowls, and a decorating station. Enlist help; filling and decorating are great group tasks. One person can paint shells while another fills and seals the chilled ones from the previous round.
For very large batches (fifty plus), consider making the shells a day or two ahead and storing them unfilled in an airtight container, then filling, sealing, and decorating closer to gifting day. The shells keep perfectly, and breaking the work into sessions keeps it fun instead of exhausting.

Frequently Asked Questions
Do I need to temper the chocolate?
No. Tempering gives chocolate a glossy finish and firm snap, but for hot cocoa bombs it is unnecessary; the shells get melted in hot milk anyway. Simply melting the chocolate gently works perfectly. Your bombs may develop a little bloom (whitish streaks) over time, which is harmless and invisible once decorated.
Can I use candy melts instead of real chocolate?
You can, and they are very easy to work with since they melt smoothly and set firmly. The trade-off is flavor; candy melts taste waxy compared to real chocolate. For gifts where taste matters, use real chocolate. For a kids’ craft activity where ease matters most, candy melts are fine.
What size mold should I buy?
The standard 2.5-inch (about 6 cm) half-sphere mold is ideal. It makes a bomb sized for a normal large mug with eight to ten ounces of milk. Smaller molds make cute bombs but the filling-to-milk ratio gets weak; larger molds are dramatic but need a huge mug.

How much cocoa mix goes in each bomb?
About one tablespoon of hot cocoa mix per standard bomb. It looks like a small amount, but remember the shell itself is chocolate that melts into the drink, adding richness. Overfilling makes sealing difficult and the drink overly sweet.
Can I make these dairy-free or vegan?
Yes. Use dairy-free chocolate (many dark chocolates are naturally dairy-free; check labels), a dairy-free cocoa mix, and vegan marshmallows. Serve with hot oat milk, which is wonderfully creamy. They taste just as magical.
Why did my bombs leak filling before serving?
The seal was not complete. Make sure the rims are even, the plate is warm enough to melt the edge, and you smooth the seam with a little melted chocolate afterward. A well-sealed bomb is airtight; you should not see any gaps at the equator.

Can I add alcohol to make boozy cocoa bombs?
You cannot put liquid inside the bomb (it would dissolve the filling and leak), but you absolutely can serve them boozy: melt the bomb in hot milk, then stir in a shot of Irish cream, coffee liqueur, or peppermint schnapps. Gift them with a little tag suggesting the pairing for an adults-only version.
How far ahead can I make them for Christmas gifts?
Two to three weeks ahead is perfect. Make them in early December, store airtight at cool room temperature, and package them the week of gifting. They will taste fresh and look flawless.
My shells have white streaks. Are they ruined?
Not at all. Those streaks are cocoa butter bloom, which happens when chocolate is stored through temperature changes. It is completely safe and tasteless, and it disappears the moment the bomb melts into hot milk. Decorations cover it anyway.

More Cozy Holiday Treats to Try
If you loved making hot cocoa bombs, you have officially caught the holiday chocolate bug, and there is no going back. Your next project could be chocolate-dipped pretzels, which use the same melting skills and make great gifts. Or try homemade marshmallows; they are easier than you think and they elevate both cocoa bombs and plain hot chocolate to another level.
For more edible gifts, consider mason jar cocoa mix (layer the dry ingredients beautifully in a jar with instructions), chocolate bark with holiday toppings, or dipped sandwich cookies. All of them package beautifully and cost very little to make in bulk.
And once the bombs are done, do not forget the drinks themselves: a proper homemade hot chocolate from scratch, a slow-cooker hot chocolate for parties, or a peppermint mocha for the coffee lovers. The bomb is the showstopper, but a great from-scratch cocoa is the everyday hero of winter.
Conclusion
This hot cocoa bombs recipe proves that the most delightful holiday treats are often the simplest to make. Melt, paint, fill, seal, decorate: five steps stand between you and a kitchen full of glossy chocolate spheres ready to burst into the creamiest hot chocolate imaginable. They are fun to make, magical to serve, and wonderful to give.
Make a batch for your family to enjoy on a snowy movie night. Make a bigger batch for teachers, neighbors, and coworkers, and watch their faces when they read the tag. Experiment with flavors until you find your signature bomb. However you enjoy them, hot cocoa bombs turn an ordinary mug of cocoa into a little celebration, and that is exactly what the holidays are about. Stay cozy!

More holiday inspiration from Bedinspo:
- Homemade Hot Chocolate Mix — the perfect from-scratch cocoa mix to fill your bombs.
- Hot Cocoa Bar Ideas — set up a showstopping drink station for your next party.
- Christmas Sugar Cookies Recipe — the ideal dunking partner for your cocoa.
- Christmas Charcuterie Board Ideas — sweet and savory boards to serve alongside.