Best Pumpkin Pie Recipe (Classic, Silky & Crack-Free!)
Best Pumpkin Pie Recipe (Classic, Silky & Crack-Free!)
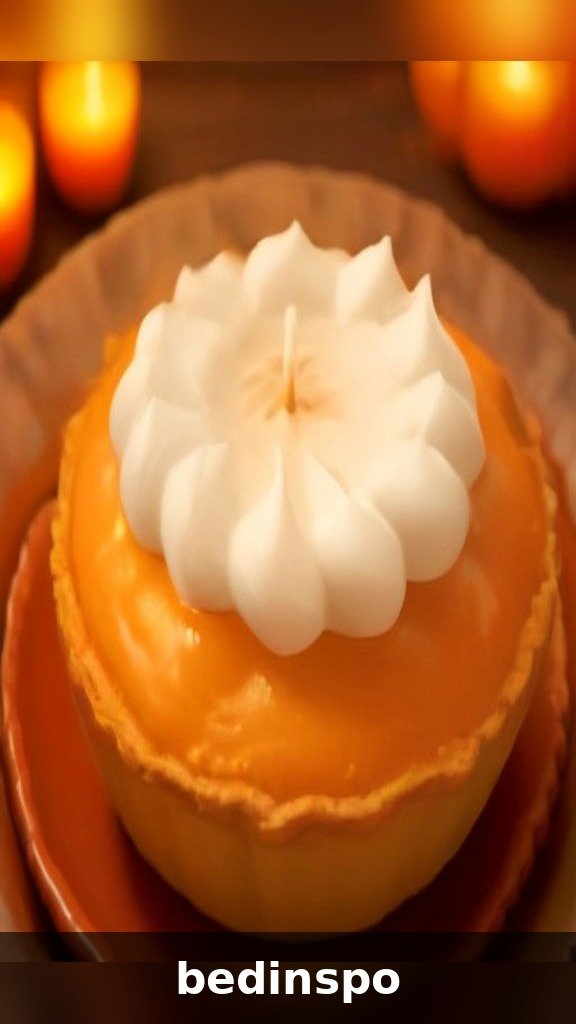
There is exactly one dessert that Thanksgiving cannot happen without, and it’s this one. A classic pumpkin pie — silky, deeply spiced custard cradled in a flaky, golden crust, crowned with a cloud of whipped cream. One bite and you understand why this pie has been the grand finale of the holiday table for generations.
This is the pumpkin pie recipe I have baked every single November for as long as I can remember, and it has never once let me down. The filling is smooth as velvet, the spice blend is warm without being overpowering, and — this is the part everyone asks about — the top bakes up flawless, without a single crack. Yes, really. No cracks, no sinking center, no weepy filling.
In this post you’ll get the full classic recipe with a from-scratch flaky crust (plus honest store-bought shortcuts), my no-crack baking method, the jiggle test that tells you exactly when the pie is done, five favorite variations, and complete make-ahead, storage, and freezing instructions. Pin it now — your Thanksgiving table is about to get a whole lot easier, and a whole lot more delicious.
Why This Pumpkin Pie Recipe Works Every Time
I have eaten a lot of disappointing pumpkin pie in my life: grainy filling, bland spice, soggy crust, a top that looks like a dried lake bed. This recipe is engineered to avoid every single one of those failures.
The right pumpkin ratio. One full can of pumpkin purée plus evaporated milk gives you a filling that’s rich and set, never soupy. Too much milk and the pie weeps; too little and it bakes up dense and chalky. This ratio is the sweet spot.
Two sugars, deeper flavor. Brown sugar does the heavy lifting with its molasses warmth, while a little granulated sugar keeps the sweetness clean and bright.
A real spice blend. Cinnamon leads, but ginger, nutmeg, and cloves round it out so the filling tastes like autumn itself — warm, layered, and unmistakably pumpkin pie.
A gentle bake. Custard pies crack when they’re baked too hot or too long. This recipe uses a moderate oven and a cooling trick that keeps the top glassy-smooth every time (all the details are in the no-crack section below).
Blind-baked crust. Ten minutes of pre-baking means the bottom crust stays crisp and flaky instead of turning gummy under the wet filling. It’s one small step that makes a world of difference.
Ingredients You’ll Need
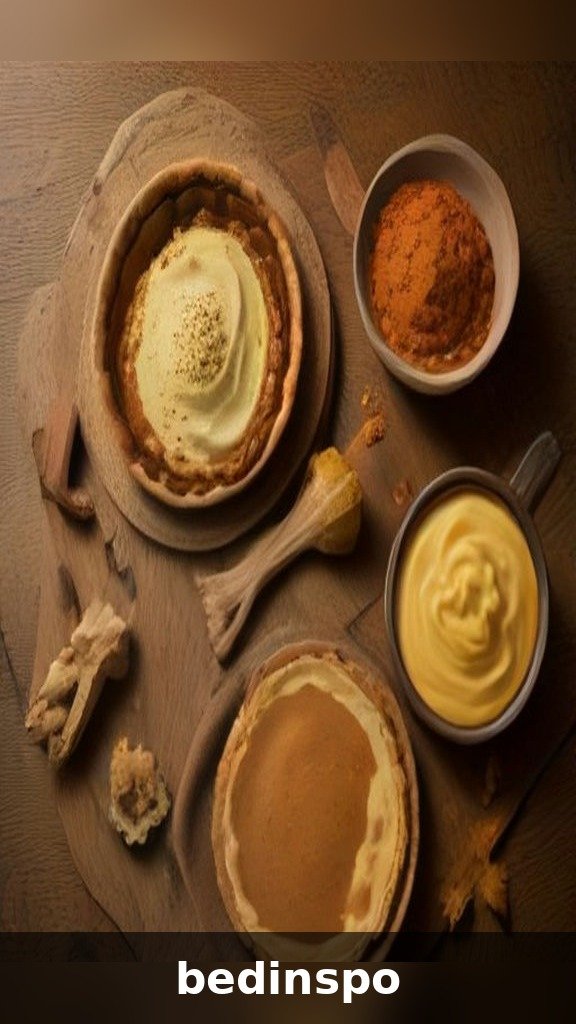
Nothing exotic here — pumpkin pie is a humble, pantry-friendly dessert. Here’s everything for one classic 9-inch pie:
For the Flaky Pie Crust
- 1 1/4 cups all-purpose flour, plus more for rolling
- 1 tablespoon granulated sugar
- 1/2 teaspoon fine sea salt
- 1/2 cup (1 stick) very cold unsalted butter, cut into small cubes
- 3–5 tablespoons ice water
For the Pumpkin Filling
- 1 can (15 oz) pumpkin purée — NOT pumpkin pie filling
- 3/4 cup packed brown sugar
- 1/4 cup granulated sugar
- 1 teaspoon ground cinnamon
- 1/2 teaspoon ground ginger
- 1/4 teaspoon ground nutmeg
- 1/8 teaspoon ground cloves
- 1/2 teaspoon fine sea salt
- 2 large eggs plus 1 egg yolk, at room temperature
- 1 can (12 oz) evaporated milk (or 1 1/4 cups heavy cream)
- 1 teaspoon pure vanilla extract
Purée vs. pie filling — read the can! Pumpkin purée is 100% plain pumpkin. Pumpkin pie filling is pre-sweetened and pre-spiced, and using it will throw off the entire recipe. The ingredient list on the can should say just “pumpkin.” Libby’s is the classic choice for its thick, consistent texture; if your purée looks loose or watery, let it drain in a fine-mesh strainer for 15 minutes so your filling sets firmly.
Fresh pumpkin works too: roast a halved sugar (pie) pumpkin at 400°F until completely tender, scoop and blend the flesh until silky, then drain well. Measure out 1 3/4 cups — the same as a 15 oz can.
The Crust: Homemade, Store-Bought, or Graham?
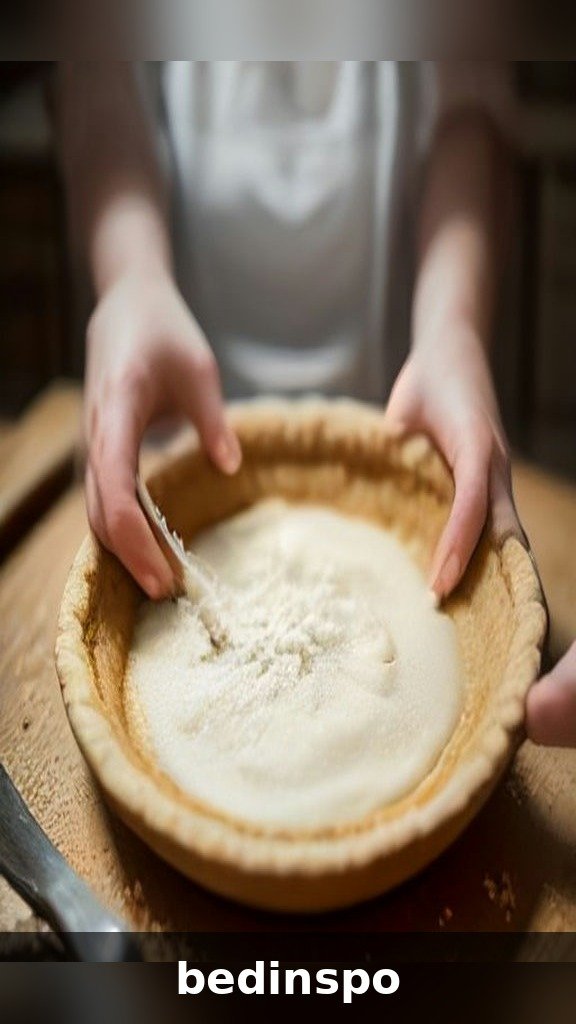
Let’s be honest about crust, because you have three good options and none of them is wrong.
The homemade flaky crust (recipe above) is the gold standard — buttery, crisp, and shatteringly flaky. It takes about 15 minutes of hands-on time, and the full method is in Step 1 below. If you’ve never made one, this is a forgiving place to start: the dough is sturdy, and a rustic crimp hides a multitude of sins.
Store-bought refrigerated crust is the weeknight hero. Unroll it, fit it into your pie dish, crimp, blind-bake, and nobody — truly nobody — will complain. Choose the kind that comes as rolled sheets rather than pre-fitted in a foil tin; the crust bakes up flakier and you get to use your pretty pie dish.
A graham cracker or gingersnap crust is the fun twist: 1 1/2 cups fine crumbs mixed with 5 tablespoons melted butter and 2 tablespoons sugar, pressed firmly into the dish and baked at 350°F for 8 minutes. Gingersnap crust with pumpkin filling is a combination people will talk about until next Thanksgiving.
Whichever crust you choose, one rule applies to all of them: blind-bake it first (see Step 2). A wet custard filling poured into a raw crust is the number-one cause of the dreaded soggy bottom.
How to Make Pumpkin Pie: Step by Step

Here’s the full method from crust to cooling rack. Read it through once before you start — the pie itself is easy, and most of the time is hands-off.
Ingredients
See the full ingredient list in the Ingredients section above — the same measurements apply here.
Instructions
- Make the crust dough. Whisk the flour, sugar, and salt in a large bowl. Cut in the cold butter with a pastry blender or your fingertips until the mixture looks like coarse crumbs with some pea-sized pieces of butter remaining — those pieces are what make it flaky. Sprinkle in the ice water, 1 tablespoon at a time, tossing with a fork just until the dough holds together when pinched. Form into a disk, wrap, and chill for at least 1 hour (or up to 2 days).
- Roll and fit. On a lightly floured surface, roll the dough into a 12-inch circle. Ease it into a 9-inch pie dish (glass or ceramic lets you watch the bottom brown), trim the overhang to 1 inch, fold it under, and crimp the edges with your fingers or a fork. Chill the shaped crust in the freezer for 15 minutes — cold dough holds its crimp and shrinks less.
- Blind-bake the crust. Heat the oven to 375°F (190°C). Line the chilled crust with parchment paper and fill with pie weights, dried beans, or uncooked rice, right up to the edges. Bake 15 minutes. Carefully lift out the parchment and weights, prick the bottom a few times with a fork, and bake 5–8 minutes more, until the crust looks dry and barely golden at the edges. This hot, pre-baked shell is your insurance against a soggy bottom.
- Whisk the filling. While the crust bakes, whisk the pumpkin purée, both sugars, all the spices, and salt in a large bowl until smooth. Whisk in the eggs and yolk, then the evaporated milk and vanilla, mixing just until everything is blended and glossy. Don’t beat it vigorously — whipping in air creates bubbles that can mar the surface.
- Fill and bake. Set the hot blind-baked crust on a rimmed baking sheet (this makes moving a full pie much safer). Pour the filling in — it should come nearly to the top of the crimp. Bake at 375°F for 45–55 minutes. The pie is done when the edges look set and slightly puffed and the center jiggles gently as one piece when you nudge the pan — like set gelatin, not like waves. A knife inserted 1 inch from the edge should come out clean. Full details are in the doneness section below.
- Cool slowly — this is the no-crack secret. When the pie passes the jiggle test, turn the oven OFF, crack the door open a few inches, and let the pie cool inside the oven for 1 hour. This gradual cooldown prevents the sudden temperature shock that splits custard tops. Then move the pie to a wire rack to cool completely, about 2 more hours.
- Chill and serve. Cover and refrigerate for at least 4 hours, ideally overnight — pumpkin pie tastes dramatically better cold, when the spices have bloomed and the custard has fully set. Serve each slice with a generous dollop of whipped cream.
Prep time: 25 minutes (plus 1 hour chilling) · Bake time: about 1 hour · Cooling & chilling: 5+ hours · Yield: one 9-inch pie, 8 slices
How to Keep Pumpkin Pie From Cracking
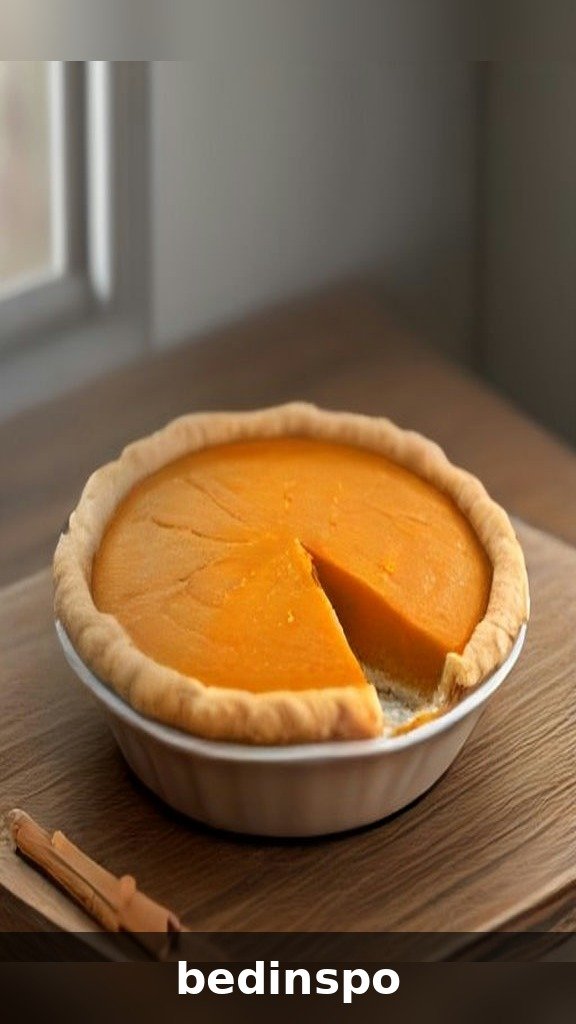
A crack in the top of a pumpkin pie is purely cosmetic — the pie will still taste wonderful — but if you want that glossy, magazine-cover finish, these are the rules that guarantee it:
- Don’t overbake. This is the big one, responsible for 90% of cracks. Overbaked custard contracts as it cools and splits. Pull the pie while the center still jiggles — carryover heat and chilling finish the job.
- Don’t overmix the filling. Whisk just until combined. Beating eggs vigorously whips in air and makes the filling puff in the oven, then deflate and crack as it settles.
- Use room-temperature eggs and milk. Cold ingredients make the custard bake unevenly, so the edges overcook while the center struggles. Set everything out 30 minutes ahead.
- Bake at a moderate temperature. 375°F is the sweet spot. A hotter oven sets the edges too fast and practically guarantees a split.
- Cool it gradually. The oven-off, door-cracked cooldown in Step 6 is the professional trick. Moving a hot custard pie straight onto a cold counter is a recipe for a crack.
- Chill before slicing. Cutting into a warm pie can tear the surface. A full chill gives you a firm, flawless top and clean slices.
And if it cracks anyway? Cover it with whipped cream, a drizzle of caramel, or a scattering of candied pecans and serve it proudly. I have never once seen a guest refuse a slice because of a crack under a mountain of whipped cream.
How to Tell When Pumpkin Pie Is Done
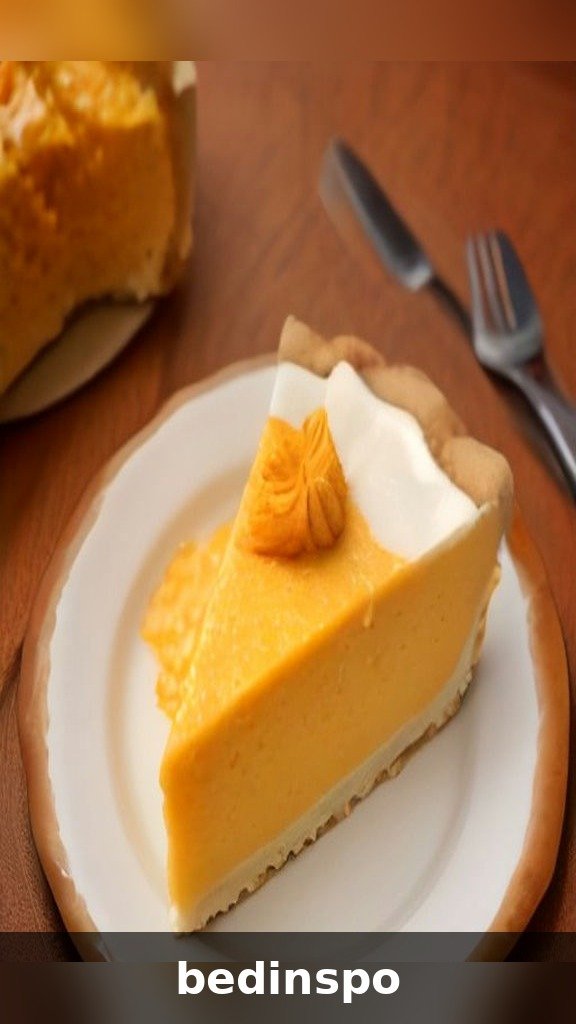
More pumpkin pies are ruined by the clock than by any other tool in the kitchen. Ovens vary, pie dishes vary, and “50 minutes” is only a rough guess. Use these three tests instead:
- The jiggle test (the gold standard): wearing oven mitts, gently nudge the oven rack or pan. The outer 2 inches of the pie should look set and matte, and the center — a circle about 2 inches wide — should jiggle as one gentle wobble, like a bowl of set gelatin. If the center ripples, sloshes, or looks wet and shiny, it needs 5 more minutes. If nothing moves at all, it has gone a bit too far (serve it anyway — whipped cream fixes all).
- The knife test: insert a thin knife about 1 inch from the outer edge. It should come out clean. Never test the very center — it finishes setting as the pie cools and chills.
- The temperature test: an instant-read thermometer in the center should read 170–175°F. Above 180°F, expect cracks.
Remember: the pie will look slightly underdone in the middle when it’s actually perfect. Trust the jiggle, pull it early rather than late, and let the slow cooldown do the rest.
Serving Ideas & Toppings
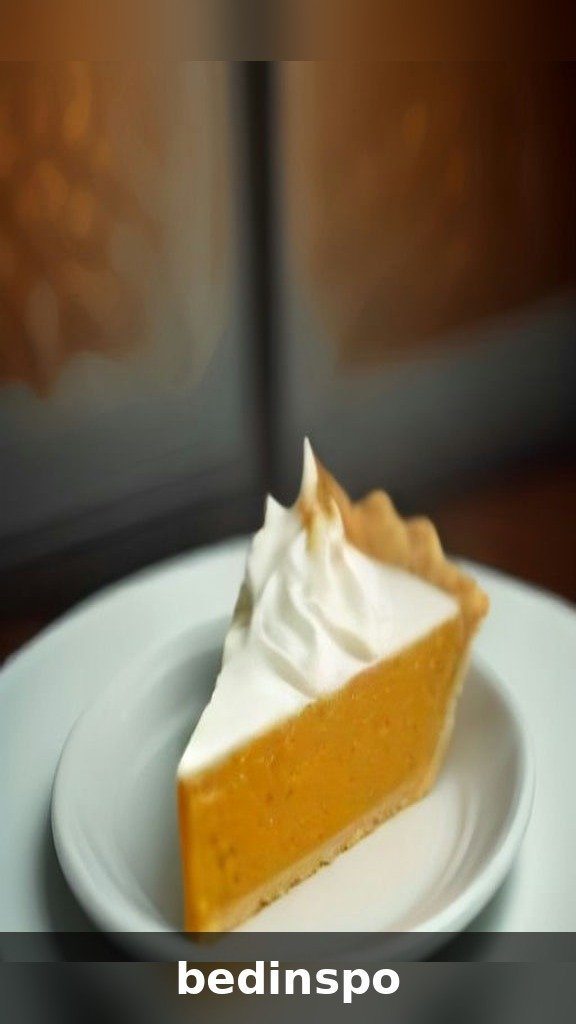
A slice of pumpkin pie is a beautiful thing all on its own, but a little something on top turns it into a moment. Serve the pie well-chilled, cut with a long thin knife dipped in hot water and wiped clean between slices for those sharp, bakery-style edges.
- Classic whipped cream: 1 cup cold heavy cream beaten with 2 tablespoons powdered sugar and 1/2 teaspoon vanilla to soft peaks. Dollop generously.
- Spiced whipped cream: add 1/2 teaspoon cinnamon and a pinch of nutmeg to the classic version — it echoes the pie’s spices beautifully.
- Maple whipped cream: swap the sugar for 2 tablespoons pure maple syrup. Autumn on autumn.
- A drizzle: warm salted caramel or maple syrup zigzagged over the slice just before serving.
- Crunch: a spoonful of candied pecans or crushed gingersnaps scattered over the whipped cream.
- On the side: strong coffee, hot spiced cider, or a chai latte are this pie’s best friends. For the truly devoted, a slice for breakfast the next morning, eaten standing at the fridge, is a time-honored tradition.
Variations You’ll Love
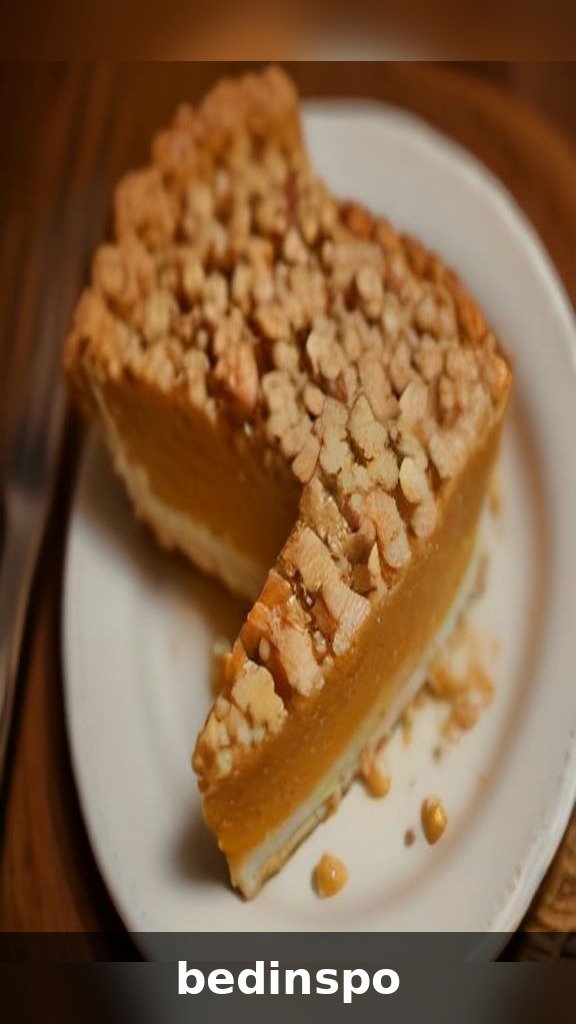
The classic is perfect as-is, but once you’ve mastered it, these twists keep pumpkin season interesting:
Maple Pumpkin Pie
Replace the granulated sugar with 1/3 cup pure maple syrup and add an extra pinch of salt. The flavor is deeper and more complex, with a gentle woodsy sweetness. Serve with maple whipped cream (above) for the full effect.
Bourbon Pecan Streusel Pumpkin Pie
Stir 1 tablespoon of bourbon into the filling. For the topping, mix 1/2 cup chopped pecans, 1/4 cup flour, 1/4 cup brown sugar, and 3 tablespoons melted butter into crumbs; scatter over the pie for the last 20 minutes of baking. You get silky custard, crunchy streusel, and a whisper of bourbon in every bite.
Chocolate Swirl Pumpkin Pie
Whisk 1/3 cup of the finished filling with 3 ounces of melted dark chocolate. Dollop the chocolate mixture over the filled crust and swirl once or twice with a knife — no more, or you’ll muddy the design. The marbled top is stunning, no whipped cream artistry required.
Gingersnap Crust Pumpkin Pie
Use the gingersnap crumb crust from the crust section and add a pinch of extra ground ginger to the filling. The spicy, crunchy crust against the cool custard is the contrast people rave about.
Mini Pumpkin Pies
Cut the rolled crust into 4-inch rounds and press into a muffin tin (you’ll get about 12). Fill each nearly full and bake at 375°F for 22–26 minutes, until the centers just jiggle. Perfect for parties, gifting, and portion control — and they freeze beautifully.
How to Cut Clean, Perfect Slices
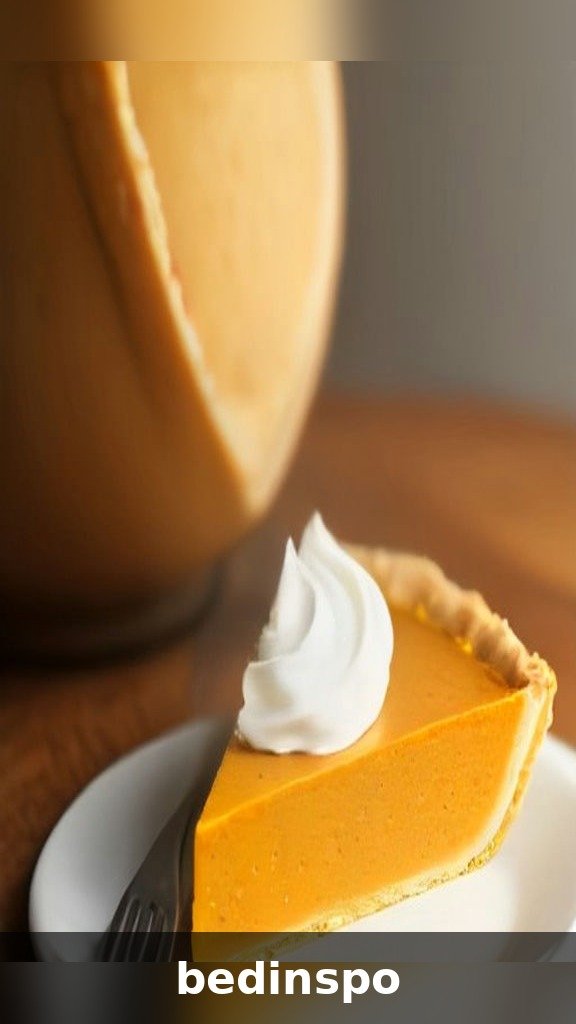
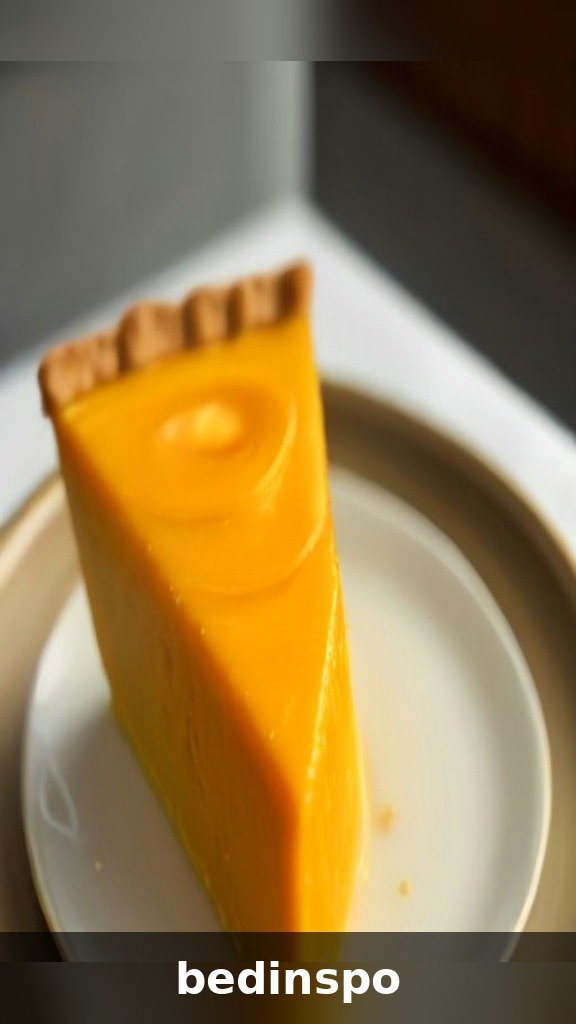
A flawless pie deserves flawless slices. Custard is delicate, but with the right technique every piece comes out with sharp edges and a clean point — just like the pictures.
- Chill it completely first. Warm custard slumps; cold custard cuts like a dream. The pie should have at least 4 hours in the fridge before the knife comes out.
- Use a long, thin knife. A chef’s knife or long slicing knife, not a serrated bread knife — serration tears custard.
- Hot water is the secret. Dip the knife in hot water and wipe it dry before the first cut, then dip and wipe between every slice. The warm blade glides through the custard without dragging.
- Cut with confidence. Press straight down through the filling, then pull the knife toward you to cut through the bottom crust. Hesitant sawing is what mangles slices.
- The first slice trick: the first piece is always the hardest to lift. Cut two adjacent slices, then slide a thin pie server under the first one and lift from the point — it comes out cleanly.
- Serve on chilled plates if you want to be fancy — the slice holds its shape beautifully, and a cold plate keeps the whipped cream standing tall.
Make-Ahead Instructions (Thanksgiving Lifesaver!)
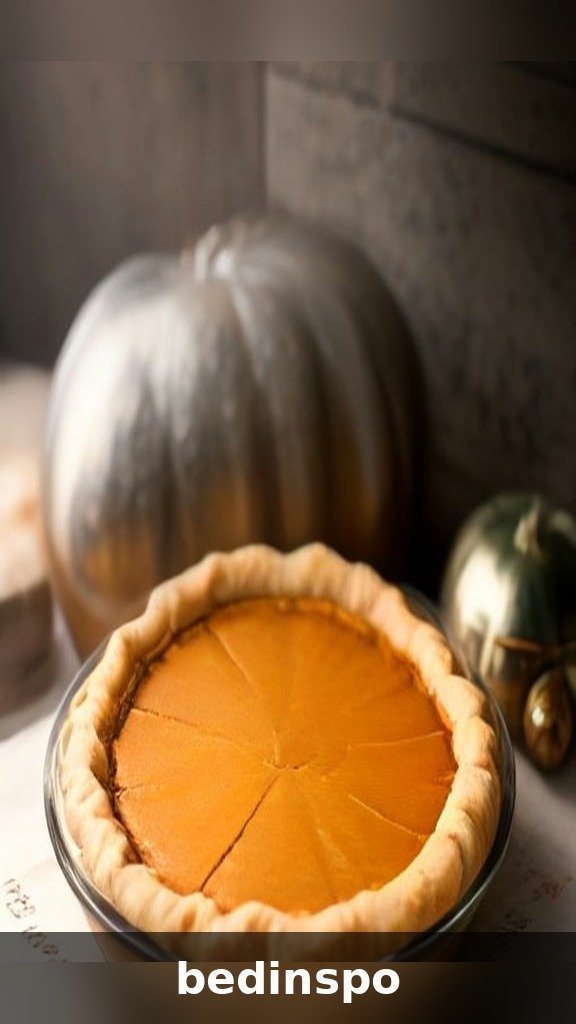
Here is the beautiful truth about pumpkin pie: it is actually better made ahead. The spices bloom, the custard sets firmly, and you free up precious oven space on the big day. Build it into your holiday schedule like this:
- Up to 2 days ahead: make the crust dough, wrap the disk tightly, and refrigerate. Or roll it out, fit and crimp it in the pie dish, cover, and refrigerate the unbaked shell.
- 1 day ahead (the sweet spot): bake the whole pie, cool it completely using the slow-cool method, cover loosely with foil or plastic wrap, and refrigerate. Thanksgiving Day, it comes straight from the fridge to the table.
- The morning of: make the whipped cream (it holds 24 hours in the fridge in a covered bowl — give it a quick whisk before serving) and set the pie out 20–30 minutes before dessert if you like it cool rather than fridge-cold. Classic pumpkin pie is traditionally served cold or at room temperature, never warm.
- Also freezable: crust dough disks freeze for up to 3 months, and the fully baked pie freezes for up to 1 month (see the freezing section below) — so the truly organized can bake this pie in early November.
How to Store Pumpkin Pie

This is the question that causes more arguments than any other in pumpkin pie land, so let’s settle it: pumpkin pie must be refrigerated. It’s a custard pie — eggs and milk baked into a filling that sits squarely in the food-safety category of “refrigerate after two hours.” The pies on grocery store shelves are made with commercial preservatives; your homemade one is not, and it belongs in the fridge.
- Refrigerator: cover the cooled pie loosely with plastic wrap or foil (tent it so the wrap doesn’t stick to that flawless top) and refrigerate for up to 4 days. The flavor honestly peaks on day two.
- Counter: no more than 2 hours at room temperature — fine for serving during dinner and dessert, then back into the fridge it goes.
- Individual slices: store in an airtight container in the fridge for up to 4 days. Handy for portioning out “tomorrow’s slice” before anyone else claims it.
- Reviving the crust: if the crust softens a touch by day three, a slice warmed for 10 minutes in a 300°F oven crisps it back up — just let it cool again before serving for the proper texture.
Freezing Instructions
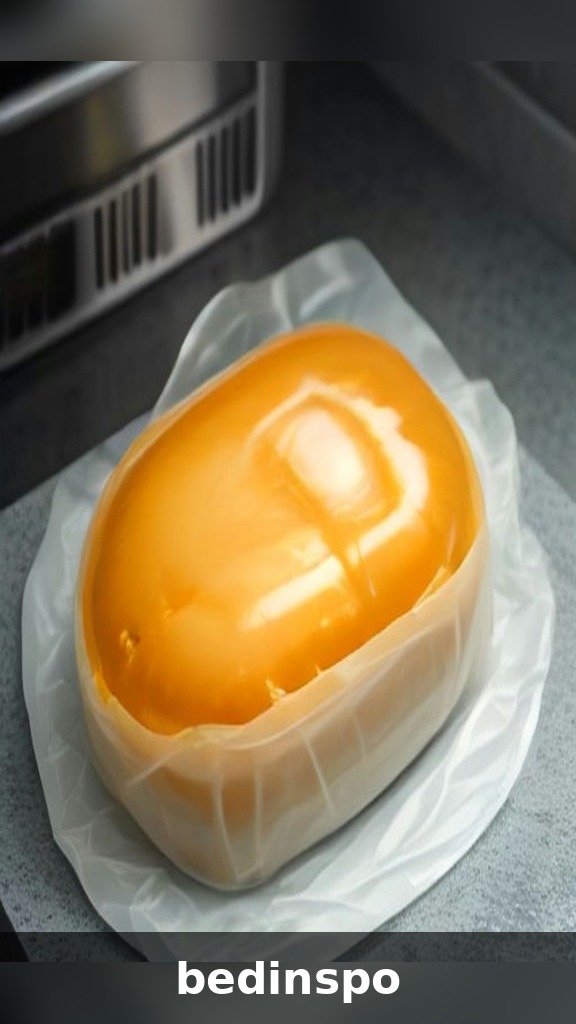
Pumpkin pie freezes surprisingly well, which makes it a secret weapon for early holiday prep. A few rules keep the texture perfect:
- Freeze it baked and fully chilled. Cool the pie completely, chill it overnight in the fridge, then wrap the whole pie (dish and all, if it’s freezer-safe) tightly in two layers of plastic wrap plus a layer of foil.
- Freeze for up to 1 month. Longer than that and the custard can start to weep when thawed.
- Thaw slowly. Move the wrapped pie to the fridge for 8–12 hours (overnight is easiest), then unwrap and let it sit at room temperature for about 30 minutes before serving. Never thaw on the counter for hours — condensation will soak the crust.
- Freeze slices too: wrap individual slices tightly and freeze up to 1 month. A single slice thaws in the fridge in about 2 hours — instant dessert any night of the week.
- One warning: never freeze a pie topped with whipped cream. Add the cream fresh after thawing.
Troubleshooting: Common Pumpkin Pie Problems
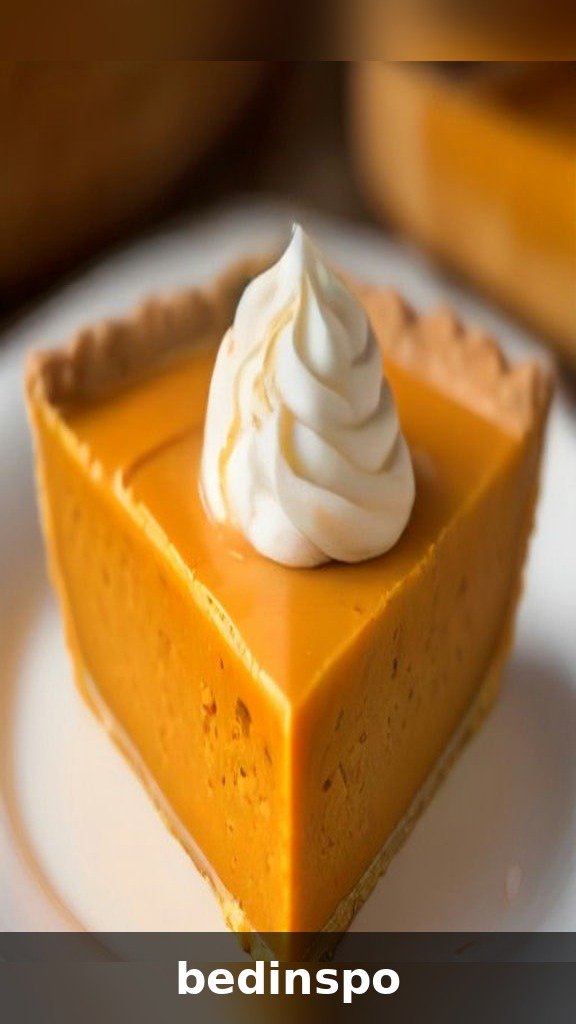
Even experienced bakers hit a snag now and then. Here’s what went wrong — and how to fix it next time:
- Cracked top: overbaked, overmixed, or cooled too fast. Pull the pie while the center still jiggles, whisk gently, and use the slow oven-cool. (Full rescue plan in the no-crack section above.)
- Soggy bottom crust: the crust wasn’t blind-baked, or the filling sat in the raw shell too long. Always blind-bake, and pour the filling into the still-hot crust.
- Sunken center: the pie was underbaked, or the oven door was slammed mid-bake. Check with the jiggle test, and open and close the door like there’s a sleeping baby in the kitchen.
- Weepy, watery filling: the purée was loose, or the pie was cut before chilling. Drain watery purée, and always chill at least 4 hours before slicing.
- Grainy texture: the custard was overbaked and the eggs curdled slightly. Lower the oven by 25°F if your oven runs hot, and pull at 175°F in the center.
- Shrunken crust: the dough wasn’t rested or was stretched into the dish. Chill the shaped crust 15 minutes in the freezer and never tug dough to fit — ease it in.
Pumpkin Pie FAQs
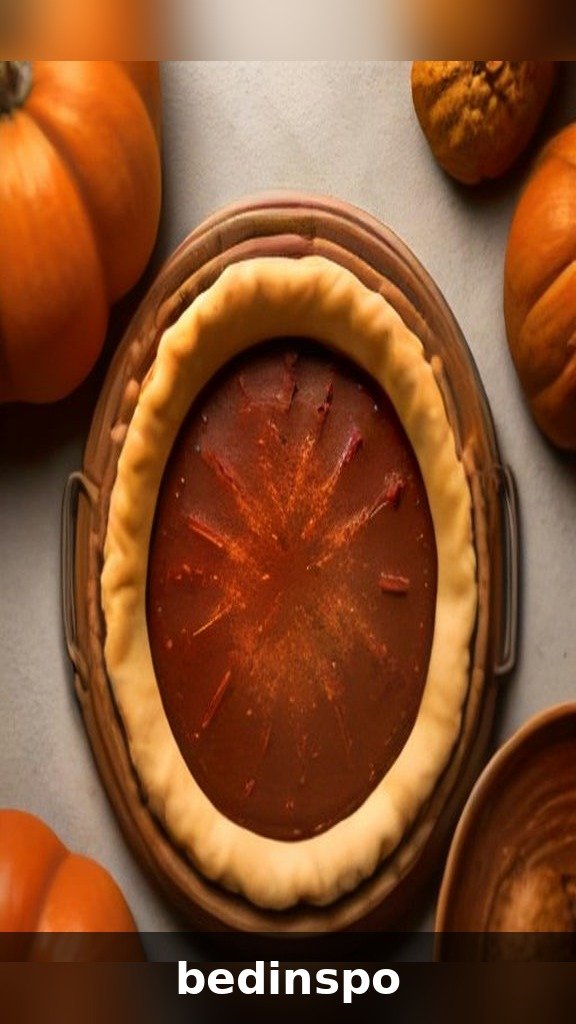
Can I use fresh pumpkin instead of canned?
Absolutely. Roast a sugar pumpkin until tender, blend the flesh until completely smooth, and drain it well — fresh purée is wetter than canned, and excess water makes a weepy pie. Measure 1 3/4 cups after draining to replace one 15 oz can.
Why does pumpkin pie need to be refrigerated?
Because it’s a custard. The eggs and milk in the filling make it perishable, just like a quiche or a cheesecake. Commercial bakery pies contain preservatives that let them sit out; homemade pumpkin pie should be refrigerated within 2 hours and keeps for up to 4 days.
How far ahead can I make pumpkin pie?
The sweet spot is 1 day ahead — the flavor and texture are at their peak after an overnight chill, and it keeps beautifully for up to 4 days total. For longer lead time, freeze the baked pie for up to 1 month and thaw it overnight in the fridge.
My pie cracked. Can I fix it?
You can’t unfuse a crack, but you can absolutely hide one: cover the top with whipped cream, a caramel drizzle, candied pecans, or a dusting of cinnamon. And it still tastes exactly as wonderful — cracks are cosmetic only.
Can I make this pie without evaporated milk?
Yes. Swap in 1 1/4 cups heavy cream for an extra-rich pie, or 1 1/4 cups half-and-half for something between the two. Regular milk alone makes the filling too loose, so if that’s all you have, whisk 1 tablespoon of cornstarch into the filling to help it set.
What size pie dish is best?
A standard 9-inch pie dish, about 1 1/4 inches deep. Glass and ceramic are ideal because they heat evenly and let you check the bottom crust’s color. Avoid deep-dish pans for this recipe — the filling layer gets too thick and won’t set evenly.
Conclusion

That’s everything you need for the pumpkin pie of your Thanksgiving dreams: a flaky, blind-baked crust, a silky and deeply spiced custard, the jiggle test that takes the guesswork out of doneness, and the slow-cool secret that keeps the top smooth and crack-free. Make it a day ahead, chill it well, and crown it with a mountain of whipped cream.
Pin this recipe to your Thanksgiving board now so it’s waiting for you every November — and when your family asks what you did differently this year, just smile. Some secrets are worth keeping. Happy baking, and happy Thanksgiving! 🎃