25 Peanut Butter Blossom Cookies
25 Peanut Butter Blossom Cookies
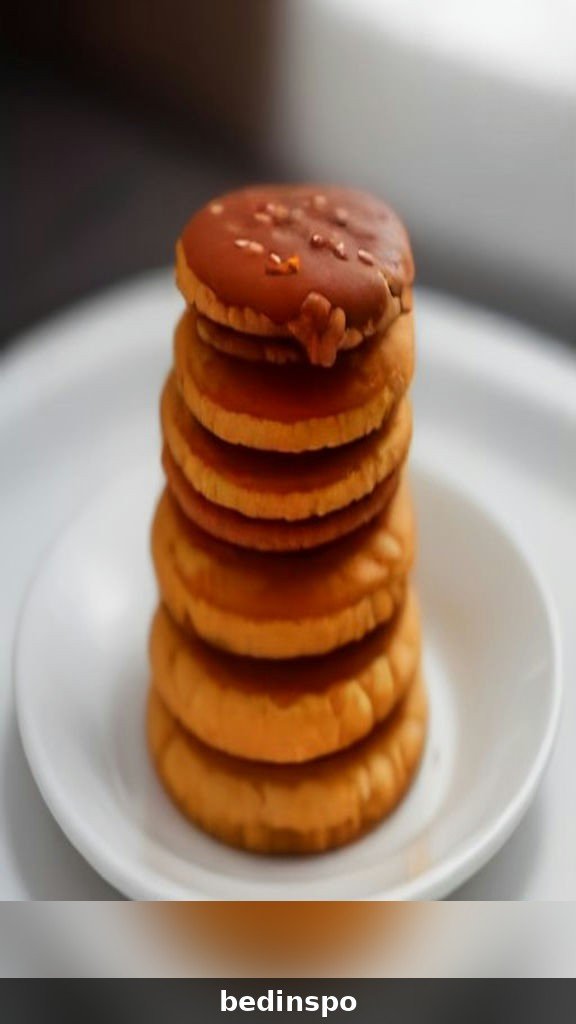
There is no cookie that tastes more like the holidays than a peanut butter blossom. The soft, chewy peanut butter cookie is rolled in sparkling sugar, baked until the edges are golden, and topped with a chocolate kiss that melts just slightly into the warm cookie. One bite and you will understand why this cookie has been a Christmas favorite for generations.
Before we start, one important note: these are peanut butter blossom cookies, a completely different cookie from the buckeye balls you may have seen elsewhere. Those are no-bake peanut butter balls dipped in chocolate. This recipe is a baked cookie — a soft peanut butter cookie with a chocolate kiss pressed into the center while it is still warm from the oven. Both are wonderful holiday treats, but they are made in completely different ways, and this guide is all about the baked blossom version.
This guide gives you twenty-five ways to make, bake, top, store, gift, and enjoy peanut butter blossom cookies — from choosing the best peanut butter and the perfect sugar roll to pressing the chocolate kiss, gluten-free swaps, cookie exchange tips, and gift packaging ideas. Whether you are baking for your family, a holiday party, or a cookie exchange, these cookies are festive, fun, and unforgettable.
1. What Are Peanut Butter Blossom Cookies?
Peanut butter blossom cookies are soft, chewy peanut butter cookies rolled in granulated sugar and topped with a chocolate kiss candy pressed into the center while the cookie is still warm. The cookie has a crinkled, crackled surface, a golden color, and a sweet, nutty flavor. The chocolate kiss softens slightly from the heat of the cookie but keeps its shape, so every cookie has a perfect little chocolate peak on top.
The cookies have been a holiday favorite since the 1950s, when a home baker won a national baking contest with this exact combination. They are one of the easiest holiday cookies to make, because there is no rolling out dough and no cookie cutters — you simply roll the dough into balls, coat them in sugar, bake them, and press a chocolate kiss into the center of each warm cookie.
2. Choosing the Best Peanut Butter
The peanut butter you choose makes a real difference in these cookies. Use a standard creamy peanut butter, not the natural kind that separates, because the natural kind makes the dough too oily and the cookies spread too much. A classic creamy peanut butter gives the cookies a smooth texture and a strong, sweet peanut flavor.
Crunchy peanut butter also works, and it adds a lovely texture with little bits of peanut in every bite. If you use crunchy, reduce the sugar slightly, because the peanuts add their own sweetness. Avoid peanut butter that is very sweet or very salty — a plain, classic peanut butter lets the cookie flavor shine through. Use a fresh jar, because old peanut butter can taste stale and make the cookies taste flat.
3. The Chocolate Kiss Topping
The chocolate kiss on top is what makes a blossom a blossom. Use classic milk chocolate kiss candies, and unwrap them all before you start baking, because you will need to press them into the cookies the moment they come out of the oven. If you wait too long, the cookies will be too firm and the kiss will not stick.
Press the kiss gently into the center of each warm cookie, just until it sits snugly in the soft center. Do not press too hard, or the cookie will crack around the edges. The heat of the cookie will soften the kiss slightly, so let the cookies cool completely on the baking sheet before moving them — if you move them too soon, the softened kiss will slide right off.
4. The Sugar Roll
Rolling the dough balls in granulated sugar is the step that gives blossom cookies their sparkle and their crackled surface. Fill a shallow bowl with about half a cup of granulated sugar, and roll each dough ball in it until it is completely coated. The sugar caramelizes slightly in the oven, giving the cookies a crisp, sparkly shell.
Use plain granulated sugar for the classic look, or try colored sugar for a festive twist — red and green sugar make these cookies look like they came straight from a Christmas cookie tray. You can also use coarse sanding sugar for extra sparkle. Roll the balls twice if you want an extra thick coating, and do not skip this step, or the cookies will be plain and flat instead of sparkly and crackled.
5. The Soft, Chewy Texture
The soft, chewy texture is what makes peanut butter blossoms so beloved, and it comes from three things: brown sugar, peanut butter, and underbaking slightly. Brown sugar holds more moisture than white sugar, so the centers stay soft. Peanut butter adds fat and richness, so the cookies stay tender. And taking the cookies out of the oven while the centers still look soft lets them finish baking on the hot pan.
Use a mix of brown sugar and white sugar in the dough — about half and half — for the best texture. The brown sugar gives chewiness, and the white sugar gives crisp edges. Do not overmix the dough after the flour goes in, or the cookies will be tough instead of tender. Stop as soon as you cannot see any more dry flour, and the cookies will be soft and chewy every time.
6. Rolling the Dough Balls
Roll the dough into balls about one inch across, using a small cookie scoop to keep them uniform. Roll each ball in the sugar mixture until it is completely coated, pressing gently so the sugar sticks. The coating should be thick and even, with no bare spots — the sugar shell is what gives blossom cookies their signature look and crunch.
Space the balls two inches apart on the baking sheet, because even chilled dough spreads a little. Do not flatten the balls before baking — the round shape is what makes the cookies puff up and crackle in the oven, and they will settle slightly on their own. A perfect blossom is round, even, and about the size of a golf ball when it comes out of the oven.
7. Baking Time and Temperature
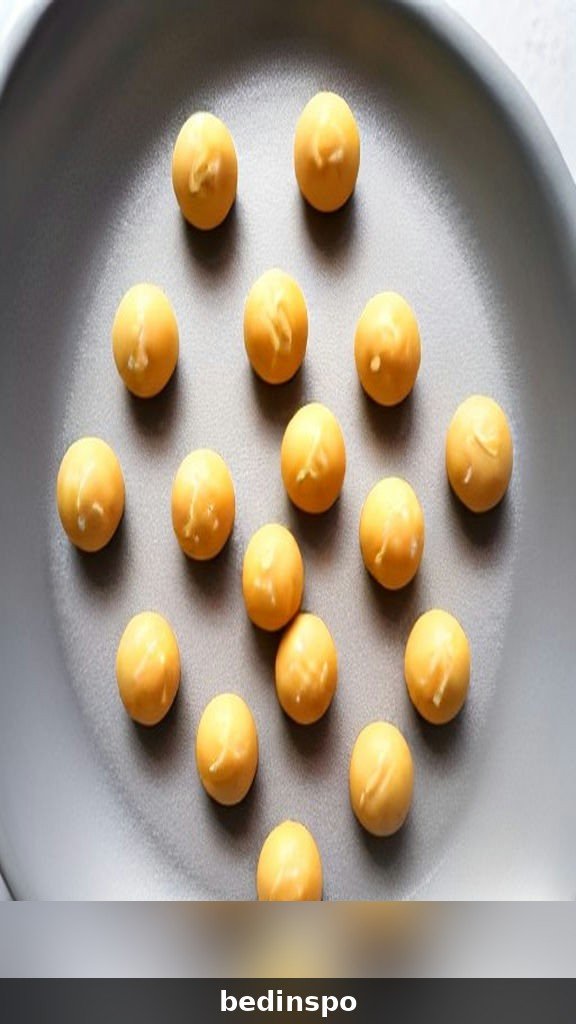
Bake these cookies at 375 degrees Fahrenheit for eight to ten minutes, until the edges are set and lightly golden but the centers still look soft and puffy. The cookies will look underdone in the middle when you take them out, and that is exactly right — they finish baking on the hot pan as they cool, and the centers set into a soft, chewy texture.
Do not wait until the centers look firm, or your cookies will be dry and hard by the time they cool. The crackled tops will form as the cookies cool, so do not worry if they look smooth when they first come out of the oven. Press the chocolate kisses into the centers immediately, then let the cookies sit on the baking sheet for five minutes before moving them to a wire rack.
8. Pressing the Kiss: Timing Matters
Pressing the chocolate kiss into the cookie at the right moment is the most important skill in this recipe. The kiss goes in the moment the cookies come out of the oven, while they are still hot and soft. If you wait even two minutes, the cookies will be too firm and the kiss will sit on top instead of sinking in.
Have all the kisses unwrapped and ready in a bowl beside the oven before the cookies finish baking. Work quickly, pressing one kiss into each cookie in turn, and do not press too hard. The kiss should sink about halfway into the cookie and stay upright. Once all the kisses are in, leave the cookies completely alone until they are cool — touching them while the chocolate is soft will smudge the kiss and ruin the look.
9. The Crackled Top
The crackled top is the signature look of a peanut butter blossom, and it comes from the sugar coating. As the cookies puff up in the oven, the sugar shell cracks into a beautiful pattern of fine lines across the top. The cracks are a sign that the cookies are perfectly baked — soft inside, crisp outside, and coated in sparkly sugar.
To get the best crackle, make sure the dough balls are well coated in sugar, and do not flatten them before baking. The round shape helps the cookies puff up evenly, which makes the cracks more dramatic. A thick coating also helps — roll the dough balls twice in the sugar if you want an extra crackly top.
10. Chilling the Dough
Chilling the dough is important for blossom cookies, because the dough is soft and buttery, and warm dough spreads too much in the oven. Chill the dough for at least thirty minutes, or up to overnight, and the cookies will bake up thick and tall with a soft, chewy middle. Cold dough also holds the sugar coating better, so the shell stays crisp and crackly.
If you chill the dough overnight, let it sit on the counter for ten minutes before rolling so it is soft enough to handle. The flavors also improve with a long chill — the peanut butter and brown sugar deepen, and the flour absorbs the moisture. A long chill is the same trick that makes the best chocolate chip cookies taste so much better the next day, and it works just as well for blossom cookies.
11. Making Them Ahead
These cookies are perfect for making ahead, because the dough can be made up to three days in advance and kept in the fridge. Wrap the dough tightly in plastic wrap, and let it sit on the counter for fifteen minutes before rolling so it is soft enough to handle. The flavor actually improves with a long chill, because the peanut butter and brown sugar deepen as the dough rests.
You can also roll the dough into balls, coat them in sugar, and freeze them on a baking sheet until solid, then transfer them to a freezer bag. Bake them straight from frozen with two extra minutes of baking time, and press the kisses in the moment they come out of the oven. If you are making a big batch for a cookie exchange, roll the balls over two days and bake them all at once.
12. Gluten-Free Swaps
These cookies adapt well to a gluten-free diet with a one-to-one gluten-free flour blend. Use a blend that already contains xanthan gum, and measure it by weight for the most accurate result. The cookies will be slightly more delicate than the wheat version, so let them cool completely on the baking sheet before moving them to a wire rack.
Chilling the dough is even more important for gluten-free blossom cookies, because the flour needs time to absorb the moisture. Chill for at least an hour, and handle the dough gently when rolling. The flavor is exactly the same — rich peanut butter, sparkling sugar, and melty chocolate — and nobody at the cookie exchange will guess they are gluten-free.
13. Dairy-Free Swaps
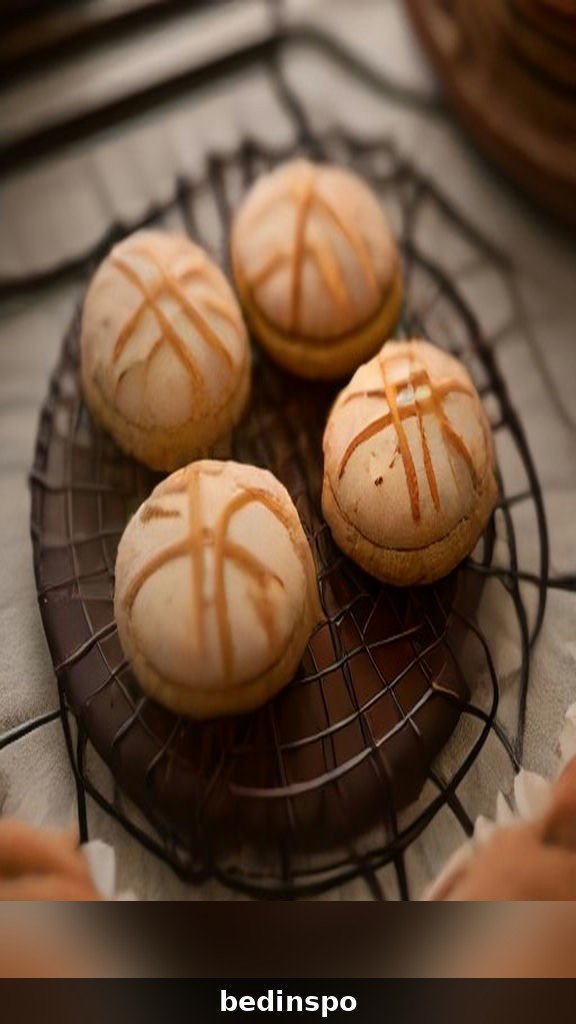
To make these cookies dairy-free, swap the butter for a good plant-based butter that comes in stick form. The texture will be very close to the original, though the cookies may spread a little more, so chill the dough for a full hour and bake them on a cool baking sheet. Make sure your chocolate kisses are dairy-free, which some dark chocolate versions are.
Coconut oil also works in place of butter, but it makes the cookies slightly crispier and adds a faint coconut flavor that actually pairs nicely with the peanut butter. Use refined coconut oil if you do not want the coconut taste, and unrefined if you do. Either way, the cookies will still be soft, chewy, and completely delicious.
14. Storing Your Peanut Butter Blossoms
Store these cookies in an airtight container at room temperature for up to a week, and they will stay soft and chewy the whole time. Put a slice of bread in the container with them — the bread dries out while the cookies stay moist, which is an old baker’s trick that really works. Replace the bread slice every couple of days if you are storing a big batch.
Do not store the cookies in the fridge, because the cold dries them out and makes the chocolate kiss go dull and crumbly. If your kitchen is very warm, keep the container in a cool pantry instead. Layer the cookies between sheets of parchment paper so the chocolate kisses do not stick to the cookie above them, and keep the container away from strong smells.
15. Freezing the Dough
Peanut butter blossom dough freezes beautifully, and these cookies are perfect for making ahead. Roll the dough into balls, coat them in sugar, freeze them on a baking sheet until solid, then transfer them to a freezer bag. They will keep for up to three months, and you can bake them straight from frozen — just add two extra minutes to the baking time and press the kisses in right away.
This is the best way to have fresh cookies on demand all through December. Bake a small batch for unexpected guests, a batch for the neighbors, and a batch for yourself, all from the same freezer bag. Label the bag with the cookie name and the baking time, so anyone in the family can bake a batch without asking you how.
16. Cookie Exchange Tips
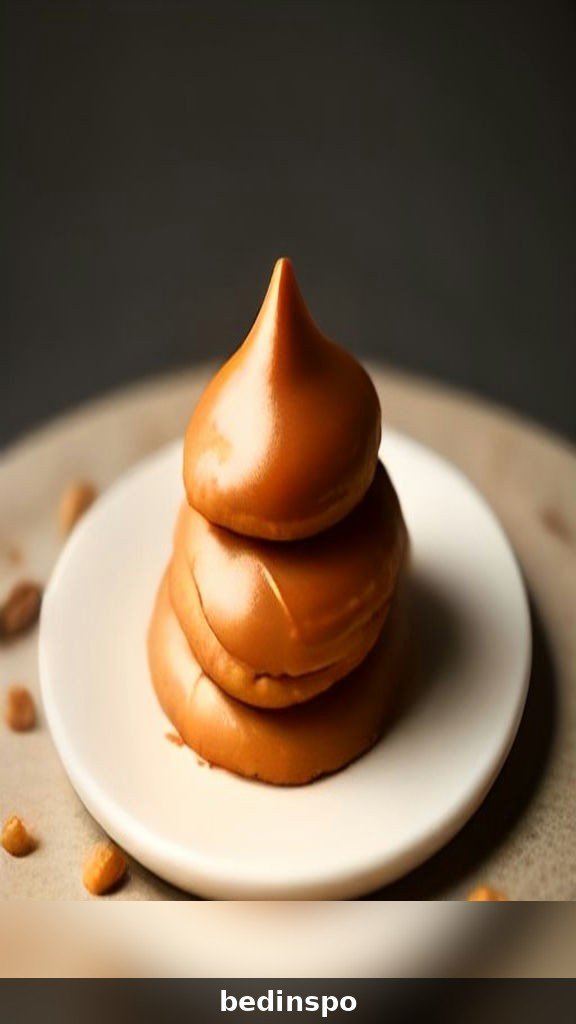
These cookies are made for cookie exchanges, because they travel well, they look beautiful, and everyone loves them. Bake them the day before the exchange so they are fresh, and pack them in a single layer in a sturdy tin lined with parchment paper. Bring the recipe printed on a card, because at least three people will ask for it.
Make your cookies stand out by rolling them in red and green sugar instead of plain white sugar — the festive colors make them pop on a crowded cookie tray. If the exchange has a theme, these fit the classic Christmas theme perfectly. Bring a few extra, because the host always sneaks one before the exchange even starts.
17. Gift Packaging Ideas
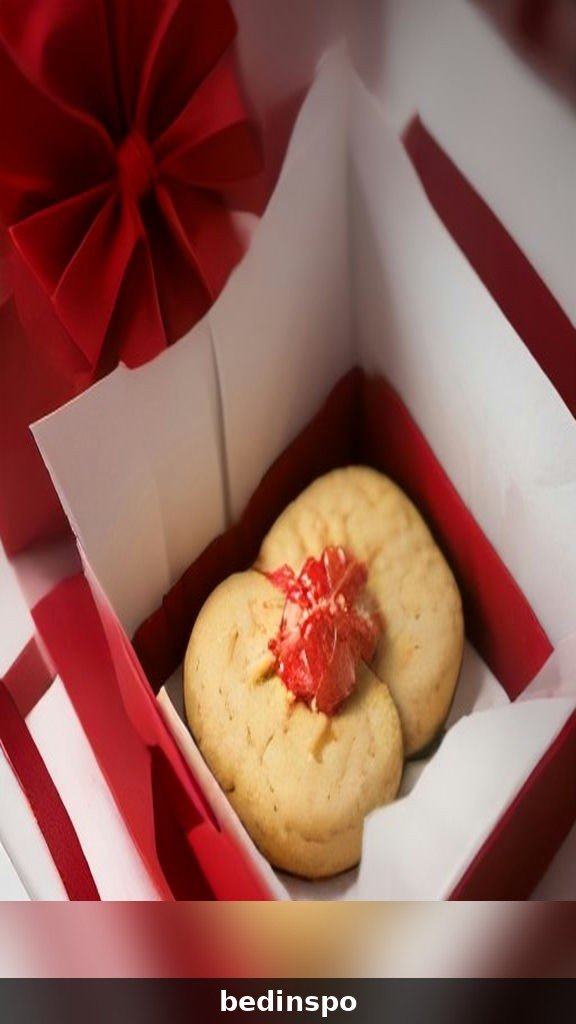
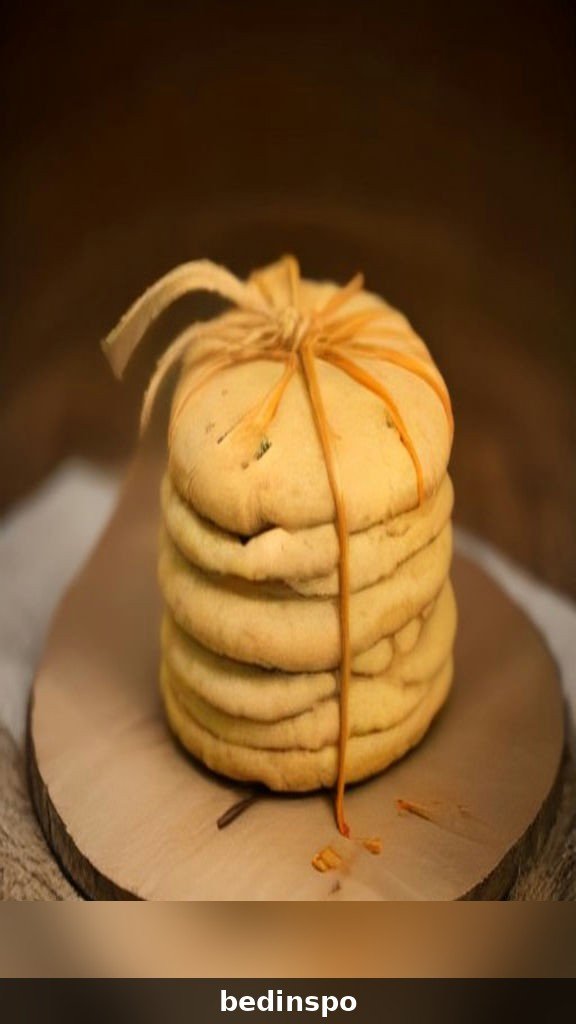
A bag of these cookies makes a wonderful homemade gift, and the packaging is half the fun. Stack six cookies in a clear cellophane bag, tie it with red ribbon, and add a small handful of chocolate kisses and a handwritten recipe card. The golden cookies show through the bag, and the ribbon does all the decorating for you.
For a fancier gift, layer the cookies in a decorative tin with parchment paper between the layers, and tuck a small jar of peanut butter and a bag of chocolate kisses on top so the recipient can bake their own batch. A cookie tin full of peanut butter blossoms is the kind of gift that makes neighbors, teachers, and coworkers feel truly appreciated. It costs very little to make, but it feels like a luxury.
18. Pairing With Milk
These cookies were made to be served with a glass of cold milk. The salty-sweet peanut butter cookie and the cold milk are a perfect match — the cookie soaks up just enough milk to be delicious without falling apart, and the chocolate kiss melts slightly on your tongue. Serve them together on Christmas morning for the ultimate holiday breakfast treat.
They also pair beautifully with coffee and hot cocoa. The peanut butter loves the warmth of coffee, so a latte is a natural match. For a holiday dessert table, serve the cookies alongside cold milk, hot cocoa, and a pot of coffee, and let guests help themselves to whatever they like best.
19. Peanut Butter Blossoms for Kids
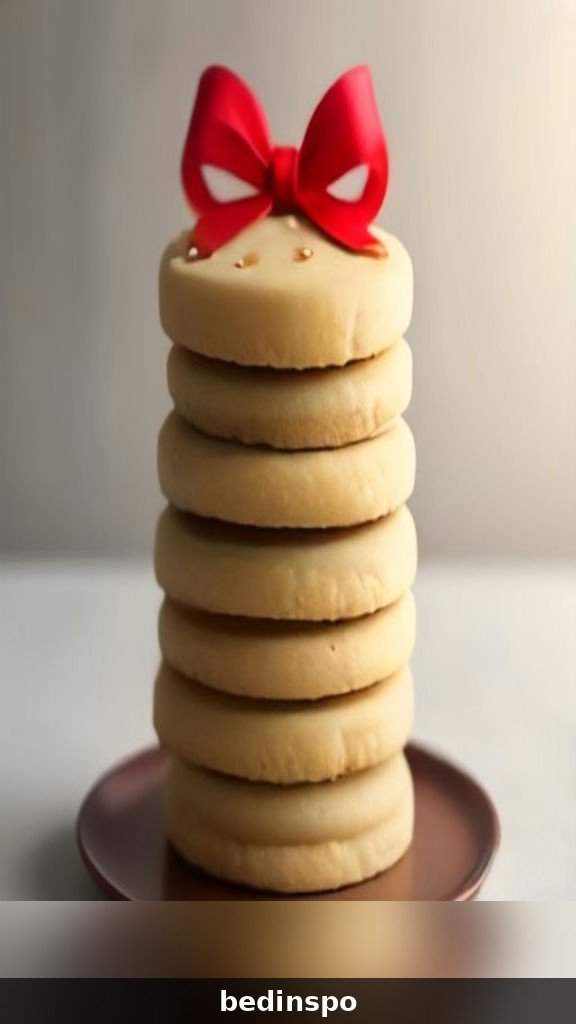
These cookies are the perfect recipe to bake with children, because the steps are simple and the results are adorable. Let the children roll the dough balls in sugar, which is messy and fun, and let them press the chocolate kisses into the warm cookies, which is the best part. The cookies are forgiving, so even wobbly balls and crooked kisses turn out delicious.
For a children’s baking session, set up a station with the dough balls, a bowl of sugar, and a bowl of unwrapped kisses, and let each child make their own batch. The cookies bake quickly, so the children will not have to wait long to taste their work. Baking these cookies together is the kind of Christmas memory that lasts a lifetime.
20. Common Mistakes to Avoid
The most common mistake with these cookies is pressing the kiss in too late. The kiss must go in the moment the cookies come out of the oven, while they are still hot and soft. If you wait even two minutes, the cookies will be too firm and the kiss will not stick. Unwrap all the kisses before you start baking, so you are ready the moment the timer rings.
The second most common mistake is overbaking them. The centers should look soft and puffy when they come out of the oven, and if you wait until they look firm, they will be dry and hard. The third mistake is using natural peanut butter that separates, which makes the dough too oily and the cookies spread too much. Use a classic creamy peanut butter for the best results.
21. Variations to Try
Once you master the basic recipe, try some fun variations. Use dark chocolate kisses instead of milk chocolate for a richer, less sweet cookie, or use a striped chocolate kiss for a pretty swirled look. You can also roll the dough balls in colored sugar — red, green, or gold — for a festive Christmas tray.
For a stuffed version, press a small piece of chocolate into the center of each dough ball before rolling it in sugar, so the cookie has a melty chocolate center as well as the kiss on top. You can also add a half cup of mini chocolate chips to the dough for extra chocolate in every bite. The variations are endless, and every one of them is delicious.
22. Why These Belong on Your Christmas Table
Every Christmas table needs a cookie that everyone loves, and this is that cookie. The soft peanut butter, the sparkling sugar, and the melty chocolate kiss are the flavors of Christmas, and the chewy texture is the kind of thing people remember. They are easy enough for a beginner to bake, impressive enough for a cookie exchange, and delicious enough that nobody will leave them uneaten.
They are also the kind of cookie that starts traditions. Bake them once, and your family will ask for them every December. Write the recipe on a card, tuck it in your recipe box, and make a batch every year — some recipes are worth keeping forever, and this is one of them.
Frequently Asked Questions
Why did my chocolate kisses melt completely?
The cookies were probably too hot, or the kisses were left in a warm kitchen before baking. Press the kiss in gently and leave the cookies alone until they are completely cool. The kiss will soften slightly, which is normal, but it should keep its shape.
Can I use natural peanut butter?
It is not recommended. Natural peanut butter separates and makes the dough too oily, so the cookies spread too much and come out flat. Use a classic creamy peanut butter for the best texture and flavor.
Do I have to chill the dough?
Yes, for at least thirty minutes. Warm dough spreads too much in the oven, and the cookies will be thin and flat instead of thick and chewy. Chilling also helps the sugar coating stay crisp.
Can I make these cookies ahead of time?
Yes. The baked cookies keep for a week in an airtight container, and the raw dough balls freeze for up to three months. Bake frozen dough straight from the freezer with two extra minutes of baking time.
What if I do not have chocolate kisses?
You can use a small square of chocolate, a chocolate star candy, or a dollop of chocolate frosting instead. The kiss is traditional, but any chocolate on top will taste wonderful.
How do I keep the cookies soft for days?
Store them in an airtight container with a slice of bread. The bread dries out while the cookies stay moist. Replace the bread every couple of days, and do not store the cookies in the fridge.
Conclusion
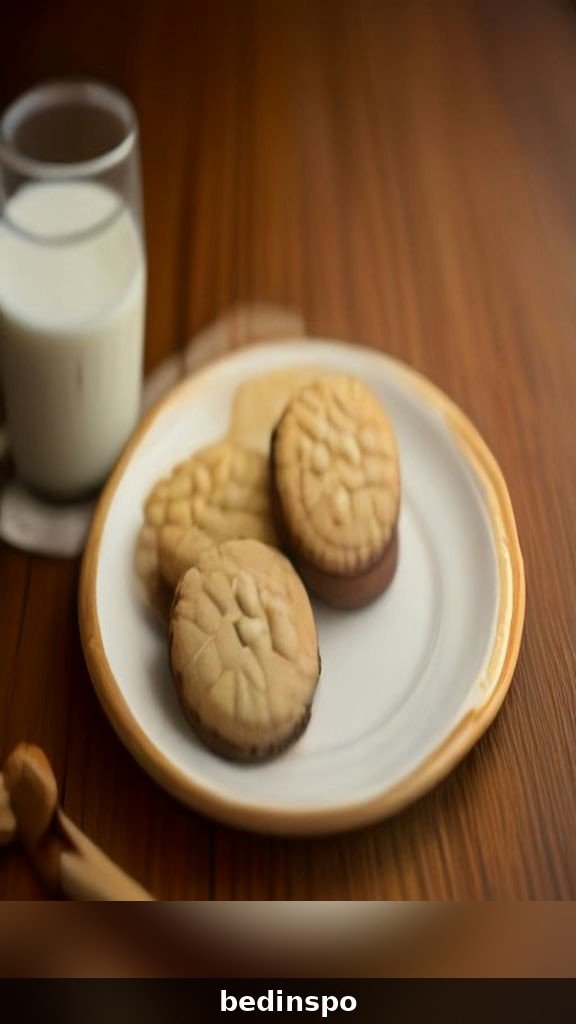
Peanut butter blossom cookies are everything a Christmas cookie should be: soft, chewy, nutty, and topped with a melty chocolate kiss in every bite. The sparkling sugar, the golden color, and the chocolate peak come together in a cookie that is easy to bake and impossible to forget. And remember — this is the baked blossom version, not the no-bake buckeye ball. Both are wonderful holiday treats, but this one is the soft, chewy, chocolate-topped cookie your family will ask for again and again.
This holiday season, make a batch for your family, a batch for your neighbors, and a batch for the cookie exchange. Pin this recipe for your next baking day, share it with someone who loves Christmas cookies, and enjoy the most classic cookie of the season.
More holiday cookie inspiration from Bedinspo:
- Buckeye Balls Christmas — no-bake peanut butter balls dipped in chocolate with holiday sprinkles.
- Brown Butter Christmas Cookies — nutty brown butter cookies with a rich, toasty flavor.
- Gingerbread Chocolate Chip Cookies — warm gingerbread cookies with chocolate chips.
- Salted Caramel Thumbprint Cookies — buttery thumbprint cookies with salted caramel.