Handmade Christmas Card Ideas: 15 Cards to Make & Send
Handmade Christmas Card Ideas: 15 Cards to Make & Send
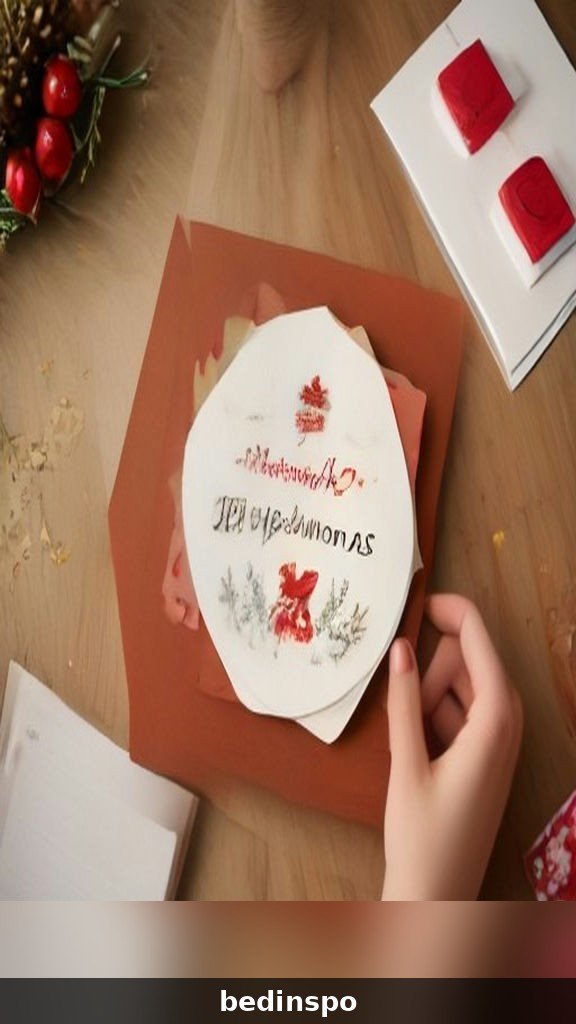
There is something magical about opening an envelope and finding a card someone actually made with their own two hands. In a season full of glossy store-bought everything, a handmade Christmas card stands out — it says you slowed down, thought of that person, and poured a little love into paper and paint. And honestly? Making them is half the joy.
These 15 handmade Christmas card ideas range from sweet and simple to wonderfully fancy, so there is something here whether you are a total beginner or a seasoned crafter. You will find watercolor washes, pop-up trees, hand-lettered greetings, quilled snowflakes, stamped scenes, and adorable kid-made cards that grandparents will treasure forever.
Each idea comes with practical tips on supplies, difficulty level, and how to get a polished result — because a handmade card should look heartfelt, not homemade-in-a-bad-way. So clear the kitchen table, put on some holiday music, and let us make some Christmas magic, one card at a time.
1. Classic Watercolor Wash Card

A simple watercolor wash in festive colors is the easiest way to make a card that looks like art. Paint a loose wash of deep green, cranberry red, or midnight blue across the front of a blank watercolor card, then let it dry completely. Once dry, add a simple message in gold pen or white gel pen — a Merry Christmas script, a little painted tree silhouette, or just a sprig of holly.
The beauty of this technique is that imperfect washes look the most beautiful. Blotchy edges, soft blooms, and color gradients are exactly what watercolor does best, so beginners get gorgeous results on the first try. Use cold-press watercolor paper or pre-folded watercolor blank cards, a round brush, and two or three holiday colors. Add a sprinkle of gold paint splatter while the wash is still wet for a festive starlight effect that takes ten seconds.
2. Stamped Christmas Scene Card
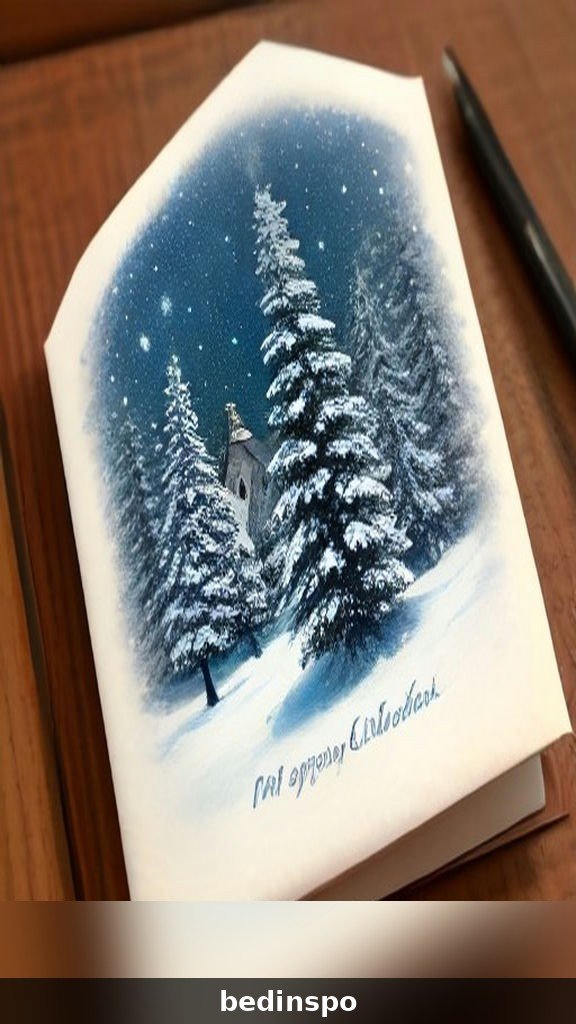
Rubber stamps turn anyone into an instant card artist. Build a little Christmas scene on kraft or cream cardstock: a stamped pine tree, a row of tiny houses, a snowy hillside, or a vintage Santa. Layer two or three stamp images with different ink colors for depth, and finish with a stamped sentiment in the corner.
Invest in a good black archival ink pad so your stamped lines stay crisp, and practice once on scrap paper to get the pressure right. Heat-embossing your stamped image with clear powder takes a plain stamped card from simple to stunning — the raised, glossy lines catch the light beautifully. Pair stamps with a little colored-pencil shading for a hand-tinted look that feels both vintage and personal.
3. Pop-Up Christmas Tree Card
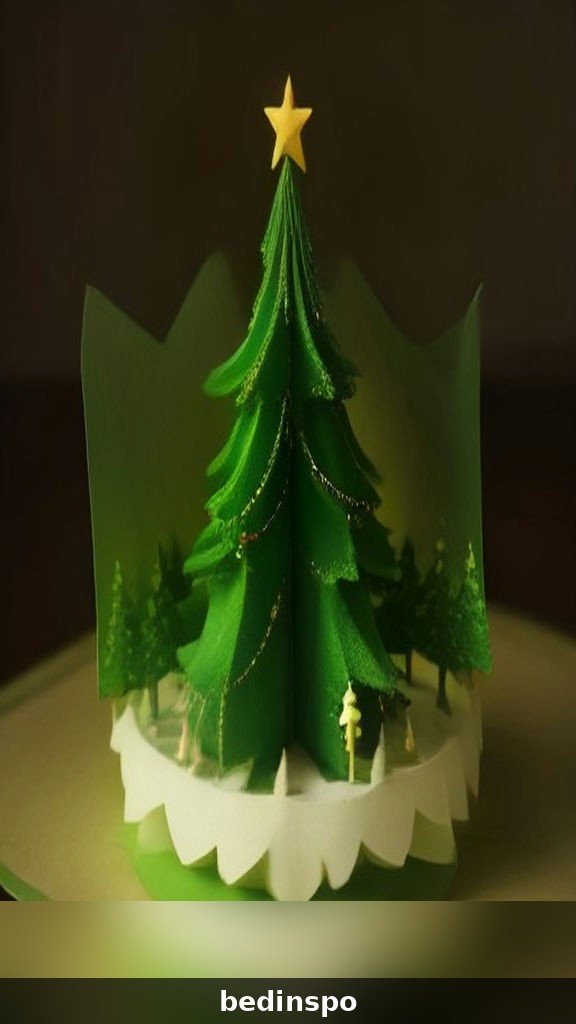
A card that pops open into a 3D Christmas tree never fails to delight. Cut two identical tree shapes from green cardstock, fold them in half, and glue them back-to-back along the fold — then attach the base of the folded tree to the inside center of your card. When the card opens, the tree springs up. Decorate the tree with tiny sticker ornaments, dots of glitter glue, and a star on top.
Keep the tree small enough that the card still closes flat, and score your folds sharply with a bone folder for a crisp pop. This is a wonderful project to make with older kids or teens — the engineering part is as fun as the decorating. Write your message on the inside panels beside the tree, where it will not interfere with the mechanism.
4. Hand-Lettered Calligraphy Card

Nothing says elegant like a hand-lettered greeting. Using a brush pen, write a flowing Merry Christmas, Joy to the World, or Peace on Earth across a simple card front — dark green or burgundy ink on cream cardstock looks timeless. Add a few flourishes, some tiny drawn stars, and maybe a sprig of eucalyptus tucked into the envelope.
You do not need years of calligraphy practice: modern brush lettering is forgiving, and even slightly wobbly letters look charming and handmade. Practice your greeting three or four times on scratch paper first, and lightly pencil guidelines to keep your lines straight. Pair the lettering with a simple watercolor wash background for a card that looks like it came from a boutique stationery shop.
5. Embossed Snowflake Card
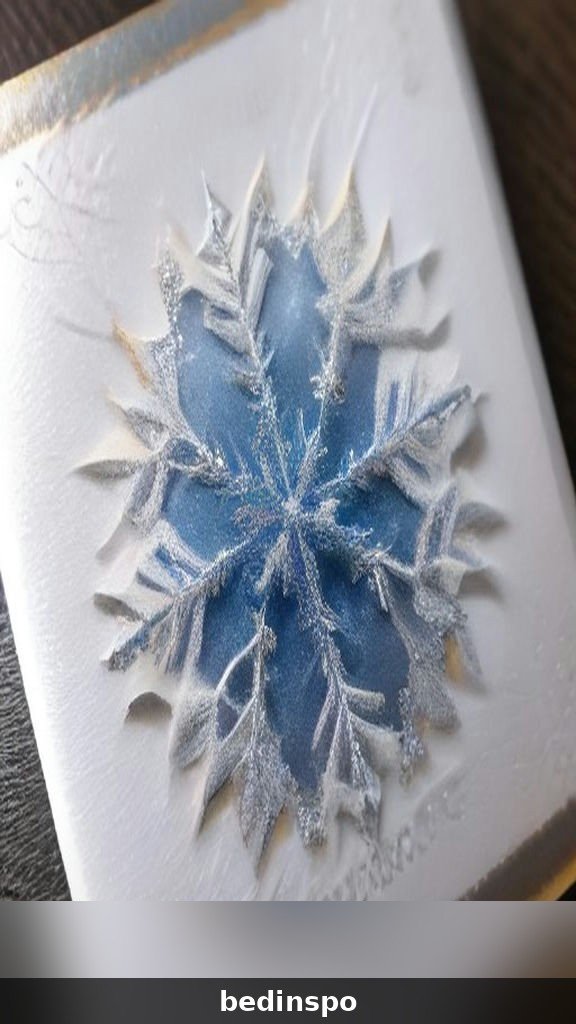
Dry embossing gives your card a gorgeous raised texture with almost no effort. Run a snowflake or holly embossing folder through a die-cutting machine with white or navy cardstock, then layer the embossed panel onto a contrasting card base. The result is a crisp, professional-looking card that feels luxurious to the touch.
No machine? You can fake the effect with a ball-point embossing stylus and a light box, or simply use pre-embossed cardstock from a craft store. Add a silver or gold foil sentiment sticker in the center of the embossed panel, and tie a slim ribbon around the card for a finishing touch that takes your card straight to gift-shop quality.
6. Cut-Paper Collage Card
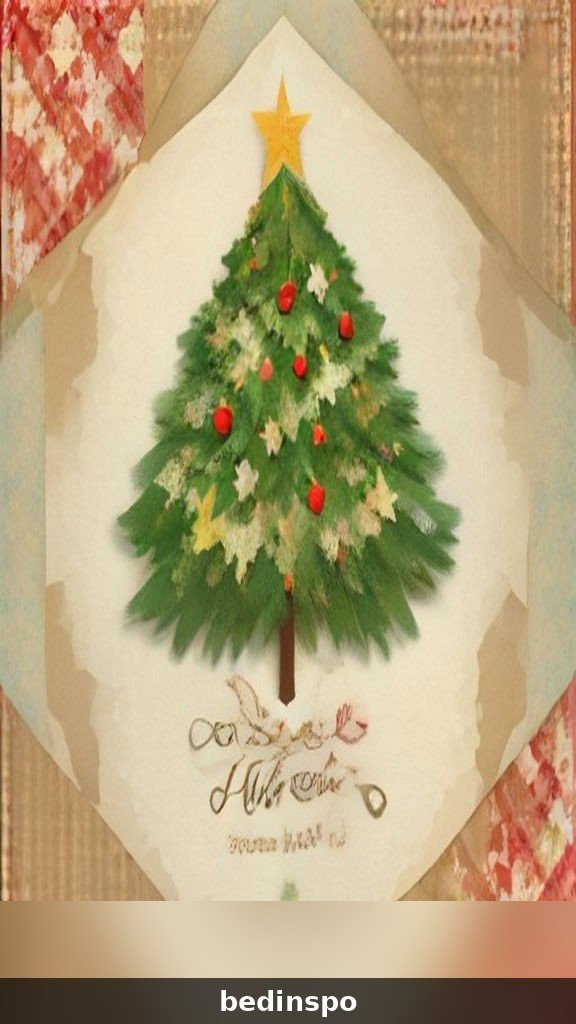
Channel your inner artist with a torn-paper collage scene. Tear or cut strips and shapes from patterned papers — plaids, dots, solids in holiday colors — and arrange them into a Christmas tree, a snowy village, or an abstract winter landscape. Glue everything down, add a few hand-drawn details, and you have a one-of-a-kind card with real texture.
This technique is wonderfully forgiving because torn edges are supposed to look organic. Raid your scrap paper drawer, old wrapping paper, and magazine pages for interesting patterns. Outline key shapes with a fine black marker to give the collage a defined, illustrated feel, and keep a glue stick handy rather than liquid glue for wrinkle-free sticking.
7. Handmade Photo Frame Card
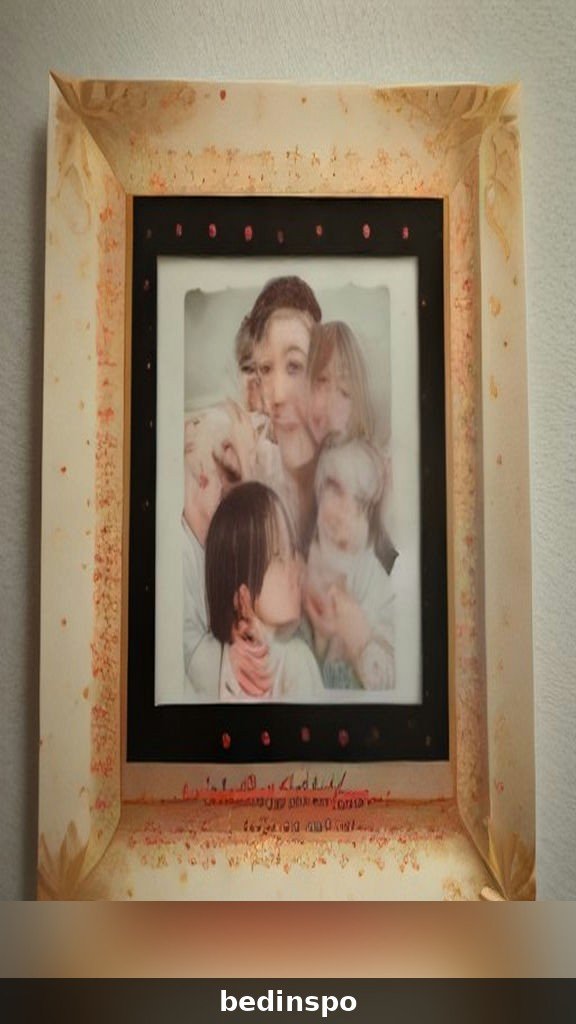
Turn a favorite family photo into the star of the card. Print a small holiday photo, then build a decorative paper frame around it — layered cardstock, washi tape borders, tiny paper holly leaves, or a window cut from the card front. The photo peeks through, and the whole card becomes a keepsake the recipient will display.
Print photos at home on matte photo paper, or order small prints and trim them to size. Make the frame slightly larger than the photo and use foam adhesive dots to give it dimension. This is the perfect card for grandparents, aunts, and anyone who treasures family pictures — add the year in small lettering so it becomes part of their holiday memories.
8. Washi Tape Wonder Card
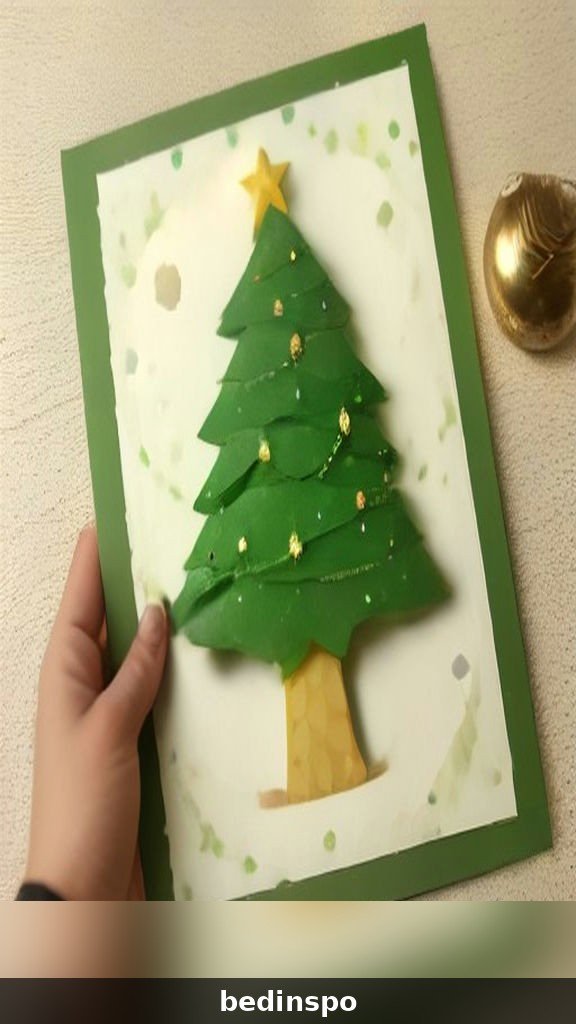
Washi tape is the ultimate beginner supply: colorful, repositionable, and endlessly versatile. Create a Christmas tree from diagonal strips of green and gold washi, a candy cane from red and white stripes, or simple geometric borders in festive patterns. The whole card can be assembled in minutes with zero drying time.
Tear the tape by hand for a relaxed, crafty edge, or cut it with scissors for crisp lines. Layer different patterns — polka dots over stripes, metallic over matte — for visual interest. Washi tape cards are perfect for making in bulk: set up an assembly line and knock out a dozen cards in an afternoon, each one slightly different.
9. Pressed Botanical Card
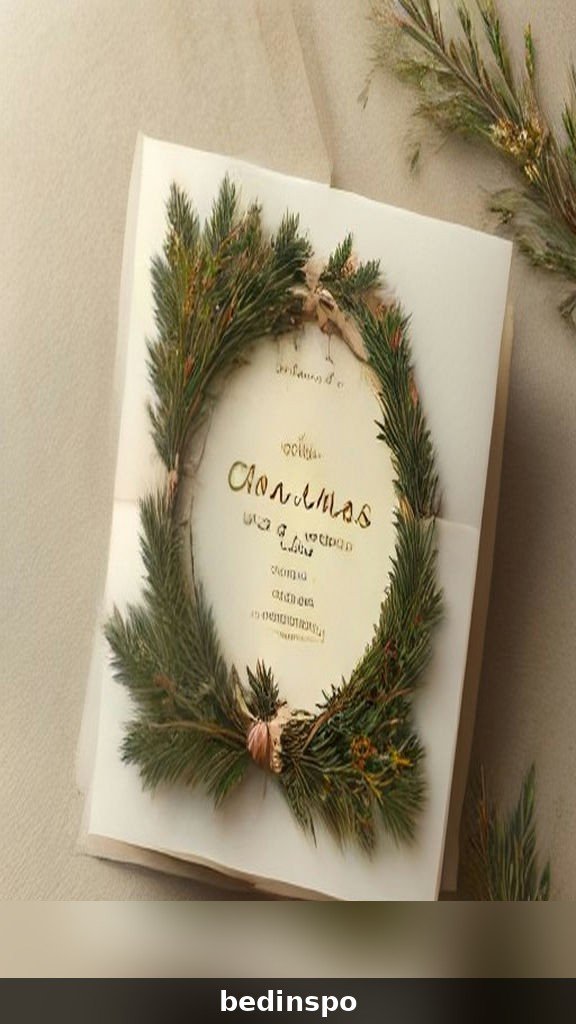
Pressed flowers and leaves make the most delicate, natural Christmas cards. Press sprigs of evergreen, eucalyptus, fern fronds, or tiny dried flowers between book pages for a week or two, then arrange them on a card front and secure with tiny dots of clear glue. A pressed evergreen sprig with a simple Merry Christmas stamp is breathtakingly pretty.
Start pressing botanicals in early November so they are ready when card-making season hits. Thin, flat specimens press best — avoid anything too thick or fleshy. Once arranged, you can seal the design with a light coat of clear decoupage medium to protect it, or simply tuck the card in a protective sleeve inside the envelope.
10. Quilled Paper Snowflake Card
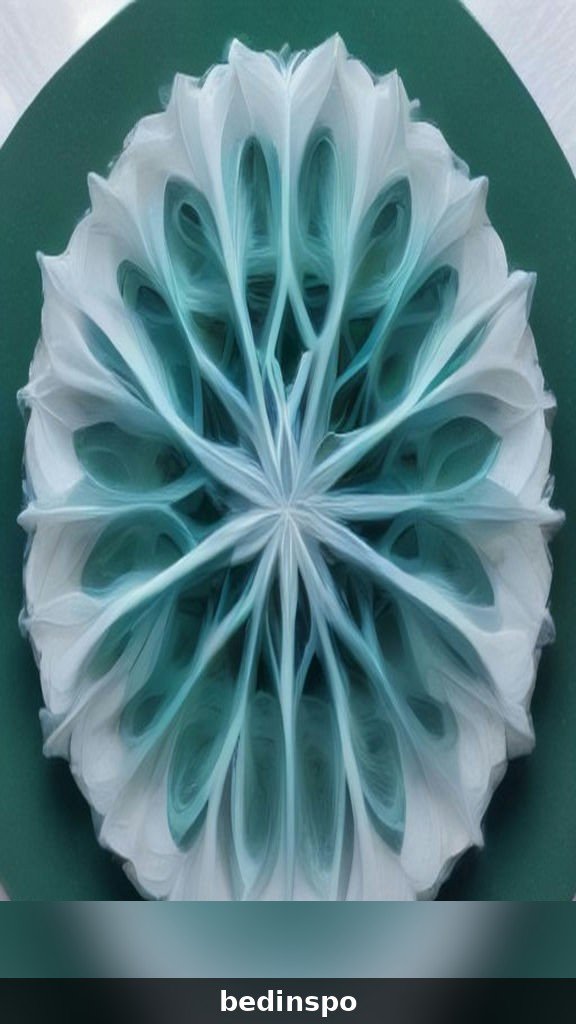
Paper quilling — rolling thin strips of paper into coils and shapes — creates intricate snowflakes that look incredibly impressive. Roll white and pale blue strips into tight coils, teardrops, and marquise shapes, then glue them together into a symmetrical snowflake and mount it on a navy or deep green card. The dimensional result is pure winter magic.
Quilling looks advanced but the basic rolls take about ten minutes to learn. A beginner quilling kit with a slotted tool, paper strips, and a template board is all you need. Make your snowflakes ahead of time while watching holiday movies, then assemble the cards in one session. Add a tiny rhinestone in the center for sparkle.
11. String Art Christmas Tree Card
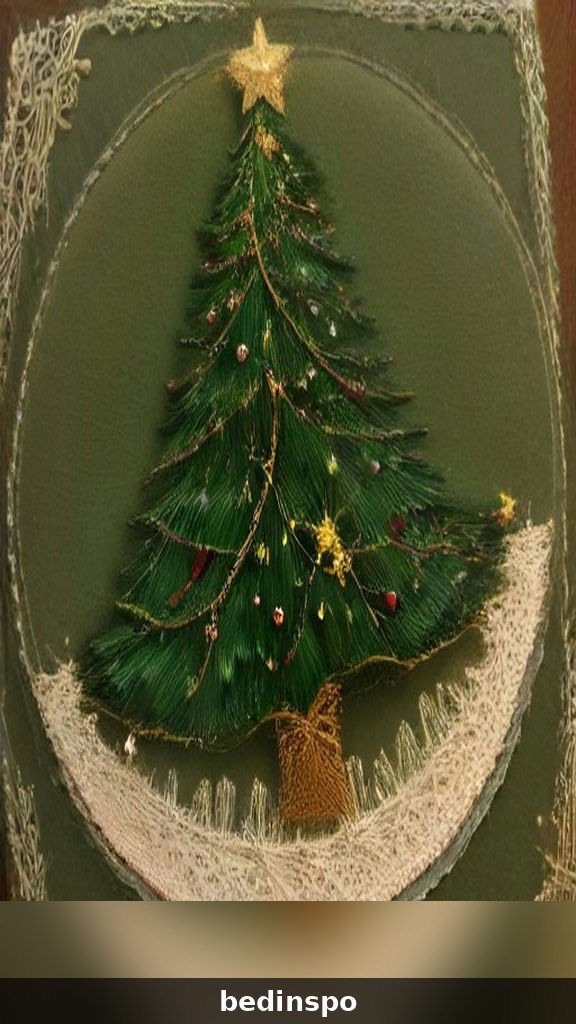
Poke a tree outline of holes along a card front, then stitch it with embroidery floss in green, gold, or red for a gorgeous string-art tree. The stitched lines create a modern, graphic look that is miles away from a typical card. Add a small star button or sequin at the top and a few French-knot ornaments for texture.
Use a paper piercer or a large needle on a foam mat to make clean, evenly spaced holes — mark your pattern lightly in pencil first. Backstitch or running stitch both work beautifully; variegated floss adds lovely color shifts. This is a slow, meditative craft — perfect for quiet December evenings — and the finished cards look like they took a professional studio hours.
12. Watercolor Winter Village Card

Paint a simple snowy village silhouette and you have a card that looks straight out of a storybook. Wash a soft blue-to-lavender gradient sky, let it dry, then paint dark house silhouettes with glowing yellow windows along the bottom. Add falling snow with white paint splatter and a tiny moon, and your little village glows.
Keep the houses simple — rectangles with triangle roofs are all you need, since the silhouettes read as charming, not crude. A fine-tip brush or even a toothpick handles the tiny window dots. This design works beautifully as a long horizontal card, and it is one of the most frame-worthy cards on this list.
13. Kids’ Handprint Reindeer Card

Little hands make the sweetest cards. Paint a child’s hand brown and press it onto the card front to make a reindeer body — the fingers become antlers, and you add googly eyes, a red pom-pom nose, and a smile. Write the child’s name and the year underneath, and you have a card grandparents will keep forever.
Use washable, non-toxic paint and have wipes ready for quick cleanup. Footprint Christmas trees and fingerprint light strings are equally adorable variations. Let the kids do the printing and you handle the details and lettering — and make a few extras, because these disappear fast once family sees them.
14. Vintage-Style Die-Cut Card

Layer die-cut shapes — an ornate frame, a vintage ornament, a lacy snowflake — over patterned paper for a card with old-world charm. Cream and gold tones, sepia images, and a classic serif sentiment give these cards a nostalgic, heirloom feel that is perfect for more formal holiday greetings.
A basic die-cutting machine opens up endless possibilities, but craft stores also sell pre-cut shapes and frames if you want the look without the equipment. Distress the edges of your papers with brown ink for an aged effect, and finish with a wax-seal-style sticker or a real wax seal on the envelope flap for full vintage drama.
15. Shaker Card with Confetti
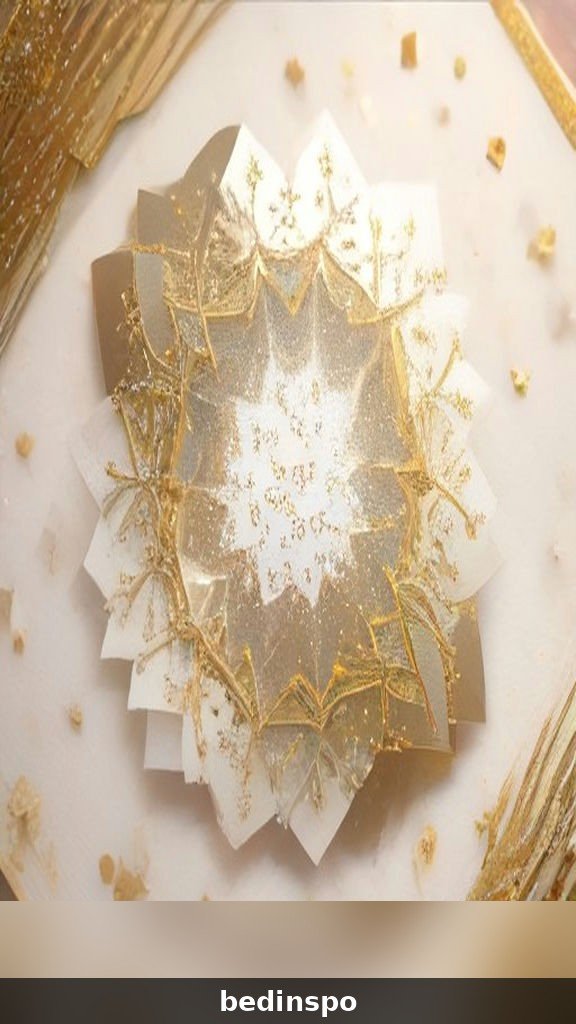
A shaker card has a little window filled with loose sequins and confetti that rattle and swirl when you shake it — pure fun in an envelope. Cut a window in the card front, fill a sealed acetate pocket with holiday sequins, tiny beads, and star confetti, then decorate around the window with a wreath or tree design. Kids and adults alike cannot resist shaking it.
Use foam tape to build a deep enough well for the shaker bits, and seal every edge of the acetate pocket carefully so nothing escapes in the mail. Keep the confetti pieces small and flat so they move freely. A shaker card takes a bit more time, so save it for your most special recipients — or make one spectacular card for the family mantle and simpler cards for everyone else.
Getting Started: Card-Making Supplies You’ll Need
You do not need a craft store’s worth of supplies to start making beautiful Christmas cards. A solid starter kit includes blank card bases or heavy cardstock, a paper trimmer, adhesive (tape runner and glue dots), scissors, a few ink pads, and whatever specialty supplies match the designs you love — watercolors, brush pens, stamps, or washi tape.
Buy cardstock in bulk packs of white, cream, and kraft for the best value, and invest in one good adhesive rather than five cheap ones — nothing ruins a card faster than pieces falling off. A self-healing cutting mat and a metal ruler will make every cut cleaner. As you make more cards, you will naturally discover which techniques you love and can expand your collection from there.
Frequently Asked Questions
How long does it take to make a handmade Christmas card?
Simple designs like washi tape or stamped cards take 10 to 15 minutes each once you are set up. More involved cards — quilling, string art, shaker cards — can take 30 minutes to an hour. Plan an assembly-line approach: do all the cutting first, then all the gluing, to work efficiently.
Can beginners really make cards that look good?
Absolutely. Techniques like watercolor washes, washi tape, and stamped scenes are very forgiving and look impressive with minimal skill. Start with one of the simpler ideas on this list, make a practice card first, and you will be amazed at how professional your cards look.
What should I write inside a handmade Christmas card?
Keep it warm and personal: a heartfelt sentence or two beats a long generic message. Mention something specific about the person or your year together. Handwrite it in your best penmanship — the personal touch is the whole point of a handmade card.
How do I mail handmade cards without damaging them?
Use envelopes slightly larger than your card, and add a piece of cardstock inside for stiffness on delicate designs. For dimensional cards like shakers or quilled snowflakes, consider hand-delivering or adding extra postage for a padded mailer. A festive envelope liner or wax seal makes the unboxing even more special.
Conclusion
Handmade Christmas cards are small works of heart — each one carries a little piece of the time, care, and creativity you put into it. Whether you paint a watercolor wash, stitch a string-art tree, or help little hands make reindeer prints, your cards will be the ones people remember, display, and keep long after the season ends.
So gather your supplies, pick your favorite ideas from this list, and start making. Your mailbox is about to become the most joyful place in your home — and so is someone else’s. Happy card-making, and Merry Christmas! May every card you send bring a smile to someone you love.