Easy Dinner Rolls (Soft, Fluffy & Melt-in-Your-Mouth)
Easy Dinner Rolls (Soft, Fluffy & Melt-in-Your-Mouth)
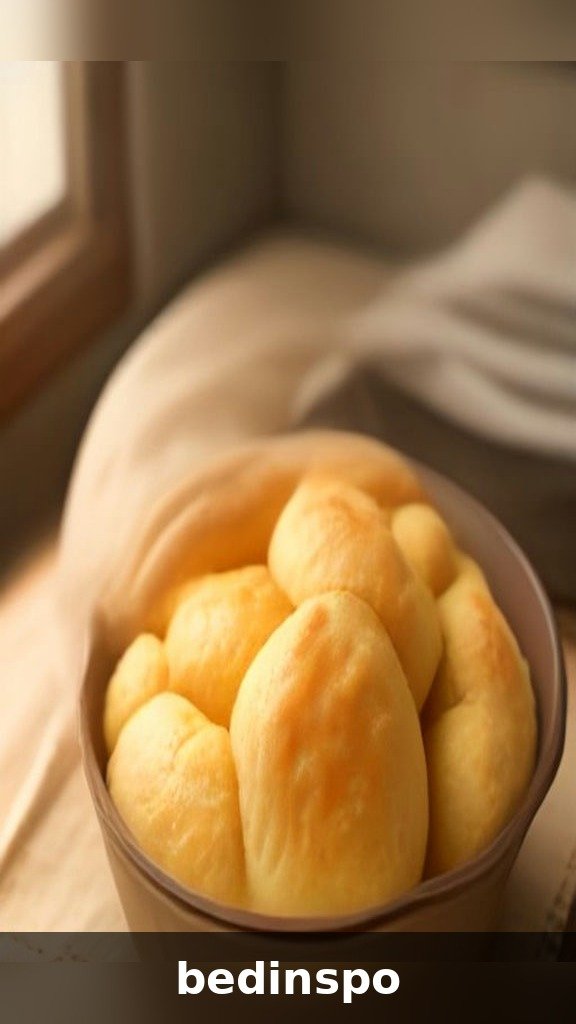
There is nothing — and I mean nothing — like pulling a pan of homemade dinner rolls out of the oven. Golden tops, that buttery smell drifting through the whole house, and a soft, pillowy center that practically begs to be torn open while it’s still warm. These easy dinner rolls are the ones my family requests for every single holiday, and once you make them, I promise they’ll be yours too.
Here’s the best part: this recipe is genuinely beginner-friendly. No bread machine, no complicated techniques, no special ingredients from a fancy store. Just warm milk, yeast, flour, butter, and a little patience while the dough rises. The dough comes together in about 15 minutes of hands-on time, and the rolls bake up tall, fluffy, and golden every single time.
In this post you’ll get the full step-by-step recipe, my complete shaping guide with four pretty ways to form the rolls, three irresistible variations (garlic herb butter, honey butter, and cheesy pull-apart), make-ahead and freezer instructions that will save your Thanksgiving, and answers to every dinner roll question you’ve ever asked. Pin this one now — roll season is officially here!
Why These Easy Dinner Rolls Work Every Time
I’ve baked a lot of dinner rolls over the years, and the disappointing ones all fail in the same ways: dense, dry, tough, or flat with no flavor. This recipe is built to avoid every one of those problems.
Warm milk, not water. Milk makes a richer, softer, more tender roll than water ever could. The fat and natural sugars in milk help the rolls brown beautifully and stay soft for days.
The right amount of butter. Melted butter in the dough plus a generous brush of butter on top gives you that melt-in-your-mouth texture and a gorgeous golden shine.
An egg for richness. One egg makes the crumb soft and slightly rich, almost like a bakery-style roll, and helps the rolls rise tall instead of spreading flat.
A touch of sugar. Two tablespoons feeds the yeast for a reliable rise and gives the rolls a gentle, balanced flavor — not sweet, just right.
A gentle knead, not a workout. Eight to ten minutes of kneading develops just enough gluten for a fluffy, pull-apart texture without making the rolls tough. I’ll walk you through exactly how to know when the dough is ready.
Ingredients You’ll Need
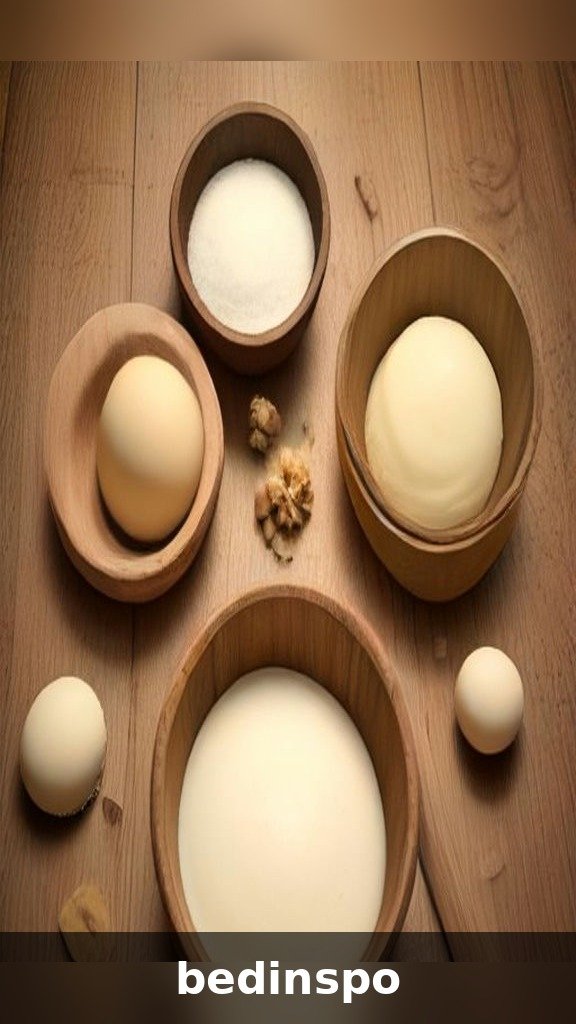
Everything here is a regular pantry staple — no special trips required. Here’s what goes into the classic batch of 12 rolls:
- 1 cup whole milk, warmed to about 110°F (warm to the touch, not hot)
- 2 1/4 teaspoons active dry yeast (1 standard packet)
- 2 tablespoons granulated sugar (or honey)
- 1 large egg, at room temperature
- 1/4 cup unsalted butter, melted, plus more for brushing
- 3 1/4 to 3 1/2 cups all-purpose flour, plus more for dusting
- 1 teaspoon fine sea salt
- Flaky sea salt, for sprinkling on top (optional but lovely)
A quick note on flour: start with 3 1/4 cups and add more only if the dough is too sticky to handle. Every kitchen’s humidity is different, and slightly soft dough makes softer rolls. Bread flour works beautifully too — it gives the rolls a little extra chew and height. Just avoid the urge to keep adding flour until the dough feels “firm.” Tacky is perfect; sticky is too much.
About the yeast: this recipe is written for active dry yeast, which gets proofed in the warm milk first. If you only have instant yeast, you can skip the proofing step and mix it straight into the flour — the rolls may rise a little faster, so keep an eye on them.
How to Make Easy Dinner Rolls: Step by Step
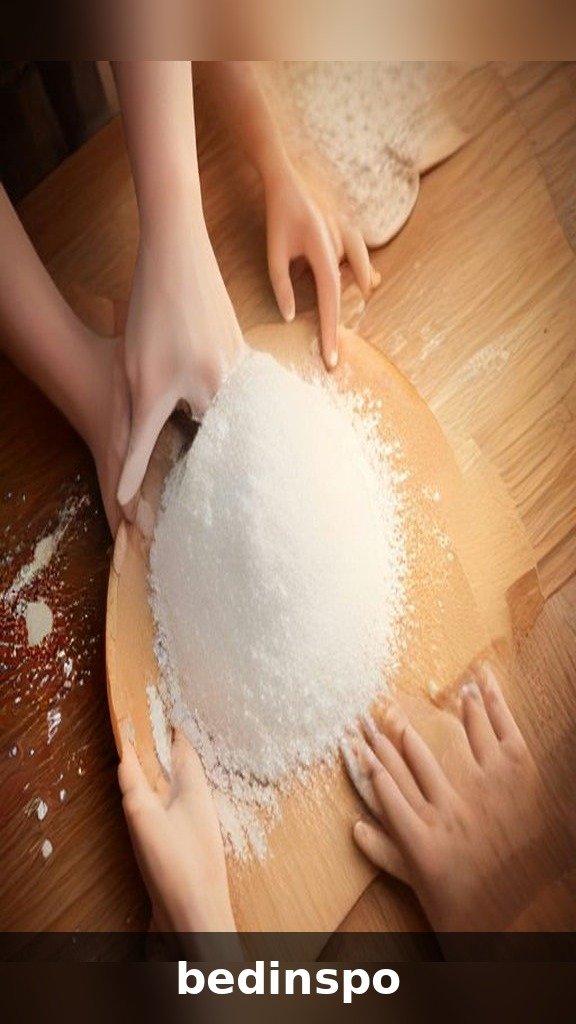
Here’s the full method. Read it through once before you start — the steps are simple, and most of the time is just the dough rising on its own while you do other things.
Step 1: Activate the Yeast
Pour the warm milk into a large bowl (or the bowl of a stand mixer). Sprinkle the yeast and sugar over the top and stir gently. Let it sit for 5 to 10 minutes until the mixture looks foamy and smells like fresh bread. That foam is your proof the yeast is alive and ready to work. If nothing happens after 10 minutes, your milk was probably too hot or the yeast was expired — discard it and start again with fresh yeast. This one check saves the whole batch.
Step 2: Mix the Dough
Whisk the egg and melted butter into the foamy yeast mixture. Add the salt and 3 1/4 cups of flour, then stir with a wooden spoon (or use the dough hook on low speed) until a shaggy dough forms and no dry flour remains. Let the dough rest for 5 minutes — this short pause lets the flour hydrate and makes kneading much easier.
Step 3: Knead Until Smooth
Turn the dough onto a lightly floured surface and knead for 8 to 10 minutes, pushing the dough away with the heel of your hand, folding it back, and turning it a quarter turn each time. In a stand mixer, knead with the dough hook on medium-low for 6 to 7 minutes. The dough is ready when it’s smooth, elastic, and only slightly tacky — it should spring back slowly when you poke it. If it sticks to your hands like glue, sprinkle in a tablespoon of flour at a time, but resist adding too much.
Step 4: Let the Dough Rise (First Rise)
Shape the dough into a smooth ball and place it in a lightly greased bowl, turning it once so the top is coated. Cover the bowl with a clean kitchen towel or plastic wrap and let it rise in a warm, draft-free spot for 1 to 1 1/2 hours, until doubled in size. A turned-off oven with the light on is my favorite rising spot — it’s gently warm and completely draft-free.
Step 5: Shape the Rolls
Gently punch down the risen dough to release the air, then turn it onto a clean surface and divide it into 12 equal pieces. A kitchen scale makes this easy (about 65 grams each), but eyeballing it works fine too. Roll each piece into a smooth ball by cupping your hand over it and rolling in small circles against the counter. Arrange the balls in a greased 9×13-inch baking pan, spacing them almost touching. See the shaping guide below for four fun variations on the classic round roll.
Step 6: Let the Rolls Rise Again (Second Rise)
Cover the pan loosely and let the rolls rise for 30 to 45 minutes, until they’re puffy and touching each other. Meanwhile, preheat your oven to 375°F (190°C). This second rise is what gives you that soft, pull-apart texture — don’t rush it, but don’t let them go so long that they deflate.
Step 7: Bake Until Golden
Bake the rolls for 18 to 22 minutes, until the tops are deep golden brown and the rolls sound slightly hollow when tapped. For total certainty, an instant-read thermometer in the center roll should read 190°F. The moment they come out of the oven, brush the tops generously with melted butter and sprinkle with a pinch of flaky sea salt. Let them cool in the pan for about 10 minutes (if you can wait!) and serve warm.
Prep time: 20 minutes · Rise time: 1 hour 45 minutes · Bake time: 18–22 minutes · Total: about 2 hours 30 minutes · Yield: 12 soft dinner rolls
Shaping Guide: 4 Ways to Shape Dinner Rolls

Smooth rounds are classic, but this dough is a dream to shape. Try one of these pretty variations for holidays — they all use the exact same dough, divided the same way.
1. Classic Round Rolls
The timeless choice. Roll each piece of dough into a tight, smooth ball as described above, tucking any seams underneath. Place them almost touching in the pan so they rise into each other and bake up with soft, pull-apart sides.
2. Crescent Rolls
Roll the whole batch of dough into a large circle about 12 inches across, like a pizza. Cut it into 12 wedges with a pizza cutter, then roll each wedge up from the wide end to the point, tucking the point underneath. Curve the ends slightly inward for that pretty crescent-moon shape and arrange on a parchment-lined baking sheet.
3. Knot Rolls
Roll each piece of dough into a rope about 8 inches long. Tie the rope into a simple knot, tucking the ends underneath, and place in the pan. Knots look impressive and fancy with almost zero extra effort — these are my go-to for dinner guests.
4. Cloverleaf Rolls
Divide each portion of dough into 3 tiny balls and place all three in one cup of a greased muffin tin. As they rise and bake, they puff into an adorable cloverleaf shape that’s perfect for individual servings (and for buttering section by section).
Tips for the Softest, Fluffiest Rolls Ever

These small details make the difference between good rolls and the rolls everyone asks you to bring every year:
- Watch your milk temperature. Around 110°F is the sweet spot — warm like a baby’s bottle. Milk hotter than 115°F can kill the yeast, and cold milk makes for a painfully slow rise.
- Don’t over-flour. This is the #1 cause of dense, heavy rolls. The dough should be soft and just barely tacky. A little stickiness is your friend.
- Find a warm rising spot. Dough rises best around 75–80°F. A cold kitchen can double your rising time; a cozy oven with the light on fixes it.
- Weigh your portions. Evenly sized rolls bake evenly. A cheap kitchen scale is the secret to a uniform, bakery-looking pan.
- Don’t skip the butter brush. Brushing the hot rolls with melted butter keeps the tops soft, adds shine, and seasons every bite.
- Serve them warm. Ten minutes in a 300°F oven brings day-old rolls right back to fresh-baked glory.
Variation 1: Garlic Herb Butter Rolls
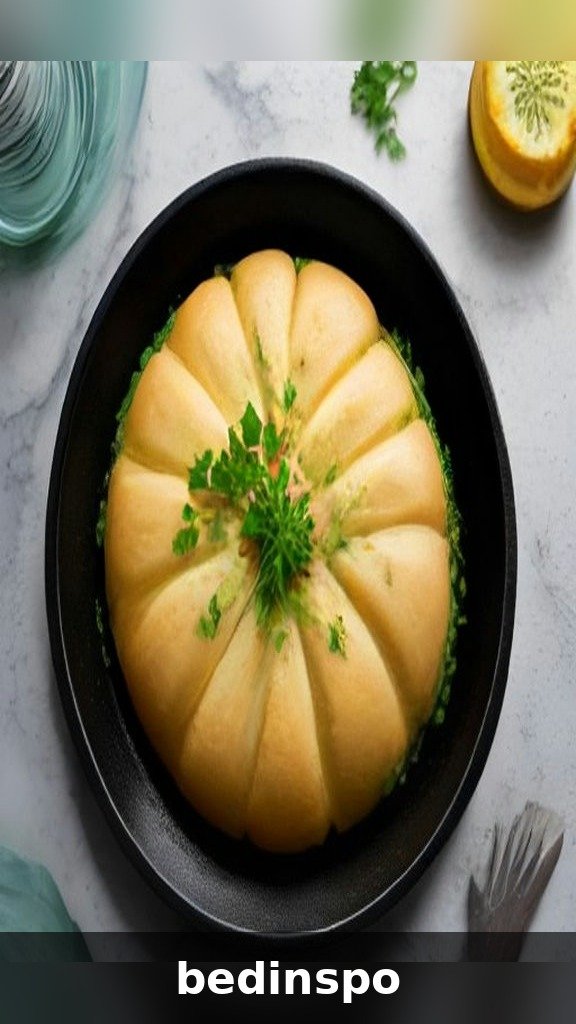
These taste like the rolls from your favorite Italian restaurant — buttery, garlicky, and completely irresistible next to pasta or soup. While the rolls bake, melt 1/4 cup butter with 2 minced garlic cloves, 1 tablespoon finely chopped fresh parsley, 1/2 teaspoon Italian seasoning, and a pinch of salt. Brush the mixture generously over the hot rolls the moment they leave the oven, then shower them with 2 tablespoons of finely grated Parmesan. Serve warm and watch them vanish. Pro tip: make a double batch of the garlic butter — everyone will want extra for dipping.
Variation 2: Honey Butter Rolls

Sweet, golden, and dangerously good with fried chicken, ham, or a holiday turkey. Swap the sugar in the dough for 2 tablespoons of honey. While the rolls bake, whip 1/4 cup softened butter with 2 tablespoons honey and a tiny pinch of cinnamon until pale and fluffy. Brush half over the hot rolls when they come out of the oven, and serve the rest in a little dish at the table for spreading. The tops come out glossy and golden, and that honey-butter finish tastes like pure comfort.
Variation 3: Cheesy Pull-Apart Rolls

For the cheese lovers — and honestly, who isn’t one? When shaping the rolls, flatten each ball of dough, tuck a small cube of mozzarella or sharp cheddar (about 1/2 inch) into the center, and pinch the dough firmly closed around it with the seam underneath. Brush the baked rolls with melted butter, then sprinkle with a mix of grated Parmesan, garlic powder, and chopped chives. Pull one apart while it’s warm and that cheese stretch is pure Pinterest gold. These are incredible served with tomato soup or marinara for dipping.
Make-Ahead Instructions (Holiday Lifesaver!)
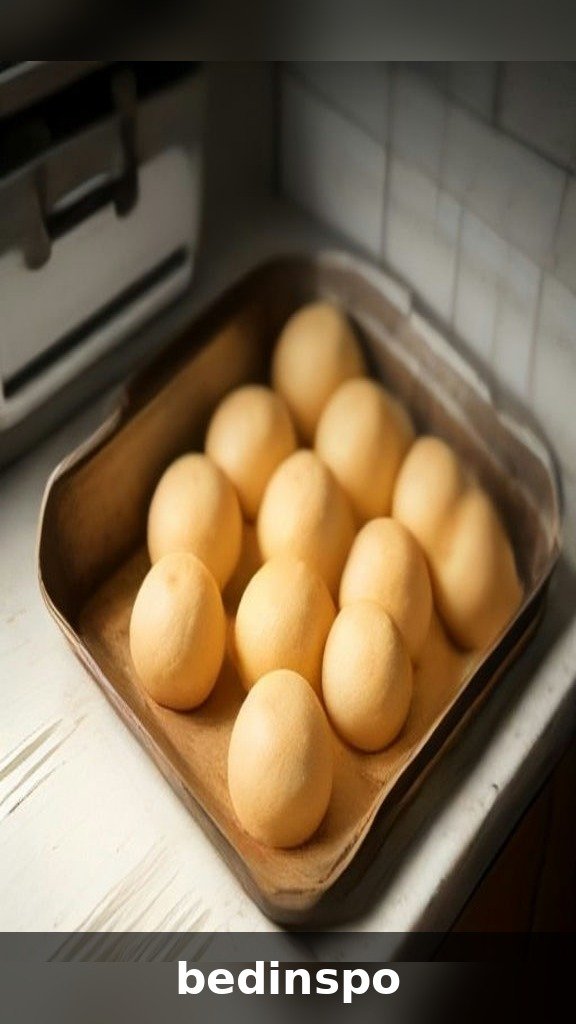
Fresh rolls should never mean extra stress on the big day. This dough is wonderfully flexible, and you have two great make-ahead options:
Refrigerate overnight (best for next-day baking): Make the dough, let it complete its first rise, then shape the rolls and arrange them in the greased pan. Cover the pan tightly with plastic wrap and refrigerate for up to 24 hours. On baking day, take the pan out and let the rolls sit at room temperature for 45 to 60 minutes while the oven preheats — they should look puffy — then bake as directed. The slow, cold rise actually deepens the flavor, so many bakers (me included) think the make-ahead version tastes even better.
Make the dough ahead: You can also refrigerate the dough right after kneading, before the first rise. Let it rise slowly in the fridge for up to 24 hours, then punch it down, shape, proof, and bake as directed. Perfect for getting a head start on the weekend.
How to Freeze Dinner Rolls
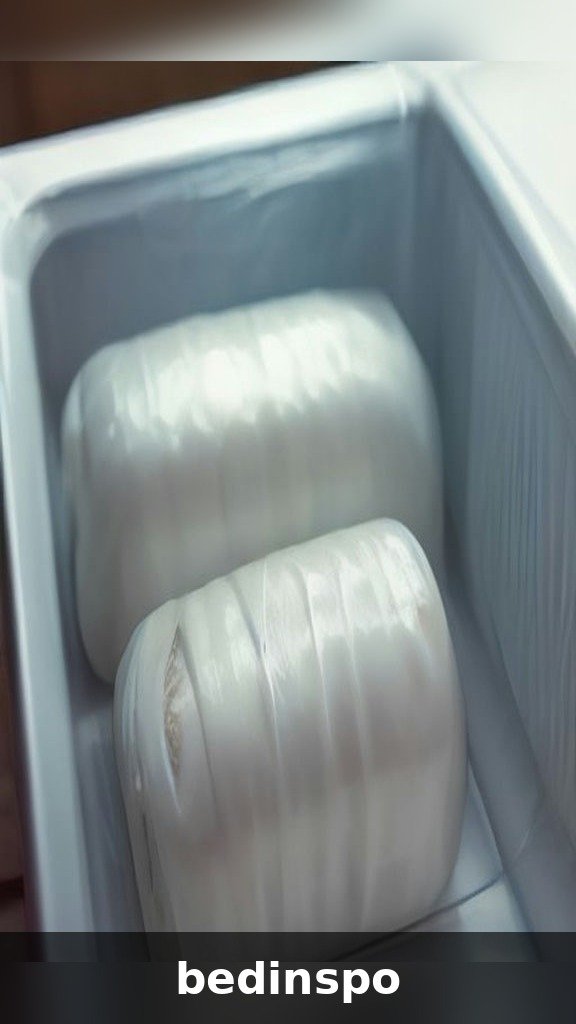
Rolls freeze beautifully two ways, so you can always have homemade bread on hand:
- Freeze baked rolls: Let the baked rolls cool completely, then wrap the whole pan (or individual rolls) tightly in plastic wrap and foil, or seal in a freezer bag with the air pressed out. Freeze for up to 3 months. To serve, thaw at room temperature for about an hour, then warm in a 300°F oven for 8 to 10 minutes until soft and fragrant.
- Freeze unbaked rolls: Shape the rolls and place them in the pan, cover tightly, and freeze until solid, up to 3 months. The night before you want them, move the pan to the refrigerator to thaw. The next day, let them rise at room temperature for 45 to 60 minutes until puffy, then bake as directed. Fresh rolls with almost no day-of work!
How to Store and Reheat Leftover Rolls
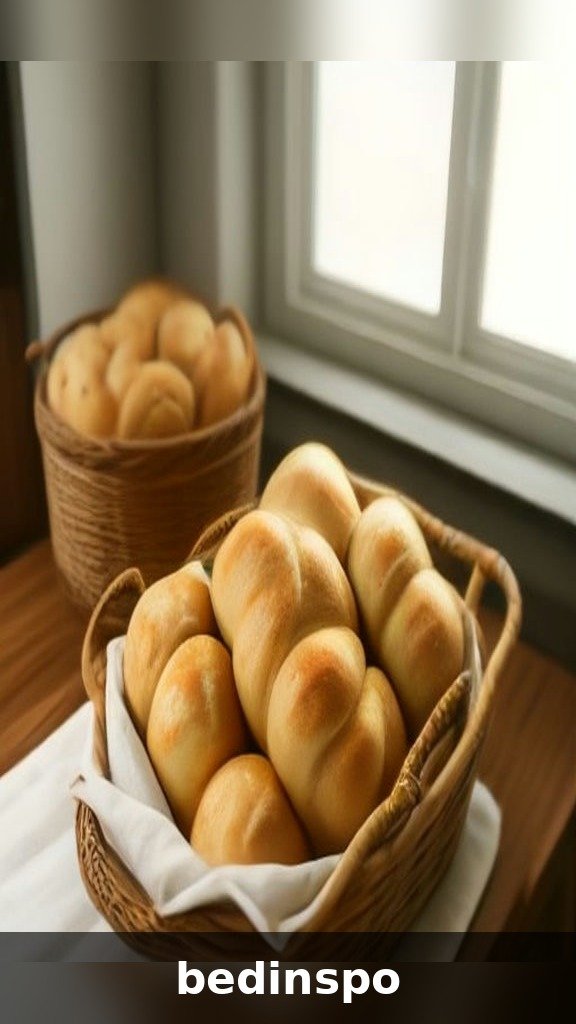
If you somehow have leftovers (it happens, rarely!), store the cooled rolls in an airtight container or zip-top bag at room temperature for 2 to 3 days. Keep them whole rather than sliced — they stay softer that way. To reheat, wrap the rolls in foil and warm at 300°F for 5 to 8 minutes, or microwave a single roll for 10 to 15 seconds wrapped in a barely damp paper towel. Either way, a quick brush of butter after warming makes them taste like they just came out of the oven. Day-old rolls also make the world’s best mini sliders and breakfast sandwiches, so “too many rolls” is never really a problem.
What to Serve With Dinner Rolls
Warm dinner rolls belong on just about every table. At Thanksgiving and Christmas they’re essential — there’s no better tool for sopping up gravy and cranberry sauce. On Sundays, serve them beside a roast chicken, pot roast, or a big pot of beef stew. They’re wonderful with soups of all kinds (tomato, potato, and chicken noodle are favorites), essential for holiday ham, and perfect for tearing into softened butter while the main dish finishes. And don’t forget breakfast: split, toasted, and spread with jam, a leftover roll is a little morning gift.
Troubleshooting: Why Didn’t My Rolls Rise?

Don’t panic — most roll problems are easy to diagnose and even easier to fix next time:
- The dough didn’t rise at all: Almost always the yeast. Either the milk was too hot (over 115°F kills yeast), the yeast was expired, or it wasn’t given its foamy proofing time. Check the date on your packet and always proof first.
- The rise is very slow: Your kitchen is probably cold. Move the bowl to a warmer spot — near a preheating oven or in the oven with just the light on — and give it more time. Slow is fine; the flavor improves.
- The rolls are dense and heavy: Usually too much flour, under-kneading, or cutting the second rise short. Keep the dough soft, knead until smooth and elastic, and let those rolls get properly puffy before baking.
- The rolls spread instead of rising tall: The dough may have been over-proofed (left so long it exhausted the yeast) or shaped too loosely. Shape tight, smooth balls with the seams tucked under.
- The tops are pale: They likely needed another 2 to 3 minutes. Rolls should be a deep golden brown — color is flavor, so don’t pull them early.
FAQs About Easy Dinner Rolls
Can I use instant yeast instead of active dry yeast?
Yes! Swap it in equal amounts. Skip the proofing step and mix the instant yeast directly into the flour, then add the warm milk and other wet ingredients. The dough may rise a bit faster, so start checking it about 15 minutes early.
Can I make these rolls without a stand mixer?
Absolutely — this recipe was designed to be made by hand. Kneading takes 8 to 10 minutes and is honestly one of the most relaxing parts of baking. If the dough sticks, let it rest for 5 minutes and come back to it; it will be smoother and easier to handle.
Should I use all-purpose flour or bread flour?
Both work. All-purpose flour gives you soft, tender, classic rolls. Bread flour, with its higher protein, makes rolls that are slightly chewier and taller. Use what you have — the recipe is forgiving either way.
Can I make these dinner rolls dairy-free?
You can. Swap the milk for warm unsweetened almond or oat milk, use a plant-based butter in the dough and for brushing, and skip the egg or use a flax egg. The rolls will be a touch less rich but still soft, fluffy, and delicious.
How do I know when the rolls are fully baked?
Look for deep golden-brown tops, then check one of three ways: tap the top and listen for a slightly hollow sound, pull the center roll’s temperature to 190°F with an instant-read thermometer, or gently separate two rolls — the sides should look fully set and never doughy.
Can I make the dough in a bread machine?
Yes — add the ingredients in the order your machine recommends, run the dough cycle, then shape, proof, and bake as directed in the recipe. You get all the ease of the machine with the beautiful results of oven baking.
Conclusion
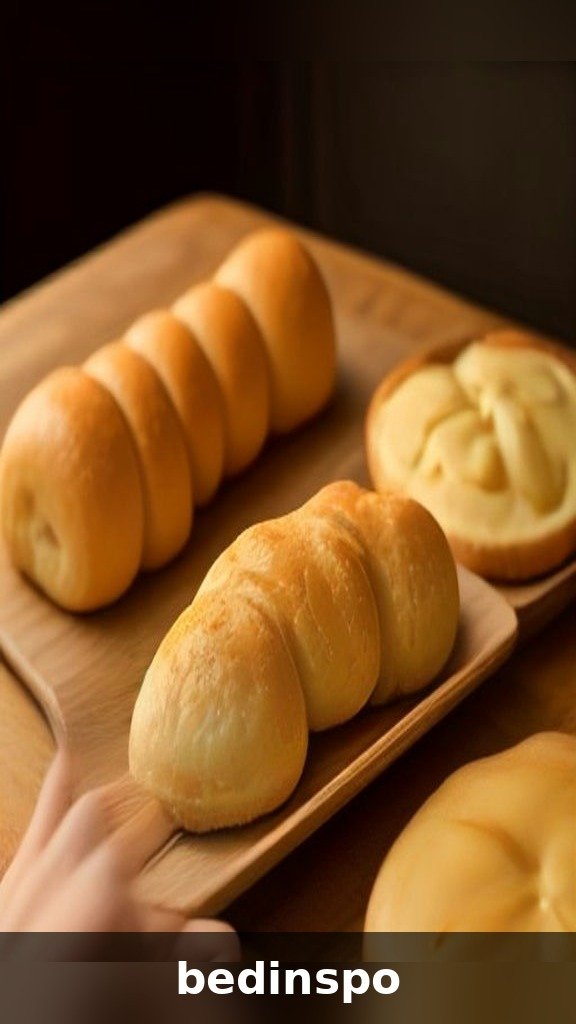
Soft, golden, buttery, and made from the simplest pantry ingredients — these easy dinner rolls are everything a homemade roll should be, with none of the stress. Master the classic batch, play with the garlic herb and honey butter versions, and keep a pan in the freezer for whenever comfort food calls. Once your family tastes these warm from the oven, the store-bought bag doesn’t stand a chance.
Pin this recipe to your baking board so it’s ready for Thanksgiving, Christmas, and every cozy Sunday dinner in between — and if you bake them, I’d love to hear which shape your family loved most. Happy baking! 🍞