DIY Parol Christmas Lantern: 16 Ideas to Make
DIY Parol Christmas Lantern: 16 Ideas to Make and Hang
There is no Christmas symbol quite like the parol. In the Philippines, where the holiday season famously begins in September — the beloved “ber months” — glowing star lanterns appear in windows, doorways, and town plazas for four straight months, making it the longest Christmas celebration in the world. The parol, a star-shaped lantern traditionally made from bamboo and paper or shimmering capiz shells, represents the Star of Bethlehem and the Filipino spirit of light, hope, and community. And the best part? You can make your own, no matter where in the world you live.
A DIY parol Christmas lantern is one of the most rewarding holiday crafts you will ever try. It is inexpensive, deeply meaningful, and absolutely stunning when lit up at night. Whether you want to honor Filipino heritage, add something truly unique to your Christmas decor, or simply try a craft with real cultural soul, this guide has you covered. Below you will find 16 parol ideas — from the classic capiz shell version to modern LED twists — plus a complete materials list, a step-by-step tutorial for a classic parol, and tips for hanging and lighting your lantern safely.
What Is a Parol? The Story Behind the Star
Before you start crafting, it helps to know what you are making. The parol (pronounced pah-ROL) originated during the Spanish colonial era in the Philippines, when villagers carried small paper lanterns to light their way to Simbang Gabi, the traditional dawn masses held in the nine days before Christmas. Over centuries, the humble lantern evolved into an art form. Today, the city of San Fernando in Pampanga province is famous as the “Christmas Capital of the Philippines,” home to the annual Giant Lantern Festival (Ligligan Parul), where enormous parols — some over 20 feet wide — dance with thousands of synchronized lights.
Traditionally, a parol has a five-pointed star shape with two decorative “tails” streaming from the bottom points. Classic materials include split bamboo for the frame, Japanese paper or crepe paper for the covering, and — in the most prized versions — translucent capiz shells, which glow like mother-of-pearl when lit from within. Making a parol is often a family affair in the Philippines, with grandparents teaching grandchildren the same frame-tying techniques passed down for generations. When you make your own DIY parol Christmas lantern, you are joining that beautiful tradition.
1. The Classic Capiz Shell Parol
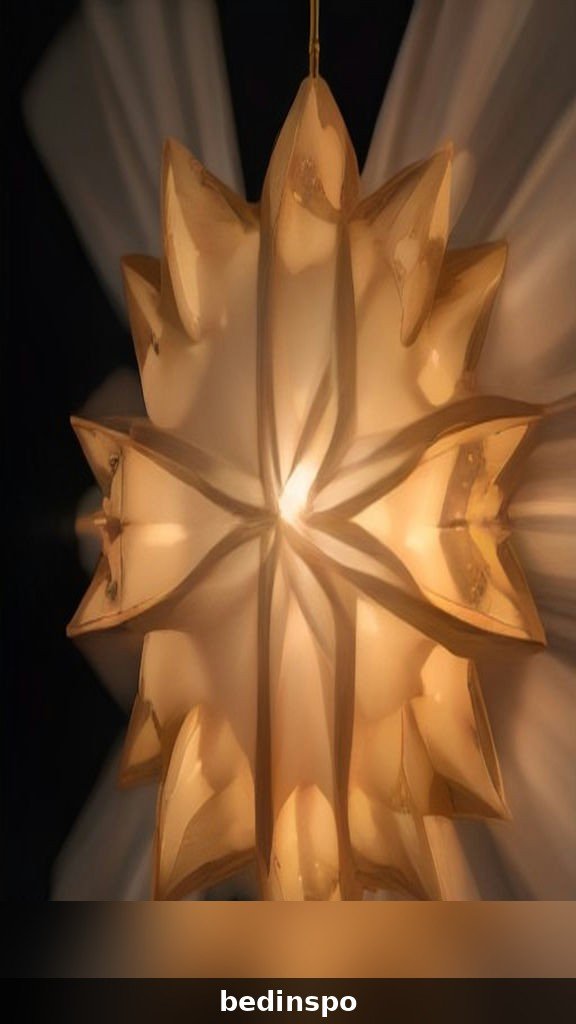
If you want the most authentic look, start with the classic capiz shell parol. Capiz — thin, translucent shells from the windowpane oyster — is the traditional luxury material for parols, and it creates a glow that no paper can match. When lit, the shells diffuse light into a warm, pearly shimmer that looks like the lantern is made of moonlight. You can buy capiz shell strands or pre-cut capiz pieces from craft suppliers and online marketplaces, often sold for wind chimes and lantern making.
To build it, create your bamboo or wire star frame first, then glue or wire the capiz pieces over the frame in overlapping rows, like shingles. Leave the center slightly open or use fewer layers there so the light shines through brightly. A warm-white LED bulb or fairy light string inside completes the magic. This version takes more time and costs a bit more than paper, but the result is a heirloom-quality DIY parol Christmas lantern that will make guests stop and stare. Hang it in a front window where the light can spill out onto the street, just like in the Philippines.
2. Traditional Bamboo Frame Parol
The bamboo frame is the soul of a traditional parol, and learning to make one connects you to centuries of Filipino craftsmanship. You will need thin bamboo sticks or rattan reeds — about five longer pieces for the star points and five shorter ones for the inner pentagon. Soak the bamboo briefly to make it flexible, then lash the joints tightly with thin wire or strong twine. The classic method uses no glue at all on the frame, just clever tying.
Once your star skeleton is sturdy, cover it with your material of choice: Japanese paper, tissue paper, or even colored cellophane for a stained-glass effect. The bamboo frame parol is lightweight, strong, and wonderfully traditional. It is also the best base for experimenting — once you master the frame, you can recover it in new colors every year. Many Filipino families keep the same bamboo frames for decades, simply re-papering them each Christmas season, which makes this the most sustainable parol of all.
3. Paper Star Parol for Beginners
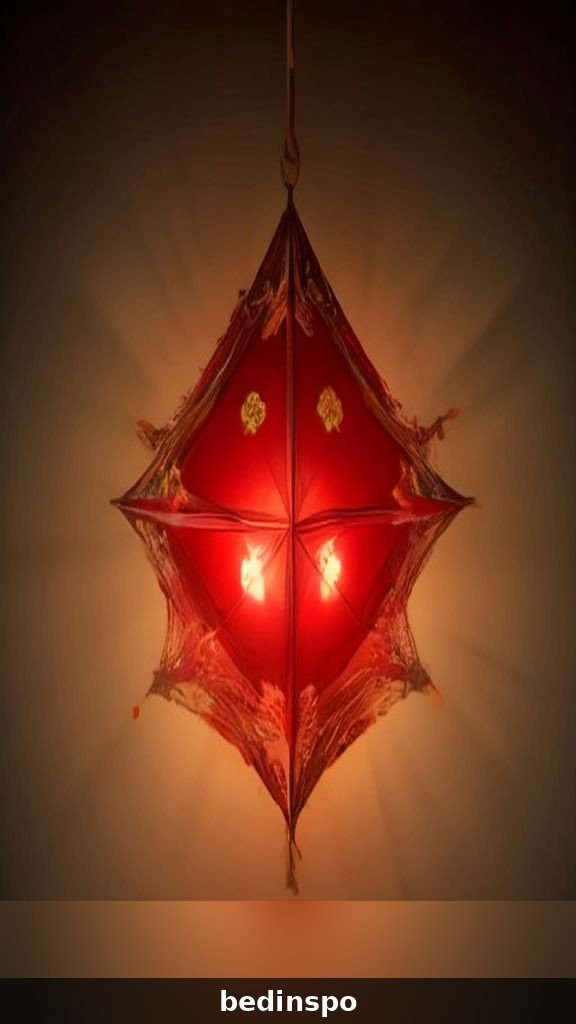
New to parol making? Start with paper. A paper star parol is the friendliest entry point — all you need is a simple star frame (craft wire, cardboard, or even sticks from the yard), tissue paper or crepe paper, glue, and scissors. Cut the paper into strips or shapes, glue them over the frame with slight overlaps, and trim the edges for a clean outline. In under an hour, you will have a cheerful lantern ready to hang.
The beauty of paper is how forgiving it is. Bright reds, greens, and golds give you the classic Christmas look, while pastel or metallic papers create a modern twist. Layer two colors of tissue for a marbled light effect, or cut patterns into the paper so the light throws decorative shadows on your walls. This is also the perfect version for a craft afternoon — the steps are simple enough for beginners, and you can make several in different colors to create a whole constellation of parols across your windows.
4. LED String Light Parol
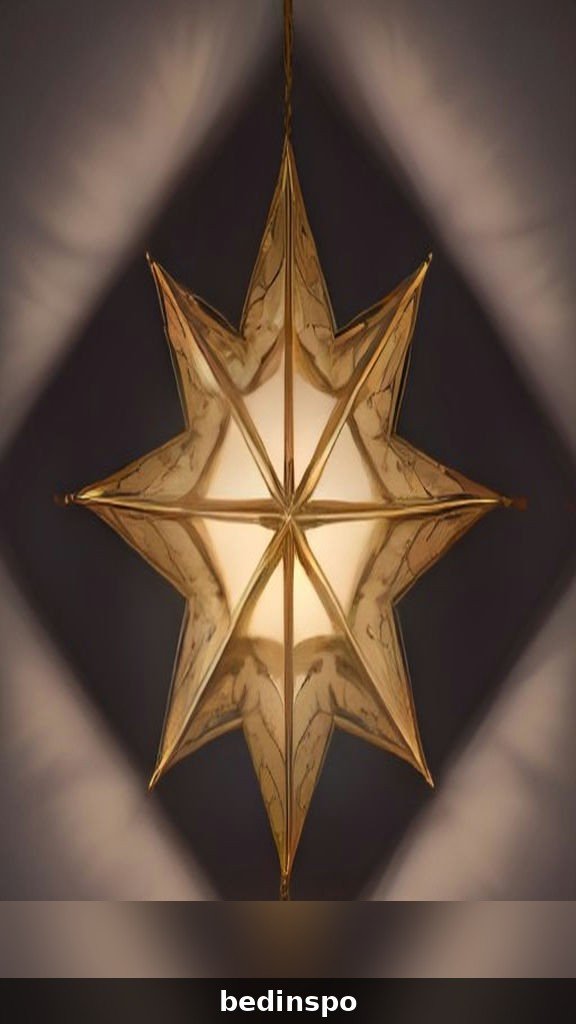
Want maximum glow with minimum fuss? Build your parol around LED string lights. Instead of a single bulb, weave a full strand of warm-white or multicolor fairy lights through the star frame before adding your paper or fabric covering. The result is an evenly lit lantern with no dark spots and a magical sparkle that looks incredible in photos. Battery-operated strands with a timer function are ideal — set them to glow every evening automatically.
This technique works with any frame material and any covering, which makes it endlessly versatile. For a showstopper, use color-changing LEDs and let your parol cycle through red, green, gold, and blue. For a calm, elegant look, stick with warm white. LED lights stay cool to the touch, so they are far safer than traditional bulbs around paper and dried bamboo — an important upgrade if your DIY parol Christmas lantern will hang where little hands might reach it.
5. Mini Parol Ornaments
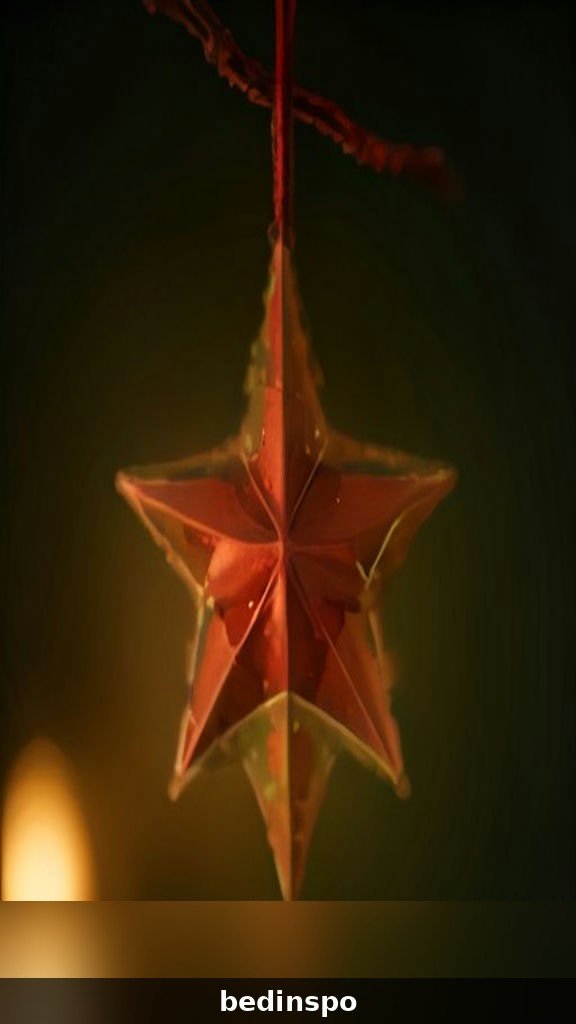
Who says a parol has to be big? Mini parol ornaments — just a few inches across — are adorable on a Christmas tree, strung as a garland, or tied onto gifts as a handmade topper with real meaning. Make the tiny star frames from toothpicks, craft sticks, or bent wire, cover with small squares of tissue paper, and add a loop of ribbon for hanging. A set of six minis takes an afternoon and costs almost nothing.
Mini parols are also wonderful gifts, especially for friends who appreciate handmade things with a story. Tuck a small card into each gift explaining what a parol symbolizes — light, hope, and the Filipino Christmas spirit — and your simple ornament becomes a meaningful cultural keepsake. Make them in a single color scheme to match your tree, or go rainbow for a playful, festive garland across a mantel or doorway.
6. Giant Outdoor Parol
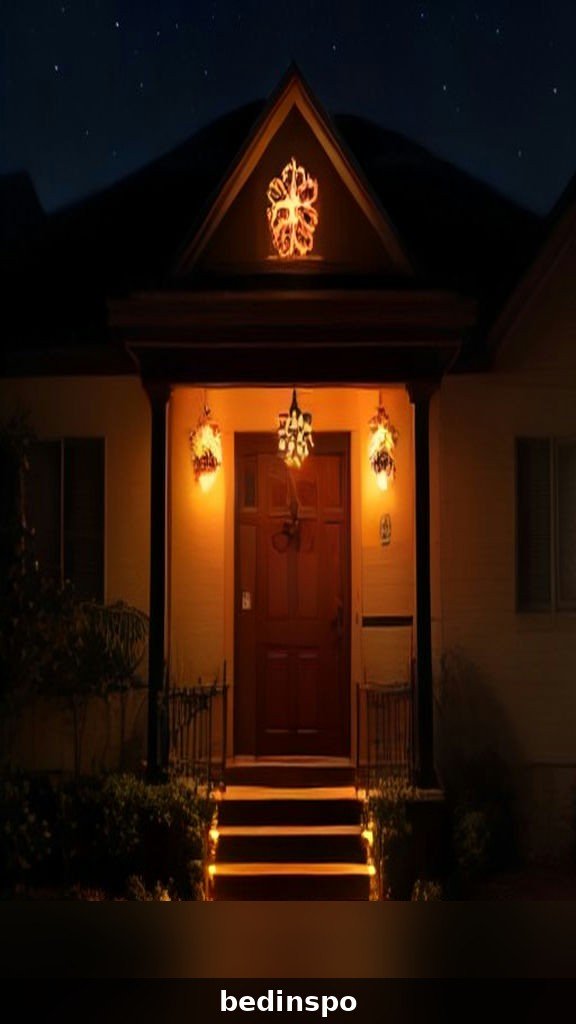
Ready to go big? A giant outdoor parol — three feet across or more — turns your porch or yard into a neighborhood landmark. Scale up the classic design: use PVC pipe or sturdy wooden dowels for the frame, outdoor-rated LED rope lights for illumination, and weather-resistant covering like colored vinyl, laminated paper, or outdoor fabric. Anchor it securely with wire or brackets, because a big parol catches the wind like a sail.
The giant parol is inspired by the famous Ligligan Parul festival, where whole barangays (villages) compete with colossal lanterns. You do not need to go twenty feet wide — even a three-foot parol glowing over your front door makes a stunning statement. Light it with a smart plug on a sunset-to-midnight schedule, and your home will radiate the warm, welcoming glow that the parol is all about. Just be sure all electrical parts are rated for outdoor use.
7. Recycled Materials Parol
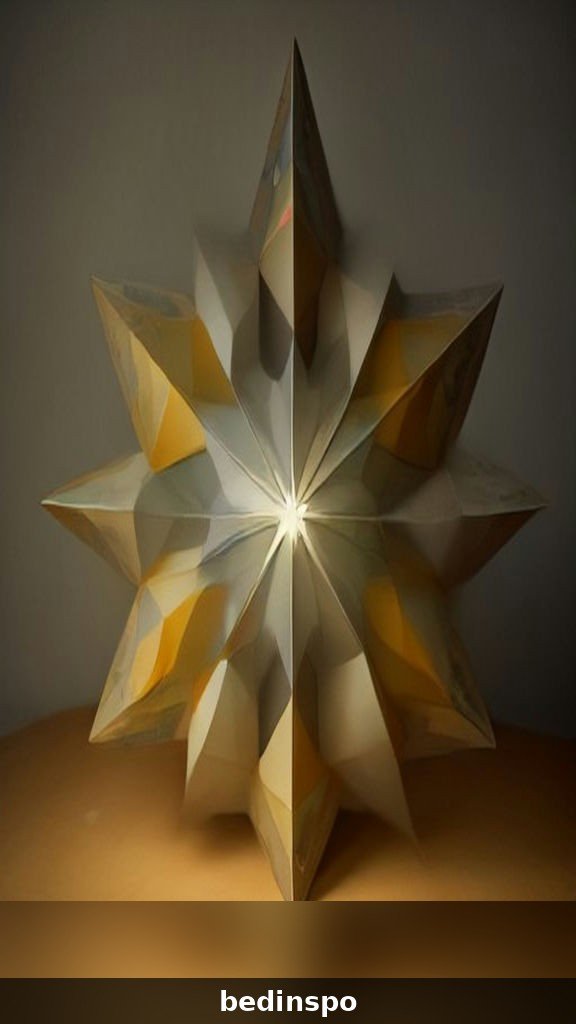
A parol made from recycled materials is kind to both your wallet and the planet. Old magazines, newspaper, junk mail, plastic bottles cut into translucent panels, bottle caps, and scrap fabric can all become a beautiful lantern. The frame can be built from straightened coat hangers or sticks gathered on a walk. This is the ultimate budget DIY parol Christmas lantern — potentially free — and it carries a lovely message about finding light and beauty in what others throw away.
Get creative with the covering: rolled magazine pages create a striped, textured glow; flattened plastic bottles diffuse light beautifully; colorful plastic bags (fused carefully with a cool iron between parchment) make a surprisingly sturdy, weather-resistant skin. A recycled parol is also a fantastic conversation piece — guests love guessing what each part used to be. It proves that the spirit of the parol was never about expensive materials, just creativity and light.
8. Modern Minimalist Parol
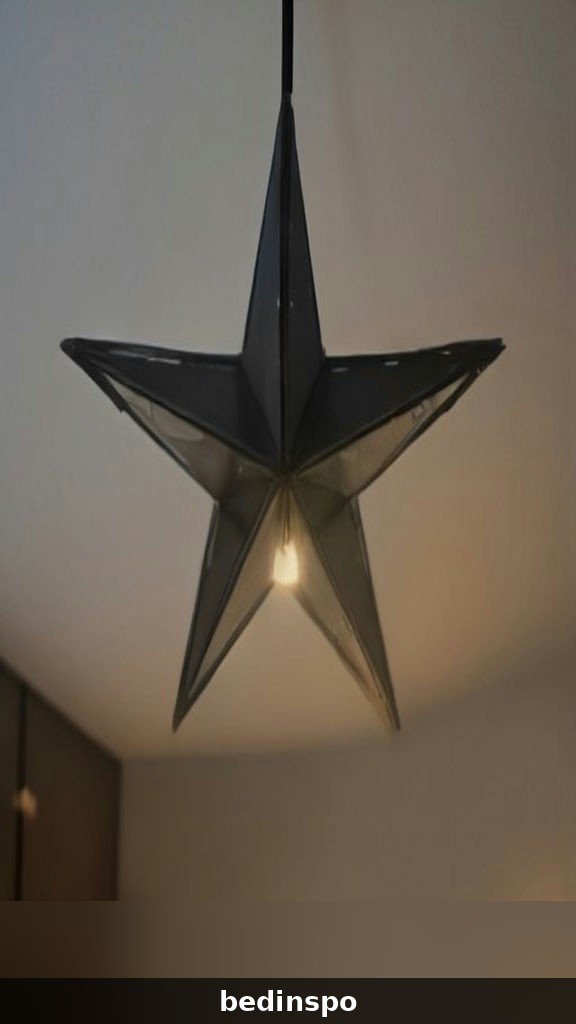
Love the symbolism but prefer clean, modern decor? The minimalist parol strips the design to its essence: a simple star outline in matte black wire, natural wood, or brushed brass, with no covering at all — or just a whisper of sheer white fabric. Hung against a plain wall or in a bright window, it reads as elegant Scandinavian-meets-Filipino design. Add a single warm Edison-style LED bulb at the center for a soft, sculptural glow.
This version fits beautifully into modern, minimalist, or Japandi-style homes where a traditional multicolor parol might feel out of place. Try a large wire-frame parol with no covering over a dining table as a holiday centerpiece, or a row of small brass parols along a shelf. It is proof that cultural crafts can evolve — the star shape and the light remain, carrying the same meaning in a quieter visual language.
9. Parol with Flowing Tails
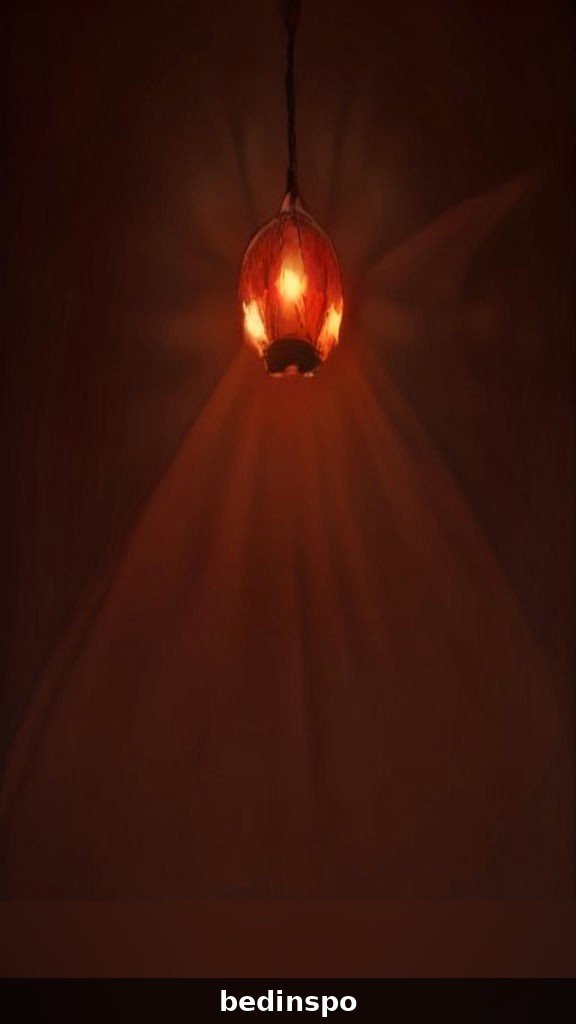
The two streaming tails are what make a parol instantly recognizable, so why not make them the star of the show? In this variation, you craft extra-long, elaborate tails — layered ribbons, cascading tissue strips, strings of small bells or beads, even tiny LED strands woven through. When the parol hangs in a doorway or from a porch ceiling, the tails move gently in the breeze, giving your lantern life and motion.
Traditional parol tails are made from the same paper as the lantern body, cut into long fringed strips. For a richer look, mix materials: satin ribbon in Christmas colors, natural raffia for a rustic feel, or shimmering metallic curling ribbon for glamour. Make the tails at least as long as the star is wide — dramatic proportion is the whole point. This is the version to choose if your parol will hang somewhere visible from below, like a high porch or an entryway, where the tails can really dance.
10. Stained-Glass Effect Parol
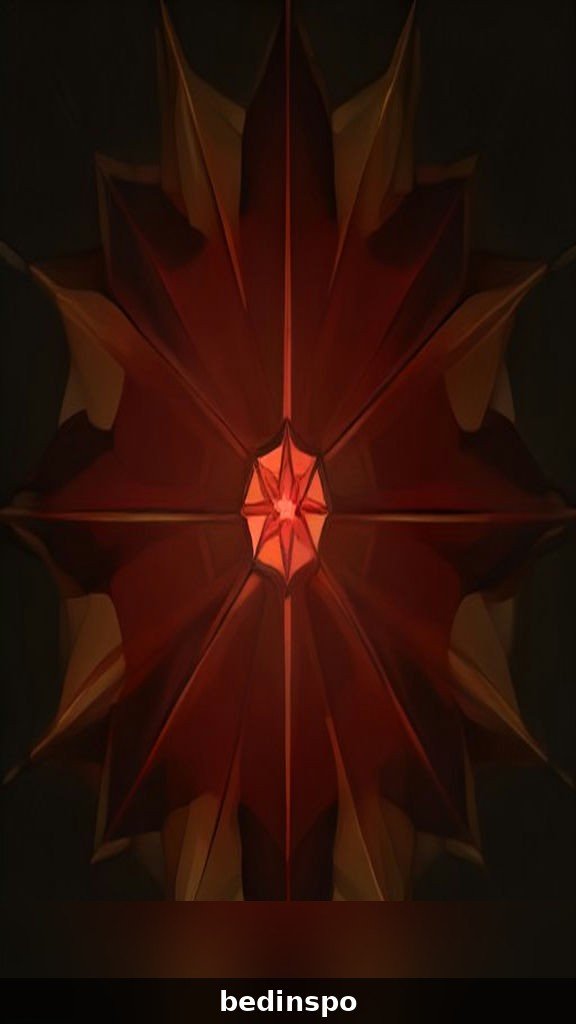
For a jewel-toned glow, build your parol with translucent colored cellophane or vellum instead of opaque paper. When lit from within, the lantern radiates like a stained-glass window — deep ruby reds, emerald greens, sapphire blues, and amber golds blending where the panels overlap. It is breathtaking at night and surprisingly simple: the technique is identical to a paper parol, just with a different covering material.
For the richest effect, use two layers of cellophane in complementary colors on alternating star points — red and gold, or blue and silver. Cut small shapes (stars, dots, crescents) from contrasting cellophane and glue them onto the panels for a decorated, cathedral-window look. Hang this DIY parol Christmas lantern where its colored light can wash across a nearby wall, and your whole room will glow with color. It is the most dramatic nighttime parol you can make.
11. Solar-Powered Garden Parol
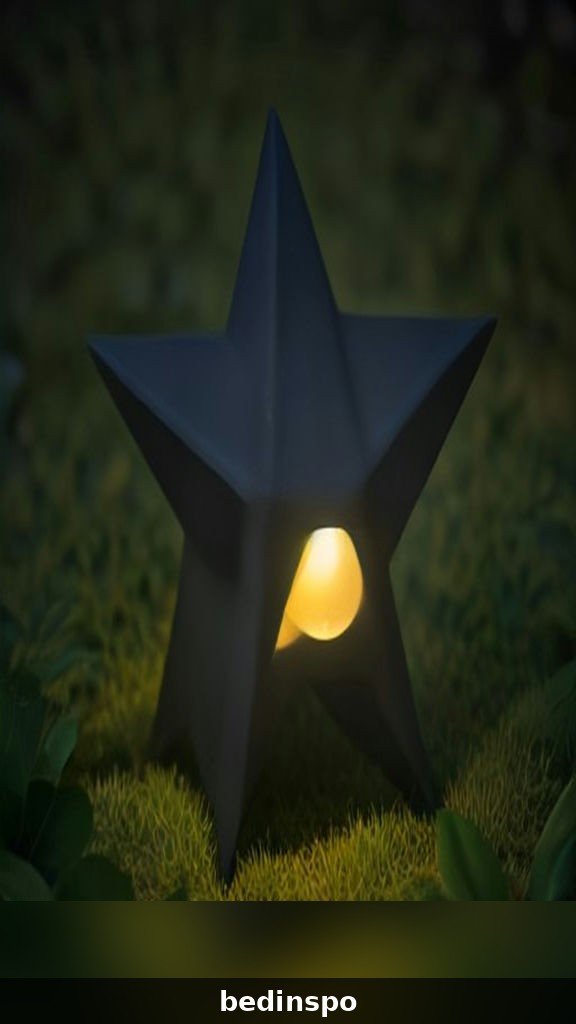
Take your parol outside without running a single extension cord. A solar-powered garden parol uses a small solar fairy-light strand — the kind sold for patios and pathways — threaded through a weather-resistant star frame. By day it is a charming garden ornament; by night it glows on its own, charged by the sun. Use marine-grade wire or powder-coated metal for the frame and outdoor fabric or vinyl for the covering so it survives the season.
Stake mini solar parols along a garden path for a magical walkway, or hang a medium one from a tree branch where it can catch the sun by day and shine by night. Because there is no wiring to fuss with, this is also the easiest parol to place exactly where you want it. It is a beautiful way to share the Filipino Christmas spirit with the whole neighborhood — and your electricity bill will not notice a thing.
12. Parol Cluster Chandelier
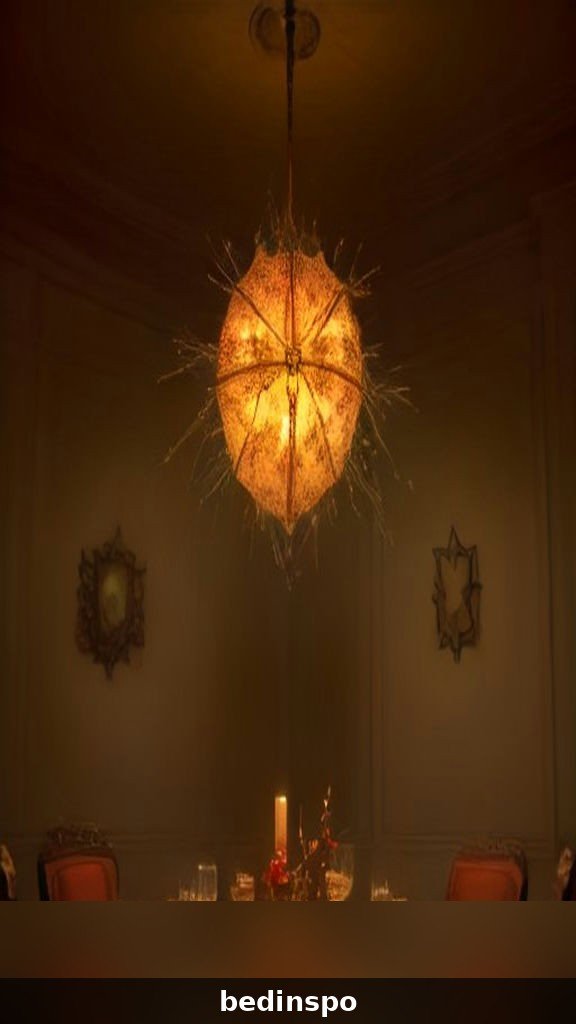
Instead of one big parol, hang a cluster of small ones at different heights, like a chandelier. Five to nine mini parols in coordinating colors, suspended from a branch, a hoop, or directly from the ceiling with fishing line, create a floating constellation that is pure holiday magic. This works beautifully over a dining table, in a stairwell, or in a large window.
The trick is variety within harmony: use the same color palette across all the minis but vary their sizes, covering materials, and tail lengths. Wire each mini to a central battery pack of fairy lights, or give each its own tiny LED tea light (flameless, always). A parol cluster is lighter and easier to hang than one giant lantern, and it photographs spectacularly — expect this to be the most-pinned corner of your Christmas decor.
13. Painted Wooden Parol
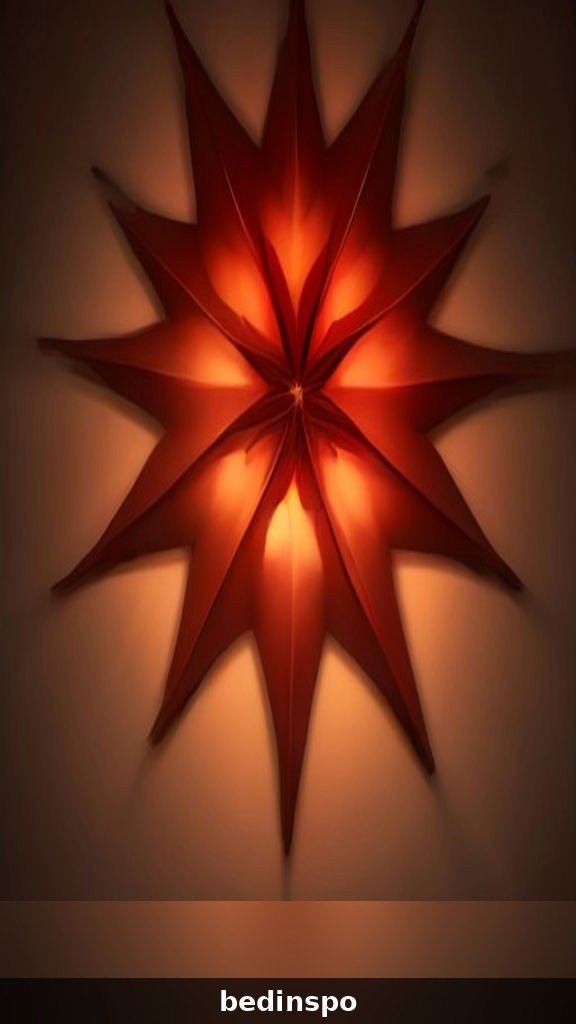
For a parol that lasts for years, build it from thin plywood or basswood. Cut a star shape with a jigsaw or have it laser-cut, paint it in festive colors or traditional Filipino patterns, and backlight it with an LED strip mounted behind the star so it throws a halo of light on the wall. A wooden parol is part lantern, part art piece — sturdy enough to hang outdoors and handsome enough to leave up all season.
Decorate the wood with painted details: poinsettias, sun rays (a nod to the Philippine flag), or geometric tribal patterns inspired by indigenous Filipino art. Drill small holes in a pattern and let the backlight shine through them for a dotted-light effect. Seal outdoor versions with polyurethane. This is the heirloom option — a wooden parol, stored carefully, can light up your Christmases for a decade or more.
14. Fabric and Lace Parol
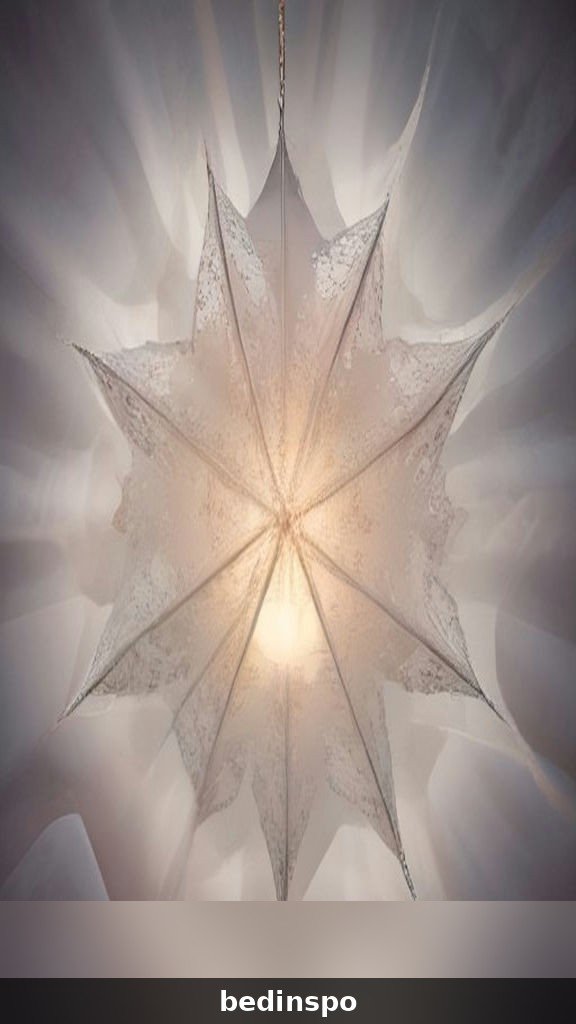
Soft, romantic, and utterly unique: cover your parol frame with fabric instead of paper. Sheer organza, lace overlays, embroidered tulle, or even a well-loved tablecloth with a pretty pattern all make gorgeous lantern skins. Fabric diffuses light softly and will not tear the way paper can, and lace creates the most delicate shadow patterns on surrounding walls. This version feels vintage and feminine — perfect for a cozy, nostalgic Christmas.
Stretch the fabric over the frame like a canvas and secure it with a staple gun or strong craft glue, trimming the excess for a tailored finish. Layer lace over a solid sheer for depth, or use Christmas-print cotton for a folksy charm. A fabric parol in warm white lace, glowing from within, looks like something from a holiday dream — and it packs flat for storage if you make the frame collapsible. It is the coziest DIY parol Christmas lantern on this list.
Materials and Tools for Your DIY Parol
Before you begin, gather your supplies. For a classic medium parol (about 18 inches across), you will need: 10 thin bamboo sticks or rattan reeds (five at about 20 inches, five at about 12 inches), thin wire or strong twine for lashing, your covering material (tissue paper, crepe paper, cellophane, or fabric — about 2 yards), white craft glue or a glue gun, scissors, a ruler, and a pencil. For the glow: a battery-operated LED fairy light strand or a single LED bulb with a battery pack. Optional extras include ribbon for tails, small bells, beads, and a hanging hook or suction-cup hanger rated for the weight.
Where to find materials: bamboo sticks and rattan are available at garden centers and craft stores; capiz shells and Japanese paper come from online craft marketplaces; everything else is standard craft-store fare. Total cost for a classic paper parol is typically under ten dollars, which is part of why this tradition has endured — the parol was always a craft of resourcefulness and joy, not expense. Lay everything out on a clear table, put on some holiday music, and you are ready to build.
Step-by-Step: How to Make a Classic Parol
Here is the traditional method, broken into simple steps. Step 1 — Build the star points: Take five of your longer sticks and form a five-pointed star, overlapping the ends at each point. Lash each joint tightly with wire or twine, wrapping at least six times and knotting securely. Step 2 — Add the inner pentagon: Connect the inner corners of the star with your five shorter sticks, forming a pentagon in the center. Lash each joint the same way. Your frame should now be rigid — give it a gentle shake to test.
Step 3 — Cover the frame: Lay your covering material flat, place the frame on top, and trace around it with an inch of extra margin. Cut out the star shape, apply glue to the frame edges, and press the covering on smoothly, working from the center outward to avoid wrinkles. Flip and repeat on the back, or leave the back open if you prefer a shadow-box effect. Step 4 — Trim and decorate: Trim excess material along the frame edges, then decorate: glue a contrasting border, add cut-out shapes, or layer a second color. Step 5 — Add tails: Cut two long fringed strips from your covering material (or ribbon) and attach them to the two bottom points of the star.
Step 6 — Light it: Weave your LED fairy lights through the frame or mount a single LED bulb at the center back, securing the battery pack to the frame with a twist tie. Test the lights before hanging. Step 7 — Hang it: Tie a strong loop of twine or wire to the top point of the star and hang your parol in a window, doorway, or from a porch hook. Step back, turn on the lights, and enjoy the moment — you just made a parol. The whole project typically takes one to two relaxed hours, and the frame-tying is the only part that requires any practice.
Hanging and Lighting Tips
Where you hang your parol matters as much as how you make it. The traditional spot is a front-facing window, where the light shines out to greet the street — this is how parols are displayed across the Philippines, turning whole neighborhoods into galleries of light. Inside, hang parols in entryways, over dining tables, or in large windows where they catch the eye. Use removable adhesive hooks for lightweight paper parols, and sturdy screw-in hooks or brackets for heavier wood or giant versions.
For lighting, always choose LEDs over incandescent bulbs — they stay cool, use far less power, and will not scorch paper or bamboo. Battery-operated strands with built-in timers are the simplest option: set them once and your parol glows every evening on its own. If you are hanging a parol outdoors, make sure every electrical component is rated for outdoor use, keep connections sheltered from direct rain, and use a GFCI outlet or weatherproof battery box. With the right setup, your DIY parol Christmas lantern will shine safely all season long, from the first ber month to the last.
Frequently Asked Questions
What does the parol symbolize?
The parol represents the Star of Bethlehem that guided the Three Wise Men, and more broadly it symbolizes light, hope, and the triumph of good over darkness. In Filipino culture it is also a symbol of community and shared joy — the light is meant to be seen and shared, which is why parols hang in windows facing outward.
How long do Filipinos display parols?
The Philippines celebrates the longest Christmas season in the world, beginning in September (the start of the “ber months”) and often extending into January. Parols typically go up in late November or early December and stay lit through the Feast of the Three Kings in early January — though many families keep them up even longer.
Can I make a parol without bamboo?
Absolutely. While bamboo is traditional, you can build a sturdy star frame from craft wire, wooden dowels, straightened coat hangers, cardboard, or even sticks from your yard. The covering can be any translucent or decorative material. The star shape and the light are what make it a parol — not any single material.
Are parols only for Filipino households?
Not at all. The parol’s message of light and hope is universal, and making one is a wonderful way to appreciate Filipino culture respectfully. Many non-Filipino crafters and decorators have embraced the parol as a beautiful, meaningful addition to their holiday traditions. If you make one, take a moment to learn and share its story — that is part of the craft.
Conclusion
A DIY parol Christmas lantern is so much more than a decoration. It is a craft with a story — four months of Christmas lights, dawn masses lit by paper stars, giant lanterns dancing over Pampanga, and families tying bamboo frames together the way their grandparents taught them. When you hang your handmade parol in the window and switch on its warm glow, you are taking part in one of the world’s most joyful holiday traditions.
Start with the version that speaks to you — the classic capiz, a simple paper star, a modern minimalist frame — and make it your own. And when a neighbor asks about the beautiful star glowing in your window, you will get to tell them about the parol. That shared light is exactly what the tradition is all about. Maligayang Pasko — Merry Christmas — and happy crafting!