DIY Patchwork Fabric Star Ornaments: 25 Ideas
DIY Patchwork Fabric Star Ornaments: 25 Cozy Ideas for a Handmade Tree
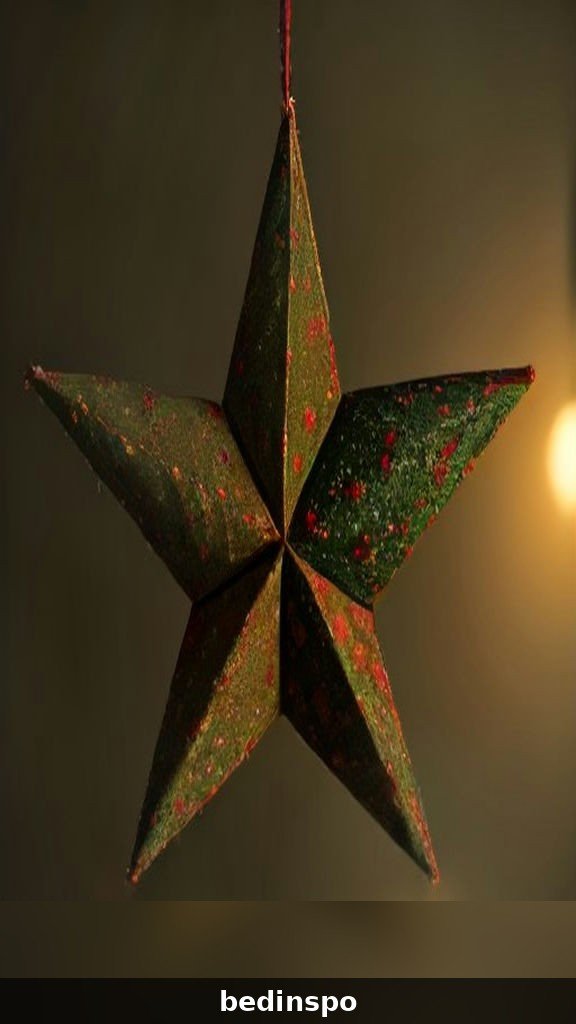
There is something deeply comforting about a Christmas tree dressed in ornaments sewn from fabric. DIY patchwork fabric star ornaments bring the warmth of a quilt to the tree, with tiny squares of plaid, gingham, and Christmas print stitched together into stars that look like they came straight from grandmother’s sewing basket. A handful of fabric scraps costs almost nothing, and with a needle, some thread, and a little stuffing, those leftover pieces turn into keepsakes your family will unpack with a smile every single December.
Patchwork stars are also wonderfully forgiving for sewists of every level. If you can sew a straight line, you can sew a star. The patchwork hides small mistakes beautifully, and no two stars ever come out exactly alike, which is exactly the point. Most of the projects below take under an hour, cost less than five dollars each, and make beautiful gifts, stocking stuffers, and tree decorations that feel far more precious than anything from a store.
Before you begin, gather your basics: fabric scraps in Christmas colors, a star template cut from cardstock, needle and thread or a sewing machine, polyester stuffing or cotton batting, ribbon or twine for hanging, and sharp fabric scissors. An iron is your best friend for patchwork, because pressed seams make every star look crisp and professional. Set up a table with your prettiest fabrics, put on some Christmas music, and let us turn a pile of scraps into a whole handmade Christmas.
1. Classic Five-Point Patchwork Stars
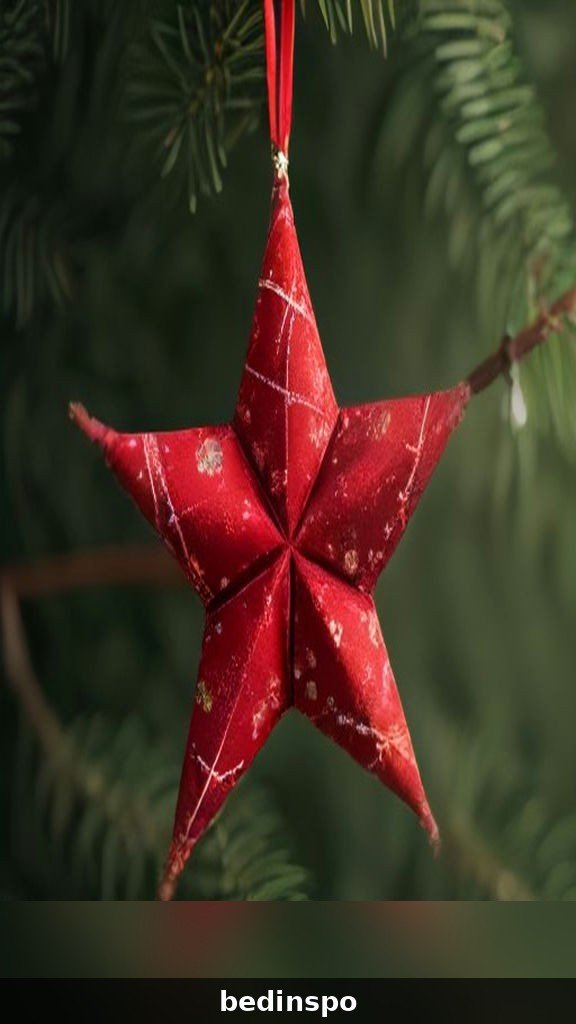
The classic five-point patchwork star is the place every fabric crafter should start. Cut five identical diamond shapes from two or three coordinating fabrics, stitch them together around a small center pentagon, and you have a star that looks like a tiny quilt block. Stuff it lightly with polyester filling, stitch the back closed, and add a loop of ribbon at the top point for hanging.
These stars look beautiful in any color combination, but a mix of red, green, and cream is the most traditional. Make a whole set in one color family for a coordinated tree, or sew each star from a different fabric bundle for a cheerful, collected look. They are a perfect first project for beginners, because the patchwork is simple and every star looks charming on the tree.
Materials: Cotton fabric scraps, star template, needle and thread, polyester stuffing, ribbon.
Cost: about $2 · Time: about 30 minutes each.
2. Scrappy Charm Stars from Fabric Scraps
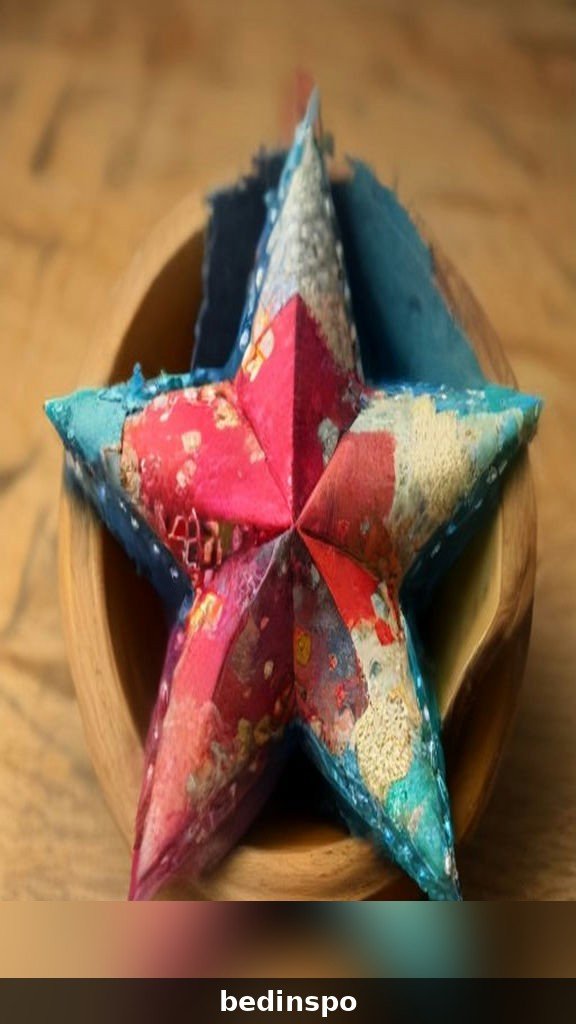
Scrappy charm stars are the best way to use up the smallest pieces in your fabric stash. Cut tiny squares and triangles from whatever Christmas fabrics you have left, even pieces too small for any other project, and stitch them into a star with no plan at all. The randomness is the charm, and every star becomes a little record of the fabrics you loved enough to keep.
These stars are wonderful for using up charm packs, jelly roll strips, and the ends of fat quarters. Mix plaids with polka dots, stripes with florals, and let the colors clash a little, because scrappy patchwork always works. Hang a whole set of scrappy stars on one tree for a joyful, homemade look that no store-bought ornament can copy.
Materials: Assorted fabric scraps, star template, needle and thread, polyester stuffing, twine.
Cost: about $1 · Time: about 25 minutes each.
3. Red and Green Traditional Patchwork Stars
A red and green patchwork star is the most traditional Christmas ornament you can sew, and it never goes out of style. Choose a deep red fabric and a forest green fabric in similar weights, cut your star pieces, and alternate the colors around the points. The contrast makes the star shape pop, and the finished ornament looks like it belongs on a Victorian tree.
Add a cream fabric for the center pentagon to soften the contrast, or keep it strictly red and green for a bold, graphic look. These stars are beautiful on a tree full of wooden ornaments and dried oranges, and they make lovely gifts when sewn in a set of three. A red and green star with a plaid ribbon hanger is Christmas in a single ornament.
Materials: Red and green cotton fabric, cream fabric for center, needle and thread, stuffing, plaid ribbon.
Cost: about $2 · Time: about 30 minutes each.
4. Patchwork Stars with Christmas Prints

Christmas print fabrics turn a simple patchwork star into a tiny storybook. Use fabrics printed with reindeer, snowflakes, candy canes, and Christmas trees, and let the prints do the decorating for you. Cut the star points so that a reindeer or a snowflake lands right in the center of a point, and the finished star will make everyone smile when they look closely.
These stars are perfect for using up novelty Christmas fat quarters that are too cute to cut into boring shapes. Mix one strong print with two quiet solids so the print stays the star of the show. They are wonderful for a children’s tree, because every star has a picture to discover, and they make delightful gifts for anyone who loves Christmas prints.
Materials: Christmas print cotton fabric, solid coordinating fabric, star template, thread, stuffing, ribbon.
Cost: about $2 · Time: about 30 minutes each.
5. Quilted Patchwork Stars with Batting
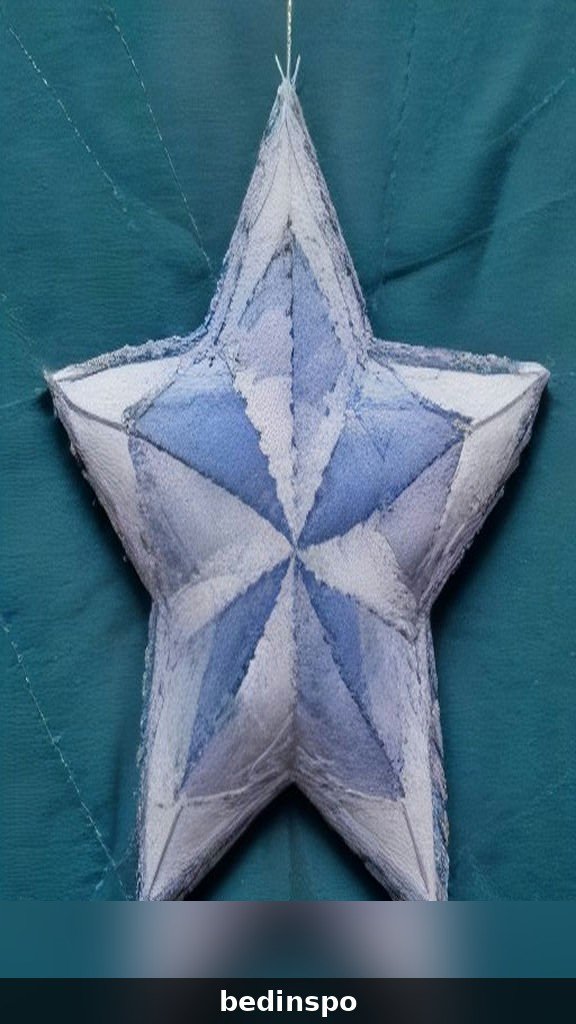
A quilted patchwork star has a soft, puffy feel that flat fabric stars cannot match. Layer your patchwork star front over a piece of thin cotton batting, quilt the layers together with simple straight stitches or a crosshatch pattern, and the star gains a lovely dimension that catches the tree lights beautifully. The quilting also makes the ornament sturdier, so it holds its shape for years.
Quilted stars are a lovely way to practice your quilting on a small, forgiving project before tackling a full quilt. Try hand quilting with a running stitch in a contrasting thread color for a folk-art look, or machine quilt in the ditch for a clean, modern finish. Either way, the finished star feels substantial and precious in your hand.
Materials: Cotton fabric scraps, thin cotton batting, star template, needle and thread, stuffing, ribbon.
Cost: about $3 · Time: about 45 minutes each.
6. Patchwork Stars in Neutral Farmhouse Fabrics
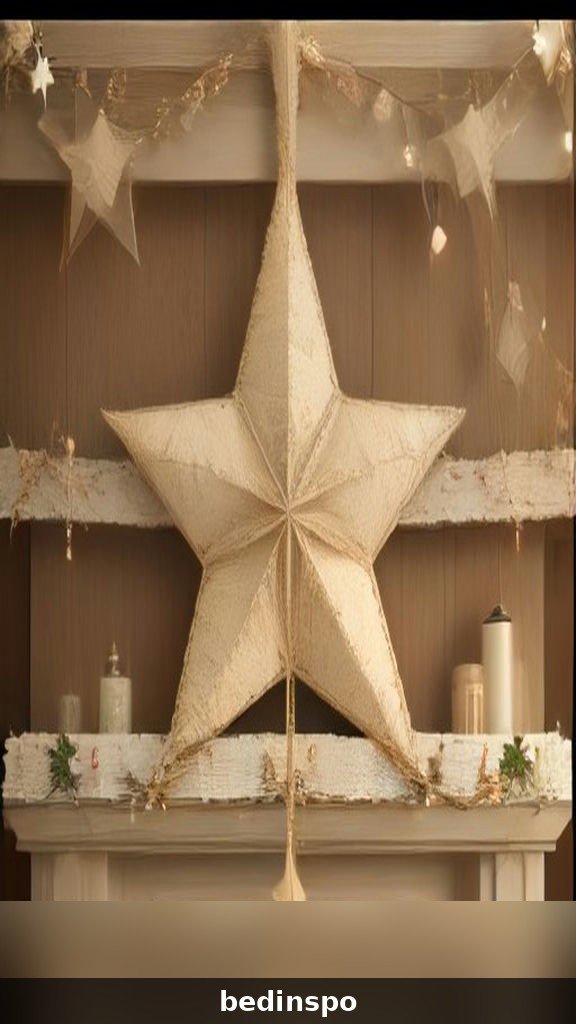
Neutral farmhouse patchwork stars are perfect for a tree that leans rustic and calm rather than bright and busy. Choose fabrics in cream, oatmeal, taupe, and soft grey, with maybe one muted sage green or dusty red thrown in, and sew stars that blend gently into a natural, woodland tree. The soft colors look beautiful against green branches and warm white lights.
These stars pair wonderfully with burlap ribbon, wooden bead garlands, and dried orange slices. They are a lovely choice for a farmhouse or Scandinavian style Christmas, where the whole tree feels quiet and natural. Sew a set in matching neutrals for a calm, coordinated look, or mix in one or two stars with a tiny red print for a whisper of traditional color.
Materials: Neutral cotton fabrics, star template, needle and thread, stuffing, burlap ribbon.
Cost: about $2 · Time: about 30 minutes each.
7. Mini Patchwork Stars for a Small Tree
Mini patchwork stars are the cutest ornaments on this list, and they are perfect for a tabletop tree, a wreath, or a garland. Cut your star template at half size, use the smallest scraps in your stash, and sew tiny stars that fit in the palm of your hand. They take only minutes each, so you can make a whole bowlful in one cozy evening.
Mini stars are wonderful for decorating a small tree in a bedroom or office, and they look adorable strung together on twine as a garland. They also make sweet gift tags when you write a name on the back in fabric pen, and they are a perfect first sewing project for children learning to stitch. Tiny stars, big charm.
Materials: Small fabric scraps, mini star template, needle and thread, small amount of stuffing, twine.
Cost: about $1 · Time: about 15 minutes each.
8. Patchwork Stars with Embroidered Centers
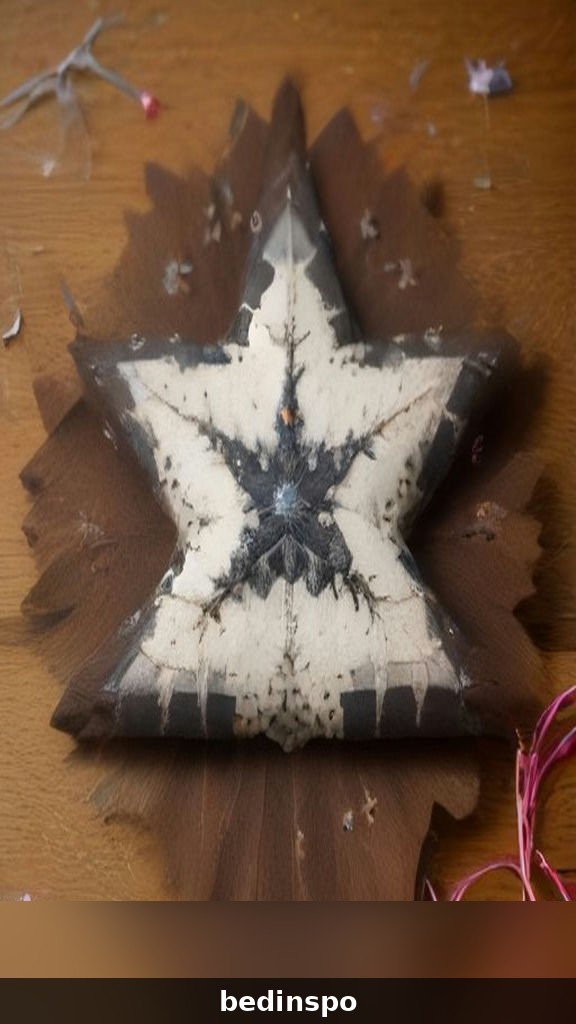
A patchwork star with an embroidered center feels like a piece of folk art. Before you assemble the star, embroider a tiny snowflake, a heart, or a simple flower in the center pentagon using backstitch and French knots. The embroidery adds a handmade touch that makes each star feel personal and precious.
Choose embroidery floss in a color that contrasts with your center fabric, like gold on green or white on red, so the design stands out. These stars take a little longer than plain ones, but they are worth every minute, and they make beautiful gifts for the people you love most. A star with an embroidered snowflake is a keepsake, not just an ornament.
Materials: Cotton fabric, embroidery floss and needle, star template, thread, stuffing, ribbon.
Cost: about $3 · Time: about 50 minutes each.
9. Patchwork Star Garland
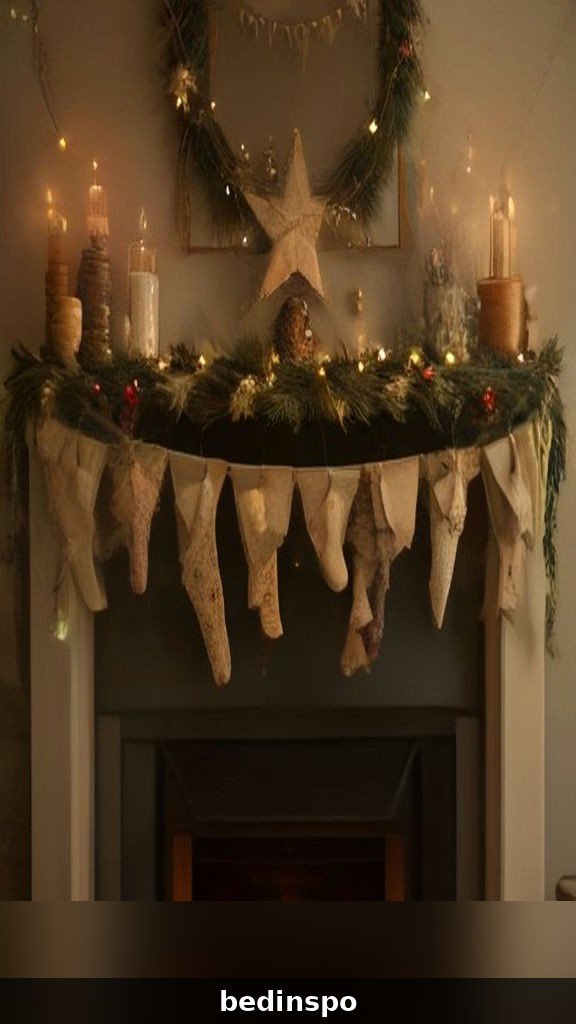
A garland of patchwork stars turns a whole mantel or doorway into a handmade Christmas display. Sew a dozen small stars in coordinating fabrics, string them on twine with wooden beads between each one, and hang the garland across your fireplace, along a banister, or in a window. The stars catch the light as they turn, and the whole garland feels warm and festive.
Garlands are a wonderful way to use up a big pile of scraps in one project, and they look beautiful in a child’s bedroom or a cozy reading nook too. Space the stars evenly, add a sprig of pine or a cinnamon stick between a few of them, and tie the ends with big bows. A patchwork star garland is the kind of decoration that makes a whole room feel like Christmas.
Materials: Fabric scraps, star template, needle and thread, stuffing, twine, wooden beads.
Cost: about $8 per garland · Time: about 2 hours.
10. Patchwork Stars with Vintage Fabric
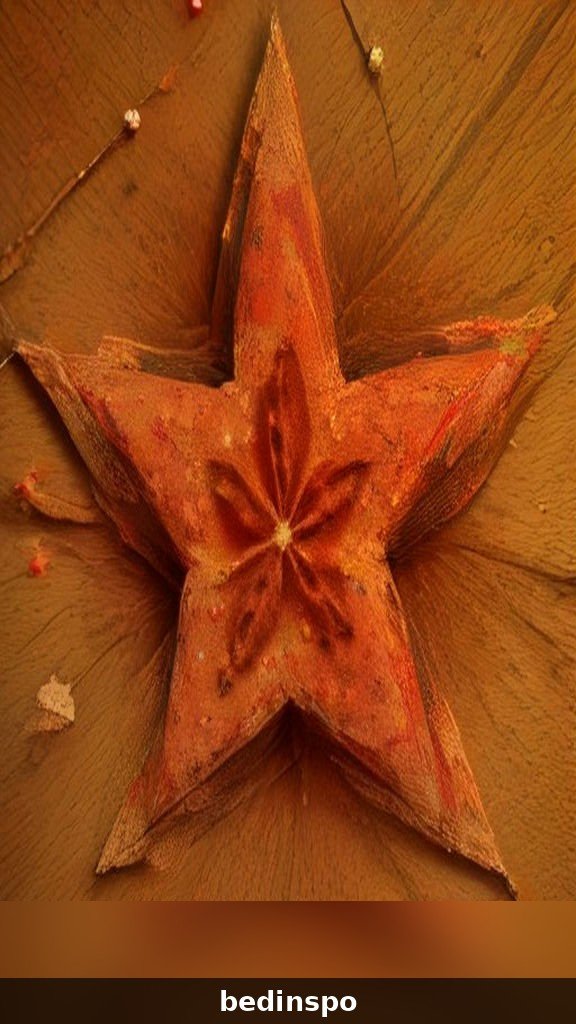
Patchwork stars sewn from vintage fabric carry a story in every stitch. Hunt for old floral cotton, faded gingham, or feedsack prints at thrift stores and estate sales, and cut your stars from fabrics that have already lived one life. The soft, washed colors and gentle wear make these stars look like heirlooms from the very first Christmas.
Vintage fabric stars are beautiful on a tree decorated with old ornaments and family photos, and they make wonderful gifts for anyone who loves antiques. Handle the old fabric gently, back it with a light fusible interfacing if it feels fragile, and sew with a slightly longer stitch. These stars are not just ornaments, they are a little piece of history on your tree.
Materials: Vintage cotton fabric, fusible interfacing, star template, needle and thread, stuffing, ribbon.
Cost: about $3 · Time: about 35 minutes each.
11. Patchwork Stars with Buttons and Beads
Buttons and beads turn a simple patchwork star into a little jewel. Sew a vintage button in the center of the star, add a few seed beads along the points, or stitch a row of tiny wooden beads around the edge. The extra texture catches the tree lights and makes each star sparkle in a quiet, handmade way.
This is a perfect project for using up the button jar, because no two stars need the same button. Try mother-of-pearl buttons on cream stars, wooden buttons on rustic stars, and red glass buttons on green stars. A star with a button center is charming, thrifty, and completely unique, and children love choosing the buttons for their own stars.
Materials: Cotton fabric, assorted buttons and beads, star template, needle and thread, stuffing, ribbon.
Cost: about $2 · Time: about 35 minutes each.
12. Patchwork Stars in Jewel Tones
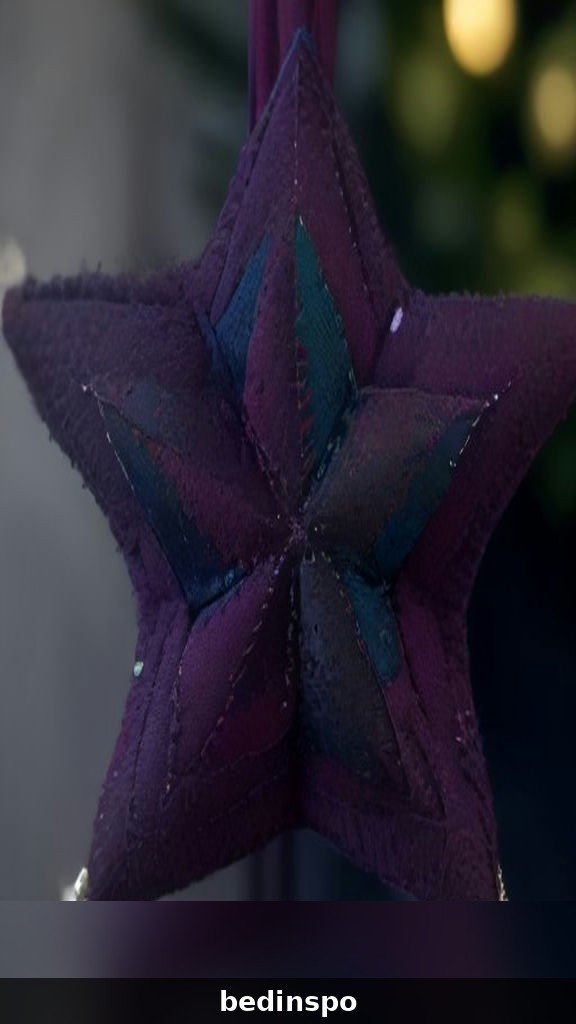
Jewel tone patchwork stars bring a rich, luxurious feel to a Christmas tree. Choose fabrics in deep burgundy, emerald, sapphire, and plum, and sew stars that glow like gemstones against the green branches. The deep colors look especially beautiful with gold ribbon hangers and warm white lights.
These stars are a lovely choice for an elegant tree, or for anyone whose Christmas style leans more sophisticated than rustic. Mix the jewel tones with one or two gold metallic fabrics for extra sparkle, and keep the rest of the tree simple so the stars can shine. A jewel tone star is proof that handmade can be glamorous too.
Materials: Jewel tone cotton fabrics, gold metallic fabric, star template, thread, stuffing, gold ribbon.
Cost: about $3 · Time: about 30 minutes each.
13. Patchwork Stars with Ribbon Hangers
The hanger is half the charm of a patchwork star, and a beautiful ribbon makes all the difference. Choose velvet ribbon in burgundy or forest green, satin ribbon in gold, or plaid ribbon for a traditional look, and stitch a generous loop into the top point of the star. A long loop lets the star hang freely and turn in the light, showing off both sides.
Try tying a small bow where the ribbon meets the star for a finished look, or layer two ribbons in different widths for extra texture. Ribbon hangers are also a lovely way to coordinate your stars with the rest of your tree, matching the ribbon on your garlands and wreaths. A star on a velvet ribbon is a little luxury.
Materials: Cotton fabric, velvet or satin ribbon, star template, needle and thread, stuffing.
Cost: about $2 · Time: about 30 minutes each.
14. Patchwork Stars as Gift Toppers
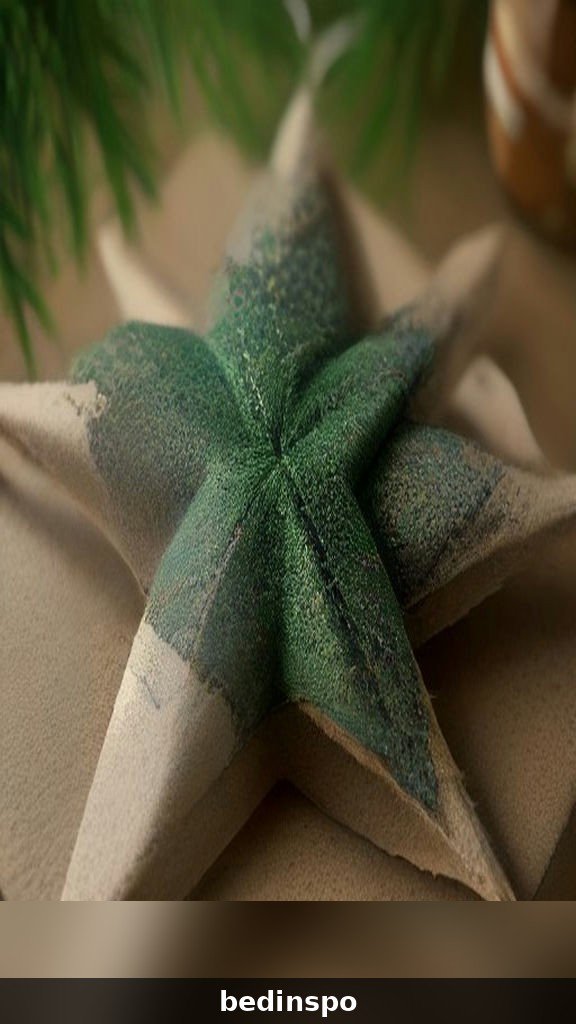
A patchwork star on top of a wrapped gift turns an ordinary present into something unforgettable. Sew a small star, tie it to a kraft paper package with twine, and tuck a sprig of pine underneath it. The recipient gets two gifts in one, a present and a handmade ornament they can hang on their tree for years.
Gift topper stars are a wonderful way to use up small scraps, and they make even the simplest wrapping look thoughtful and special. Coordinate the star fabric with the wrapping paper, or use the same star fabric for every gift under the tree for a coordinated look. A handmade star on a gift says you spent time, not just money.
Materials: Fabric scraps, star template, needle and thread, small amount of stuffing, twine, pine sprigs.
Cost: about $1 · Time: about 20 minutes each.
15. Patchwork Stars with Metallic Fabric Accents
A touch of metallic fabric makes a patchwork star shimmer like frost in the tree lights. Add one gold or silver metallic piece to each star, maybe the center pentagon or one single point, and the whole star comes alive when the lights hit it. The metallic accent catches the eye without overwhelming the soft cotton fabrics around it.
Metallic cotton fabrics are easy to find in most craft stores, and they sew just like regular cotton. Use them sparingly, one piece per star, for the most elegant effect, and pair them with deep reds and greens for a classic look. A star with a gold center is like a little sun on your tree.
Materials: Cotton fabric, metallic cotton fabric, star template, needle and thread, stuffing, ribbon.
Cost: about $3 · Time: about 30 minutes each.
16. Patchwork Stars in Pastel Colors
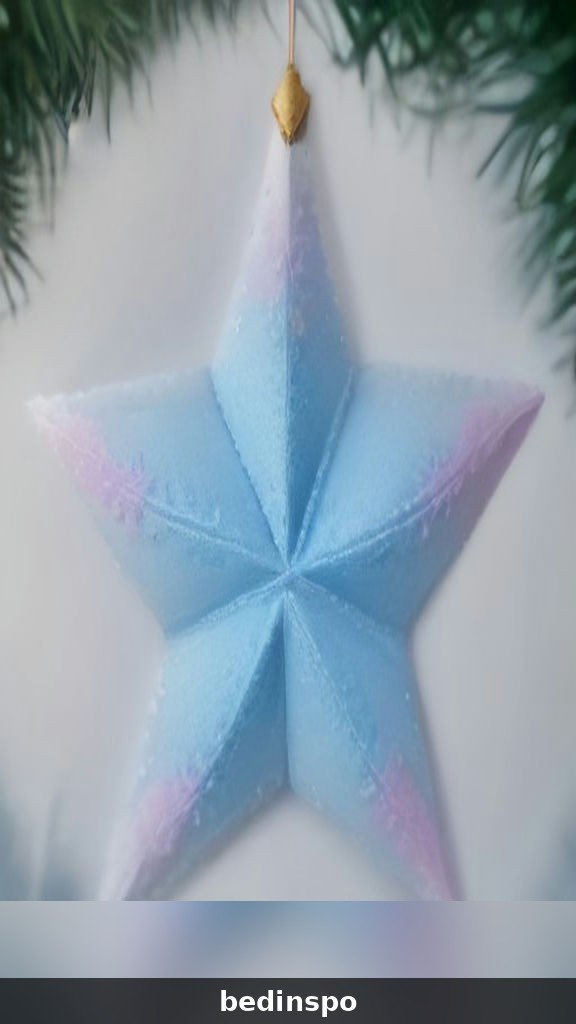
Pastel patchwork stars are a soft, dreamy alternative to traditional Christmas colors. Sew stars in blush pink, powder blue, mint green, and lavender, and hang them on a white or flocked tree for a look that feels like a winter sunrise. The gentle colors are beautiful in a nursery, a bedroom, or a home that leans shabby chic.
Pastel stars pair wonderfully with silver ribbon, white lights, and frosted ornaments. They are a lovely choice for a first Christmas in a new home, or for anyone who finds traditional red and green a little too bold. A pastel star tree is proof that Christmas can be soft and still feel completely festive.
Materials: Pastel cotton fabrics, star template, needle and thread, stuffing, silver ribbon.
Cost: about $2 · Time: about 30 minutes each.
17. Patchwork Stars with Applique Snowflakes
Applique snowflakes add a crisp, graphic detail to a patchwork star. Cut a simple snowflake shape from white felt or white cotton, and applique it onto the center pentagon with a blanket stitch or a small running stitch. The white snowflake against a red or green star is striking, and the applique gives the star a lovely layered texture.
These stars are a great way to practice applique on a small project, and the snowflake can be as simple or as detailed as you like. Try a six-pointed flake with a button in the center, or a delicate flake cut with pinking shears for a frayed, folk-art edge. A star with an applique snowflake looks like it fell straight out of a winter storybook.
Materials: Cotton fabric, white felt or cotton for applique, star template, needle and thread, stuffing, ribbon.
Cost: about $2 · Time: about 40 minutes each.
18. Patchwork Stars with Felt Backing
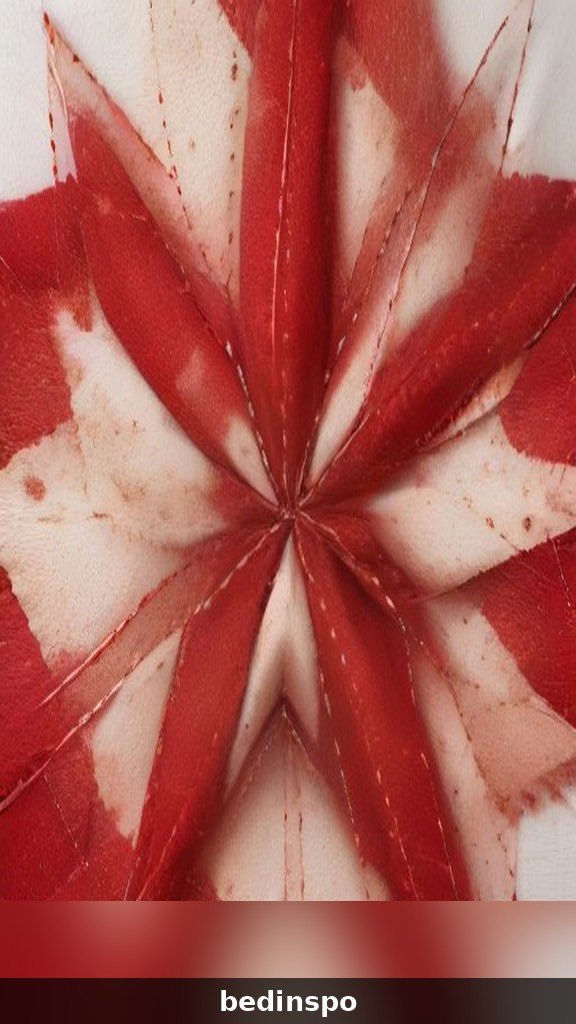
A felt backing gives a patchwork star a clean, professional finish and helps it hold its shape. Cut a star shape from wool felt in a coordinating color, slightly smaller than your patchwork front, and stitch it to the back with a blanket stitch around the edge. The felt hides all the raw edges and gives the star a soft, substantial feel.
Felt backing is especially useful for stars that will be handled a lot, like the ones on a children’s tree, because it protects the seams and keeps the stuffing in place. Choose felt in a color that matches one of your patchwork fabrics, or in a contrasting color for a fun surprise when the star turns. A felt-backed star feels finished from every angle.
Materials: Cotton fabric, wool felt, star template, needle and thread, stuffing, ribbon.
Cost: about $3 · Time: about 35 minutes each.
19. Patchwork Stars in Buffalo Plaid
Buffalo plaid patchwork stars are bold, cozy, and unmistakably Christmas. Cut your star points from red and black buffalo plaid, cream and black plaid, or a mix of both, and the finished star has a lodge-like warmth that looks wonderful on a rustic tree. The big check pattern makes the star shape read clearly from across the room.
These stars pair beautifully with wooden ornaments, pinecones, and burlap ribbon. They are a perfect match for a cabin or farmhouse Christmas, and they look just as good on a wreath as they do on a tree. Try one star in red plaid and one in cream plaid side by side for a classic, coordinated pair.
Materials: Buffalo plaid cotton fabric, star template, needle and thread, stuffing, burlap ribbon.
Cost: about $2 · Time: about 30 minutes each.
20. Patchwork Stars with Lace Trim

Lace trim adds a delicate, vintage touch to a patchwork star. Stitch a narrow strip of cotton lace around the edge of the star, or tuck a small lace rosette into the center, and the whole ornament takes on a soft, heirloom feel. The lace catches the light gently and makes the star look like something from a Victorian Christmas.
These stars are lovely for a shabby chic or romantic tree, and they make beautiful gifts for mothers and grandmothers. Use vintage lace from a thrift store for the most authentic look, or new cotton lace in cream for a clean finish. A lace-trimmed star is the prettiest ornament on the tree, and the easiest to love.
Materials: Cotton fabric, cotton lace trim, star template, needle and thread, stuffing, ribbon.
Cost: about $3 · Time: about 40 minutes each.
21. Patchwork Stars as Window Decorations
Patchwork stars hung in a window catch the light beautifully and look magical from both inside and outside. Sew a few stars in bright colors, hang them at different heights from a curtain rod or a branch with ribbon, and let them turn slowly in the winter light. From the street, your windows will glow with handmade warmth.
Window stars are a wonderful project for a small apartment or a home without a big tree, because they bring the Christmas feeling to any room. Use a suction cup hook or a clear command hook so the stars hang without damaging the window frame. A window full of patchwork stars is the coziest sight on a snowy evening.
Materials: Cotton fabric, star template, needle and thread, stuffing, ribbon, suction hooks.
Cost: about $2 · Time: about 30 minutes each.
22. Patchwork Stars with Wooden Bead Hangers
Wooden bead hangers give a patchwork star a natural, rustic finish. String three or four wooden beads onto a loop of twine, knot the twine at the top point of the star, and the beads become both the hanger and the decoration. The warm wood tones pair beautifully with plaid and farmhouse fabrics.
These stars are lovely on a woodland or Scandinavian tree, where natural materials are the whole theme. Try beads in different sizes, or paint a few beads red or green for a pop of color. A star on a wooden bead hanger looks handcrafted in the best possible way, simple, honest, and warm.
Materials: Cotton fabric, wooden beads, twine, star template, needle and thread, stuffing.
Cost: about $2 · Time: about 30 minutes each.
23. Patchwork Stars in Scandinavian Style
Scandinavian patchwork stars are all about simplicity: two fabrics, clean lines, and a calm color palette. Sew stars in red and white, or cream and grey, with no extra decoration at all, and let the patchwork itself be the whole design. The result is a star that feels modern, minimal, and completely timeless.
These stars look beautiful on a tree with white lights, paper ornaments, and wooden decorations, and they are a lovely choice for anyone who loves the Scandinavian Christmas aesthetic. Make a whole tree of red and white stars for a striking, graphic look, or mix in one or two grey stars for a softer effect. Less is more, and these stars prove it.
Materials: Red and white cotton fabric, star template, needle and thread, stuffing, twine.
Cost: about $2 · Time: about 25 minutes each.
24. Patchwork Stars with Personalized Names
A patchwork star with a name on it becomes a keepsake that a family will treasure for decades. Embroider a first name, a family name, or a year onto the center of the star in a simple backstitch, and hang one star for each person in the family. Children love finding their own star on the tree every year.
Personalized stars make wonderful gifts for a baby’s first Christmas, a wedding, or a new home. Use a fabric pen to write the name first if you are nervous about freehand embroidery, then stitch over the lines. A star with a name on it is not just an ornament, it is a little piece of family history.
Materials: Cotton fabric, embroidery floss, fabric pen, star template, needle and thread, stuffing, ribbon.
Cost: about $3 · Time: about 45 minutes each.
25. Patchwork Star Ornament Gift Sets
When you have made a whole collection of patchwork stars, turn them into a gift set that anyone would love to receive. Choose four or five of your best stars in coordinating fabrics, nestle them in a small kraft box lined with tissue paper, and add a handwritten tag and a sprig of pine. You have a handmade gift that looks like it came from a high-end craft fair.
Gift sets are perfect for teachers, neighbors, coworkers, and hostess gifts, and they are a wonderful way to sell your sewing at a holiday market if you enjoy making stars in batches. Make the sets in a consistent style, all traditional, all neutral, or all jewel tone, so each box feels like a curated collection. A gift set of handmade patchwork stars is a gift that says you spent time, not just money.
Materials: Finished patchwork star ornaments, kraft gift boxes, tissue paper, gift tags, pine sprigs.
Cost: about $8 per set · Time: about 30 minutes to assemble.
Frequently Asked Questions About DIY Patchwork Fabric Star Ornaments
What is the best fabric for patchwork star ornaments?
Quilting cotton is the best choice for patchwork star ornaments, because it is easy to cut, easy to sew, and comes in every Christmas print you could want. Choose medium-weight cotton in Christmas colors, and pre-wash your fabric so the stars do not shrink or bleed later. Fat quarters are the perfect size for star ornaments, and charm packs give you a coordinated set of prints in one bundle. Avoid slippery fabrics like satin for your first stars, because they are much harder to sew accurately.
How do I make a star template for patchwork ornaments?
Draw a five-point star on cardstock, or print a star outline from a free template online, and cut it out carefully with sharp scissors. For a patchwork star, you will also need a diamond template for the points and a small pentagon for the center, and you can make both by tracing around the star shape and dividing it into pieces. Make your template from stiff cardstock or template plastic so it lasts through many stars, and label each piece so you remember which fabric goes where.
Can I sew patchwork stars by hand?
Yes, patchwork stars are a wonderful hand-sewing project, and many quilters prefer the control of hand stitching for small ornaments. Use a running stitch with a quarter-inch seam allowance, press each seam as you go, and take your time around the points. Hand sewing a star takes about twice as long as machine sewing, but it is relaxing, portable, and perfect for an evening in front of the fire. A thimble helps when you are pushing the needle through several layers of fabric.
What should I stuff patchwork star ornaments with?
Polyester fiberfill is the most common stuffing for fabric ornaments, because it is light, washable, and holds its shape well. Use small pieces and stuff the points first, pushing the filling into each tip with a chopstick or a knitting needle, then fill the center lightly so the star stays flat rather than puffy. Crushed walnut shells or rice make a heavier star that hangs nicely, but they are not washable, so fiberfill is the safest choice for ornaments that might be handled by children.
How do I keep patchwork stars from fraying?
Finish the edges of your star with a tight stitch, and seal the seams with a small amount of fray check or clear fabric glue if you are worried about unraveling. Sewing with a quarter-inch seam and pressing each seam open helps the fabric stay put, and a felt backing covers the raw edges completely. If you are using loosely woven fabric, back each piece with a light fusible interfacing before you cut it, which stabilizes the fabric and stops fraying before it starts.
How should I store patchwork star ornaments after Christmas?
Store patchwork stars flat in a shallow box lined with tissue paper, with a layer of tissue between each star so the fabrics do not rub or transfer color. Keep the box in a cool, dry place away from direct sunlight, because sun fades fabric quickly. A cedar block or a lavender sachet in the box keeps moths away naturally. Never store fabric ornaments in a plastic bag, because trapped moisture can cause mildew, and always let the stars air out for a day before you pack them away.
Conclusion
DIY patchwork fabric star ornaments are proof that the most beautiful decorations do not come from a store, but from a quiet afternoon at the sewing table with fabric scraps and Christmas music playing. Each star carries the colors of fabrics you loved, the warmth of your hands, and the little imperfections that make handmade things so much more meaningful than perfect ones. Whether you sewed a classic five-point star, a scrappy charm star, or a jewel tone star, your ornaments are now part of your family’s Christmas story.


Start with one star tonight, even if it is just a simple red and green one, and see how quickly the collection grows. Before you know it, your tree will be full of soft, handmade warmth, your gift list will be shorter, and you will have a new Christmas tradition to look forward to every year. Happy sewing, and may your holidays be as warm and cozy as the fabric stars on your tree.
If you loved these patchwork stars, you will love these handmade Christmas ideas too:
- DIY Salt Dough Christmas Ornaments — soft, paintable ornaments you can make with pantry ingredients.
- DIY Cinnamon Stick Ornaments — rustic, fragrant ornaments that smell like Christmas.
- DIY Christmas Gift Tags — handmade tags that make every present feel special.
- DIY Macrame Christmas Ornaments — knotted, boho ornaments for a cozy handmade tree.