DIY Clay Photo Frame Christmas Ornaments: 25 Ideas
DIY Clay Photo Frame Christmas Ornaments: 25 Sweet Ideas for a Memory Tree
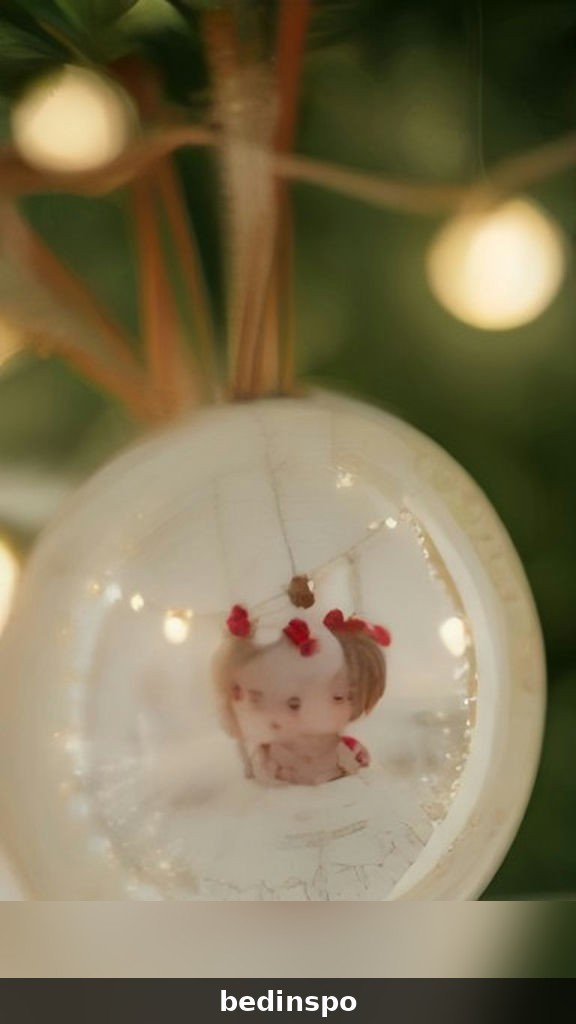
There is something wonderfully touching about a Christmas tree dressed in little clay photo frames. DIY clay photo frame Christmas ornaments turn a lump of soft air-dry clay, a favorite photo, and a quiet afternoon into decorations that hold your most precious memories. The smooth clay, the hand-painted edges, and the tiny smiling face inside each frame make these ornaments feel personal, heartfelt, and completely one of a kind.
Air-dry clay is one of the kindest craft materials you can work with, and it suits every skill level. If you can roll out dough and cut a shape, you can make a clay photo frame, and the forgiving clay hides small mistakes beautifully. Most of these ornaments take under an hour including drying time, cost almost nothing, and make beautiful gifts, stocking stuffers, and tree decorations that feel far more meaningful than anything from a store.
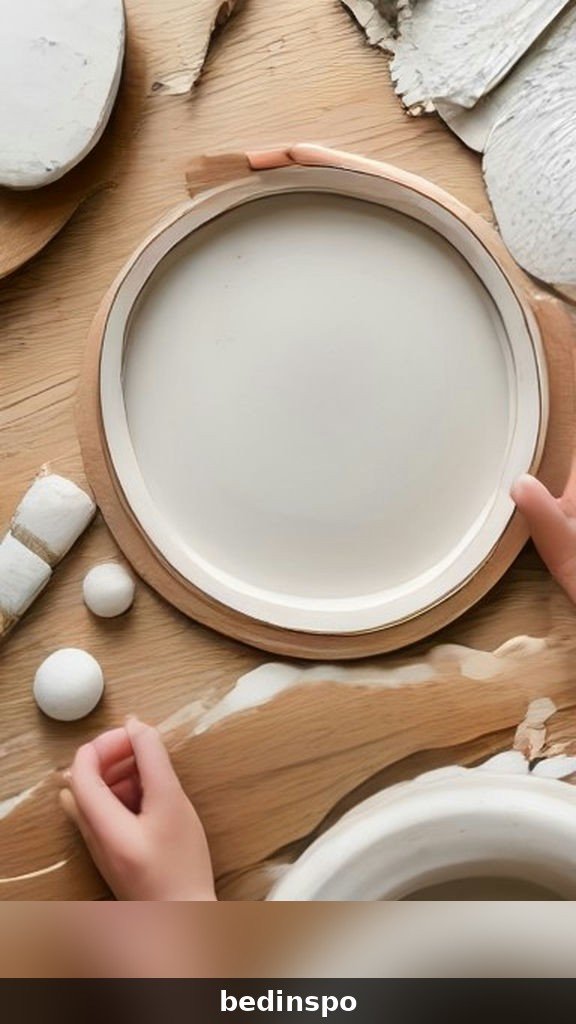
Before you begin, gather your basics: air-dry clay, a rolling pin, cookie cutters or a craft knife, a straw for the hanging hole, acrylic paint in Christmas colors, a paintbrush, clear sealer, ribbon or twine for hanging, and small printed photos cut to size. A cutting mat, a little water for smoothing edges, and a Christmas playlist make the work even more enjoyable. Let us turn a lump of clay into a tree full of memories.
1. Classic Round Clay Photo Frame
The classic round clay photo frame is the place every clay crafter should start. A simple circle of smooth clay with a round photo in the middle is beautiful on its own and needs almost no skill at all. Roll the clay out to about a quarter inch thick, cut a circle with a large cookie cutter, and cut a smaller circle from the center for the photo window. Punch a hole at the top with a straw, let the clay dry overnight, then paint the edge gold and slip a round photo behind the frame.
Classic frames look wonderful on a family tree, where every face tells a story. Make a set with photos from different years for a walk down memory lane, and keep the frames the same size for a neat, coordinated look.
Materials: Air-dry clay, rolling pin, round cookie cutters, straw, acrylic paint, clear sealer, ribbon, photos
Cost: about $2 · Time: about 30 minutes plus drying.
2. Heart-Shaped Clay Photo Frame
A heart-shaped clay photo frame is a sweet, romantic ornament that carries the whole feeling of a handmade Christmas. The heart shape makes the photo inside feel extra special, and it is a lovely gift for someone you love. Roll the clay out evenly, cut a heart shape with a cookie cutter, and cut a smaller heart from the center for the photo window. Punch a hanging hole at the top, let the clay dry, then paint the frame red or pink and add a thin gold line around the edge.
Heart frames look wonderful on a tree with red and white decorations, and they are perfect for a first Christmas as a couple. Make a set with photos of the people you love most, and hang them together on one branch for a cluster of love.
Materials: Air-dry clay, rolling pin, heart cookie cutter, straw, acrylic paint, clear sealer, ribbon, photos
Cost: about $2 · Time: about 30 minutes plus drying.

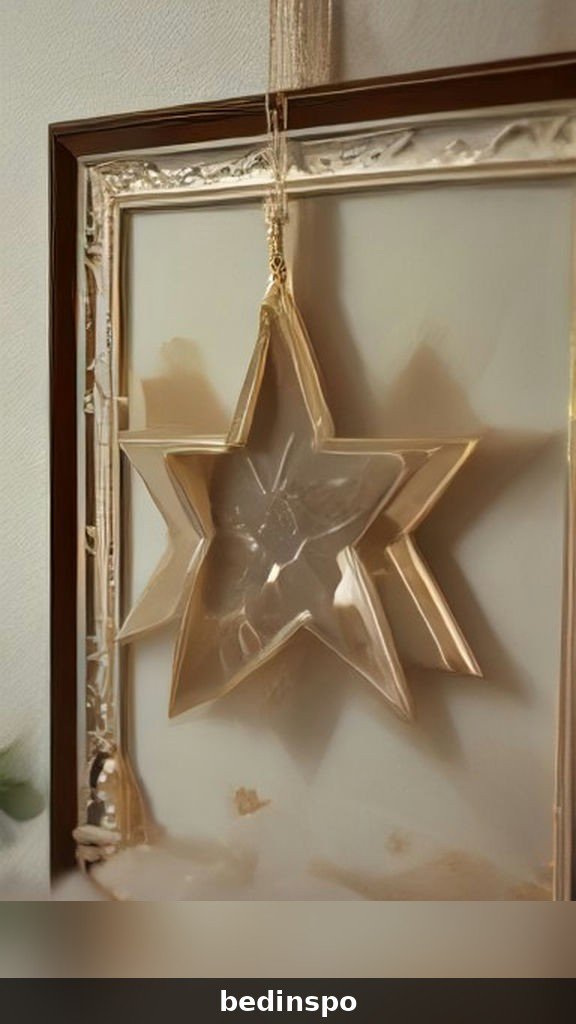
3. Star-Shaped Clay Photo Frame
A star-shaped clay photo frame is a festive ornament that puts your favorite photo at the center of a Christmas star. The star shape feels celebratory, and the photo inside makes it deeply personal. Roll the clay out to an even thickness, cut a star shape with a cookie cutter, and cut a small circle from the center for the photo window. Punch a hole at the top point for hanging, let the clay dry, then paint the star gold or silver and slip the photo behind it.
Star frames look wonderful on a tree with gold and silver decorations, where their metallic finish catches the light. Make them in a set for a coordinated look, and vary the star sizes so the tree feels balanced.
Materials: Air-dry clay, rolling pin, star cookie cutter, straw, metallic acrylic paint, clear sealer, ribbon, photos
Cost: about $2 · Time: about 30 minutes plus drying.
4. Clay Photo Frame with Handprint
A clay photo frame with a tiny handprint pressed into the clay is a keepsake that parents treasure for years. The handprint captures a moment in time, and the photo beside it makes the ornament doubly precious. Roll the clay into a thick rectangle, press a small hand gently into the soft clay, and cut a small photo window beside the handprint. Punch a hanging hole, let the clay dry, then paint the frame in a soft color and add the child’s name and the year in paint.
Handprint frames are the most precious ornaments on any family tree, and they make wonderful gifts for grandparents. Make one every year to track how little hands grow, and date each frame so the collection tells a story.
Materials: Air-dry clay, rolling pin, craft knife, straw, acrylic paint, clear sealer, ribbon, photos
Cost: about $2 · Time: about 30 minutes plus drying.
5. Mini Clay Photo Frames
Mini clay photo frames are tiny ornaments that take only minutes to make, and they are perfect for a small tree or a garland. Their small size makes them adorable, and a set of them fills a branch beautifully. Roll the clay thin, cut small squares or circles with a bottle cap, and cut a tiny window in the center of each one. Punch a small hole, let the clay dry, paint the edges, and slip in a tiny photo or a small printed image.
Mini frames look wonderful hung in a row along a garland, or clustered on one branch of a small tabletop tree. Make them in a set of six for a balanced look, and use photos from the same event for a coordinated display.
Materials: Air-dry clay, rolling pin, bottle cap or small cutter, straw, acrylic paint, clear sealer, thread, photos
Cost: about $1 · Time: about 20 minutes plus drying.
6. Clay Photo Frame with Holly
A clay photo frame with holly leaves and berries sculpted onto its edge is a festive ornament that feels like a tiny wreath around your photo. The holly adds a pop of Christmas color, and it looks beautiful against the smooth clay. Roll the clay frame as usual, then roll three small green leaves and three tiny red balls from extra clay and press them onto one corner of the frame. Let the clay dry, then paint the leaves green and the berries red for a classic holly look.
Holly frames look wonderful on a traditional tree, where their red and green colors fit perfectly. Make them in a set for a coordinated look, and vary the holly placement so each frame is unique.
Materials: Air-dry clay, rolling pin, cookie cutter, straw, acrylic paint, clear sealer, ribbon, photos
Cost: about $2 · Time: about 35 minutes plus drying.
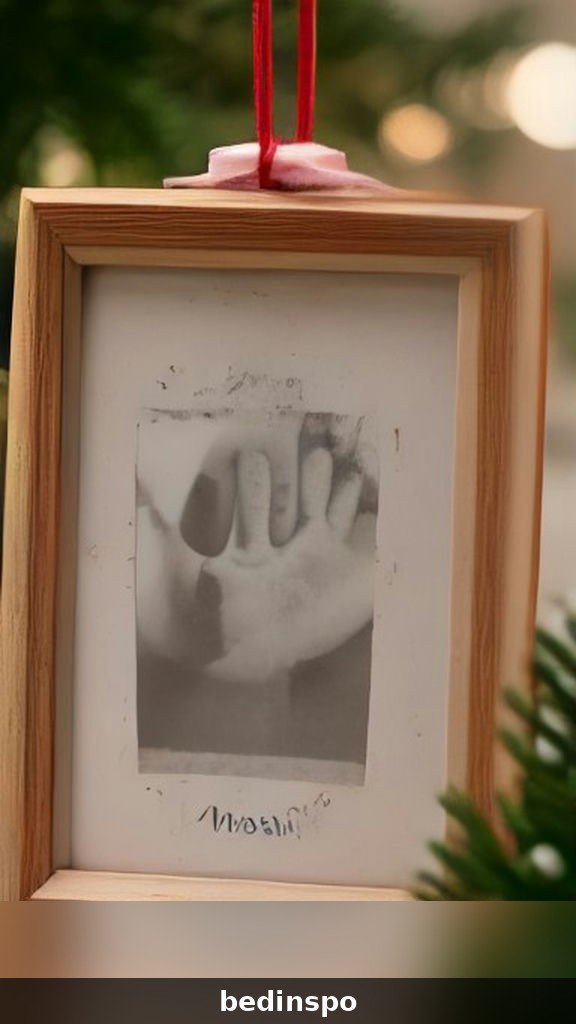
7. Clay Photo Frame with Glitter Edge
A clay photo frame with a glittered edge is a sparkling ornament that catches the tree lights like fresh snow. The glitter adds glamour without any extra work, and it is one of the most festive frames in the collection. Make the clay frame as usual and let it dry, then brush a thin coat of clear craft glue around the edge and sprinkle fine gold or silver glitter over it. Tap off the excess, let it dry, and seal it with a light coat of clear spray so the glitter stays put.
Glittered frames look wonderful on a tree with warm white lights, where their sparkle stands out beautifully. Make them in gold for a classic look, or silver for a frosty feel, and work over a tray so the loose glitter is easy to collect.
Materials: Air-dry clay, rolling pin, cookie cutter, straw, fine glitter, clear glue, clear sealer spray, ribbon, photos
Cost: about $2 · Time: about 30 minutes plus drying.
8. Clay Photo Frame Ornament Wreath
A clay photo frame wreath is a ring of small frames glued around a wire circle, and it is a beautiful way to display a whole set of memories at once. The wreath turns six little frames into one statement ornament. Make six mini clay photo frames, let them dry and paint them, then glue them evenly around a small wire wreath form, overlapping the edges slightly. Add a ribbon bow at the top, and hang the wreath on the tree or on a wall.
Photo wreaths look wonderful hung on a door or a window as well as on the tree, and they make lovely gifts. Make the wreath with photos from one special year for a themed display, and vary the frame shapes for a collected look.
Materials: Air-dry clay, rolling pin, small cutters, straw, acrylic paint, wire wreath form, ribbon, photos
Cost: about $6 per wreath · Time: about 60 minutes plus drying.
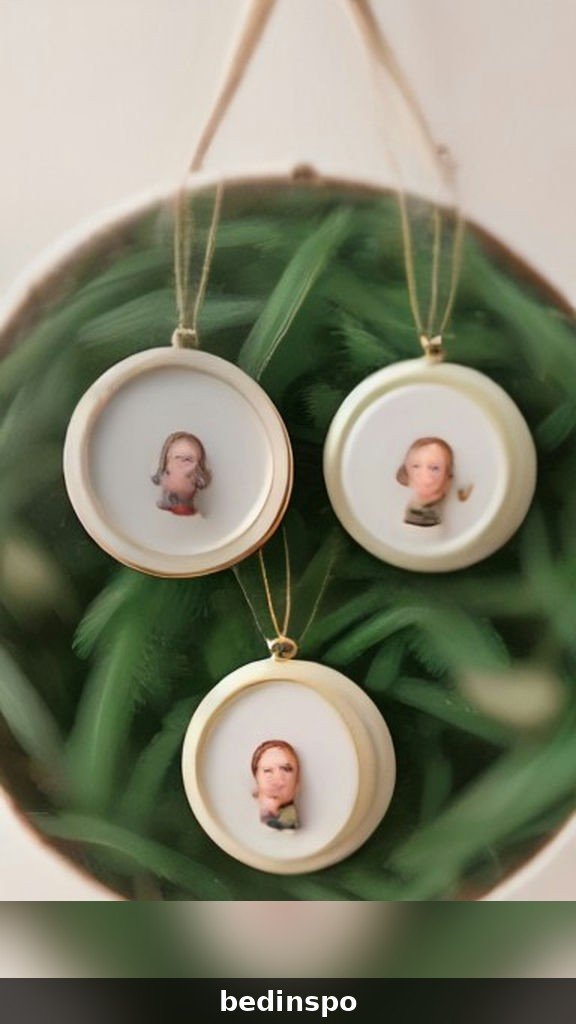
9. Clay Photo Frame with Snowflakes
A clay photo frame with tiny snowflakes stamped into the clay is a frosty ornament that looks like it was pressed in fresh snow. The stamped snowflakes add texture and a lovely winter feel to the smooth frame. Roll the clay out, press a small snowflake stamp or the end of a pencil into the soft clay around the photo window, then cut the frame shape and punch the hanging hole. Let the clay dry, then paint the frame white and add a touch of silver paint to the snowflakes.
Snowflake frames look best on a white or silver tree, but they also shine on a green tree with white lights. Make them in a set for a frosty display, and vary the stamp placement so each frame is unique.
Materials: Air-dry clay, rolling pin, cookie cutter, snowflake stamp, straw, acrylic paint, clear sealer, ribbon, photos
Cost: about $2 · Time: about 30 minutes plus drying.
10. Clay Photo Frame Garland
A clay photo frame garland is a string of small frames hung along a length of twine, and it turns a plain wall into a gallery of memories. It is a beautiful way to display a whole year of photos at once. Make six small clay photo frames in the same shape, let them dry and paint them, then tie each one to a long piece of twine with a small knot. Space the frames evenly along the twine, and hang the garland across a mantel or a window.
Garlands look wonderful draped across a mantel with greenery and fairy lights, and they make lovely gifts when rolled up in tissue paper. Make the garland with photos from one special event for a themed display.
Materials: Air-dry clay, rolling pin, small cutters, straw, acrylic paint, twine, photos
Cost: about $5 per garland · Time: about 60 minutes plus drying.
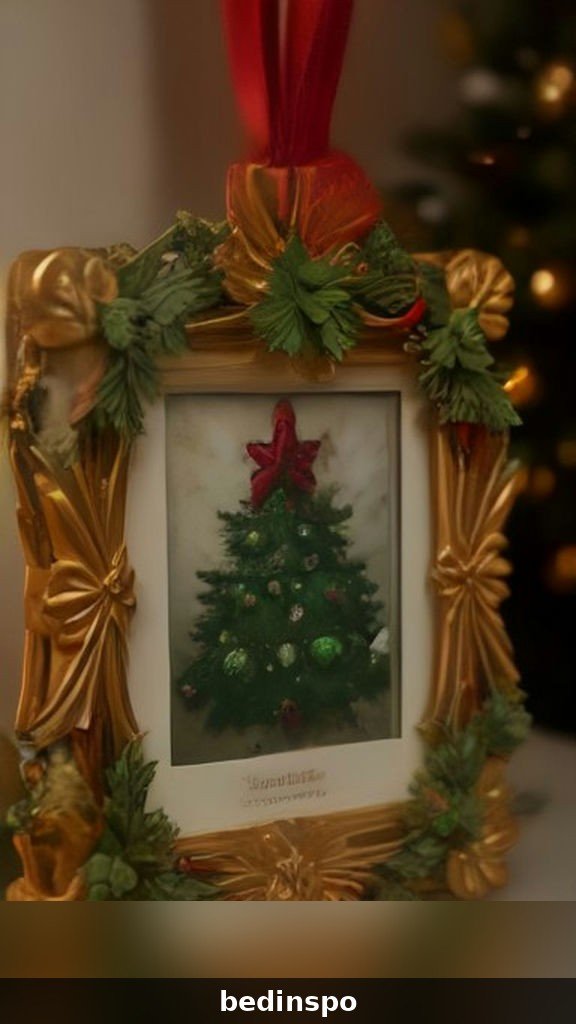
11. Clay Photo Frame with Beaded Edge
A clay photo frame with tiny beads pressed into the soft clay around its edge is a jewel-like ornament that looks like a miniature picture frame from a boutique. The beads catch the light and add a lovely texture. Roll the clay frame as usual, then press small glass beads into the soft clay around the photo window, spacing them evenly like a beaded border. Let the clay dry, then paint the frame and seal it so the beads stay in place.
Beaded frames look wonderful on a formal tree, where their elegant finish fits perfectly. Choose beads in gold for a classic look, or pearls for a softer feel, and keep the beads small so the photo stays the star.
Materials: Air-dry clay, rolling pin, cookie cutter, straw, small glass beads, acrylic paint, clear sealer, ribbon, photos
Cost: about $3 · Time: about 35 minutes plus drying.
12. Clay Photo Frame with a Bow
A clay photo frame with a tiny sculpted bow on one corner is a sweet, feminine ornament that looks like a gift wrapped around your photo. The bow adds a charming focal point, and it is a wonderful way to use leftover clay. Roll the clay frame as usual, then roll two small triangles and a tiny ball from extra clay and press them onto one corner to form a bow. Let the clay dry, then paint the bow in a contrasting color like red or gold.
Bow frames look wonderful on a tree with soft, romantic decorations, and they are perfect for photos of children. Make them in a set for a coordinated look, and vary the bow colors for a cheerful display.
Materials: Air-dry clay, rolling pin, cookie cutter, straw, acrylic paint, clear sealer, ribbon, photos
Cost: about $2 · Time: about 35 minutes plus drying.
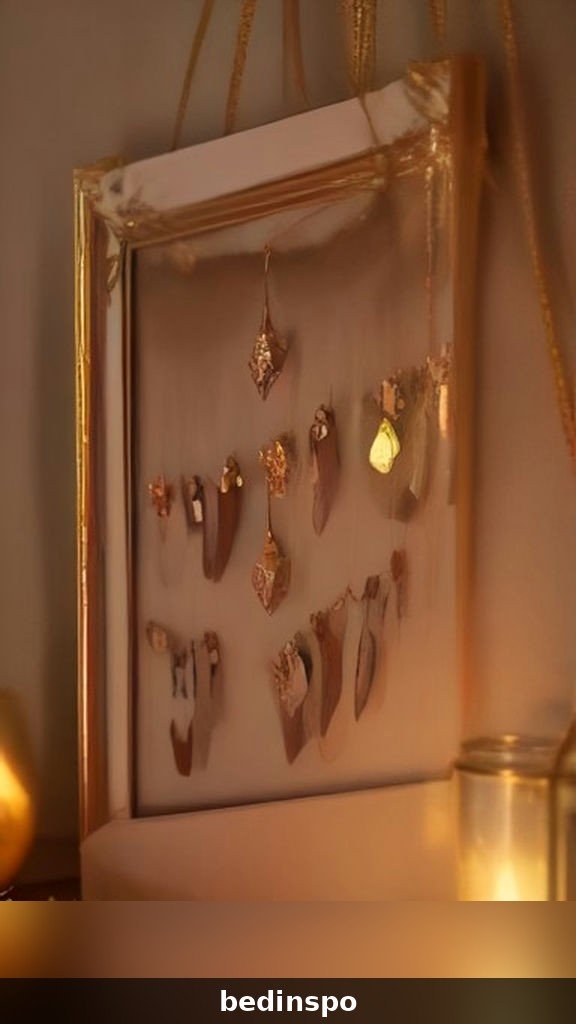
13. Clay Photo Frame with Pinecone Texture
A clay photo frame with a pinecone pressed into the soft clay for texture is a rustic ornament that brings the forest indoors. The pinecone impression adds a natural pattern, and it looks beautiful against the smooth clay. Roll the clay out, press a small pinecone gently into the soft clay around the photo window to leave an impression, then lift it away carefully. Cut the frame shape, punch the hanging hole, and let the clay dry before painting.
Pinecone frames look wonderful on a woodland tree, mixed with real pinecones and wooden ornaments. Make them in a set for a coordinated rustic look, and paint the frame in earthy tones like sage green or warm brown.
Materials: Air-dry clay, rolling pin, cookie cutter, small pinecone, straw, acrylic paint, clear sealer, ribbon, photos
Cost: about $2 · Time: about 30 minutes plus drying.
14. Clay Photo Frame with a Name
A clay photo frame with a name stamped into the clay is a personalized ornament that makes the photo inside feel even more special. The stamped name turns a simple frame into a keepsake. Roll the clay frame as usual, then press small alphabet stamps into the soft clay along the bottom edge to spell a name or a year. Let the clay dry, then paint the frame and fill the stamped letters with a contrasting paint color.
Named frames look wonderful on a family tree, where every name tells a story. Make one for each family member with their photo inside, and hang them together for a personalized display.
Materials: Air-dry clay, rolling pin, cookie cutter, alphabet stamps, straw, acrylic paint, clear sealer, ribbon, photos
Cost: about $2 · Time: about 30 minutes plus drying.
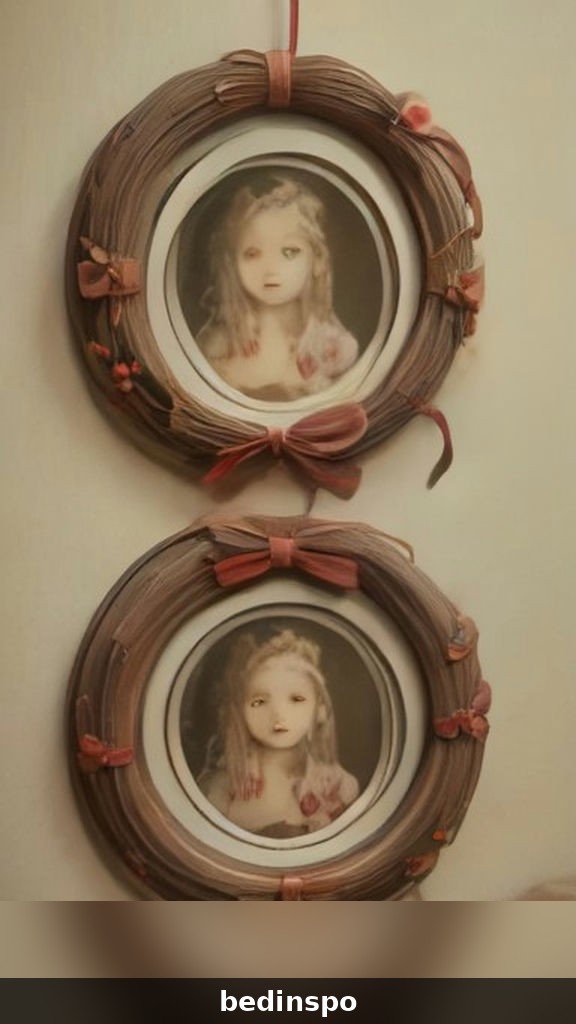
15. Clay Photo Frame with Felt Backing
A clay photo frame with a felt backing is a neat, finished ornament with a soft back that protects the photo and hides the clay edges. It is the frame that looks store-bought, and it is perfect for gifts. Make the clay frame as usual and let it dry, then cut a matching shape from felt and glue it to the back, sandwiching the photo between the layers. A ribbon loop glued between the layers makes a sturdy hanger.
Felt-backed frames look wonderful on any tree, and they make lovely gifts when paired with a handwritten tag. Choose felt in a contrasting color for a pretty layered look, and trim the felt carefully so the edges are neat.
Materials: Air-dry clay, rolling pin, cookie cutter, straw, felt, acrylic paint, clear sealer, ribbon, photos
Cost: about $2 · Time: about 35 minutes plus drying.
16. Clay Photo Frame Gift Tags
A clay photo frame gift tag is a small frame with a handwritten name, and it turns a wrapped gift into something special. The tag is a keepsake in itself, and many people keep them long after the gift is opened. Make a mini clay photo frame, punch a hole at the top, and write a name on a small paper tag tied to the frame with twine. The tag hangs from the gift like a tiny framed photo, and the recipient can keep it for their own tree.
Gift tags look wonderful on brown paper parcels tied with twine, and they are perfect for a rustic Christmas morning. Make a set for the whole family, and write the names in your best handwriting for a personal touch.
Materials: Air-dry clay, rolling pin, small cutter, straw, small paper tags, fine pen, twine, photos
Cost: about $1 · Time: about 20 minutes plus drying.
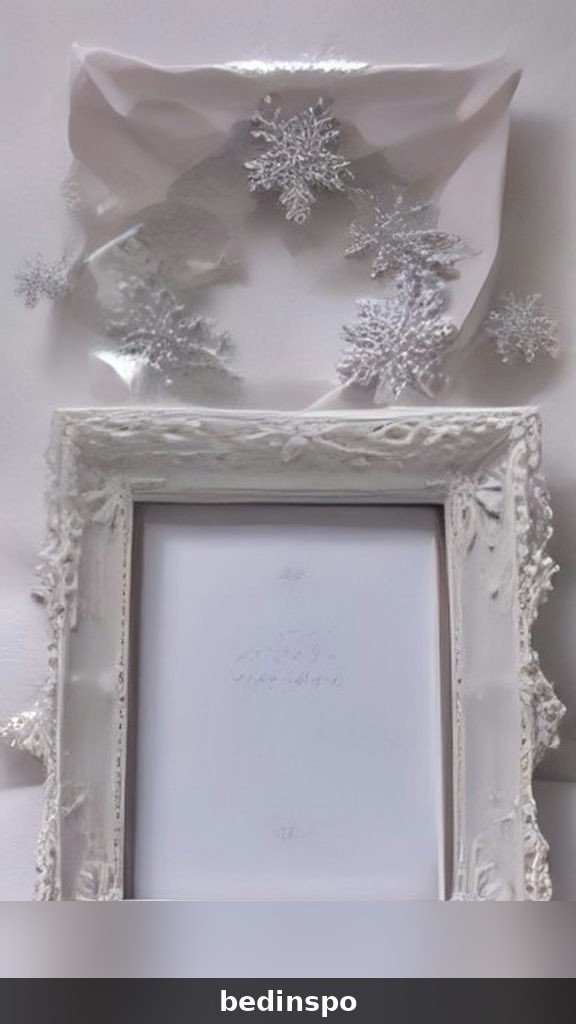
17. Clay Photo Frame with a Wreath
A clay photo frame with a tiny wreath sculpted around its edge is a festive ornament that feels like a miniature Christmas wreath holding your photo. The wreath adds a pop of green, and it looks beautiful against the smooth clay. Roll the clay frame as usual, then roll a thin rope of green clay and press it around the photo window in a circle, adding three tiny red balls for berries. Let the clay dry, then paint the wreath green and the berries red.
Wreath frames look wonderful on a traditional tree, where their red and green colors fit perfectly. Make them in a set for a coordinated look, and vary the berry placement so each frame is unique.
Materials: Air-dry clay, rolling pin, cookie cutter, straw, acrylic paint, clear sealer, ribbon, photos
Cost: about $2 · Time: about 35 minutes plus drying.
18. Clay Photo Frame with a Star Topper
A clay photo frame with a small star sculpted on top is a festive ornament that puts a star above your favorite photo. The star adds a celebratory touch, and it makes the frame feel extra special. Roll the clay frame as usual, then cut a small star from extra clay and press it onto the top edge of the frame. Let the clay dry, then paint the star gold and the frame in a soft color.
Star-topped frames look wonderful on a tree with gold decorations, where their metallic star catches the light. Make them in a set for a coordinated look, and vary the frame shapes for a collected display.
Materials: Air-dry clay, rolling pin, cookie cutter, star cutter, straw, acrylic paint, clear sealer, ribbon, photos
Cost: about $2 · Time: about 30 minutes plus drying.
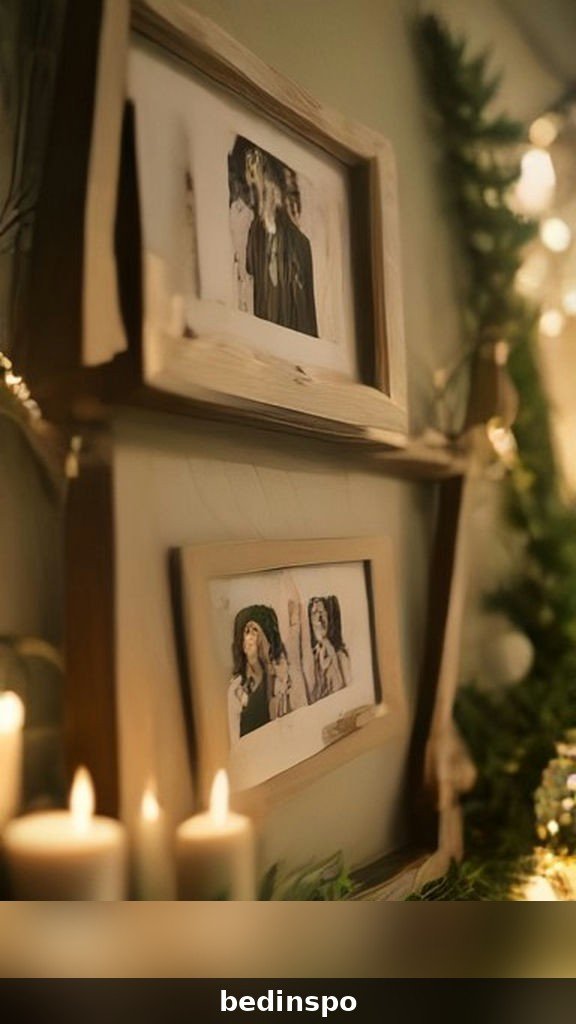
19. Clay Photo Frame with Lace Pattern
A clay photo frame with a lace doily pressed into the soft clay is a vintage ornament with a beautiful delicate pattern. The lace impression adds an elegant texture that looks like it was made by hand a century ago. Roll the clay out, lay a small lace doily over the soft clay, and roll over it gently with the rolling pin to press the pattern in. Lift the doily away carefully, cut the frame shape, and let the clay dry before painting.
Lace frames look wonderful on a vintage or shabby chic tree, where their delicate pattern fits perfectly. Make them in a set for a coordinated look, and paint the frame in soft whites and creams for a gentle finish.
Materials: Air-dry clay, rolling pin, cookie cutter, small lace doily, straw, acrylic paint, clear sealer, ribbon, photos
Cost: about $2 · Time: about 30 minutes plus drying.
20. Clay Photo Frame Mobile
A clay photo frame mobile is a hanging display of small frames on different lengths of thread, and it turns a plain corner into a gallery of memories. It is a beautiful way to display a whole set of photos at once. Make five small clay photo frames in different shapes, let them dry and paint them, then tie each one to a different length of thread and hang them from a small wooden hoop. Hang the mobile from the ceiling or a branch, and the frames will sway gently.
Mobiles look wonderful hung in a window or above a mantel, where the frames catch the light. Make the mobile with photos from one special year for a themed display, and vary the frame shapes for a collected look.
Materials: Air-dry clay, rolling pin, small cutters, straw, acrylic paint, wooden hoop, thread, photos
Cost: about $6 per mobile · Time: about 60 minutes plus drying.
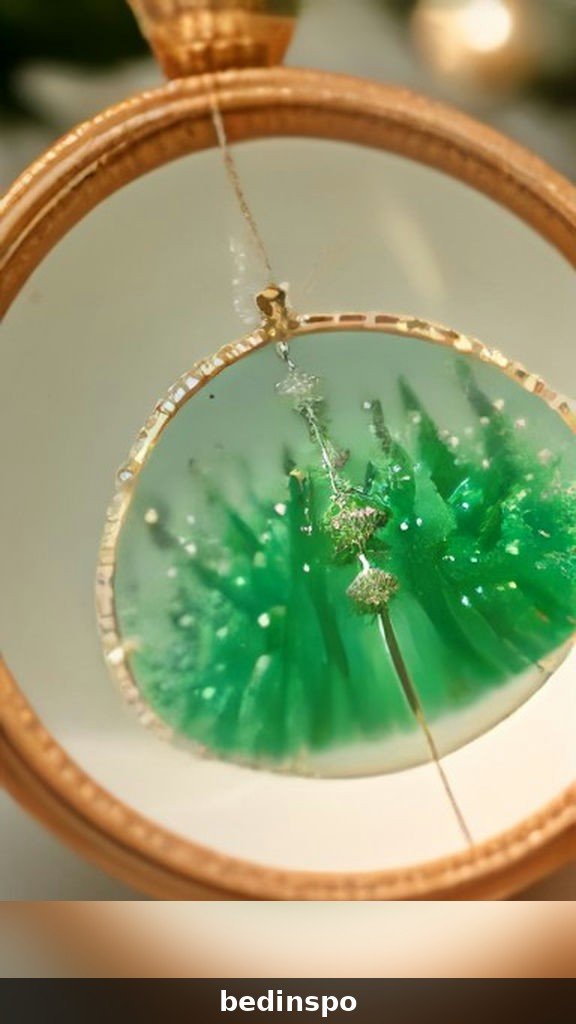
21. Clay Photo Frame with a Snowman
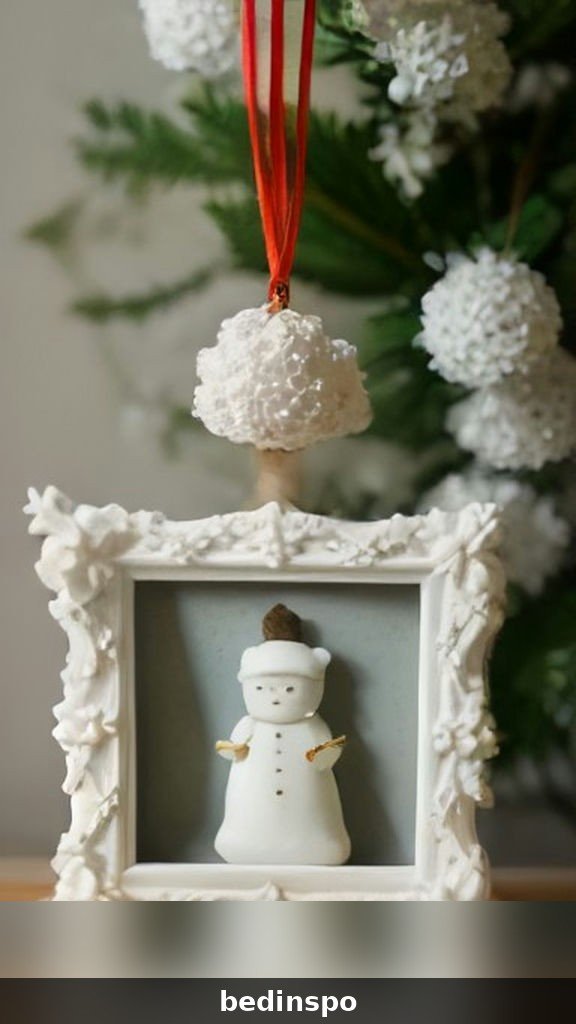
A clay photo frame with a tiny snowman sculpted beside the photo is a playful ornament that children love. The little snowman adds a touch of whimsy, and it makes the frame feel like a winter scene. Roll the clay frame as usual, then roll three small white balls from extra clay and press them onto one corner in a stack to form a snowman. Add a tiny orange triangle for the nose and a small black dot for the eyes, then let the clay dry.
Snowman frames look wonderful on a children’s tree, where their playful charm stands out. Make them in a set for a cheerful display, and vary the snowman placement so each frame is unique.
Materials: Air-dry clay, rolling pin, cookie cutter, straw, acrylic paint, clear sealer, ribbon, photos
Cost: about $2 · Time: about 35 minutes plus drying.
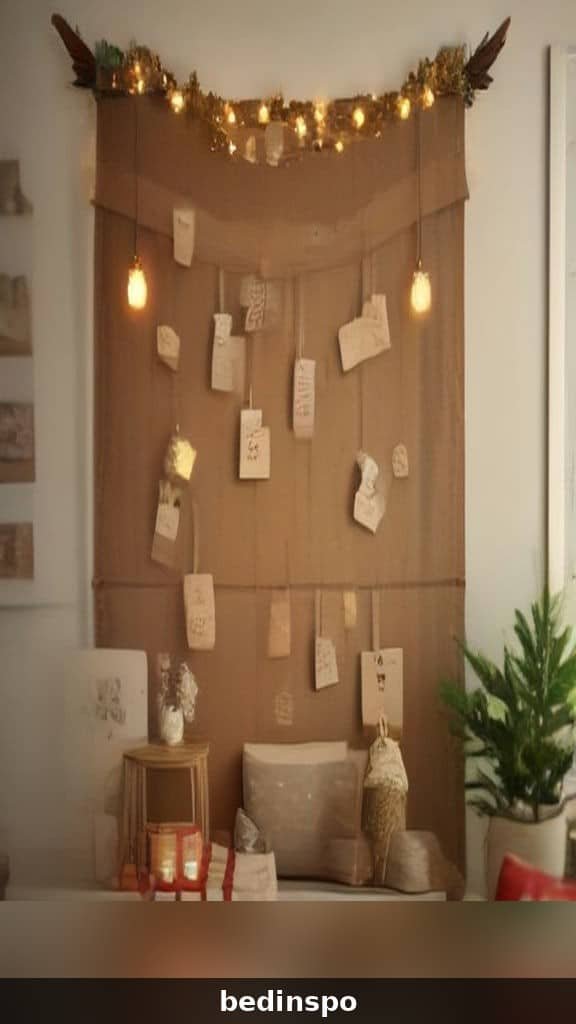
22. Clay Photo Frame Advent Ornaments
A clay photo frame advent set is twenty-four tiny frames, one for each day of December, each holding a small photo or a tiny drawing. It is the countdown that families remember for years, and it is a beautiful tradition. Make twenty-four mini clay photo frames, let them dry and paint them, then number each one with a fine gold pen and hang them on a small branch or a wall hanging. Each day of December, a child takes one frame down and hangs it on the tree.
Advent frames are a wonderful family tradition, and the set becomes more precious every year. Use sturdy clay and a clear sealer so the numbers survive little hands, and store the set in a small box between Christmases.
Materials: Air-dry clay, rolling pin, small cutters, straw, acrylic paint, fine gold pen, clear sealer, twine, branch, photos
Cost: about $8 per set · Time: about 90 minutes plus drying.
23. Clay Photo Frame with a Tree
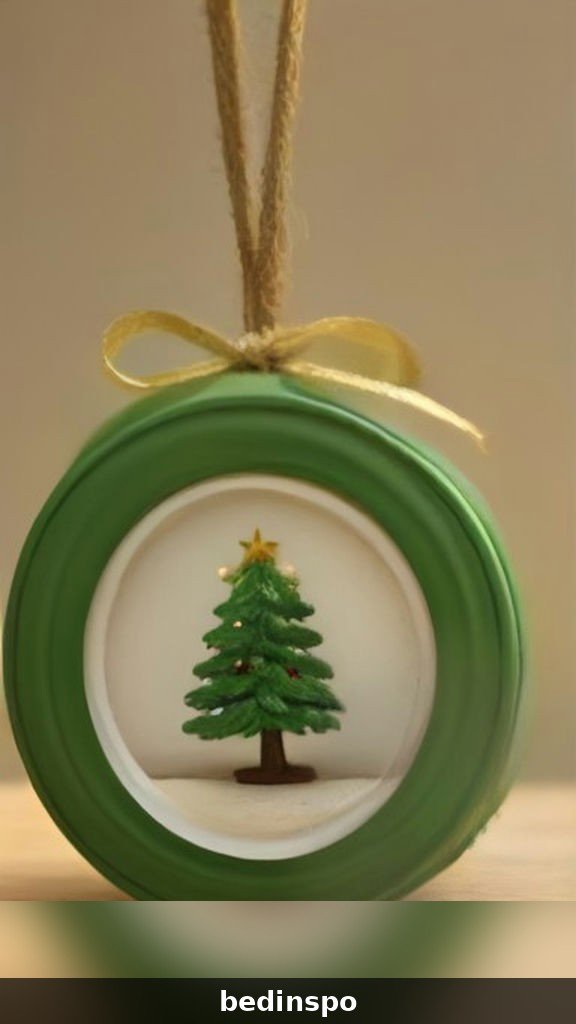
A clay photo frame with a tiny Christmas tree sculpted beside the photo is a festive ornament that feels like a whole winter scene in miniature. The little tree adds a pop of green, and it looks beautiful against the smooth clay. Roll the clay frame as usual, then cut a small triangle from green clay and press it onto one corner of the frame, adding a tiny brown trunk and a gold star on top. Let the clay dry, then paint the tree green and the star gold.
Tree frames look wonderful on a traditional tree, where their festive charm fits perfectly. Make them in a set for a coordinated look, and vary the tree placement so each frame is unique.
Materials: Air-dry clay, rolling pin, cookie cutter, straw, acrylic paint, clear sealer, ribbon, photos
Cost: about $2 · Time: about 35 minutes plus drying.
24. Clay Photo Frame with a Candy Cane
A clay photo frame with a tiny candy cane sculpted onto its edge is a sweet, playful ornament that children love. The red and white stripes add a pop of Christmas color, and the candy cane makes the frame feel festive. Roll the clay frame as usual, then roll a thin rope of white clay, twist a thin rope of red clay around it, and bend it into a cane shape. Press the cane onto one corner of the frame and let the clay dry before painting.
Candy cane frames look wonderful on a children’s tree, where their playful charm stands out. Make them in a set for a cheerful display, and vary the cane placement so each frame is unique.
Materials: Air-dry clay, rolling pin, cookie cutter, straw, red and white acrylic paint, clear sealer, ribbon, photos
Cost: about $2 · Time: about 35 minutes plus drying.
25. Giant Clay Photo Frame Wall Hanging
A giant clay photo frame wall hanging is a large frame that hangs on the wall, and it is the centerpiece of the whole Christmas display. It is bigger than the other frames, but it is made in exactly the same way. Roll the clay out to a large rectangle, cut a big photo window from the center, and punch two holes at the top for hanging. Let the clay dry slowly so it does not crack, then paint the frame and slip in a large family photo.
Wall hangings look wonderful above a mantel or a doorway, where their size can be appreciated. Choose a favorite family photo for the center, and make the frame a little larger than you think, since it needs to be seen from across the room.
Materials: Air-dry clay, rolling pin, craft knife, straw, acrylic paint, clear sealer, ribbon, large photo
Cost: about $6 · Time: about 60 minutes plus drying.
Frequently Asked Questions About DIY Clay Photo Frame Christmas Ornaments
What kind of clay works best for photo frame ornaments?
Air-dry clay works best for photo frame ornaments, because it needs no kiln, dries hard overnight, and is easy to roll, cut, and paint. Choose a white air-dry clay for the cleanest finish, since it takes paint beautifully and shows colors true. Polymer clay also works if you prefer baking, but air-dry clay is simpler for beginners and for making a whole set at once.
How do I keep air-dry clay from cracking while it dries?
Air-dry clay cracks when it dries too quickly, so let your frames dry slowly in a cool room away from direct heat or sunlight. Roll the clay to an even thickness of about a quarter inch, and smooth any cracks with a little water on your fingertip while the clay is still damp. If a crack does appear after drying, fill it with a little fresh clay and a dab of water, then let it dry again before painting.
How do I attach the photo to a clay frame?
The simplest way is to glue the photo to the back of the frame with craft glue, then cover the back with a piece of felt or cardstock to hold it in place. You can also slip the photo behind the frame and tape the edges, which lets you swap the photo later. For a permanent keepsake, use a clear sealer over the front of the frame after the photo is in place, which protects both the clay and the photo.
What size photo fits a clay frame ornament?
A standard clay photo frame ornament is about three inches across, which fits a wallet-sized photo or a photo printed at about two inches square. Print your photos slightly larger than the window, then trim them to fit, so the edges are hidden behind the clay. For mini frames, use passport-sized photos or small printed images, and for giant wall frames, use a standard four-by-six photo.
Can children make clay photo frame ornaments?
Yes, clay photo frames are wonderful for children, because rolling and cutting clay is simple, safe, and fun. Let children roll the clay and choose the shapes, while an adult helps with the craft knife work and any painting that needs a steady hand. A clay frame made by a child, holding a photo of their family, is the most precious ornament on any tree.
How long do clay photo frame ornaments last?
Properly dried and sealed clay photo frames can last for many Christmases, often five years or more, because air-dry clay becomes hard and sturdy once fully dry. Seal the finished frame with a clear acrylic spray, and store it flat in tissue paper in a dry place. Handle the frames gently, since the clay can chip if dropped, and keep them away from damp rooms.
Conclusion
DIY clay photo frame Christmas ornaments are proof that the most meaningful decorations are the ones that hold our memories. Each frame carries the warmth of a favorite photo, the patience of shaping soft clay with our own hands, and the little imperfections that make handmade things so much more precious than anything from a store. Whether you made a single round frame or a whole tree of smiling faces, your ornaments are now part of your family’s Christmas story.
Start with one frame tonight, even if it is just a simple circle of clay with a photo behind it, and see how quickly the collection grows. Before you know it, your tree will be full of memories, your gift list will be shorter, and you will have a new Christmas tradition to look forward to every year. Happy crafting, and may your holidays be as warm as the faces on your tree.
If you loved these clay photo frame ornaments, you will love these handmade Christmas ideas too:
- DIY Plaster Gnome Ornaments — charming plaster gnomes for a whimsical tree.
- DIY Acorn Christmas Ornaments — charming acorn ideas for a woodland tree.
- DIY Wood Slice Christmas Ornaments — rustic wooden ornaments with a handmade, natural feel.
- DIY Bleached Pinecone Christmas Ornaments — white, frosted and snowy pinecone ideas for a winter tree.