Christmas Village Display Ideas: 15 Magical Mini Worlds to Build
Christmas Village Display Ideas: 15 Magical Mini Worlds to Build
There is something completely magical about a Christmas village. Tiny houses with glowing windows, little shops dusted with snow, a miniature train winding past a frozen pond — it turns an ordinary corner of your home into a storybook town. Whether you have collected ceramic houses for years or you are starting with a single little cottage this December, the way you display your village makes all the difference.
The best Christmas village displays are not about owning the most pieces. They are about levels, light, and snow: raising some houses higher than others, hiding the cords, and letting warm light spill from every tiny window. Below you will find 15 display ideas for every spot in your home, from the mantel to the dining table to the space under the tree — plus tips on choosing a village, lighting it safely, and building a beautiful display on a budget.
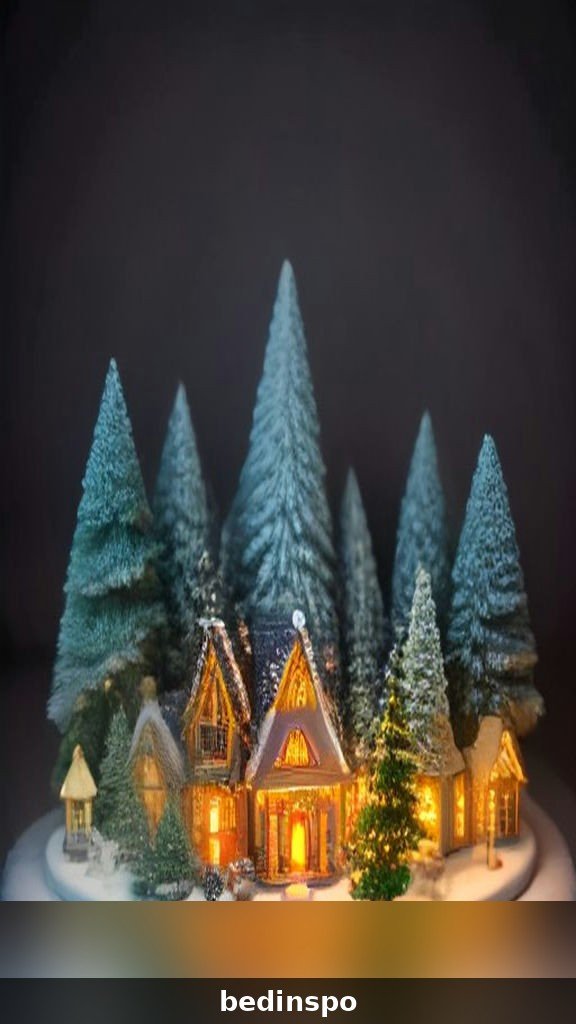
1. The Classic Mantel Village
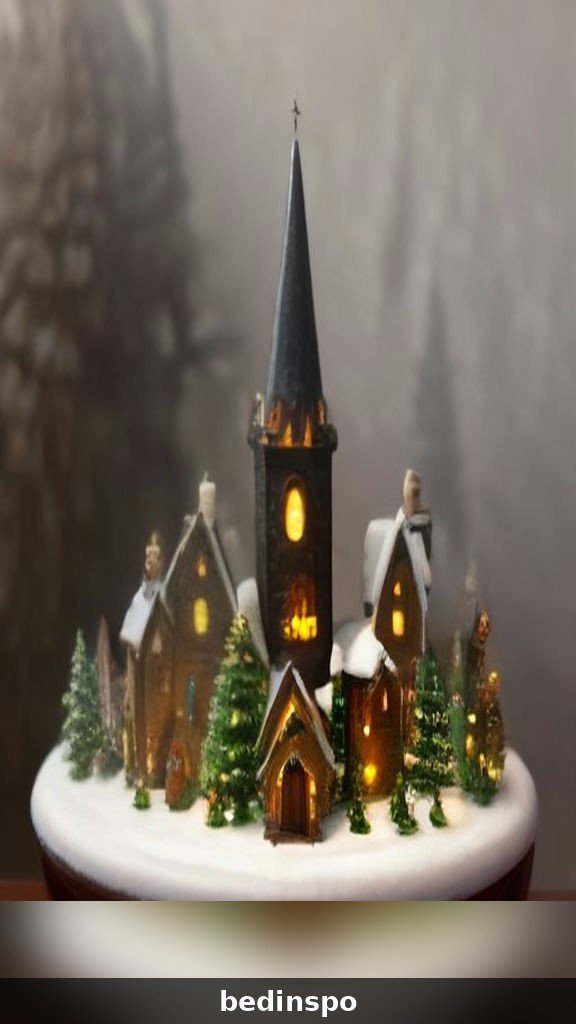
The mantel is the most traditional home for a Christmas village, and for good reason: it sits at eye level, it is already a focal point, and the fireplace glow makes the whole scene feel alive. Start with a long white batting or felt snow blanket across the mantel, then place your tallest houses at the ends and the smallest ones in the middle so the display reads like a real skyline.
Add bottle-brush trees in different heights, a tiny church or town hall as the centerpiece, and a string of warm-white fairy lights tucked behind the houses so the glow comes from within the village, not from above. If your mantel is narrow, keep the village to one row deep and let the trees and lamp posts do the layering. A garland draped along the front edge hides the base and finishes the look beautifully.
2. The Staircase Landing Display
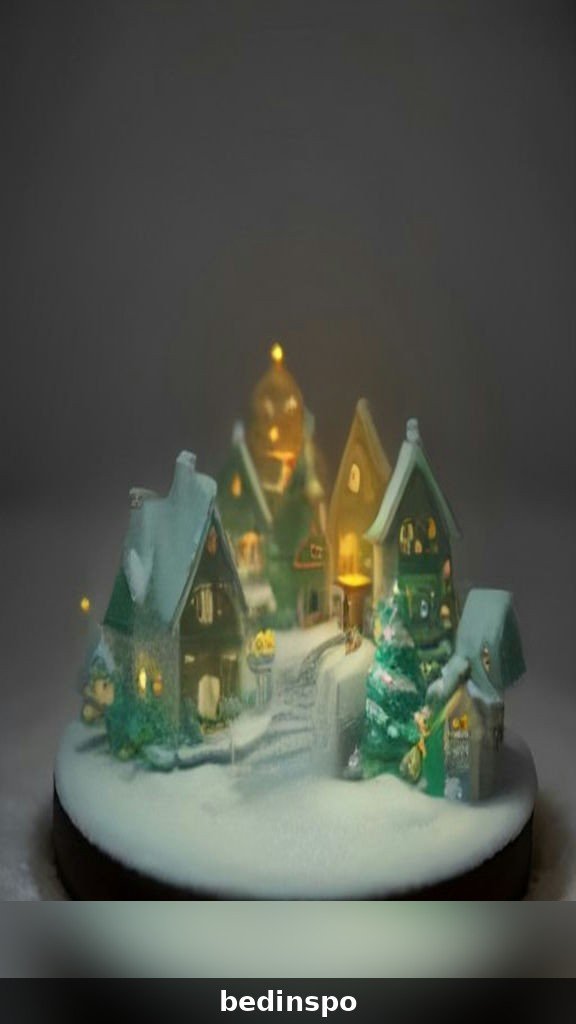
If your staircase has a landing or a wide windowsill halfway up, it is a ready-made stage for a village. Guests see it from below as they climb, which gives the display a wonderful sense of discovery. Use a sturdy board covered in snow batting as the base, and arrange the houses in a gentle curve so the scene feels like a hillside town.
Because a landing is viewed from an angle, height matters even more here: put the church steeple or the tallest house at the back, and step the rest down toward the front edge. Battery-operated fairy lights are your best friend on a landing, since there is rarely an outlet nearby. Add a few miniature street lamps and a tiny skating rink, and your staircase becomes the most photographed spot in the house.
3. The Dining Table Centerpiece Village
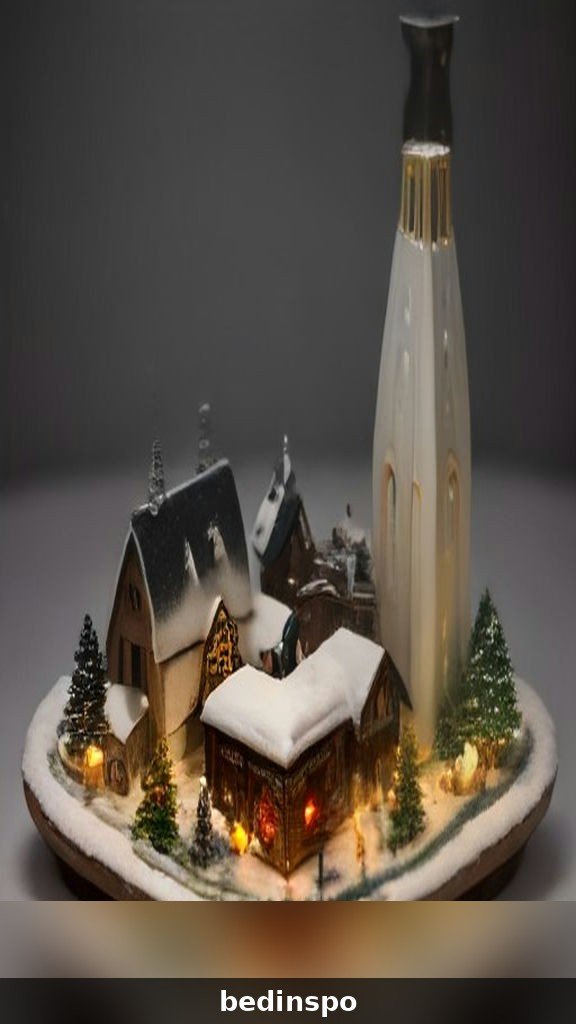
A Christmas village down the center of the dining table turns every holiday meal into dinner in a tiny town. Use a long, narrow runner of snow batting or a mirrored tray as the base, and choose low houses so guests can still see each other across the table. Three or four houses, a church, and a cluster of trees are plenty — this is a centerpiece, not a full town.
Keep the centerpiece shallow and leave room for plates and glasses on either side. Battery tea lights inside the houses give a warm glow without cords crossing the table, and a few scattered faux snowballs or pinecones tie the village to the rest of your table decor. After dinner, dim the overhead lights and let the village glow while dessert is served.
4. The Window Sill Winter Scene
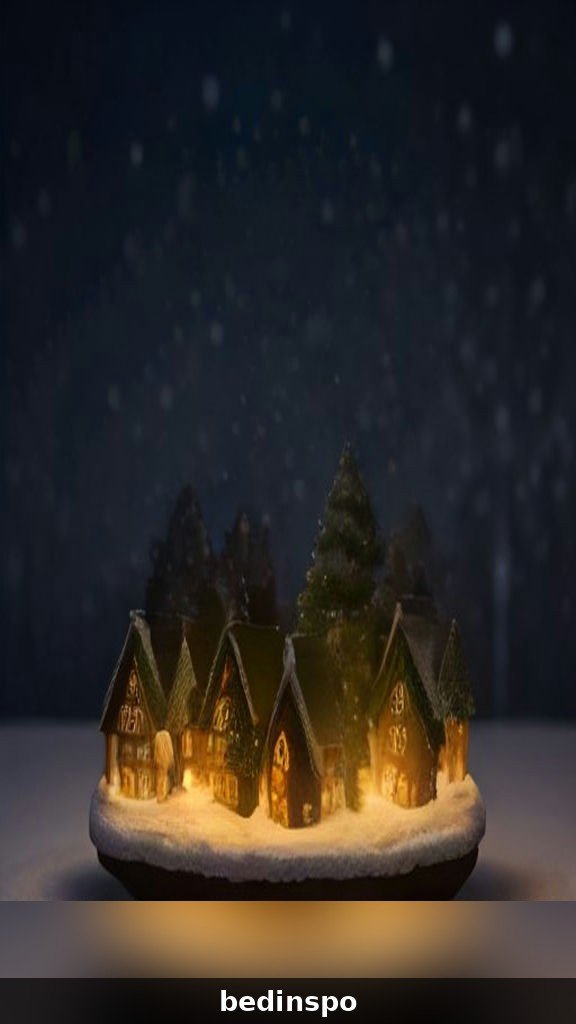
A window display works twice: it delights your family inside and glows for everyone passing by outside. Place a board on a deep window sill, back the houses with a sheet of snowy batting, and let the natural daylight do the work during the day. At night, the lit windows of the village shine through the glass like a real town after dark.
Choose houses with light-up windows for this spot, since they are the whole show after sunset. Keep the arrangement simple — five or six houses, a church, and a row of bottle-brush trees — so the silhouette reads clearly from the street. A sheer curtain behind the village softens the daylight and makes the scene look like it is wrapped in falling snow.
5. The Bookshelf Village

Bookshelves are secretly perfect for Christmas villages: each shelf becomes its own little neighborhood, and the books themselves act as a backdrop. Clear one or two shelves, lay down a strip of snow batting, and arrange a few houses per shelf with trees tucked between the bookends. The village looks like it grew right out of your library.
Vary the scenes by shelf — a shopping street on one, a residential lane on another, a church square on the third — so each shelf tells a different part of the story. Small battery fairy lights strung along the back of each shelf give every house its glow without any visible cords. This is also the best display for small collections, since even three houses per shelf look intentional and charming.
6. The Coffee Table Village
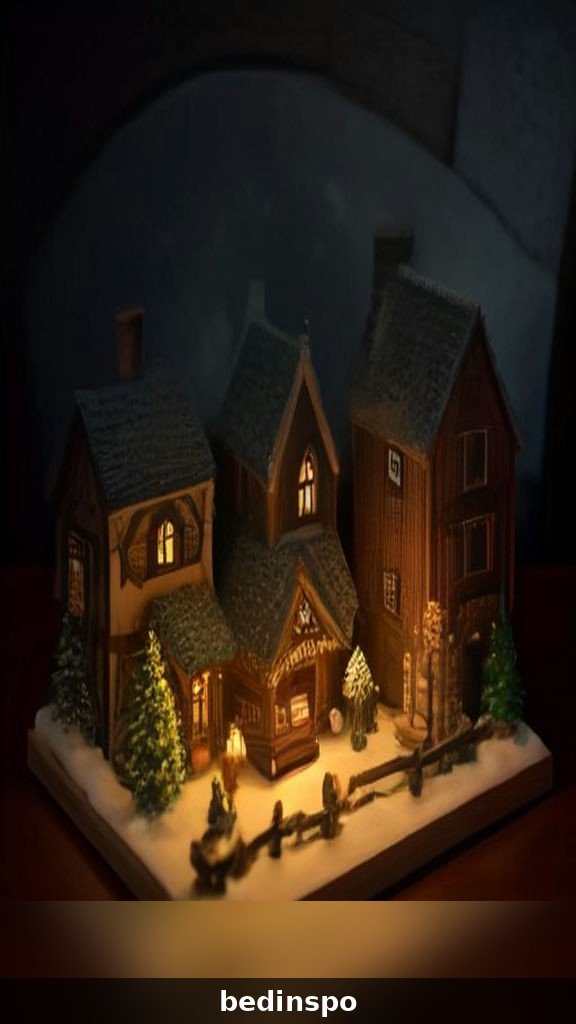
A low coffee table village invites everyone to lean in close and admire the tiny details. Use a large tray or a sheet of plywood covered in batting as a contained base so the village can be lifted away when you need the table. Arrange the houses in a loose circle or a winding street, with the tallest building in the center as a landmark.
Because people view a coffee table village from above, the rooftops matter: choose houses with interesting roofs, chimneys, and snow details, and add tiny details like a frozen pond made from a mirror tile or a skating rink of glossy paper. Keep the village flat and stable — no tall, tippy pieces where drinks might get set down — and use battery lights so there are no cords to trip over.
7. The Console Table Entryway Village
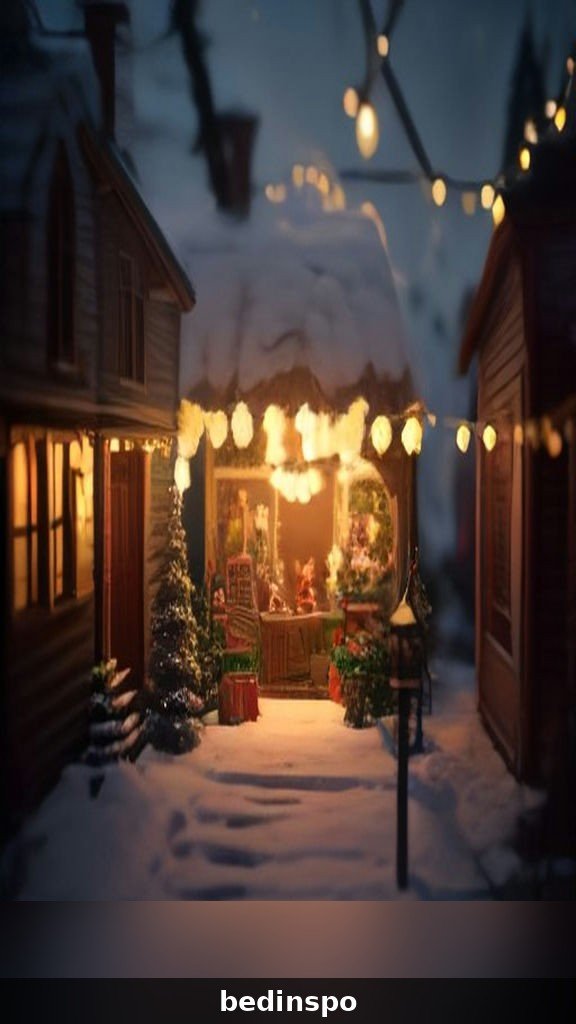
The first thing guests see when they walk in should feel like Christmas, and a console table village delivers exactly that. A narrow console is ideal for a single-row village: houses lined up like a main street, with trees and lamp posts between them and a garland framing the mirror or artwork above.
Since an entryway village is seen up close, focus on the details: tiny wreaths on the doors, snow on the rooftops, a little bench or a mailbox by the sidewalk. A runner of batting keeps the display neat, and a single strand of warm fairy lights behind the houses creates the glow. This is also a great spot for a village with a theme, like a Dickens-style old-town street, because the narrow format suits a row of matching shops.
8. The Fireplace Hearth Village
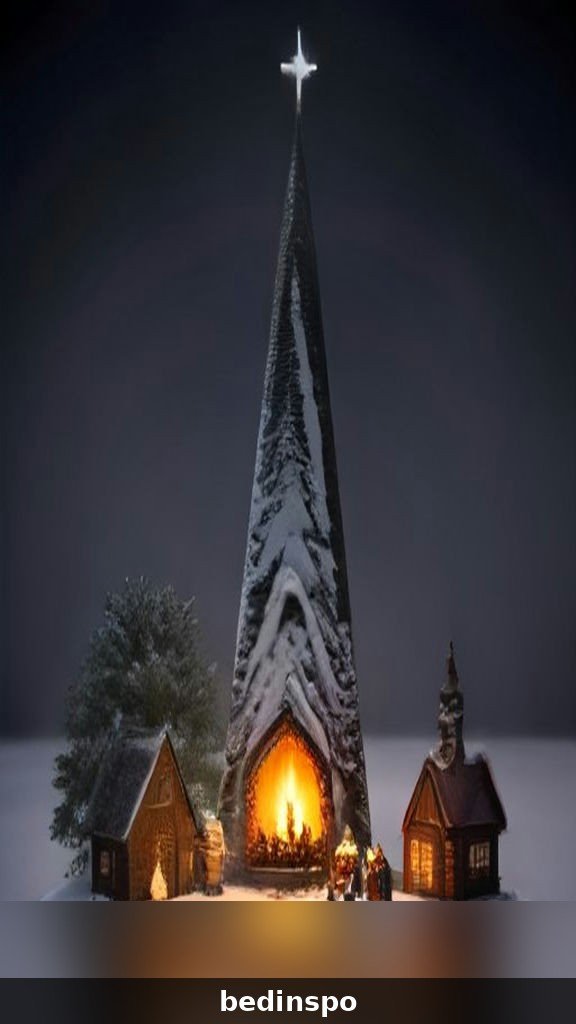
If your fireplace is not in use, the hearth itself becomes a magical village square. Spread a large snow blanket across the hearth and the floor in front of it, and build the village outward from the firebox like a town gathered around its square. The dark opening of the fireplace makes a dramatic backdrop, especially if you place a glowing house or two just inside it.
Use the hearth’s depth to your advantage: tall houses and a church at the back, shops and cottages in the middle, and a frozen pond or skating rink at the front where children can admire it up close. Battery lights are essential here since outlets are often far away, and the low viewpoint means every tiny detail — the snowmen, the carolers, the horse-drawn sleigh — gets its moment.
9. The Kitchen Counter Village
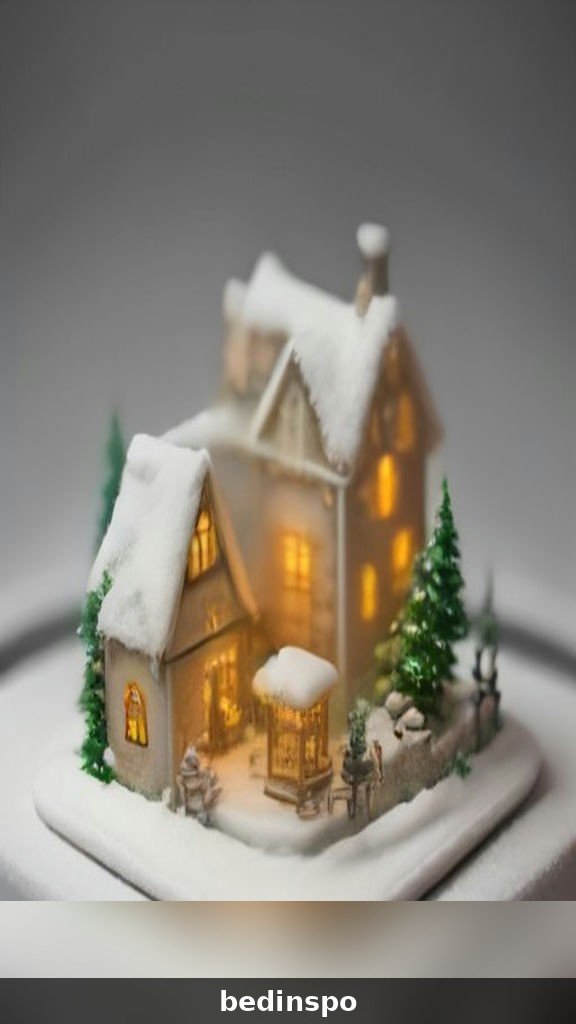
The kitchen is where the family gathers in December, so a small village on a side counter or a breakfast bar brings the magic right into the baking and cocoa zone. Keep it compact: four or five houses, a bakery or candy shop, and a few trees on a small tray that can be moved when you need the counter space.
A kitchen village pairs beautifully with your holiday baking — imagine a tiny gingerbread-style bakery next to your real cookie trays. Use a tray with raised edges to contain the snow batting and catch any stray glitter, and choose houses that wipe clean easily, since kitchen displays collect a little flour dust. Warm-white lights on a timer mean the village glows every evening without you having to remember to switch it on.
10. The Tiered Tray Mini Village
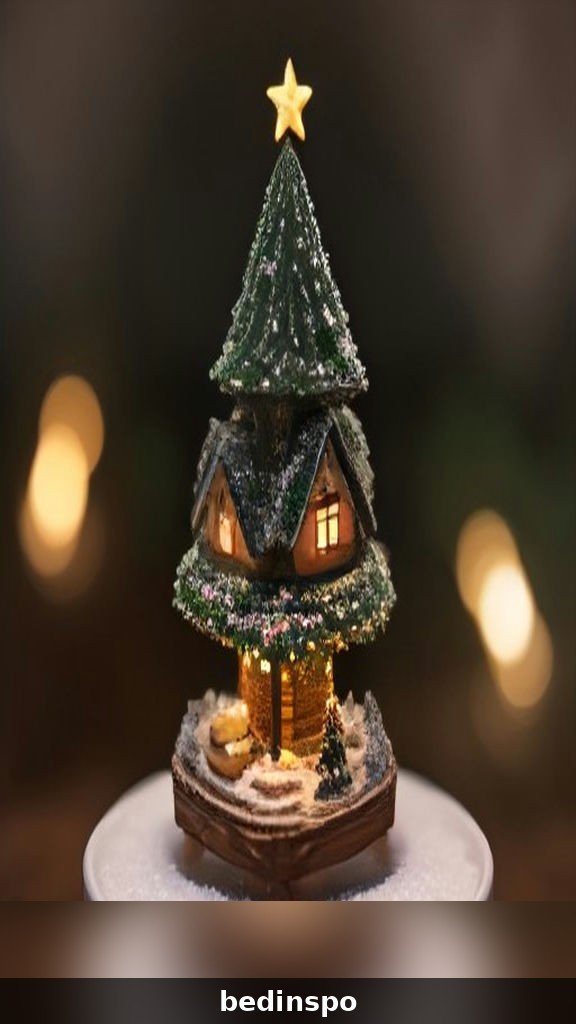
For tiny spaces or a first village, a tiered tray is a perfect miniature world. Each tier becomes a level of the town: houses on the bottom tier, trees and a church in the middle, and a star or a tiny tree on top. The vertical format looks impressive on a sideboard or a kitchen island without taking up much surface at all.
Use the smallest houses you can find — ornaments, tiny ceramic cottages, or even DIY paper houses — since a tiered tray cannot hold full-size village pieces. A sprinkle of faux snow on each tier, a few bottle-brush trees, and one string of micro fairy lights wrapped around the tray’s stem turn an everyday serving piece into a show-stopping display. It is also the easiest village to store: lift the whole tray into a box when the season ends.
11. The Village Under the Christmas Tree
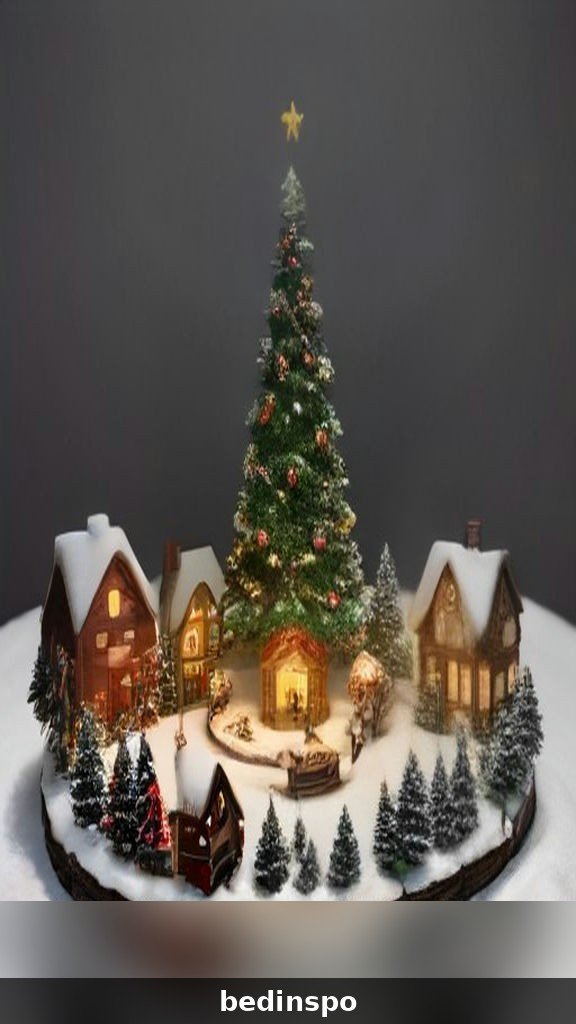
The space under the tree is the most classic village location of all, and it solves the eternal problem of what to do with that awkward ring of floor around the trunk. Lay a tree skirt or snow blanket, then build the village in a circle around the base, with the tree itself towering over the town like the village square’s great pine.
This display begs for a train: a simple oval of track around the village lets a miniature train circle the town all season, and children will watch it for hours. Keep the houses low and sturdy here, since gifts will be stacked nearby and little hands will reach in. Battery lights keep cords away from the tree’s own lights, and a few wrapped mini presents tucked between the houses make the village look like it is celebrating too.
12. The Train Around the Village
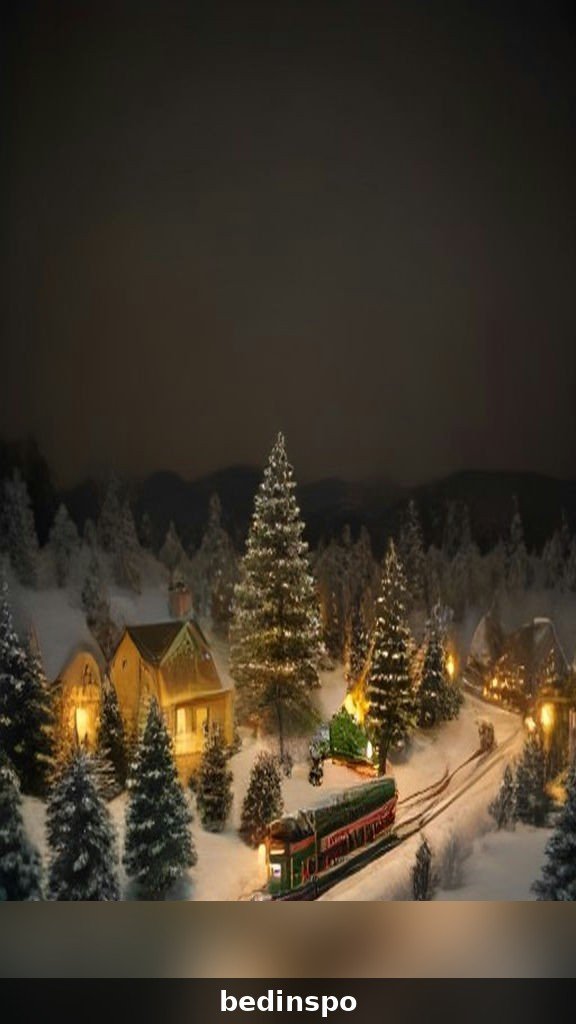
If you love model trains, let the train be the star and build the village around its route. Lay an oval or figure-eight of track on a board, then place houses, a station, a church, and trees both inside and outside the loop so the train passes through the town rather than just around it. A tunnel made from a cardboard hill covered in batting adds drama every time the train disappears and reappears.
Plan the layout before you buy track: measure your board, mark where the station and the crossing will go, and leave gaps in the houses for the track to pass through. The train’s own lights and sound add motion and life that no static display can match, and a village built around a train feels like a real working town. This is the display that turns casual visitors into collectors.
13. The Snowy Mountain Village
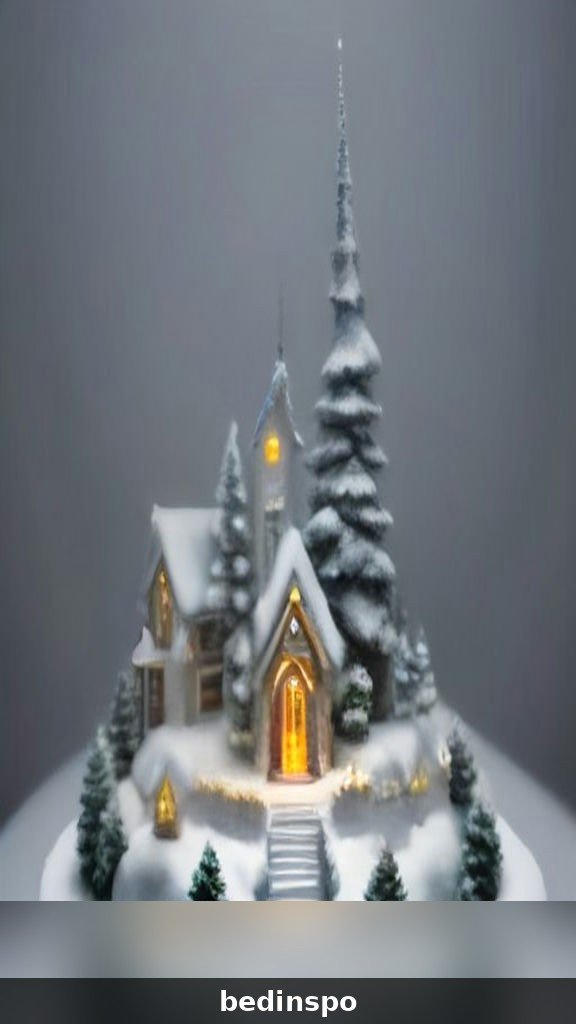
For a dramatic, alpine look, build your village on a mountainside. Stack sturdy boxes or foam blocks under the snow batting to create tiers and slopes, then place the houses climbing up the hill with a church or lodge at the top. The height difference makes even a small collection look grand, and the slopes give you natural spots for ski runs, sledding hills, and frozen waterfalls.
Use thick batting or cotton snow to soften the edges of your platforms so the mountain looks like a real snow-covered hill rather than a stack of boxes. White and blue-white lights suit a mountain village better than warm gold, since they read as moonlight on snow. Add a few evergreen sprigs and a tiny ski lift made from string and popsicle sticks, and your mountain village becomes the centerpiece of the whole room.
14. The Vintage Department 56 Style Village
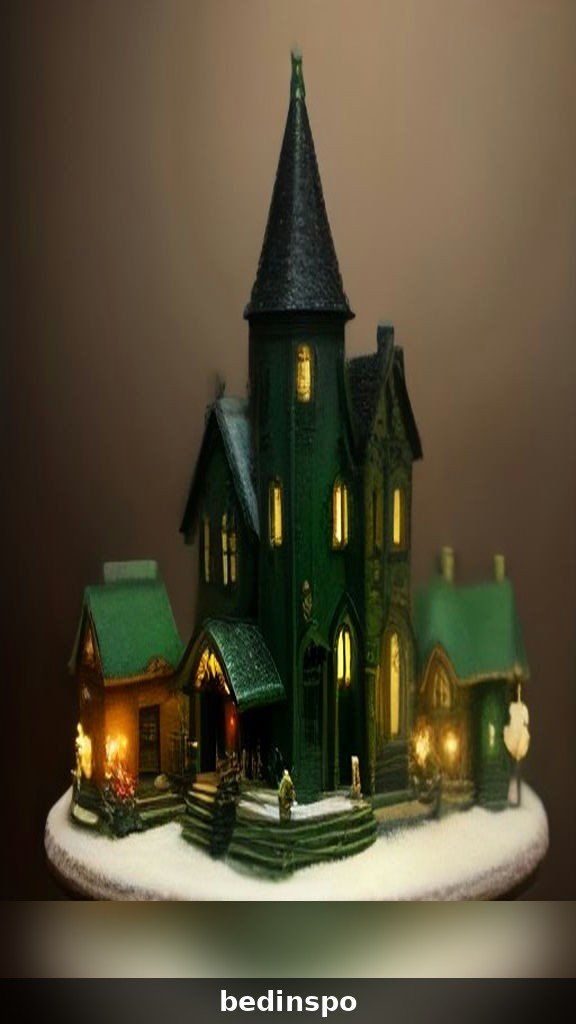
Collectors of vintage-style villages know the look: porcelain houses with hand-painted details, cobblestone streets, gas lamps, and a distinctly old-world, Dickensian feel. Display these pieces with room to breathe — one house per foot of shelf or mantel — so each hand-painted facade can be admired. A dark wood base or a deep green felt runner suits the vintage palette better than bright white snow.
Pair vintage houses with accessories from the same era: horse-drawn carriages, carolers in period dress, wrought-iron fences, and old-fashioned street lamps. Warm amber lighting, rather than bright white, keeps the old-world mood, and a few bare-branch trees with tiny lights echo the gas-lit streets of a Victorian Christmas. This is a display that rewards patience: add one piece a year, and the village grows into a family heirloom.
15. The Budget DIY Cardboard Village
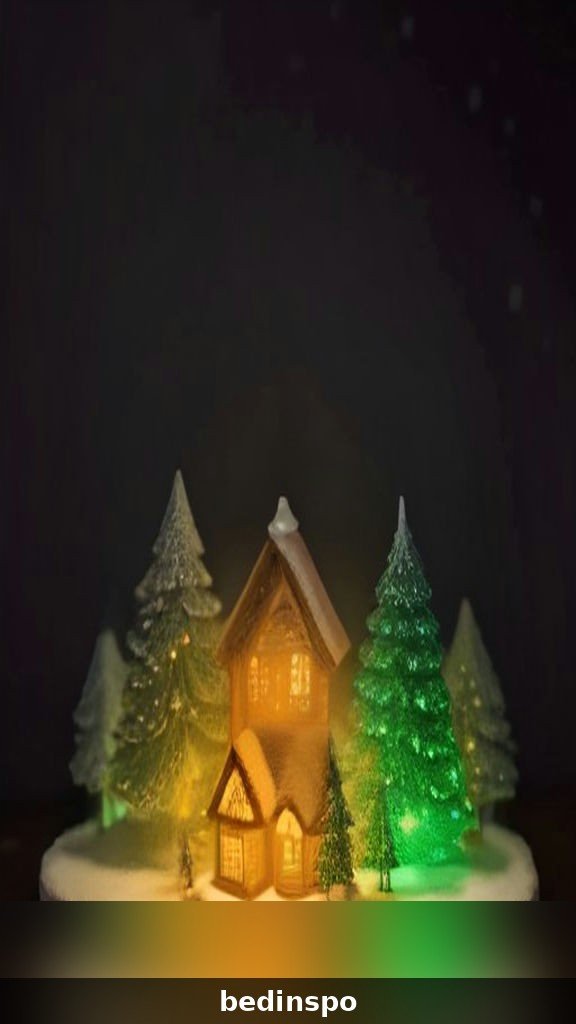
You do not need expensive ceramic houses to build a beautiful Christmas village. A DIY village made from cardboard, paper bags, or painted jars costs almost nothing and looks genuinely charming. Cut simple house shapes from cardboard, paint them in soft pastels or classic red and white, cut out windows, and place battery tea lights inside so the windows glow.
Arrange your paper houses on a windowsill or a shelf with cotton snow and bottle-brush trees, and you have a village that rivals any store-bought set — and one the kids can help build. The best part is that a DIY village is endlessly customizable: add a new house every year, repaint the rooftops, or build a whole second street when the first one fills up. It proves that the magic of a Christmas village comes from the glow and the imagination, not the price tag.
How to Choose the Right Village for Your Home
Start with your space, not the store. Measure the spot where the village will live — mantel, table, or shelf — and buy houses to fit it, not the other way around. A good rule is one house per eight to ten inches of display length, which keeps the scene from looking crowded. Choose a scale and stick to it: mixing very large and very small houses in one display breaks the illusion, unless the size difference is deliberate, like a grand church beside small cottages.
Pick a theme before you buy. A snowy New England town, a Victorian street, a rustic alpine village, or a whimsical candy-colored town each call for different houses, trees, and accessories. A theme keeps your collection coherent as it grows, and it makes gift-giving easy — family members will know exactly which style to buy you. Finally, check the lighting before you commit: houses with built-in lights are easier to display than ones that need separate cords, and battery-operated pieces give you freedom to display anywhere.
Christmas Village Displays on a Budget
A stunning village display does not require a collector’s budget. Start with three or four houses from a discount store or a thrift shop, and spend your money on the display itself: a good snow blanket, a strand of fairy lights, and a bag of bottle-brush trees transform even the simplest houses into a magical scene. Thrift stores in January are goldmines for village pieces at a fraction of their original price, so shop the after-Christmas sales for next year’s display.
DIY the details that cost the most in stores: cotton balls stretched into snow, cardboard platforms covered in batting for levels, tiny trees made from pipe cleaners or rosemary sprigs, and frozen ponds from mirror tiles or glossy paper. A village built slowly — a few pieces each year, chosen with care — ends up more personal and more beautiful than one bought all at once. The glow matters more than the brand, and a well-lit budget village outshines a dark expensive one every time.
Frequently Asked Questions
How do I light a Christmas village without visible cords?
Use battery-operated fairy lights and tea lights wherever possible, and hide any plug-in cords behind the houses or under the snow batting. Micro LED strings on thin copper wire are nearly invisible during the day and give a beautiful glow at night. Timers are worth the small cost: set the lights to switch on at dusk and off at bedtime automatically.
What is the best base for a Christmas village display?
A sturdy board covered in white batting or felt is the most versatile base — it is light, easy to store, and looks like snow. For a permanent display, a sheet of plywood painted white or covered in batting works well, and mirrored tiles or glossy paper make convincing frozen ponds. Avoid real cotton balls for large areas, since they shed; batting gives a smoother, more realistic snowfield.
How do I store a Christmas village safely after the holidays?
Wrap each house individually in tissue paper or bubble wrap, and store them upright in their original boxes or in divided storage bins. Label the boxes by display — mantel, table, tree — so next year’s setup is fast. Keep accessories like trees, fences, and lamp posts in separate zip bags, and store the whole collection in a cool, dry place away from attics that freeze or overheat.
Can I mix different brands of village houses in one display?
Yes, as long as the scale and style are close. Houses of a similar height and a similar level of detail blend well even from different brands, especially when they share a color palette or a theme. Avoid mixing very realistic porcelain houses with cartoonish resin ones in the same scene, but a mix of brands within one style — all Victorian, all alpine, all snowy cottages — looks completely natural.
Conclusion
A Christmas village is more than a decoration — it is a tiny world you build once a year and return to every evening, watching the lights come on as the house grows dark. Whether your village lives on the mantel, winds around a train, glows in a window, or sits proudly on a budget made of cardboard and love, the magic is the same: small houses, warm light, and a little snow, turning an ordinary corner into a place that feels like Christmas itself.
Start with the space you have, choose a theme you love, and add a piece or two each year. Light it well, hide the cords, and let the snow do its work. By the time the last house is placed and the lights switch on, you will understand why families keep their villages for decades and pass them down like heirlooms. Merry Christmas — and happy building in your own little town.