
Christmas Decoration Storage Ideas: 15 Smart Ways to Pack It All Away Calmly
Christmas Decoration Storage Ideas: 15 Smart Ways to Pack It All Away Calmly
Every January, the same scene plays out in millions of homes: a mountain of ornaments on the dining table, a knot of lights that defies physics, a wreath slowly being crushed under a box of something heavy, and a person standing in the middle of it wondering how a holiday that brings so much joy can end in so much chaos. It doesn’t have to. Good Christmas storage is a system, not a talent — and once it’s set up, packing away takes one calm afternoon instead of a week of dread.
This guide gives you 15 Christmas decoration storage ideas: the right containers for ornaments, lights, wreaths, trees, garlands, and gift wrap; the labeling and inventory system that makes next December feel like opening a gift from yourself; small-space solutions for apartments; and the mistakes that quietly break your favorite decorations every year.
Set it up once, this January, and every future Christmas gets easier. Let’s pack like a person who loves next December.
1. Delicate and Small Ornaments: Divided Boxes and Egg Cartons

Ornaments break in storage for one reason: they touch each other. The fix is individual compartments. Purpose-made ornament boxes with cardboard dividers (holding 64–128 ornaments) are the gold standard, but the budget versions work nearly as well: egg cartons for small ornaments, cupcake trays and apple-box inserts for medium ones, and plastic cups glued to a cardboard sheet for a DIY divider tray.
Wrap only the truly fragile or sentimental pieces in tissue — standard shatterproof balls just need their own cell. Store ornament boxes flat, never stacked more than two high, and keep the most precious box on top. Sort as you pack: one box per color family or per tree zone makes next year’s decorating start like a dream.
2. Wrapping Lights Without the Tangle
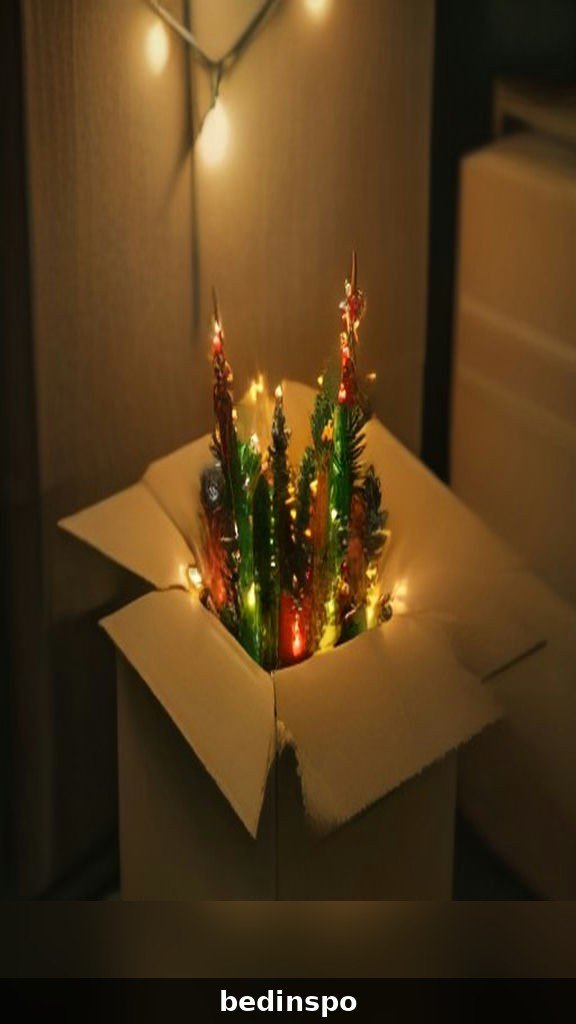
The January light-tangle is optional. Wrap each strand around something: a rectangle of sturdy cardboard, a light-storage reel, a hanger, or even a rolled magazine for mini strands. Secure the plug end last, label which strand it is (“tree,” “mantel,” “porch”), and note on the label if any section was failing — future you deserves that honesty.
Test every strand before you store it, not next December when the tree is already up. A strand that died in the box gets replaced during January clearance sales for a fraction of the price. Coil extension cords separately in their own small bin with the timers and remotes, so the “electrical” kit is complete in one place.
3. Wreath Storage That Keeps Its Shape

A wreath stored under other boxes is a wreath destroyed. Wreaths keep their shape two ways: hung (on a hook on a closet or garage wall, ideally inside a wreath bag or a dry-cleaning bag to keep dust off) or boxed (in a round wreath storage box that supports the circle). The bag costs a few dollars and pays for itself the first year your bow survives.
Never stack anything on top of a stored wreath, and fluff bows and greenery before storing rather than after — crushed velvet ribbon sometimes never recovers. If space is desperate, a wreath hung on the inside of a closet door under a garment bag is the classic small-home solution.
4. Storing the Artificial Tree
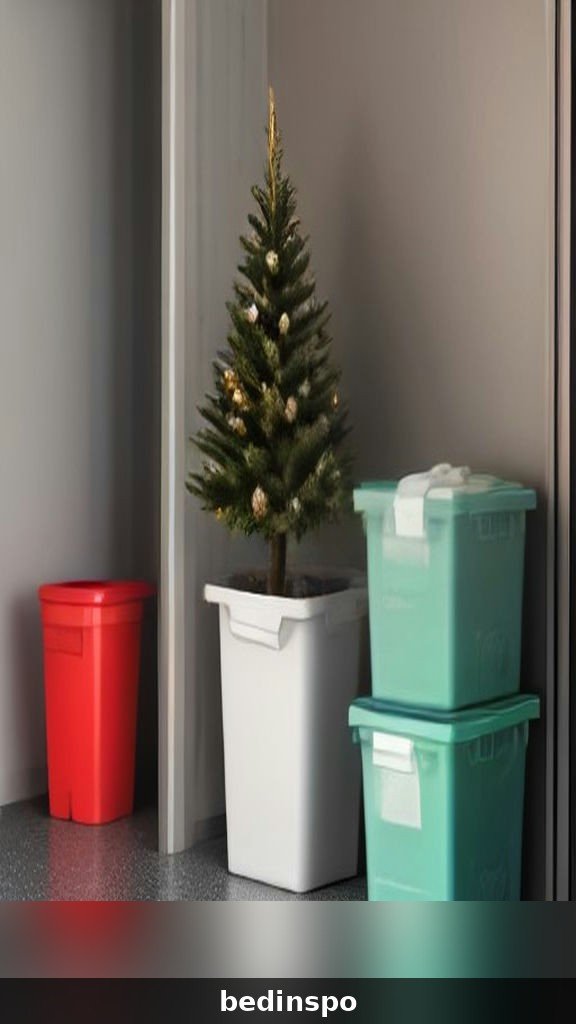
The original tree box is designed to be thrown away — it was engineered for shipping, not for your garage. Upgrade to a tree storage bag (upright or rolling duffel style), which fits the sections without the annual wrestling match and keeps dust and moisture off the branches. Label each section’s bag if your tree comes in lettered parts you always forget.
Store the tree standing in a corner if you have an upright bag, or flat on a high shelf. Keep it away from attic extremes if possible: years of intense heat can make older PVC branches brittle. And pack the tree’s stand, remote, and instructions in the bag’s pocket — the three things everyone hunts for next year.
5. Garland Storage Without the Crush
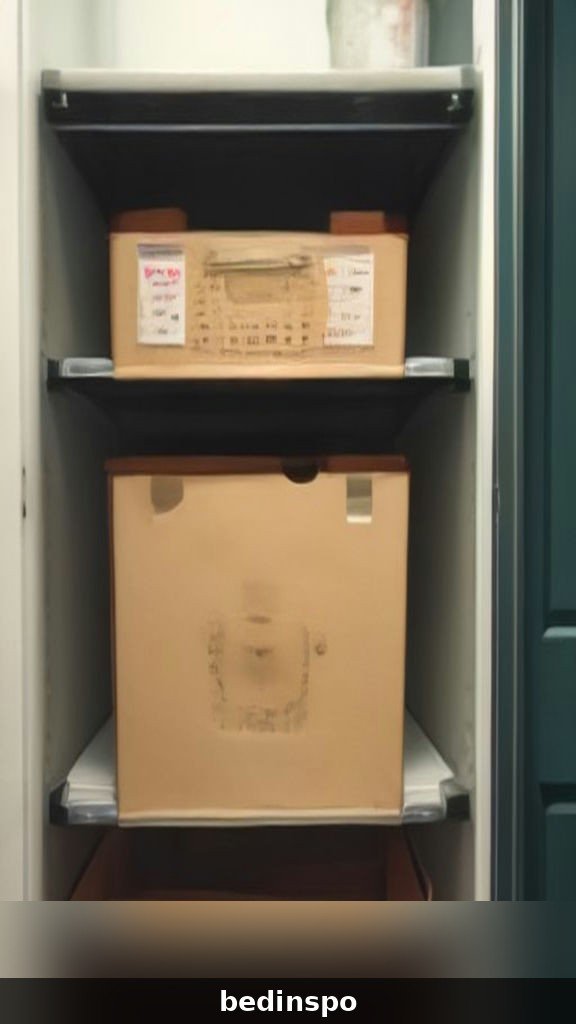
Garlands tangle with lights and get crushed into odd shapes when they’re tossed loose into bins. Instead: coil each garland gently like a rope, tie it in two places with ribbon or twist ties, and lay it on top of the contents of its bin — or dedicate one long, shallow bin to garlands only, coiled in layers separated by tissue.
Label which garland goes where (“staircase,” “mantel”) and store any battery packs with batteries removed. Pre-lit garlands get the same test-before-storing rule as light strands. A garland stored coiled and labeled goes up next year in five minutes; a garland stored in a heap takes an hour of untangling and quiet swearing.
6. A Gift Wrap Station That Ends the Closet Avalanche
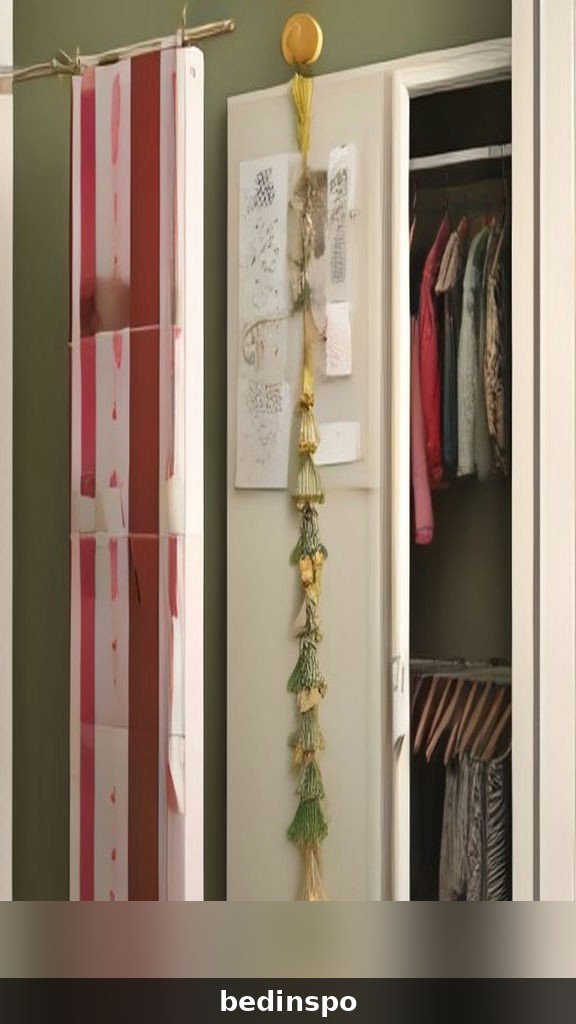
Wrapping paper, bags, ribbon, tape, and tags breed in closets unless they get one dedicated home. The best solutions: an over-the-door organizer with pockets for rolls and bags, a tall narrow bin or hamper that stands rolls upright in a corner, or a flat under-bed box for rolls if space is truly tight.
Keep one pair of scissors and a tape dispenser that live in the wrap station permanently — they’re cheap, and it ends the December scavenger hunt. Store gift bags flat, nested by size, and ribbon on a tension rod or dowel so it feeds without tangling. Buy wrap during January sales and store it with the system; you’ll never pay full price in a December panic again.
7. Packing Fragile and Heirloom Ornaments

The ornaments that matter — grandmother’s glass birds, the baby’s-first-Christmas pieces, the ones from the trip you’ll never repeat — deserve their own protocol: individual tissue wrapping, a padded compartment each, and a small, clearly labeled box of their own marked “FRAGILE — HEIRLOOMS” on every side.
Store the heirloom box inside the house (climate-controlled closet shelf) rather than a garage or attic, where heat and cold cycles crack old glass and fade paint. Write the story of the special pieces on a card inside the box; the next generation will thank you, and it takes four minutes. Photograph the set for your inventory while you’re at it.
8. Clear Bins Sorted by Room or Zone
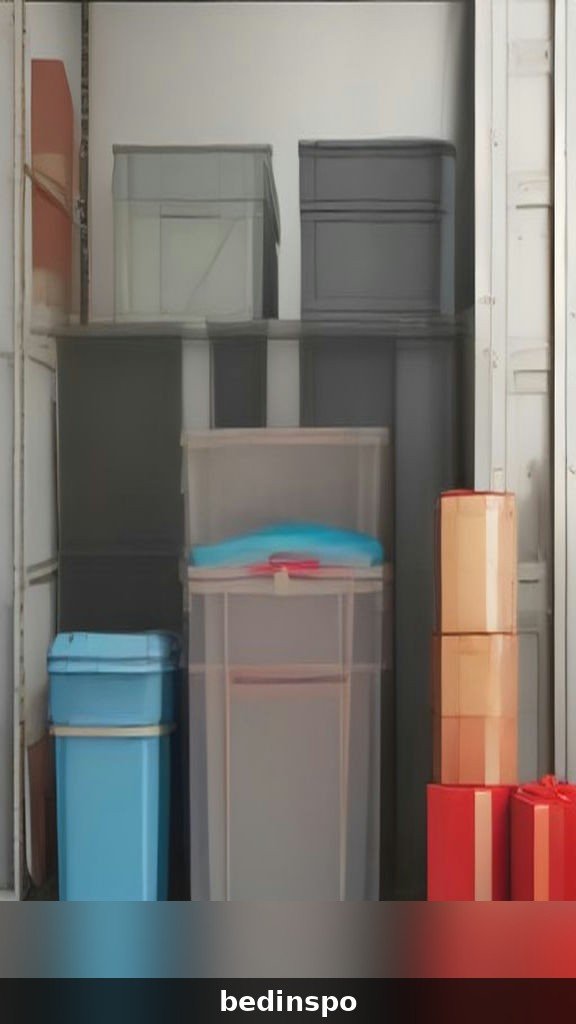
The master system that ties everything together: clear plastic bins (so you can see contents at a glance), sorted not by item type but by decorating zone — “Tree,” “Mantel & Living Room,” “Dining Room,” “Outdoor,” “Kitchen.” Decorating happens room by room, so storage should too. Carry one bin to one zone and empty it completely; that’s the entire workflow.
Use uniform bins that stack securely, in sizes you can carry comfortably when full — a smaller bin packed well beats a giant bin you can’t lift. Red or green lids make the Christmas stack findable in a crowded garage. Keep the number honest: if your decor needs more than six to eight standard bins, the January clean-out (below) is your friend.
9. Vacuum Bags for Linens, Stockings, and Tree Skirts

The soft half of Christmas — tree skirts, stockings, table runners, holiday throw blankets, and the good tablecloths — compresses beautifully in vacuum storage bags, shrinking to a third of its size and staying dust- and moth-free. Fold items neatly, add a lavender sachet or dryer sheet, and seal.
Label the bag with its contents and store it flat on a shelf or slid into the top of a decor bin. One caution: don’t vacuum-compress anything with delicate beading, sequins, or structured padding — fold those in tissue inside a regular bin instead. Everything else emerges next December fresh and ready.
10. Small-Space Storage: Under-Bed, Closet Tops, and Corners
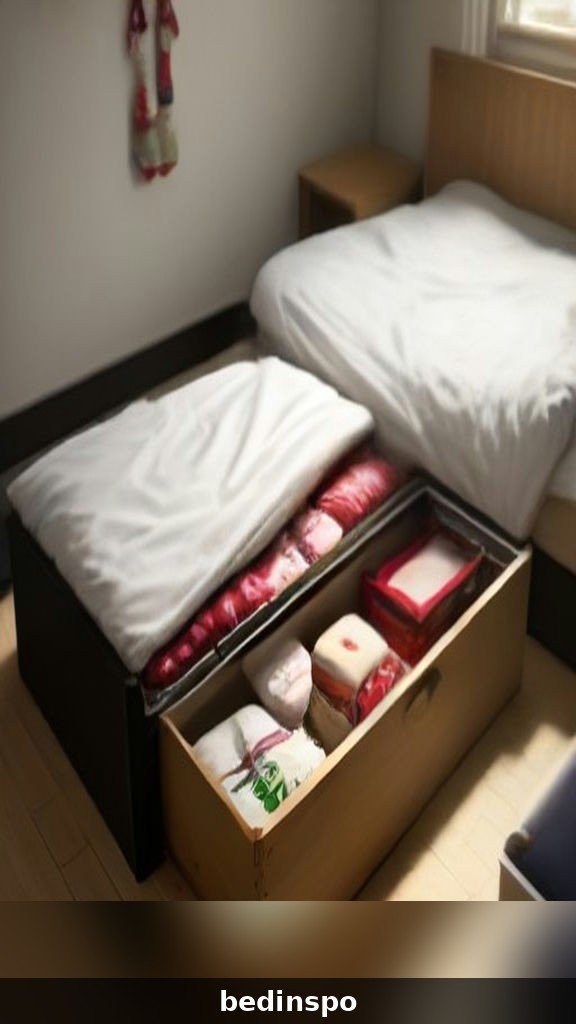
No garage? No attic? Christmas still fits. The small-space greatest hits: flat ornament boxes and wrap rolls under the bed; the tree bag standing in a closet corner or behind a door; bins on the highest closet shelves (Christmas is the perfect once-a-year tenant for the least accessible space); and wreaths hung inside closet doors.
The discipline that makes small-space storage work is the one-in-one-out rule and shopping with your storage in mind — admiring a new decoration is free, but only buy it if you can name where it will live in January. Many apartment decorators also split storage with the seasons: Christmas shares its zone with nothing else, so there’s never a “where would it even go” moment.
11. The Labeling System That Saves Next December

Labels are the difference between a system and a pile. Label every bin on two sides plus the lid with its zone and a short contents list: not “decorations” but “MANTEL: garland, 2 stockings, stocking holders, nativity.” Write labels in thick marker on painter’s tape or use printed labels if your inner organizer delights in it.
Number your bins in decorating order (Bin 1 = tree, opened first; last bin = outdoor lights or whatever you pack away last and open latest). When decorating day comes, you carry bins in order, and when packing away, you reverse the process. Add the year to labels when you replace things, and purge labels as ruthlessly as contents.
12. Before You Store: The Clean-Out and Honest Sort
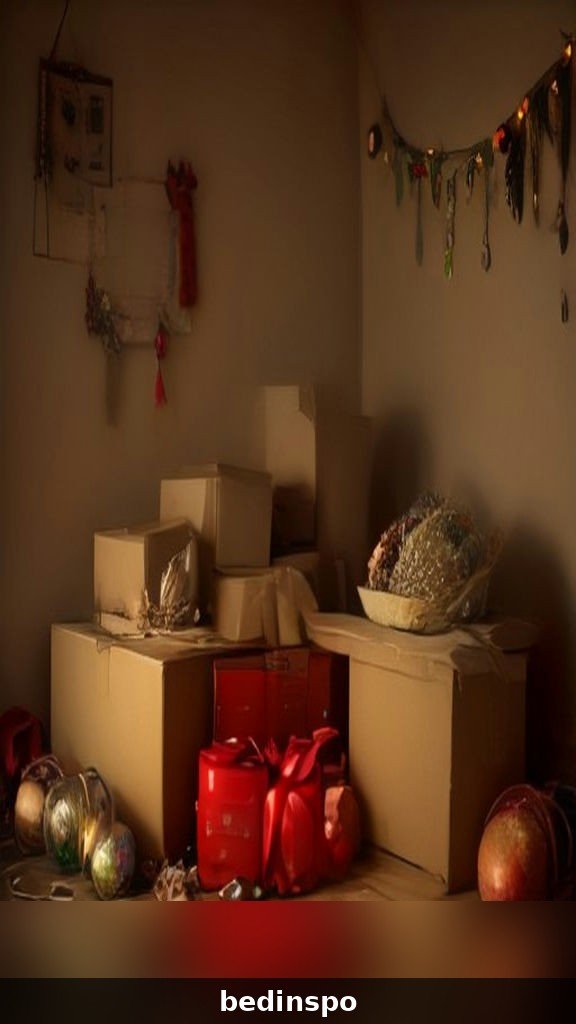
Storage systems fail when they’re asked to hold things you don’t actually want. January is the perfect audit moment: you’re holding every item anyway. Sort into four honest piles — loves it, fine, broken, and “why do I own this.” Broken lights, chipped ornaments you never hang, the decoration that’s been left in the box three years running: let them go now, while the evidence is in your hands.
Donate the usable rejects (thrift stores take Christmas donations in January happily), recycle dead light strands (many hardware stores run light-recycling drives), and note anything that needs replacing on your January clearance list. Every item you release is space, weight, and packing time you never spend again.
13. The Payoff: A Calm, Findable Storage Corner

Here’s what you’re building toward: one defined zone — a garage shelving unit, an attic corner, a closet — where uniform labeled bins stack in order, the wreath hangs untouched, the tree bag stands ready, and everything Christmas is findable in under a minute. It is deeply, disproportionately satisfying, and it changes how December feels: decorating becomes pure fun, because setup starts with a system instead of an excavation.
Take a photo of your finished storage zone and keep it with your inventory. Next year, whoever packs away (including a helpful spouse or teenager) can restore the system exactly — the photo is the instruction manual.
14. The Inventory List and Photo System

The final upgrade: a simple inventory. As you pack, snap a photo of each open bin before closing it and save the photos in a phone album called “Christmas Storage,” or keep a one-page list in the top bin (and a copy on your phone). Note purchases to make during January sales: replacement lights, the ornament hooks you ran out of, the bin you wish you had.
The inventory prevents the two classic December frustrations — rebuying things you already own but can’t find, and discovering on decorating day that something essential is broken. Five minutes in January buys you a calm December; it’s the highest-value five minutes in all of holiday organizing.
Common Storage Mistakes to Avoid
The greatest hits of decoration loss: storing anything in cardboard boxes in a damp garage (moisture, pests, collapse), packing lights untested, stacking heavy bins on wreaths and ornament boxes, leaving batteries in remotes and decorations all year (they leak and corrode), storing candles in a hot attic (they melt into modern art), and the classic — no labels, on anything, ever. Every one of these is free to avoid, and each one has ruined somebody’s December. Don’t let it be yours.
Storing Outdoor Decorations
Outdoor pieces play by slightly different rules because they come in dirty. Hose down or wipe inflatable decorations, stakes, and lawn ornaments and let them dry completely before packing — storing them damp invites mildew that no January heroics can fix. Inflatables fold back into surprisingly small boxes once fully deflated; keep their stakes, tethers, and blower together in a labeled bag inside the same bin.
Outdoor light strands, timers, and extension cords get their own clearly marked bin (these are the first things you need next year and the last thing you want to hunt for). Coil cords loosely — tight coils stress the wire over months of storage — and store the whole outdoor kit in the garage rather than the attic, since it’s the first zone you’ll decorate when the season turns.
The One-Afternoon Packing Schedule
The full system goes faster than you fear if you work in the right order. Hour one: gather every decoration to one staging area (usually the dining table), set out your bins, and do the clean-out sort while everything is in front of you. Hour two: pack by zone — ornaments into dividers, lights wrapped and tested, soft items into vacuum bags — labeling each bin as you close it. Final thirty minutes: wreath into its bag, tree into its bag, bins stacked in order in their zone, and your inventory photos taken.
Put on a movie or a podcast, recruit help for the carrying, and resist the urge to “just toss it in and organize next year” — next year’s organizer is you, and she has opinions. One focused afternoon, and the whole thing is done properly until December.
Frequently Asked Questions
What is the best container for Christmas ornaments?
A purpose-built ornament box with individual dividers is best for standard ornaments; egg cartons and cupcake trays are excellent budget options for small ones. Fragile heirlooms get individual tissue wrapping and their own padded compartments. Keep ornament storage inside the house if you can — climate control protects old glass.
Should I store Christmas decorations in the attic or garage?
If you have a choice, pick the more temperature-stable option. Extreme attic heat damages candles, adhesives, old plastics, and photos; garages risk moisture and pests. Use sealed plastic bins (never cardboard) in either space, keep bins off the floor, and store heirlooms and candles in the house.
How do I keep Christmas lights from tangling in storage?
Wrap each strand around a piece of cardboard, a storage reel, or a hanger; secure the ends; label the strand’s location; and test it before storing. Strands stored wrapped and labeled take seconds to deploy next year.
When is the best time to buy storage supplies?
January, during post-Christmas clearance — ornament boxes, wreath bags, and bins are routinely 50–75% off. Make your list while you pack (your inventory notes tell you exactly what’s missing) and stock up then.
Conclusion

The secret nobody tells you about Christmas decorating is that it’s won or lost in January. A calm hour of sorting, the right boxes, labels that tell the truth, and a photo of the finished system — that’s the entire difference between a December that starts with joy and one that starts with a garage excavation.
Save this guide to your organization board, pick up your bins on clearance, and pack this year’s Christmas away like a gift to next year’s self. She is going to be so grateful.