15 Bow Nail Christmas Designs That Wow (2026)
15 Bow Nail Christmas Designs That Wow (2026)
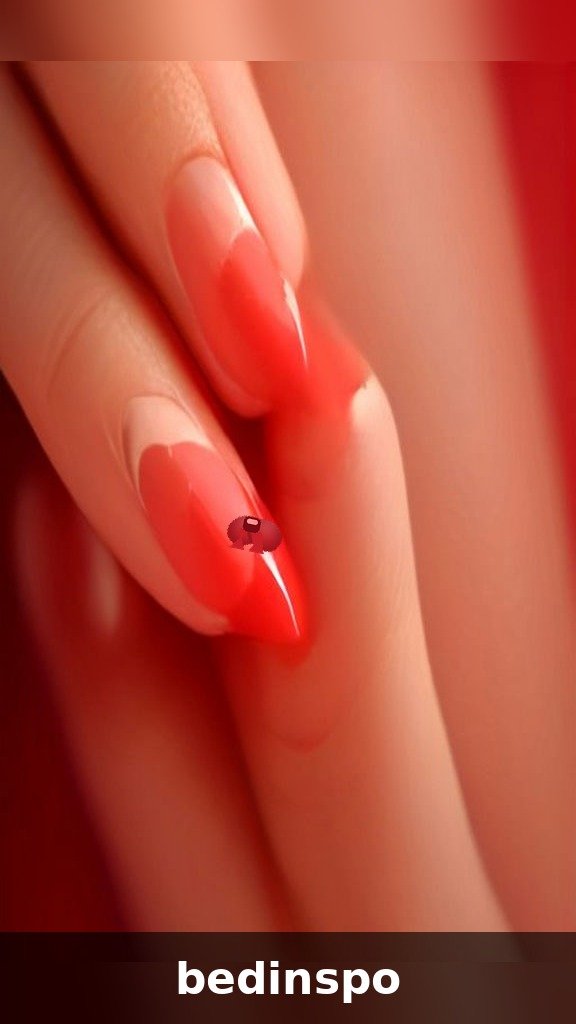
There is something about a tiny bow on a nail that turns a regular manicure into a wrapped gift. Bow nails are the Christmas nail trend that keeps popping up all over Pinterest and TikTok this season, and honestly, we are not surprised. They are feminine, festive, and surprisingly easy to recreate at home — even if you have never done nail art before.
The best part about bow nail Christmas designs is how versatile they are. Want something subtle for the office holiday party? A minimalist mini bow on a nude base works perfectly. Going all out for Christmas morning? A giant 3D red bow on a glittery accent nail will do it. You can dress bows up with rhinestones and velvet, or keep them sweet and simple with a painted ribbon.
In this guide, we are sharing 15 bow nail Christmas designs that actually wow in real life — not just in close-up photos. Every single design comes with step-by-step how-to instructions, the products you will need, and a pro tip to make yours look salon-perfect. Whether you love almond, square, coffin, or short natural nails, there is a bow design here with your name on it. Grab your polish and let us get into it!
1. Classic Red 3D Bow Accent Nails
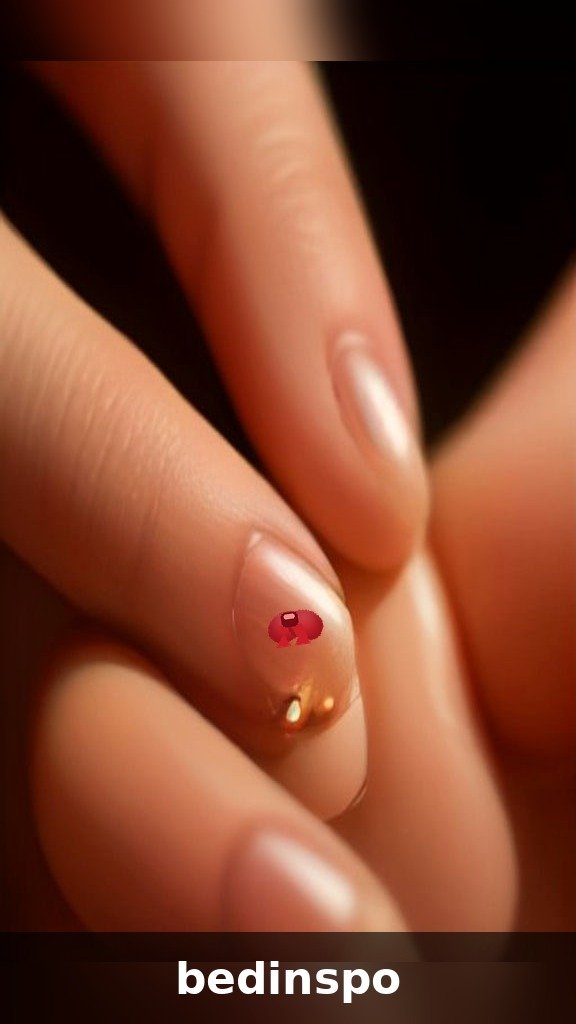
The queen of bow nails. A plump red 3D bow sitting on a glossy nude or milky white accent nail screams Christmas in the most elegant way. This is the design that gets people asking “where did you get your nails done?” — even when you did them at your kitchen table.
How to do it:
- Apply two coats of a sheer nude polish and let them dry completely.
- Place a small dot of nail glue on your ring finger nail.
- Press the 3D red bow charm onto the glue with tweezers and hold for 10 seconds.
- Seal the edges around (not over) the bow with a thin layer of top coat.
Pro tip: Choose bows that are about a third of your nail width. Oversized bows look cute in photos but catch on sweaters and hair — you will regret them by day two.
2. Gold Bow French Tips
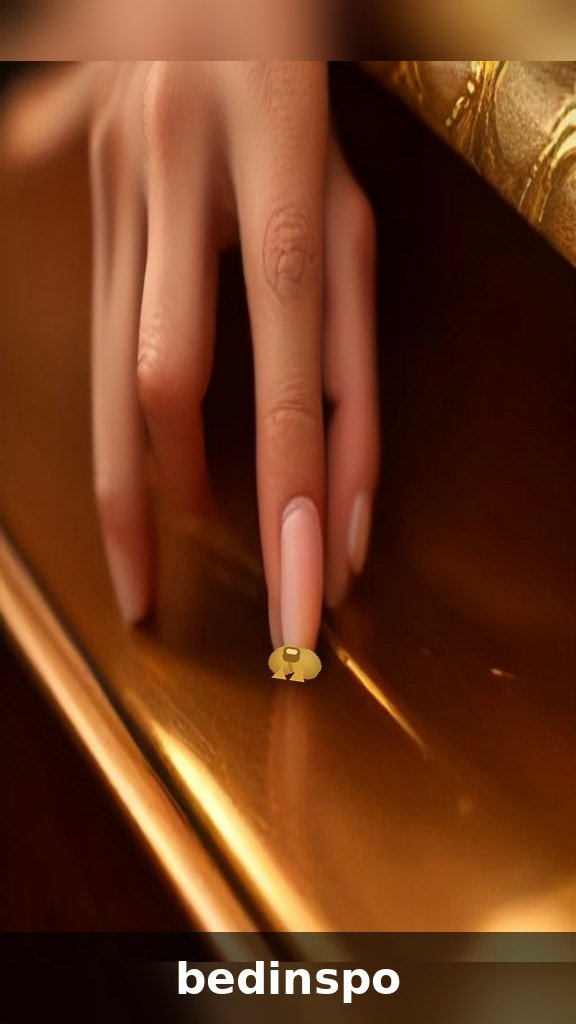
Take the classic French manicure and give it a holiday upgrade. Instead of a plain smile line, tiny gold bows sit right where the white tip meets the pink base. It is the kind of detail that makes people lean in closer to admire your nails.
How to do it:
- Do a standard French manicure with white tips and a sheer pink base.
- While the white tip is still slightly tacky, place a mini gold bow decal at the center of the smile line on each nail.
- Press gently with a silicone tool to seal the decal flat.
- Finish with two coats of glossy top coat.
Pro tip: Metallic gold bow decals photograph beautifully, but they tarnish fast in the shower. Seal them under top coat twice for maximum shine that lasts.
3. White Bow on Red Glitter
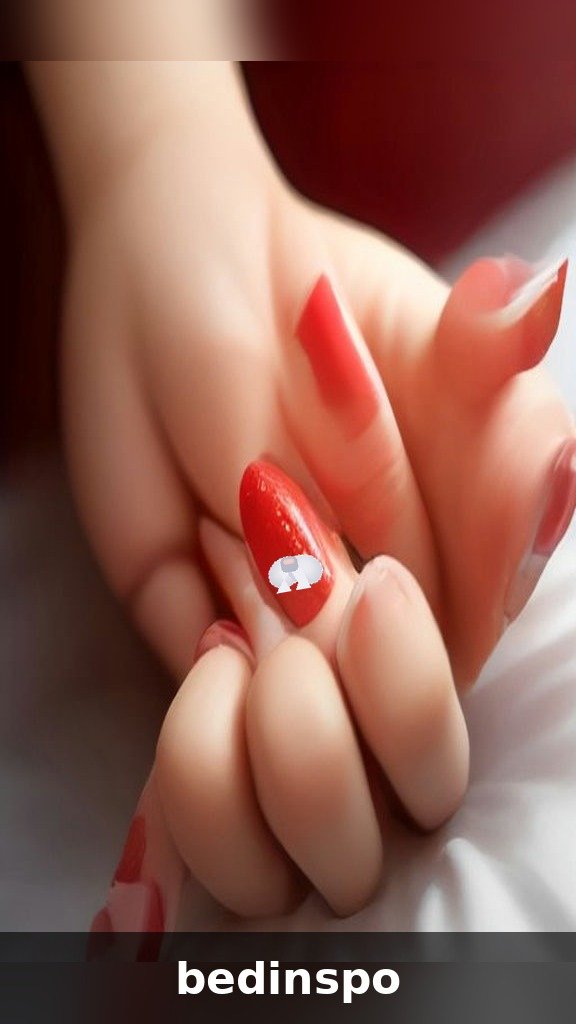
This one looks like a Christmas present on your fingertips — and that is exactly the point. Sparkling red glitter polish with a crisp white bow painted or applied on each ring finger is festive, bold, and very 2026.
How to do it:
- Apply two coats of red glitter polish to all nails and seal with a glossy top coat.
- On each ring finger, paint a white bow using a detail brush: two triangles for the loops, a small rectangle for the knot, and two ribbon tails.
- Add a tiny white dot in the center of each bow for dimension.
- Top coat the whole nail once the bow paint is dry.
Pro tip: If freehand painting scares you, white bow nail stickers exist and look almost identical once top-coated. Nobody will know the difference.
4. Velvet Bow Decals on Deep Green
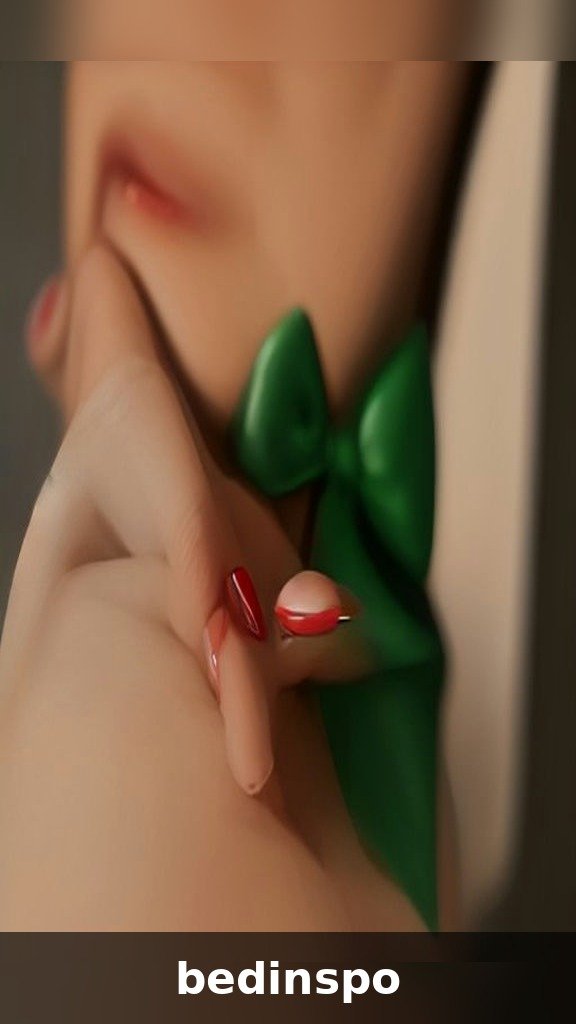
Velvet is everywhere this holiday season — in fashion, in decor, and now on nails. Deep emerald green polish paired with black or red velvet bow decals gives a rich, luxurious texture contrast that feels very Christmas Eve dinner.
How to do it:
- Paint nails in two coats of deep forest green polish.
- Cut velvet bow decals close to the design so no clear edges show.
- Apply the decal to slightly tacky polish, smoothing from the center outward.
- Seal with a single thin coat of top coat — one coat only, so the velvet texture stays soft.
Pro tip: Never use matte top coat over velvet decals unless you want to kill the effect. A thin glossy layer protects without flattening the fuzzy texture.
5. Tiny Pearl Bows on Milky White
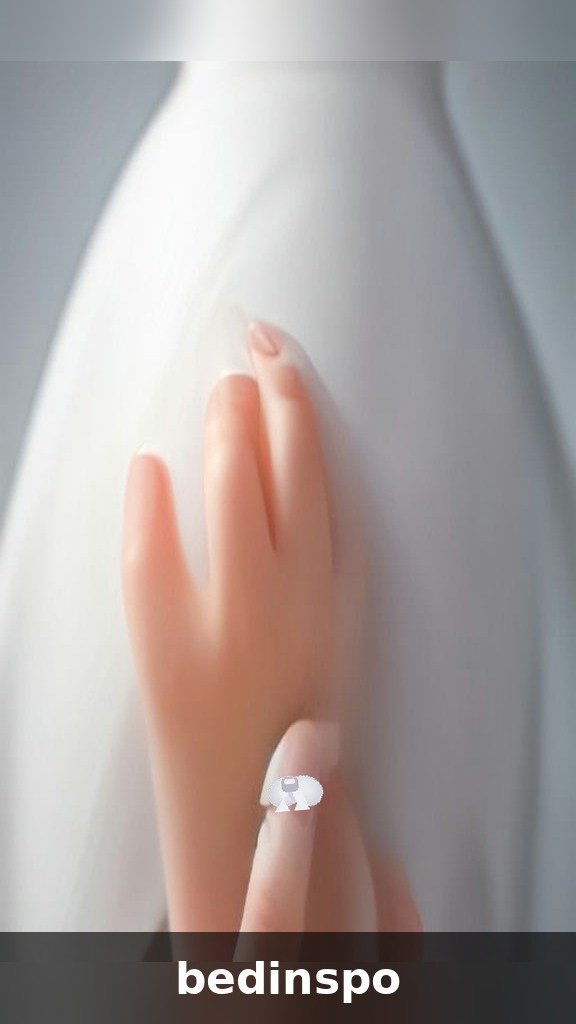
For the soft-girl Christmas aesthetic, nothing beats tiny pearl bows on a milky white base. These nails look delicate and dreamy — perfect with cozy cream sweaters and gold jewelry. They are also one of the easiest bow designs to DIY.
How to do it:
- Apply three thin coats of milky white polish for that translucent, your-nails-but-better look.
- Dot nail glue on the center of each nail and place a mini pearl bow charm.
- Hold with tweezers for 10 seconds each.
- Seal around the charm edges with top coat, avoiding the pearls themselves.
Pro tip: Pearl charms look best on longer nail shapes like almond or coffin, where the bow has room to sit without touching the cuticle.
6. Plaid Nails with a Bow Charm
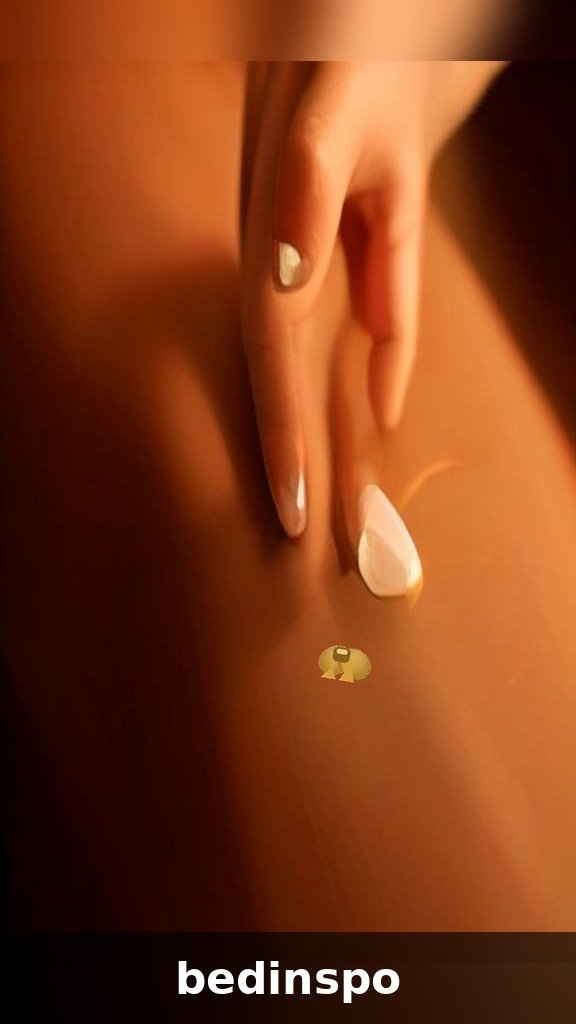
Plaid and bows are a match made in Christmas heaven. A red-and-black buffalo plaid pattern on most nails, with one or two accent nails wearing an actual 3D bow charm, gives you that cozy-cabin-holiday feeling right at your fingertips.
How to do it:
- Paint a red base on all nails.
- Use a striping brush to paint black horizontal and vertical lines, then thinner white lines for the plaid grid.
- On your accent nails, skip the plaid and use a solid red or nude base.
- Glue a 3D red or gold bow charm onto each accent nail and seal the edges.
Pro tip: Keep your plaid lines thin and slightly imperfect — perfect lines look printed, while slightly hand-drawn lines look like real salon art.
7. Black Bow on Nude Almond Nails

Chic, modern, and a little bit edgy. A single black bow painted or applied on a glossy nude almond nail is the Christmas design for anyone who finds red and green a bit much. It pairs with literally everything in your holiday wardrobe.
How to do it:
- Shape nails into a soft almond and apply two coats of nude polish close to your skin tone.
- Paint a black bow near the cuticle using a fine detail brush, or apply a black bow decal.
- Add a tiny gold dot at the bow’s center for a hint of holiday sparkle.
- Seal with glossy top coat.
Pro tip: Black bows show every wobble, so if you are painting freehand, practice the bow shape on paper first. Two triangles, one knot, two tails — master it once and you can do it forever.
8. Satin Ribbon Bows on Blush Pink

This design mimics actual satin gift ribbon wrapped around your nail. A soft blush pink base with deeper pink or red satin-effect ribbon painted vertically and tied into a bow looks incredibly realistic and very pretty in person.
How to do it:
- Apply two coats of blush pink polish.
- With a striping brush, paint a vertical ribbon stripe down the center of each nail in a deeper pink or red.
- At the base of the nail, paint a bow over the ribbon using your detail brush.
- Add white highlight strokes on the ribbon to create the satin sheen, then top coat.
Pro tip: The highlight strokes are what sell the satin effect. Keep them thin, slightly curved, and always on the same side of the ribbon for a consistent light source.
9. Bow and Bell Combo
Why choose between two Christmas icons when you can have both? Tiny gold bells dangling-style charms next to red bows on a creamy nude base make your nails look like they came straight off the Christmas tree.
How to do it:
- Apply two coats of creamy nude polish.
- On each accent nail, glue a red bow charm slightly off-center.
- Glue a mini gold bell charm right next to the bow.
- Seal the charm edges with top coat and let cure fully before doing anything with your hands.
Pro tip: This is a short-wear design — plan it for the week of Christmas, not the whole month. Multiple charms per nail loosen faster than single accents.
10. Minimalist Mini Bows on Bare Nails
Sometimes less is everything. A single tiny bow — painted in red, gold, or black — floating near the cuticle of a clean, barely-there nail is the ultimate minimalist Christmas manicure. It is office-friendly, low-maintenance, and quietly festive.
How to do it:
- Apply a clear strengthening base coat or one sheer nude coat.
- With a detail brush or dotting tool, paint one mini bow near the cuticle of each nail.
- Keep bows tiny — about 2mm wide — for the minimalist effect.
- Seal with a glossy top coat.
Pro tip: Minimalist bows look best on well-groomed natural nails. Push back your cuticles and buff the nail surface first — the simplicity means every detail shows.
11. Oversized Statement Bow on Glitter Accent
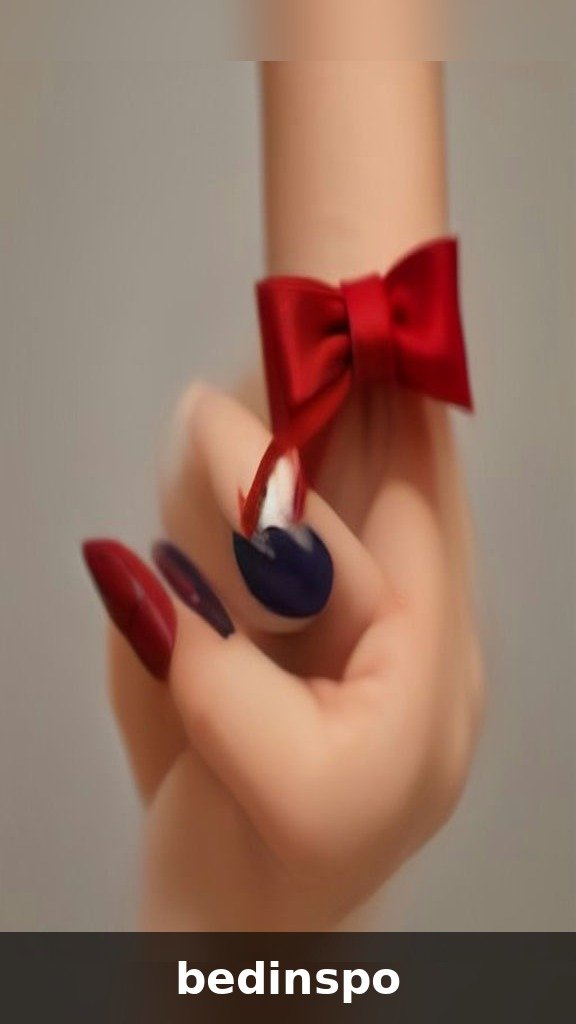
Go big or go home. One nail — usually the ring finger — gets a dramatic oversized 3D bow on top of chunky silver or gold glitter, while the rest of the nails stay simple in a matching solid color. It is a conversation starter, guaranteed.
How to do it:
- Paint nine nails in a solid shade like deep red, black, or navy.
- On the ring finger, apply two coats of chunky glitter polish.
- Glue an oversized 3D bow charm to the glitter nail using nail glue, holding for 15 seconds.
- Apply extra glue around the bow’s edges for hold and skip top coat over the bow itself.
Pro tip: Reinforce big charms with a tiny dot of builder gel under the bow before curing — it creates a rock-solid base that nail glue alone cannot match.
12. Bow Tips on Almond Nails
Instead of bows on the nail bed, this design puts the bow right at the tip — like a gift bow sitting on top of a present. Painted bow tips on almond-shaped nails in red, green, or metallic gold look modern and so cute in photos.
How to do it:
- Apply a nude or sheer base to all nails.
- Using a detail brush, paint a bow shape right at the free edge of each nail, following the almond curve.
- Add a small knot dot in the center of each bow.
- Seal with top coat.
Pro tip: Bow tips work beautifully on almond and stiletto shapes because the tapered tip echoes the bow’s shape. On square nails, keep the bow slightly smaller so it does not overwhelm the tip.
13. Green and Gold Bows for Christmas

Red gets all the attention, but green and gold is the most luxurious Christmas color combo. Emerald green nails with metallic gold bows — painted, decaled, or 3D — look rich, festive, and expensive.
How to do it:
- Paint nails in two coats of emerald or forest green polish.
- Apply gold bow decals or paint gold bows with metallic gold polish and a detail brush.
- Add a tiny gold rhinestone to each bow’s center.
- Seal with two coats of glossy top coat for a jewel-like finish.
Pro tip: Metallic gold polish streaks easily. Load your brush lightly and use short strokes — two thin coats beat one thick coat every time.
14. Bow with Rhinestones
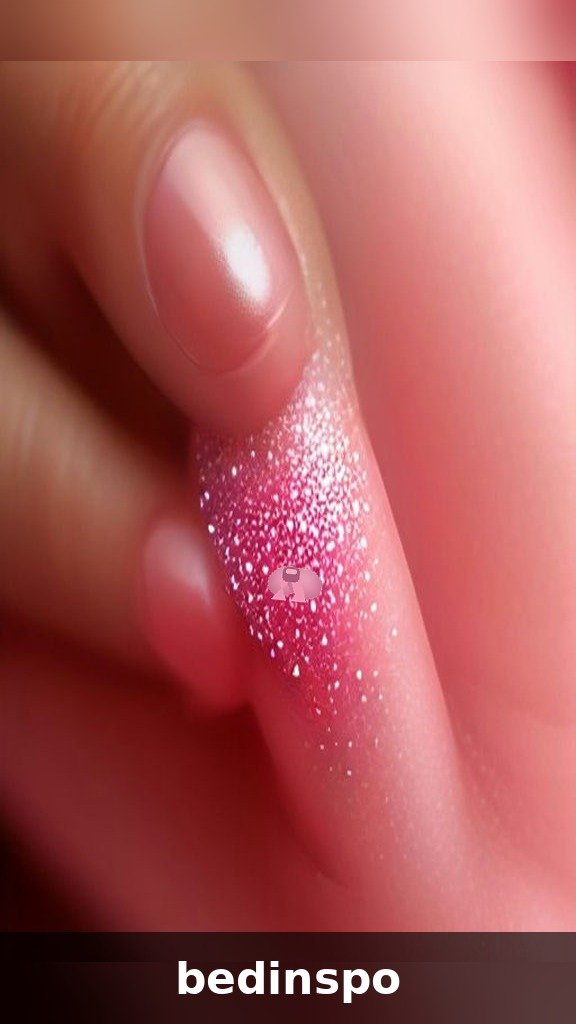
Maximum sparkle for maximum holiday energy. A red or pink bow — painted or 3D — surrounded by or centered with rhinestones on a glittery or solid base nail. These are the nails for New Year’s Eve, Christmas parties, and anywhere with flash photography.
How to do it:
- Create your base: solid color or glitter, two coats.
- Apply or paint the bow on the accent nail.
- Using a wax pencil or damp dotting tool, place rhinestones in a curve above the cuticle or around the bow.
- Press each stone into a dot of nail glue, then seal the whole nail with top coat, capping the stone edges.
Pro tip: Place your largest rhinestone at the bow’s center knot — it draws the eye and makes the whole design look intentionally symmetrical.
15. Hand-Painted Bow Nail Art
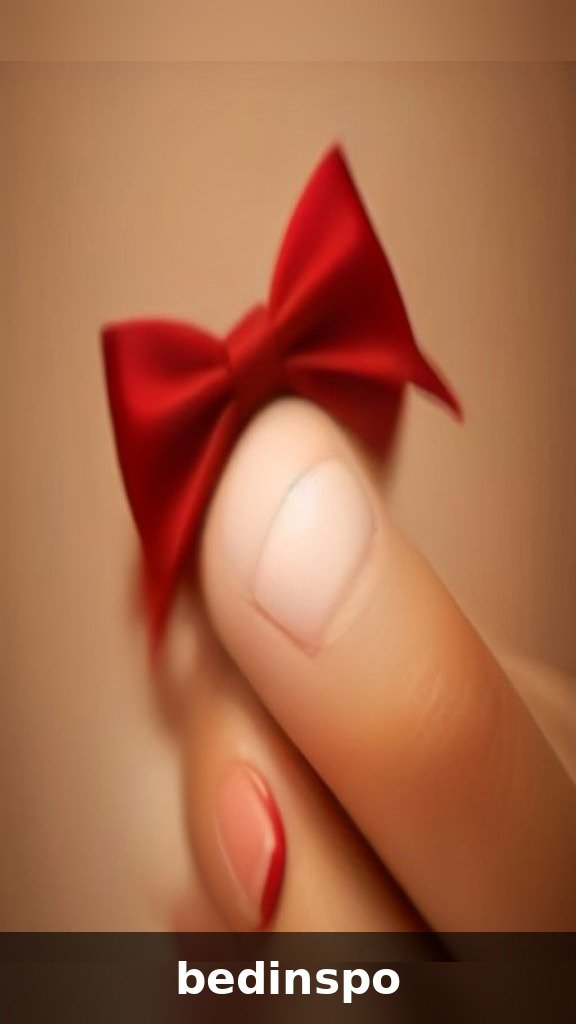
The artisan option. A fully hand-painted bow — with shading, highlights, and ribbon folds — on a cream or soft pink base is the most impressive bow nail design of all. It takes practice, but the result looks like tiny watercolor art on your nails.
How to do it:
- Apply two coats of cream or soft pink polish.
- Paint the bow’s base shape in your chosen color with a detail brush.
- Add shading with a slightly darker tone on the loops’ inner edges, and white highlights on the outer curves.
- Outline the bow thinly in a darker shade for definition, then top coat.
Pro tip: Work one nail at a time and let each layer dry for 60 seconds before adding the next. Layered wet paint muddies the colors — patience is what makes hand-painted bows look professional.
3D Bow Application Guide
Most of the wow-factor designs in this list use 3D bow charms, so here is the no-fail method for applying them at home. The number one reason 3D bows pop off early is rushing the glue step — give it the full holding time and your bows will last a week or more.
What You Need
- 3D bow nail charms in your chosen color and size
- Brush-on nail glue (not super glue — nail glue is flexible)
- Slanted tweezers or a wax-tipped picker
- A silicone cuticle pusher for pressing decals flat
Step-by-Step Charm Application
- Make sure your polish is 100% dry — pressing charms into tacky polish causes dents.
- Brush a small dot of nail glue onto the nail where the bow will sit.
- Pick up the bow with tweezers and place it onto the glue.
- Press and hold firmly for 10–15 seconds. Do not wiggle it.
- Run a thin line of top coat around the charm’s edges (never over the top of textured charms like velvet or pearls).
- Avoid water for at least one hour after application.
Best Products for Bow Nails
You do not need a professional kit to create these bow nail Christmas designs. A handful of affordable basics will cover every look on this list, and most of them cost less than a single salon visit.
- 3D bow charms: Look for variety packs with red, gold, white, and black bows in mixed sizes. Flat-backed charms sit best on the nail.
- Bow nail decals and stickers: Water-slide decals give the flattest, most painted-looking result. Stickers are faster but have slightly visible edges.
- Detail nail art brush: A fine liner brush is essential for painted bows, ribbon stripes, and highlight strokes.
- Brush-on nail glue: The precision tip lets you place tiny dots exactly where the charm sits.
- Milky white and nude polishes: These bases make bows pop and work for half the designs here.
- Rhinestones and pearls: Flat-back nail rhinestones in clear and gold, plus mini pearl halves for the softest looks.
Making Them Last: Bow Nail Aftercare
Beautiful nails are only half the battle — keeping them beautiful through gift wrapping, cooking, and dishwashing is the real challenge. Follow these aftercare rules and your bow nails will still look fresh on New Year’s Day.
- Wear gloves for chores. Hot water and detergents are the fastest way to loosen 3D charms and dull your top coat.
- Re-seal charm edges every 2–3 days. A quick swipe of top coat around each bow keeps the glue protected.
- Avoid using nails as tools. Opening cans, peeling stickers, and scratching labels will pop bows off instantly.
- Keep cuticle oil away from charms. Oil weakens nail glue. Apply oil to cuticles only, steering clear of bow accents.
- Carry emergency glue. A mini tube of nail glue in your bag means a popped bow is a 30-second fix, not a ruined manicure.
Bow Nails FAQ
How long do 3D bow nails last?
With proper application and aftercare, 3D bow charms last 7–10 days. Painted and decal bows last as long as your polish does — typically up to two weeks with a good top coat.
Can I do bow nails on short nails?
Absolutely. Minimalist mini bows, bow decals, and small painted bows all work beautifully on short nails. Just scale the bow down — choose charms no wider than a third of your nail.
Are bow nails comfortable for everyday wear?
Flat decals and painted bows feel like regular polish. 3D charms take a day to get used to but most people forget they are there. If you type all day, keep 3D bows to accent nails only.
What is the easiest bow design for beginners?
The minimalist mini bow on bare nails (design #10) or the gold bow French tips (design #2). Both use decals instead of freehand painting and take under 30 minutes.
Conclusion
From plush red 3D bows to delicate painted ribbons, these 15 bow nail Christmas designs prove that one small detail can transform your whole holiday manicure. The beauty of bow nails is that there is truly a version for everyone — bold or subtle, sparkly or soft, DIY-simple or salon-level art.
Our advice? Start with one of the easy wins — the gold bow French tips or the minimalist mini bows — and work your way up to the hand-painted art once you are feeling confident. Whichever design you choose, do not forget the aftercare tips so your bows survive the whole holiday season. Save this post to your Christmas nails board, share it with your nail-obsessed bestie, and tag us when you try one. Happy holidays, and happy painting! 🎀