Homemade Hot Chocolate Mix Recipe (Rich, Creamy & Ready in Minutes!)
Homemade Hot Chocolate Mix Recipe (Rich, Creamy & Ready in Minutes!)
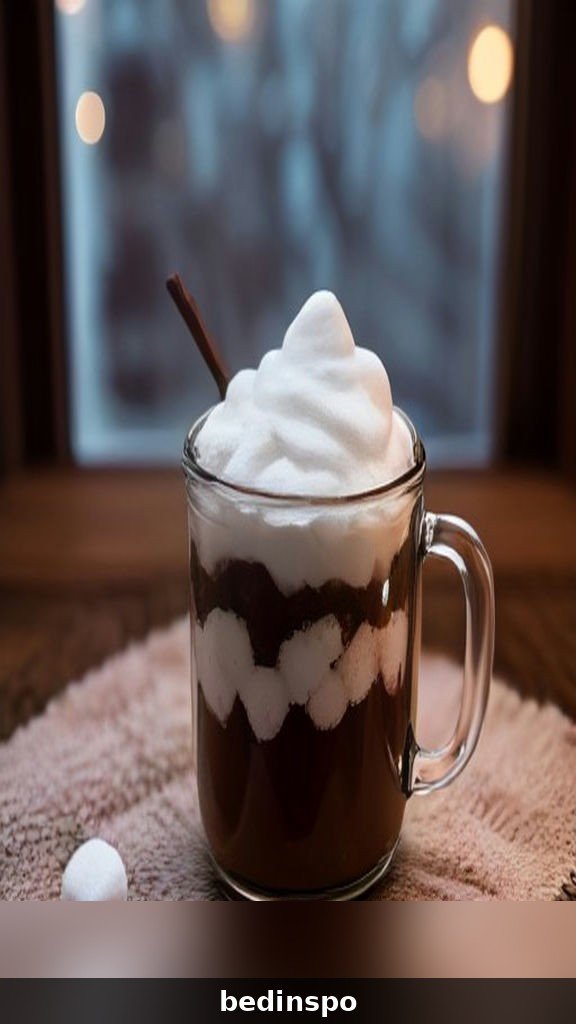
Is there anything cozier than wrapping your hands around a steaming mug of hot chocolate on a frosty evening? The only problem with those little store-bought packets is that they never quite taste like the real thing — a little thin, a little too sweet, and gone in three sips. This homemade hot chocolate mix fixes all of that. One big jar of this rich, deeply chocolatey dry mix lives in your pantry all winter, ready to stir into hot milk whenever the craving (or the snow) hits.
Making your own mix takes about 10 minutes, costs a fraction of the boxed packets, and tastes like the hot chocolate from your favorite little café. You control the sweetness, you control the chocolate, and there are no mystery ingredients you can’t pronounce. Even better? This mix makes the sweetest homemade gift — layered into jars with a pretty tag, it’s the holiday present everyone actually wants to receive.
In this post you’ll find the full homemade hot chocolate mix recipe with step-by-step instructions, exactly how to use the mix for a perfect mug every time, six flavor variations (peppermint and Mexican spiced included!), gift jar packaging ideas, a complete hot chocolate bar guide, storage and shelf life tips, and answers to every question I’ve ever been asked about this mix. Pin it now — winter is coming, and you’re going to want this jar in your pantry!
Why Make Your Own Hot Chocolate Mix?
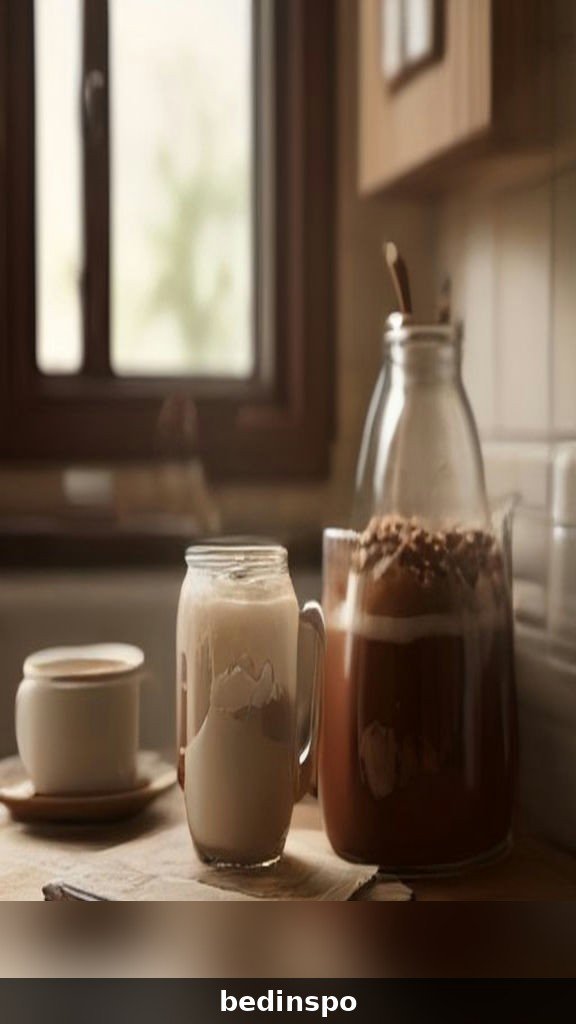
Once you’ve tasted hot chocolate made from a homemade mix, the packets are hard to go back to. Here’s why this jar earns its permanent spot in my pantry:
- Real, deep chocolate flavor. This mix uses a generous amount of cocoa powder plus real chopped chocolate, so every mug tastes rich and fudgy instead of watery.
- You control the sweetness. Like it dark and not-too-sweet? Pull the sugar back. Making it for kids? Keep it classic. The mix is yours to tune.
- It’s pantry-ready anytime. Movie night, snow day, unexpected guests, a rough Tuesday — hot chocolate is always 3 minutes away.
- It saves real money. One batch makes about 15 mugs for less than the cost of a small box of premium packets.
- It doubles as a gift. A jar of this mix with a ribbon and a tag is a thoughtful, budget-friendly homemade gift for teachers, neighbors, coworkers and stocking stuffers.
- No weird ingredients. Just cocoa, sugar, milk powder, salt and real chocolate. That’s it!
Ingredients You’ll Need
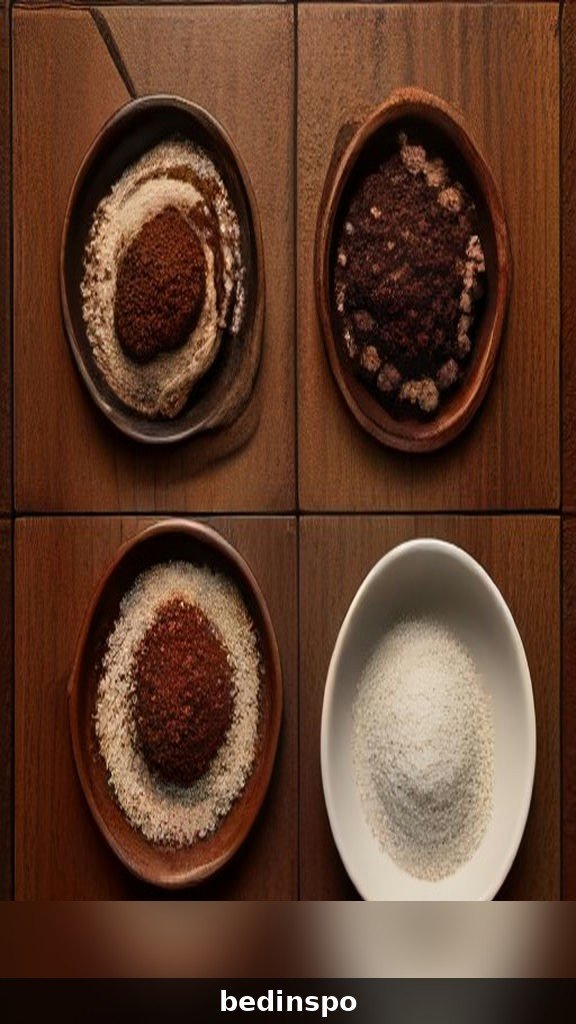
Everything on this list is a simple grocery store staple. Measured once and whisked together, these six ingredients become the coziest jar in your kitchen.
For the Classic Mix
- 2 cups granulated sugar — or powdered (confectioners’) sugar, which dissolves even faster in the cup; see the notes below
- 1 cup unsweetened cocoa powder — Dutch-process for a smooth, dark flavor, or natural cocoa for a brighter, classic taste
- 2 1/2 cups dry milk powder — nonfat dry milk is easiest to find; whole milk powder makes it extra rich and creamy
- 1 teaspoon fine sea salt — don’t skip it! Salt makes chocolate taste more chocolatey and balances the sweetness
- 2 teaspoons cornstarch (optional) — keeps the mix from clumping in the jar and gives the finished mug a slightly silkier body
- 1 cup finely chopped semisweet or dark chocolate (about 4 ounces) — or mini chocolate chips; this is the secret to a truly rich mug
A Note on Cocoa Powder
The cocoa powder does the heavy lifting in this mix, so use one you genuinely like the taste of. Dutch-process cocoa gives a darker color and a smooth, mellow, almost Oreo-like flavor — it’s my favorite for this mix. Natural cocoa (the regular kind in most pantries) is lighter in color with a sharper, more old-fashioned chocolate flavor. Both work beautifully, so use what you have. Just make sure it’s unsweetened — sweetened cocoa drink mixes will throw the whole balance off.
Easy Ingredient Swaps
Sugar options: Swap half the granulated sugar for light brown sugar for a hint of caramel depth, or use powdered sugar for a mix that whiskes into hot milk with zero graininess. Milk powder options: No milk powder? You can leave it out entirely and simply make the mix with hot milk instead of water (see the directions below). Chocolate options: Milk chocolate makes a sweeter, kid-friendly mix; bittersweet (60–70%) makes a darker, grown-up version. A finely grated bar blends in best, but mini chips are the easy shortcut — regular-size chips won’t fully melt in the cup.
How to Make Homemade Hot Chocolate Mix (Step by Step)
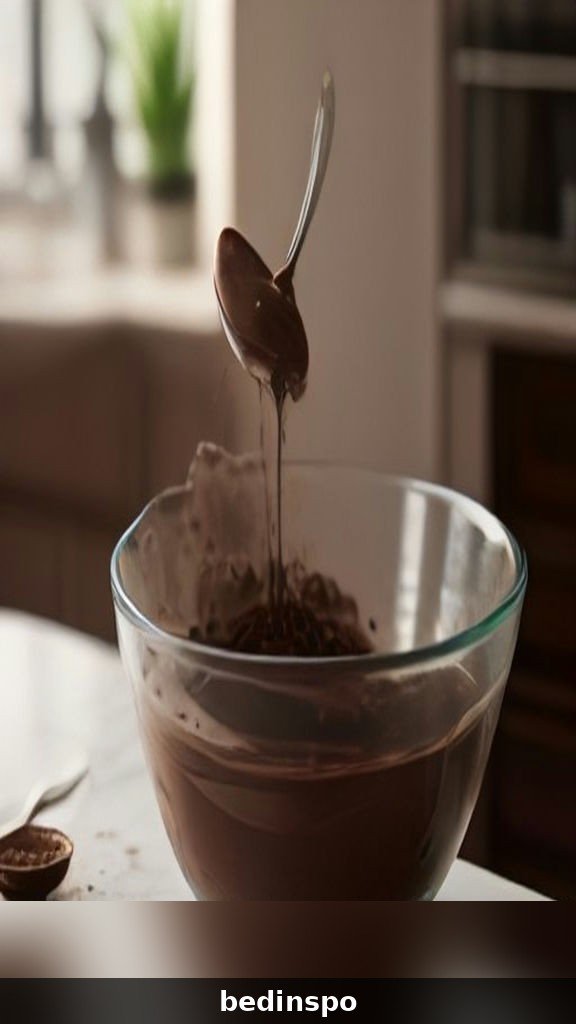
This is a true 10-minute project — no cooking at all. Grab a big bowl and a whisk, and let’s make a jar of winter happiness:
Instructions
- Sift the cocoa. Measure the cocoa powder into a large mixing bowl, pushing it through a fine-mesh sieve with the back of a spoon. Cocoa loves to clump, and sifting now means a silky mix with no bitter little pockets later.
- Add the dry ingredients. To the same bowl, add the sugar, milk powder, salt and cornstarch (if using).
- Whisk it well. Whisk the dry ingredients together for a good 30–60 seconds, until the color is completely even and no streaks of white or dark brown remain. Even color means even flavor in every mug.
- Prep the chocolate. If you’re using a chocolate bar, chop it very finely or grate it on a box grater — you want tiny pieces that will melt instantly in hot milk. (A food processor works too: pulse the chocolate with a spoonful of the dry mix so it doesn’t melt from the friction.) Mini chips can go in as they are.
- Fold in the chocolate. Stir the chopped chocolate or mini chips through the mix until evenly distributed.
- Jar it up. Spoon or funnel the mix into a clean, completely dry airtight jar or container. A wide-mouth mason jar (or two) is perfect. Press the mix down gently as you fill.
- Label with directions. Add a tag or label that says: “Add 1/3 cup mix to 1 cup hot milk (or water). Stir well and enjoy!” — future you, and anyone you gift it to, will thank you.
- Store. Seal the jar and keep it in a cool, dry pantry. Full storage details are below — the short version is that it keeps beautifully for months.
Prep time: 10 minutes · Cook time: 0 minutes · Total time: 10 minutes · Yield: about 5 1/2 cups of mix — roughly 15 generous mugs.
The Recipe at a Glance
For quick reference (and for writing on your gift tags), here’s the whole recipe in one place:
- Mix ratio: 2 cups sugar + 1 cup cocoa + 2 1/2 cups milk powder + 1 tsp salt + 2 tsp cornstarch + 1 cup finely chopped chocolate
- Per mug: 1/3 cup mix + 1 cup hot milk (or hot water)
- For a richer mug: use 1/2 cup mix, or finish with a splash of cream
- For kids: 1/4 cup mix is a perfect smaller serving
- Double batch: this recipe doubles (or halves) perfectly — great for gift-jar assembly lines!
How to Use Your Mix: The Perfect Cup of Hot Chocolate

A jar of mix is only as good as the mug it makes, so here’s exactly how to turn it into café-worthy hot chocolate every single time.
Stovetop Method (Best Flavor)
Pour 1 cup of milk (whole milk is creamiest) into a small saucepan and heat over medium heat until steaming with little bubbles around the edge — don’t let it boil. Whisk in 1/3 cup of the mix and keep whisking for about 30 seconds, until the chopped chocolate melts completely and the cocoa is smooth and glossy. Pour into a mug, add your toppings, and sip away.
Microwave Method (Fastest)
Heat 1 cup of milk in a microwave-safe mug for 1 1/2–2 minutes, until hot but not boiling. Add 1/3 cup mix and stir vigorously for 20–30 seconds — really stir, getting into the corners of the mug — until everything melts and blends. Let it sit for 30 seconds (it thickens slightly and the last bits of chocolate melt), stir once more, and enjoy.
Using Water Instead of Milk
Because this mix contains milk powder, you can make it with hot water — which is exactly how it works as a gift, a camping treat, or an office-drawer stash. The mug will be a little less creamy than the milk version but still rich and satisfying. My favorite compromise: hot water plus a splash of cream or half-and-half at the end.
Slow Cooker Batch for a Crowd
Hosting a party or a tree-trimming night? Whisk 2 cups of mix into 8 cups of milk in a slow cooker, cover, and heat on LOW for 1 1/2–2 hours, whisking once or twice, until hot and silky. Turn it to WARM for serving and set out toppings — this is the heart of the hot chocolate bar below, and it keeps a crowd very, very happy.
Tips for the Silkiest, Lump-Free Mix
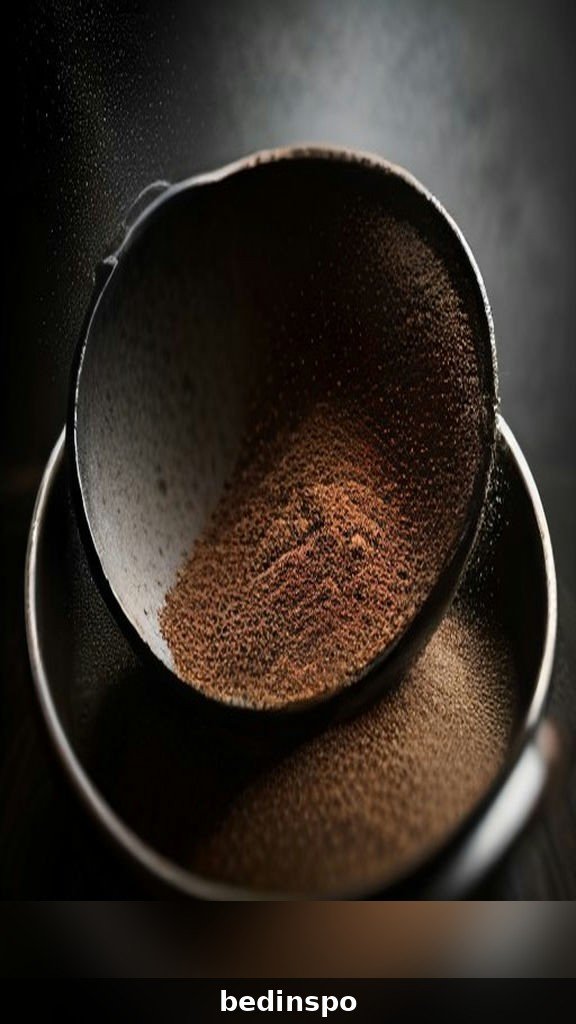
- Sift the cocoa, always. Thirty seconds with a sieve is the difference between a smooth mix and a lumpy one. Don’t skip it.
- Chop the chocolate fine. Big chunks sink to the bottom of the jar and refuse to melt in the mug. Fine pieces (or mini chips) disappear into the hot milk like magic.
- Whisk longer than you think. The mix should be one uniform color — that’s how you know every scoop has the right balance of cocoa, sugar and milk powder.
- Start with a dry jar. Any moisture in the container will turn your mix into a solid brick. Make sure jars and utensils are bone dry.
- Stir the finished cup twice. Stir, rest 30 seconds, stir again. The little rest lets the chocolate finish melting and the cornstarch do its silky work.
- Heat, don’t boil, the milk. Boiled milk can taste scorched and can make cocoa grainy. Steaming-hot is the sweet spot.
Flavor Variations to Try
The classic mix is a perfect base for playing. Make a full batch in a new flavor, or divide one batch into small jars and stir the extras into each — instant variety pack! Here are the six variations my family rotates all winter:
Peppermint Hot Chocolate Mix
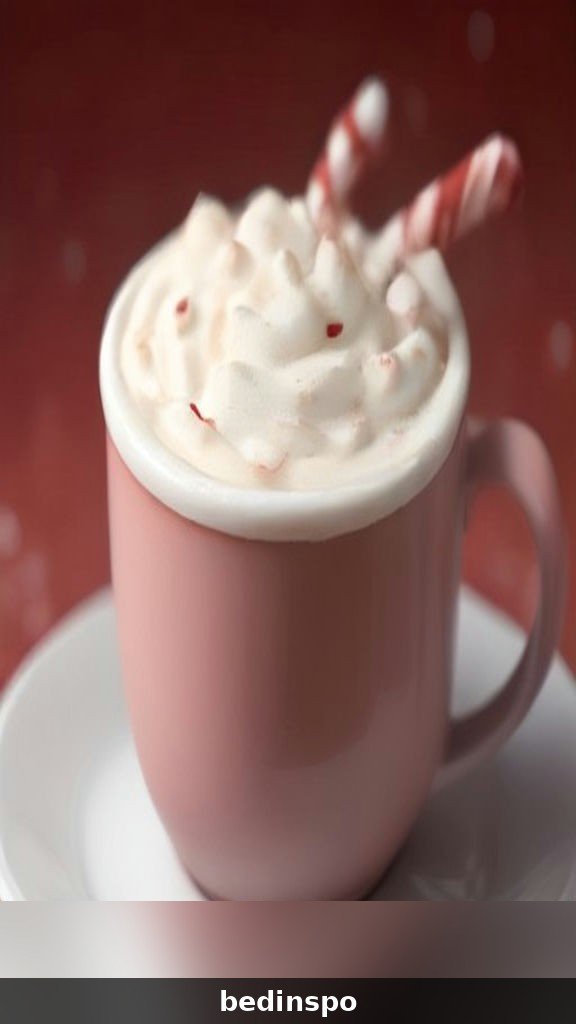
Add 1/2 cup finely crushed candy canes or peppermint candies to the classic mix (pulse them in a food processor or crush in a zip-top bag with a rolling pin — you want fine bits, not dust). The peppermint melts right into the mug for that classic holiday flavor. Serve with a whole candy cane as a stirrer and a swirl of whipped cream.
Mexican Spiced Hot Chocolate Mix
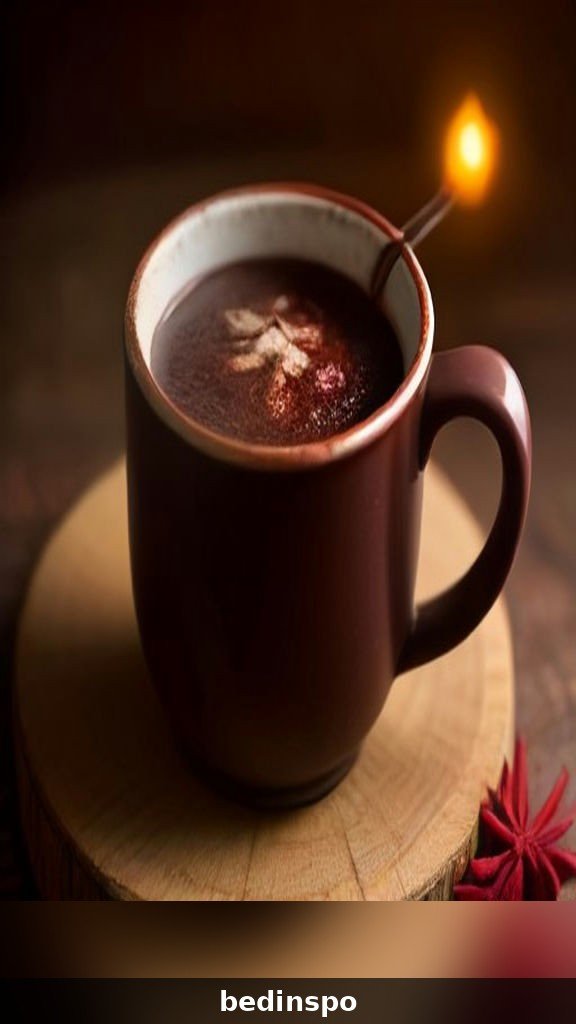
Warm, fragrant and just a little bit fiery. Whisk 2 teaspoons ground cinnamon, 1/2 teaspoon ground nutmeg and 1/4 teaspoon cayenne pepper (or ancho chili powder for a smokier heat) into the classic mix. Start with a pinch of cayenne if you’re spice-shy — you can always add more. This one is incredible with a cinnamon stick for stirring.
Salted Caramel Hot Chocolate Mix
Swap the granulated sugar for light brown sugar and add 1/2 cup finely crushed soft caramel candies (or caramel bits) to the mix. Finish each mug with a drizzle of caramel sauce and the tiniest pinch of flaky sea salt on top of the whipped cream. Dessert-level decadent.
White Chocolate Hot Chocolate Mix
Replace the chopped semisweet chocolate with 1 cup finely chopped white chocolate and reduce the sugar to 1 1/2 cups (white chocolate is sweet!). The cocoa stays the same, giving you a creamy, mellow mug that kids adore — and it’s gorgeous topped with pink or pastel marshmallows for baby showers and Valentine’s Day.
Mocha Hot Chocolate Mix
For the coffee lovers: whisk 2 tablespoons of instant espresso powder into the classic mix. The coffee deepens the chocolate flavor and adds a gentle grown-up buzz. Serve in your favorite mug with a dusting of cocoa on top, and watch it disappear at brunch.
Dairy-Free & Vegan Hot Chocolate Mix
Swap the milk powder for an equal amount of coconut milk powder (look for it in the baking or international aisle), and make sure your chopped chocolate is dairy-free. Make each mug with hot oat milk or water. Rich, creamy and completely dairy-free — nobody will ever guess.
Gift Jars: Packaging Ideas That Look Store-Bought
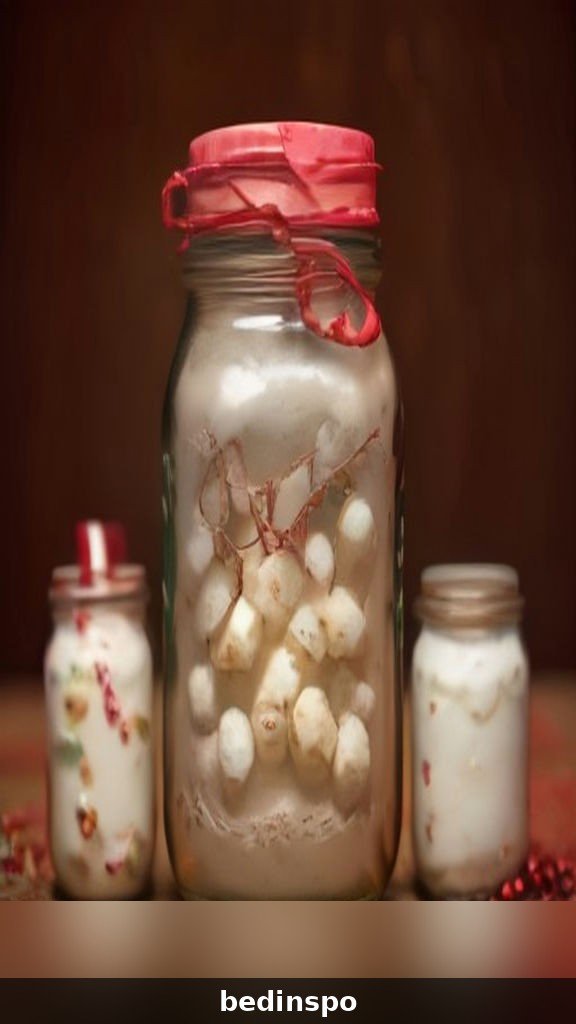
This mix was born to be gifted. A single batch fills about four pint-size jars (roughly 2 cups each — about 6 mugs per jar), and with five minutes of dressing up, they look like they came from a fancy food shop:
- The classic jar: Fill a pint mason jar with mix, top with a small handful of mini marshmallows or mini chocolate chips, and screw on the lid. Tie twine or ribbon around the neck.
- The layered look: For a peppermint version, layer the mix and crushed candy cane in stripes, finishing with marshmallows. Beautiful through the glass!
- Add a tag: Every jar needs a tag with the directions: “Stir 1/3 cup mix into 1 cup hot milk. Top with marshmallows & enjoy!” Add the flavor name and a “made with love on ___” date line.
- Tie on a treat: Attach a candy cane, a cinnamon stick bundle, or a tiny whisk to the ribbon for instant charm.
- Basket it up: Pair a jar with two cute mugs, a bag of marshmallows and a few candy canes in a small basket or gift bag — a complete cozy-night-in gift for under $15.
- Single-serve gifts: Spoon 1/3 cup mix into small cellophane bags or mini jars, tie with ribbon — perfect stocking stuffers, classroom gifts and party favors.
Gift jars keep just as long as your pantry jar (see storage below), so you can assemble them weeks before the holidays and check “homemade gifts” off your list early.
Build a Hot Chocolate Bar (Toppings Ideas)
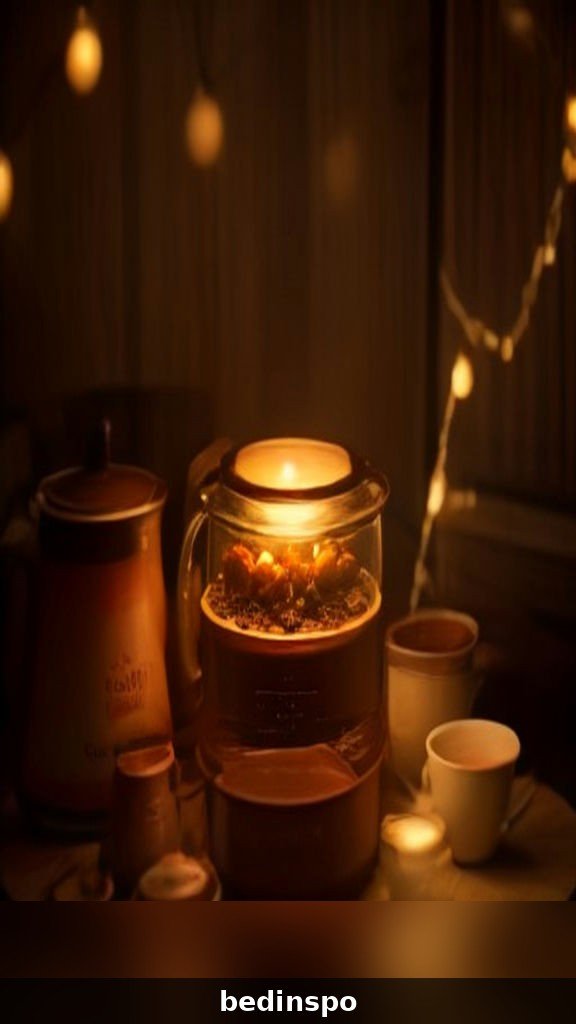
Want to turn an ordinary winter evening into an event? Set out a big batch of hot chocolate (the slow cooker method above is perfect) and surround it with little bowls of toppings. Guests build their own dream mug, and you get to relax because the whole thing is self-serve.
The Toppings Lineup
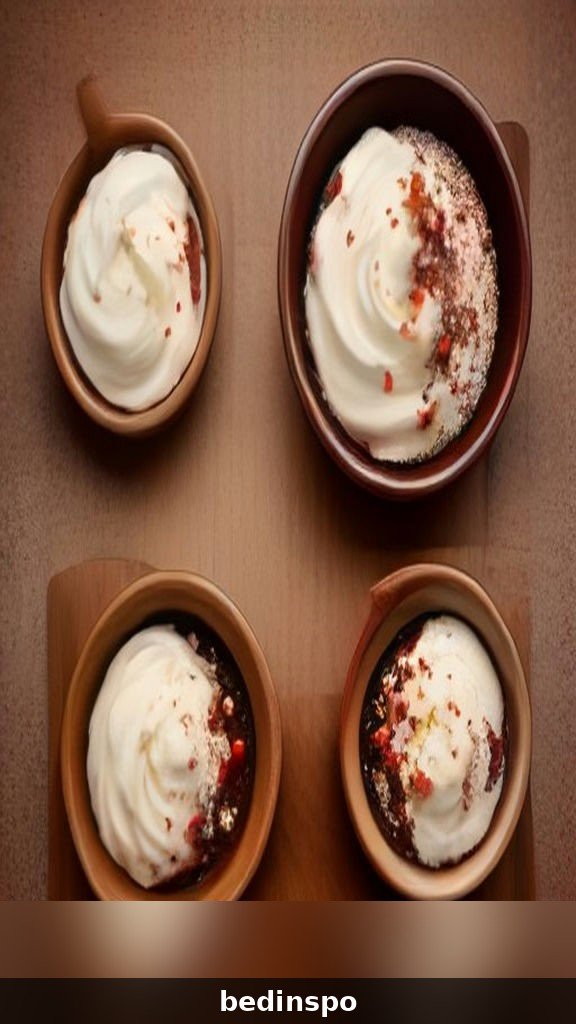
- Mini marshmallows and jumbo marshmallows
- Fresh whipped cream (a big bowl with a spoon, or cans for easy squirting)
- Chocolate shavings, mini chocolate chips and cocoa powder for dusting
- Crushed candy canes and peppermint sticks
- Caramel sauce and chocolate sauce for drizzling
- Cinnamon sticks, ground cinnamon and a pinch of cayenne for the brave
- Crushed cookies, graham cracker crumbs and sprinkles for the kids
- Flaky sea salt — one tiny pinch on top is a game-changer
Setting It Up
Keep the hot chocolate warm in the slow cooker with a ladle beside it, line the mugs up in a row, and arrange toppings in small bowls or mason jars with little labels. Add a stack of napkins, some stir sticks, and a strand of fairy lights or a few candles, and your kitchen counter becomes the coziest corner of the house. This setup is a hit for Christmas parties, movie nights, sledding-day warm-ups and winter birthdays alike — and it works just as well with the classic mix as with two or three flavored jars to sample.
How to Store the Mix & Shelf Life
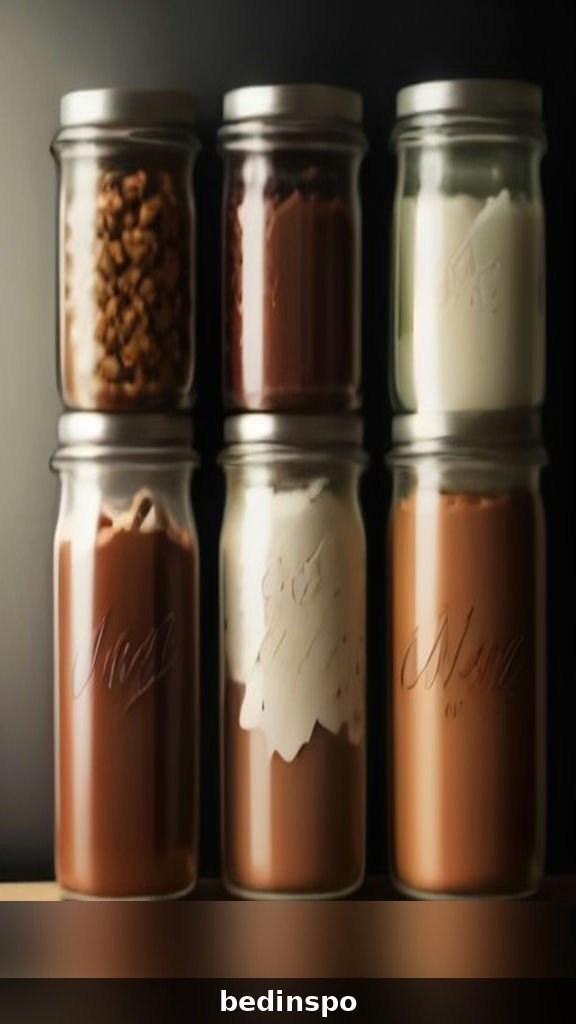
Storage: Keep your homemade hot chocolate mix in an airtight jar or container in a cool, dry, dark place — a pantry shelf is perfect. Keep it away from the stove’s steam and heat, and always scoop with a dry spoon.
Shelf life: The mix keeps well for up to 6 months at its best (it’s safe beyond that, but the milk powder and chocolate slowly lose their fresh flavor). If you skipped the chopped chocolate and used only cocoa, it can stretch closer to a year. For gift jars, I like to write a “best by” date 6 months out on the tag.
Freezing: You can freeze the dry mix in a freezer bag with the air pressed out for up to a year. Let it come to room temperature before opening the bag so condensation doesn’t dampen the mix.
If it clumps: A few soft clumps are normal, especially in humid kitchens — just break them up with a fork or give the jar a good shake. Hard clumping means moisture got in; the mix is still usable if it smells fine, but stir those mugs extra well.
Homemade Hot Chocolate Mix FAQs
Can I make this mix without milk powder?
Yes! Leave the milk powder out and simply prepare each mug with hot milk instead of water. The mix itself (cocoa, sugar, salt, chocolate) keeps exactly the same way. This is a great option if you always have milk in the fridge anyway.
Why is there chocolate in the mix AND cocoa powder?
Cocoa powder provides the deep, classic chocolate flavor, while the real chopped chocolate melts into the mug and adds richness, body and that fudgy café-style finish. It’s the combination that makes this mix taste homemade in the best way — but if you only have cocoa, the mix still works; just add an extra 2 tablespoons of sugar.
My hot chocolate came out lumpy. What happened?
Usually one of three things: the cocoa wasn’t sifted, the chocolate pieces were too big to melt, or the liquid was added all at once without enough stirring. Next time, sift, chop fine, and whisk the mix into the hot milk gradually. A quick fix for a lumpy mug: whisk it hard for 30 seconds, or give it a 5-second blitz with a milk frother.
Can I make this mix sugar-free or lower sugar?
You can reduce the sugar to 1 1/2 cups for a darker, less sweet mix — many adults prefer it this way. For a sugar-free version, swap the granulated sugar for an equal amount of a granulated sweetener that measures 1:1 (like monk fruit or erythritol blends) and use sugar-free chocolate. The texture stays the same.
How much mix do I need per person for a party?
Plan on 1/3 cup of mix per mug, and about 1 1/2 mugs per guest — so roughly 1/2 cup of mix per person. One full batch (about 5 1/2 cups) happily covers 10–12 guests at a hot chocolate bar, especially with all those toppings filling the mugs.
Is hot chocolate mix the same as hot cocoa mix?
Technically, “hot cocoa” is made with cocoa powder and “hot chocolate” with melted chocolate — and the names are used interchangeably on store shelves. This mix gives you both in one jar: cocoa powder and real chocolate, which is why it tastes richer than either one alone.
Conclusion

There you have it — a big, beautiful jar of homemade hot chocolate mix that turns any cold day into a cozy one. Ten minutes of whisking now means weeks of rich, creamy mugs ahead: for snow days, movie nights, hot chocolate bars and the sweetest little homemade gifts on your list.
Make the classic batch first, then have fun with the peppermint and Mexican spiced versions, and don’t be surprised when friends start asking for “that hot chocolate jar” every single year. Save this recipe to your winter board so it’s ready the moment the first cold snap hits — and if you make a batch, I’d love to hear which variation your family claimed as their favorite. Happy sipping, friends! ☕🍫