25 Peppermint Pig Cookies
25 Peppermint Pig Cookies
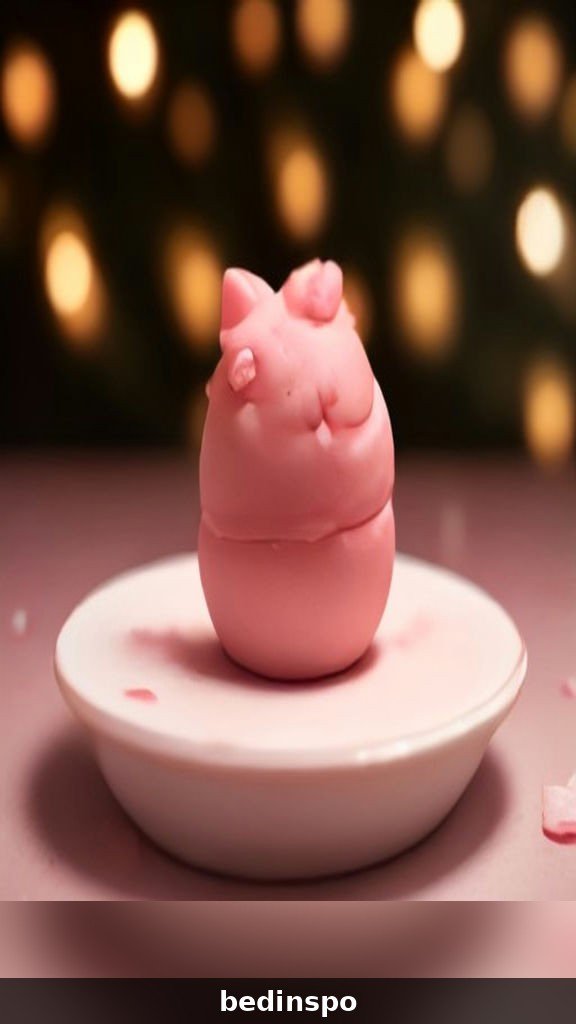
There is a Christmas tradition in Saratoga Springs, New York, that involves a little pink pig made of peppermint candy. On Christmas morning, the peppermint pig is placed in a velvet pouch, passed around the table, and smashed with a small hammer so everyone can share a piece — and sharing it is said to bring good luck for the whole year. These peppermint pig cookies take that same sweet tradition and turn it into a cookie you can bake, decorate, and share with everyone you love.
Before we start, one important note: these are peppermint pig cookies, a completely different cookie from the chocolate peppermint snowball cookies you may have seen elsewhere. Those are dark chocolate cookies rolled in powdered sugar with crushed candy cane inside. This recipe is a soft, buttery pink cookie flavored with pure peppermint extract, tinted a pretty pastel pink, and topped with glossy pink icing and crushed candy cane. Both are wonderful holiday cookies, but they look and taste nothing alike, and this guide is all about the pink peppermint pig version.
This guide gives you twenty-five ways to make, bake, decorate, store, gift, and enjoy peppermint pig cookies — from the peppermint pig tradition and the perfect pink color to the glossy icing, the candy cane crunch, gluten-free swaps, cookie exchange tips, and gift packaging ideas. Whether you are baking for your family, a holiday party, or a cookie exchange, these cookies are festive, fun, and unforgettable.
1. What Are Peppermint Pig Cookies?

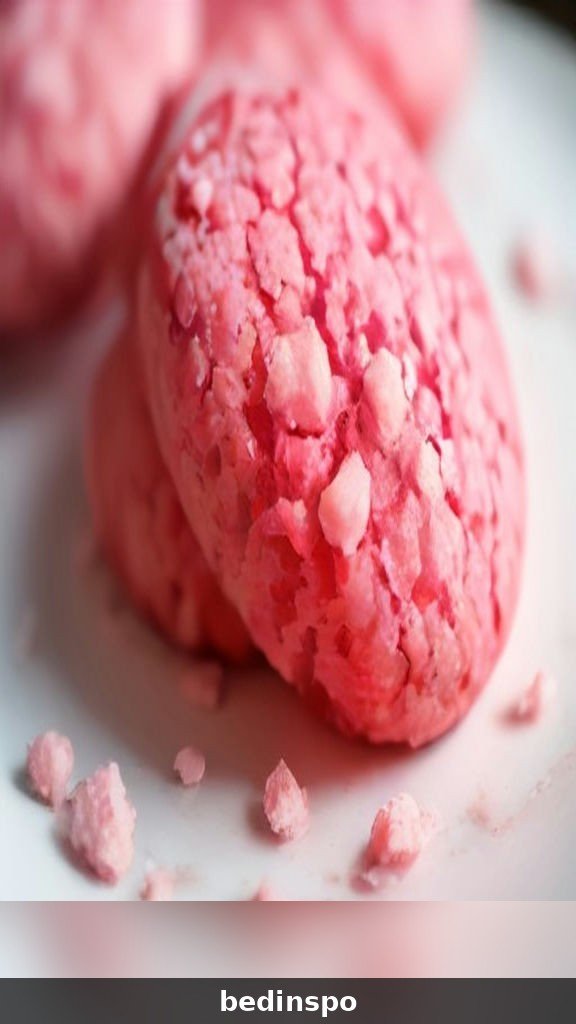
Peppermint pig cookies are soft, buttery sugar cookies flavored with peppermint extract, tinted pink, and cut into little pig shapes — or simply made round and decorated in pink. They are inspired by the peppermint pig candy, a hard pink peppermint pig that has been a Christmas tradition in upstate New York for more than a hundred years. The cookie version keeps the pink color and the peppermint flavor, but adds the soft, chewy texture of a homemade sugar cookie.
The cookies are flavored with pure peppermint extract, not mint extract, which gives them a cool, sweet, candy-cane flavor rather than a herbal mint taste. The pink color comes from a few drops of pink gel food coloring, and the crushed candy cane on top adds crunch and sparkle. They are one of the easiest holiday cookies to make, because there is no rolling out dough into complicated shapes unless you want to — round cookies with pink icing taste exactly the same as pig-shaped ones.
2. The Peppermint Pig Tradition
The peppermint pig tradition began in the late 1800s in Saratoga Springs, where a local candy maker started selling pink peppermint pigs at Christmas. The pig was placed in a velvet pouch with a small hammer, and on Christmas morning the youngest person at the table would smash the pig so everyone could share a piece. The tradition says that sharing the pig brings good luck, prosperity, and happiness for the coming year.
Today, peppermint pigs are still sold in Saratoga Springs every Christmas, and families all over the country have adopted the tradition. These cookies are a softer, bakeable version of the same idea — you can smash a few of them for fun if you like, but most people prefer to eat them whole. Making a batch of peppermint pig cookies is a lovely way to start your own family tradition, and the story behind them makes them a wonderful conversation starter at any holiday gathering.
3. Why Pink? The Peppermint Pig Look

The pink color is what makes a peppermint pig a peppermint pig. The original candy pigs are a bright, cheerful pink, and the cookies should be too. Use pink gel food coloring rather than liquid food coloring, because the gel gives a much more vivid color with just a few drops, and it will not thin out the dough. Add the coloring a drop at a time until you reach a soft pastel pink or a bold bubblegum pink — whichever you like best.
If you want a deeper pink, add one extra drop and mix well before adding more, because the color darkens slightly as the cookies bake. You can also leave half the dough uncolored and marble the pink and white doughs together for a swirled look. For a truly festive cookie, dust the finished cookies with a little pink sanding sugar, which catches the light and makes them sparkle on the cookie tray.
4. Peppermint Flavor: Getting It Right
Peppermint extract is strong, so a little goes a long way. Use one teaspoon of pure peppermint extract for a standard batch of dough, and taste the raw dough — it should taste cool and minty, but not so strong that it overwhelms the butter and sugar. If you want a stronger peppermint flavor, add the extract a quarter teaspoon at a time, because once the flavor is too strong there is no way to take it back.
Always use peppermint extract, not mint extract or spearmint extract, because those have a completely different flavor. Peppermint extract tastes like candy canes; mint extract tastes like toothpaste, and spearmint tastes like chewing gum. If you are baking for children, the peppermint flavor is a big hit, because it tastes exactly like the candy canes they love. For an extra peppermint punch, add a quarter teaspoon of peppermint extract to the icing as well.
5. The Cookie Base
The cookie base is a classic soft sugar cookie dough: butter, sugar, eggs, vanilla, flour, baking powder, and a pinch of salt. The butter should be softened to room temperature, not melted, because melted butter makes the cookies spread too much and lose their shape. Beat the butter and sugar together until the mixture is light and fluffy, which takes about three minutes with an electric mixer.
Use a mix of granulated sugar and a little powdered sugar in the dough for the softest texture. The powdered sugar dissolves completely and keeps the cookies tender, while the granulated sugar gives them a slight crispness at the edges. Do not overmix the dough after the flour goes in, or the cookies will be tough instead of tender. Stop as soon as you cannot see any more dry flour, and the cookies will be soft and chewy every time.
6. Pink Food Coloring Tips

Gel food coloring is the best choice for these cookies, because it gives a vivid pink without adding extra liquid to the dough. Add the gel to the butter and sugar mixture before the flour goes in, so the color is evenly distributed through the whole batch. A toothpick dipped in the gel is the easiest way to add a tiny amount at a time.
If you only have liquid food coloring, use it sparingly — a few drops will give a pale pink, which is pretty in its own right. Avoid using too much liquid coloring, because it can make the dough sticky and the cookies may spread more in the oven. For the prettiest pink, bake a test cookie first and check the color after baking, because the pink always deepens slightly in the oven.
7. Crushed Candy Cane Topping
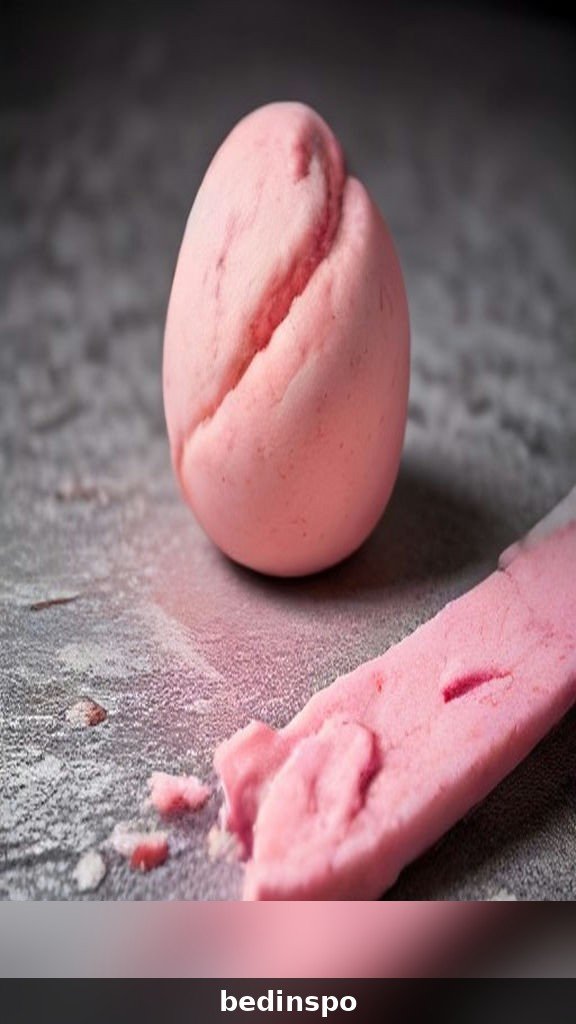
Crushed candy cane is the finishing touch that makes these cookies taste like Christmas. Buy candy canes and crush them in a zip-top bag with a rolling pin, or pulse them briefly in a food processor. You want a mix of fine powder and small crunchy pieces — the powder melts slightly into the icing, and the pieces give a satisfying crunch.
Sprinkle the crushed candy cane over the icing while it is still wet, so the pieces stick. If you wait until the icing has set, the candy will bounce right off. Use about a quarter cup of crushed candy cane for a full batch, and save the finest powder for dusting the finished cookies. The candy cane adds a cool peppermint crunch that pairs perfectly with the soft, buttery cookie underneath.
8. Rolling and Cutting Pig Shapes
If you have a pig-shaped cookie cutter, this is the time to use it. Roll the chilled dough out on a floured surface to about a quarter inch thick, and cut the pig shapes close together so you waste as little dough as possible. Dip the cutter in flour between cuts so the dough releases cleanly, and transfer the shapes to a parchment-lined baking sheet with a thin spatula.
Chill the cut shapes on the baking sheet for ten minutes before they go in the oven, because cold dough holds its shape much better. The ears and snout are the first parts to overbake, so watch the cookies closely in the last two minutes. If the dough gets too soft while you are cutting, pop it back in the fridge for ten minutes and continue when it is firm again.
9. No Pig Cutter? Easy Alternatives
If you do not own a pig-shaped cookie cutter, do not worry — round cookies taste exactly the same, and they are much easier to make. Use a round biscuit cutter or the rim of a drinking glass to cut simple circles, then decorate them with pink icing, a snout made from a pink candy, and two tiny chocolate chip eyes. They will still read as little pigs, and children love helping with the decorating.
You can also roll the dough into balls and flatten them slightly with the bottom of a glass for a simple round cookie, or use a heart-shaped cutter and turn the heart upside down for a rough pig face. Another easy option is to bake the dough as a slice-and-bake log: roll the dough into a log, chill it, slice it into rounds, and bake. The flavor is identical, and the cookies are just as pretty once they are iced and sprinkled.
10. Baking Time and Temperature
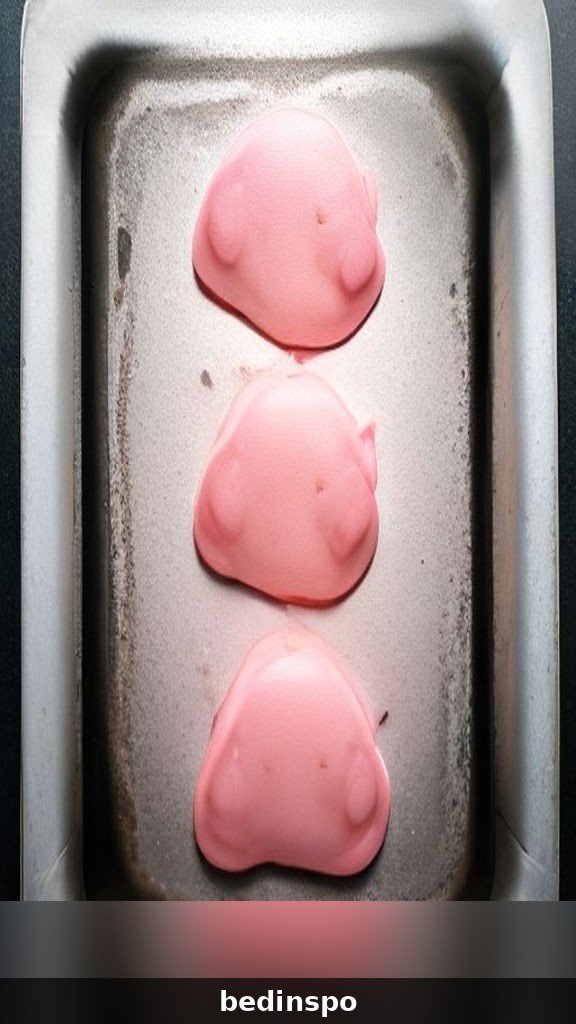
Bake these cookies at 350 degrees Fahrenheit for nine to eleven minutes, until the edges are set and just barely golden but the centers still look soft and pale pink. The cookies will look underdone in the middle when you take them out, and that is exactly right — they finish baking on the hot pan as they cool, and the centers set into a soft, chewy texture.
Do not wait until the centers look firm, or your cookies will be dry and hard by the time they cool. The pink color fades slightly if the cookies overbake, so pulling them out early keeps the color bright and pretty. Let them sit on the baking sheet for five minutes, then move them to a wire rack to cool completely before icing.
11. The Glossy Pink Icing
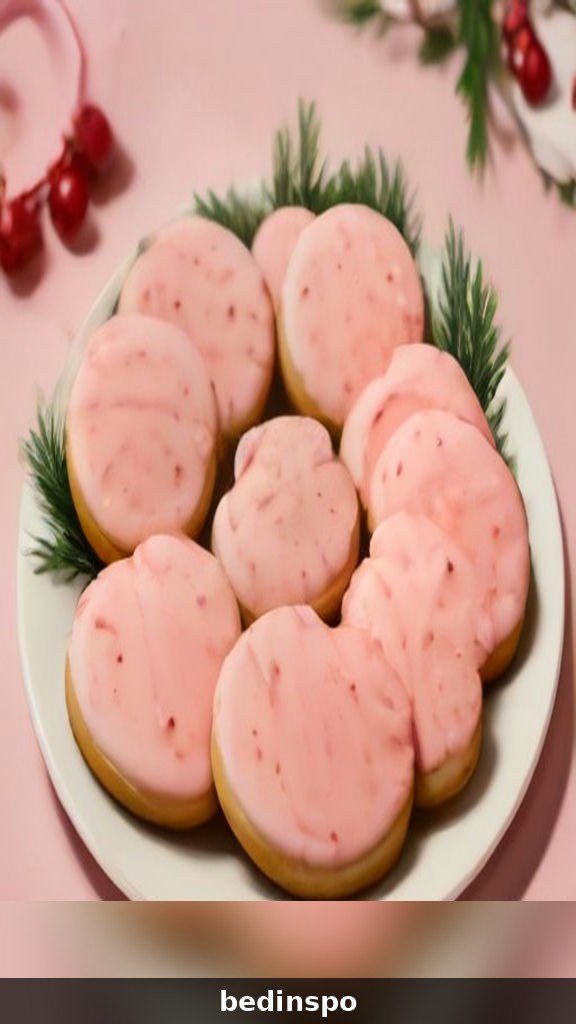
The glossy pink icing is what makes these cookies look like a bakery treat. Mix powdered sugar with a little milk, a drop of pink gel food coloring, and a quarter teaspoon of peppermint extract until the icing is smooth and flows slowly off a spoon. It should be thick enough to coat the cookie without running off the edges, but thin enough to spread smoothly.
Dip the top of each cooled cookie into the icing, or spread it on with the back of a spoon, then let the excess drip off. Work quickly, because the icing starts to set in about five minutes. If the icing gets too thick while you work, stir in a teaspoon of milk at a time until it flows again. Let the iced cookies sit undisturbed for at least an hour so the icing sets to a soft, glossy finish.
12. Decorating the Faces
Decorating the pig faces is the most fun part of this recipe, and children love to help. Use a small round pink candy or a dot of darker pink icing for the snout, and two tiny chocolate chips or black sprinkles for the eyes. Two small triangles of pink icing on top make the ears, and a few dots of white icing can be the teeth if you want to get fancy.
Keep the faces simple — a snout and two eyes are all you need for a cookie that looks like a little pig. If you are making round cookies, draw the face in the center and let the pink icing do the rest. For a fancier look, outline the cookie with white icing first, then fill in the center with pink. The decorating does not have to be perfect; the charm of these cookies is in their homemade, slightly wobbly faces.
13. Making Them Ahead
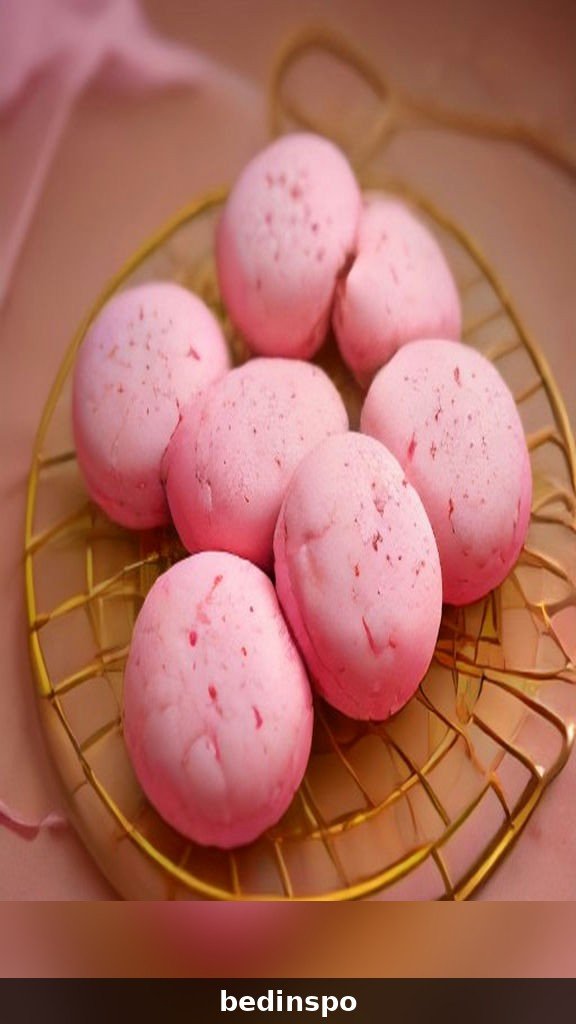
These cookies are perfect for making ahead, because the dough can be made up to three days in advance and kept in the fridge. Wrap the dough tightly in plastic wrap, and let it sit on the counter for fifteen minutes before rolling so it is soft enough to handle. The flavor actually improves with a long chill, because the peppermint and butter deepen as the dough rests.
You can also bake the cookies a day or two before you need them and ice them the morning of the party. Store the un-iced cookies in an airtight container, and ice them the day you serve them so the icing stays glossy and the candy cane stays crunchy. If you are making a big batch for a cookie exchange, bake the cookies over two days and ice them all at once in one big decorating session.
14. Gluten-Free Swaps
These cookies adapt well to a gluten-free diet with a one-to-one gluten-free flour blend. Use a blend that already contains xanthan gum, and measure it by weight for the most accurate result. The cookies will be slightly more delicate than the wheat version, so let them cool completely on the baking sheet before moving them to a wire rack.
Chilling the dough is even more important for gluten-free cookies, because the flour needs time to absorb the moisture. Chill for at least an hour, and handle the dough gently when rolling and cutting. The flavor is exactly the same — cool peppermint, sweet pink icing, and crunchy candy cane — and nobody at the cookie exchange will guess they are gluten-free.
15. Dairy-Free Swaps
To make these cookies dairy-free, swap the butter for a good plant-based butter that comes in stick form, and use oat milk or almond milk in the icing instead of dairy milk. The texture will be very close to the original, though the cookies may spread a little more, so chill the dough for a full hour and bake them on a cool baking sheet.
Coconut oil also works in place of butter, but it makes the cookies slightly crispier and adds a faint coconut flavor that actually pairs nicely with the peppermint. Use refined coconut oil if you do not want the coconut taste, and unrefined if you do. Either way, the cookies will still be soft, pink, and completely delicious.
16. Storing Your Peppermint Pig Cookies
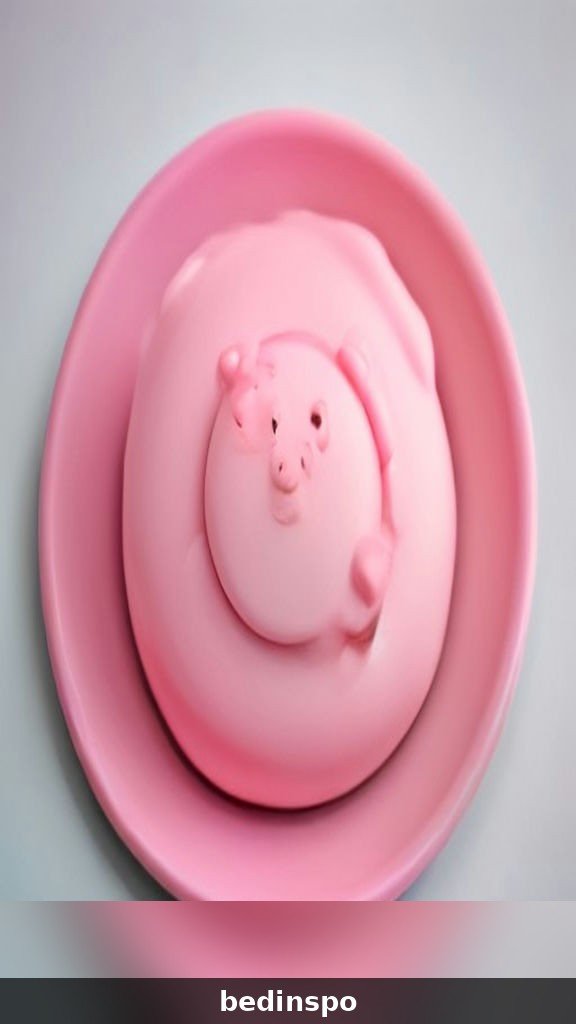
Store these cookies in an airtight container at room temperature for up to a week, and they will stay soft and chewy the whole time. Put a slice of bread in the container with them — the bread dries out while the cookies stay moist, which is an old baker’s trick that really works. Replace the bread slice every couple of days if you are storing a big batch.
Do not store the cookies in the fridge, because the cold dries them out and makes the icing go dull. If your kitchen is very warm, keep the container in a cool pantry instead. Layer the cookies between sheets of parchment paper so the icing does not stick to the cookie above it, and keep the container away from strong smells, because butter cookies absorb odors easily.
17. Freezing the Dough
Peppermint pig cookie dough freezes beautifully, and these cookies are perfect for making ahead. Roll the dough into a log, wrap it tightly in plastic wrap, and freeze it for up to three months. When you want fresh cookies, slice the log into rounds and bake them straight from frozen, adding two extra minutes to the baking time.
You can also freeze the cut pig shapes on a baking sheet until solid, then transfer them to a freezer bag. Bake them straight from frozen with two extra minutes in the oven, and ice them once they are completely cool. This is the best way to have fresh cookies on demand all through December — bake a small batch for unexpected guests, a batch for the neighbors, and a batch for yourself, all from the same freezer bag.
18. Cookie Exchange Tips
These cookies are made for cookie exchanges, because they travel well, they look beautiful, and everyone loves them. Bake them the day before the exchange so they are fresh, and pack them in a single layer in a sturdy tin lined with parchment paper. Bring the recipe printed on a card, because at least three people will ask for it.
Make your cookies stand out by adding a pinch of pink sanding sugar to the icing before it sets — the sparkle catches the light and makes them look like they came from a bakery. Tell the peppermint pig story when you set them out, because the tradition is half the charm. If the exchange has a theme, these fit the pink Christmas theme perfectly. Bring a few extra, because the host always sneaks one before the exchange even starts.
19. Gift Packaging Ideas
A bag of these cookies makes a wonderful homemade gift, and the packaging is half the fun. Stack six cookies in a clear cellophane bag, tie it with red and white baker’s twine, and add a small candy cane and a tiny card telling the peppermint pig story. The pink cookies show through the bag, and the candy cane does all the decorating for you.
For a fancier gift, layer the cookies in a decorative tin with parchment paper between the layers, and tuck a handwritten recipe card and a small hammer on top as a nod to the smashing tradition. A cookie tin full of peppermint pig cookies is the kind of gift that makes neighbors, teachers, and coworkers feel truly appreciated. It costs very little to make, but it feels like a luxury.
20. Common Mistakes to Avoid
The most common mistake with these cookies is using too much peppermint extract. One teaspoon is plenty for a full batch, and more than that makes the cookies taste like toothpaste instead of candy canes. Measure the extract carefully, and taste the dough before you add more. The second most common mistake is overbaking them — the centers should look soft and pale pink when they come out of the oven.
The third mistake is icing the cookies while they are still warm, which melts the icing and makes it slide right off. Wait until the cookies are completely cool, and work in small batches so the icing does not set before you add the candy cane. The fourth mistake is using liquid food coloring instead of gel, which can make the dough sticky and the pink color pale. Gel coloring is worth buying for this recipe.
21. Variations to Try
Once you master the basic recipe, try some fun variations. Add a half cup of white chocolate chips to the dough for a creamy sweetness that pairs beautifully with the peppermint. Or dip the cooled cookies halfway in melted white chocolate and sprinkle them with crushed candy cane for a dramatic, bakery-style finish.
For a chocolate peppermint pig, add two tablespoons of cocoa powder to the dough and keep the pink icing on top — the pink and brown combination looks stunning. You can also make a sandwich version by spreading peppermint buttercream between two thin cookies. The variations are endless, and every one of them is delicious.
22. Why These Belong on Your Christmas Table
Every Christmas table needs a cookie with a story, and this is that cookie. The peppermint pig tradition, the pretty pink color, and the cool peppermint flavor are the flavors of Christmas morning, and the soft, chewy texture is the kind of thing people remember. They are easy enough for a beginner to bake, impressive enough for a cookie exchange, and delicious enough that nobody will leave them uneaten.
They are also the kind of cookie that starts traditions. Bake them once, tell the peppermint pig story, and your family will ask for them every December. Write the recipe on a card, tuck it in your recipe box, and make a batch every year — some recipes are worth keeping forever, and this is one of them.
Frequently Asked Questions
What is a peppermint pig?
A peppermint pig is a pink peppermint candy pig from Saratoga Springs, New York. On Christmas morning it is smashed with a small hammer and shared, and the tradition says sharing it brings good luck for the coming year. These cookies are a bakeable version of the same tradition.
Can I use mint extract instead of peppermint extract?
No — they taste completely different. Peppermint extract tastes like candy canes, while mint extract tastes like toothpaste. Always use pure peppermint extract for this recipe.
Do I need a pig-shaped cookie cutter?
No. Round cookies taste exactly the same and are much easier to make. Decorate them with pink icing, a candy snout, and chocolate chip eyes, and they will still read as little pigs.
How do I keep the pink color bright?
Use gel food coloring instead of liquid, and do not overbake the cookies. The pink deepens slightly in the oven, so bake a test cookie first and pull the batch out while the centers still look soft and pale pink.
Can I make these cookies ahead of time?
Yes. The baked cookies keep for a week in an airtight container, and the raw dough freezes for up to three months. Bake frozen dough straight from the freezer with two extra minutes of baking time.
How do I keep the cookies soft for days?
Store them in an airtight container with a slice of bread. The bread dries out while the cookies stay moist. Replace the bread every couple of days, and do not store the cookies in the fridge.
Conclusion

Peppermint pig cookies are everything a Christmas cookie should be: soft, chewy, pretty in pink, and full of peppermint flavor in every bite. The glossy pink icing, the crushed candy cane, and the sweet tradition behind them come together in a cookie that is easy to bake and impossible to forget. And remember — this is the pink peppermint pig version, not the dark chocolate peppermint snowball. Both are wonderful holiday cookies, but this one is the pretty pink cookie your family will ask for again and again.
This holiday season, make a batch for your family, a batch for your neighbors, and a batch for the cookie exchange. Tell the peppermint pig story, smash one cookie for good luck, and pin this recipe for your next baking day. Share it with someone who loves Christmas cookies, and enjoy the sweetest, most festive cookie of the season.




More holiday cookie inspiration from Bedinspo:
- Chocolate Peppermint Snowball Cookies — dark chocolate cookies rolled in powdered sugar with crushed candy cane.
- Peppermint Hot Chocolate Shortbread Cookies — buttery shortbread with peppermint and hot chocolate flavor.
- White Chocolate Cranberry Pistachio Cookies — chewy cookies with white chocolate, cranberries, and pistachios.
- Spritz Cookies Christmas — buttery spritz cookies in festive tree, star, and wreath shapes.