15 DIY Christmas Ornament Ideas That Make Your Tree Truly Yours
15 DIY Christmas Ornament Ideas That Make Your Tree Truly Yours
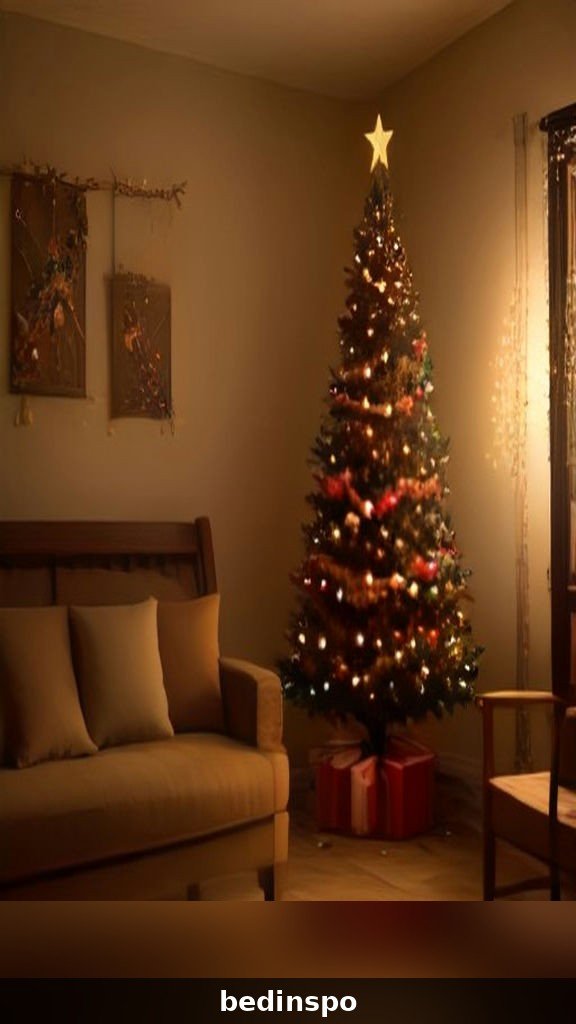
There is a special kind of magic on a Christmas tree decorated with ornaments you made yourself. Store-bought baubles are beautiful, but a handmade ornament carries a story — the afternoon you spent at the kitchen table with the kids, the cinnamon smell that filled the house, the lopsided star that makes everyone laugh every single year. DIY Christmas ornaments turn your tree from a decoration into a memory book.
The best part is that handmade ornaments do not require craft-store expertise or expensive supplies. Most of the ideas in this list use things you already have at home: cinnamon sticks, dried orange slices, pinecones from the yard, felt scraps, and a little paint. Many of them are easy enough for kids, and several make wonderful gifts — because a homemade ornament says “I thought of you” in a way nothing from a shelf ever can.
Below you will find 15 DIY Christmas ornament ideas for every skill level, from five-minute crafts to weekend projects worth savoring. Pick one to try tonight, or work through the whole list over December and fill your tree with handmade magic. Let us get crafting.
1. Classic Cinnamon Stick Ornaments
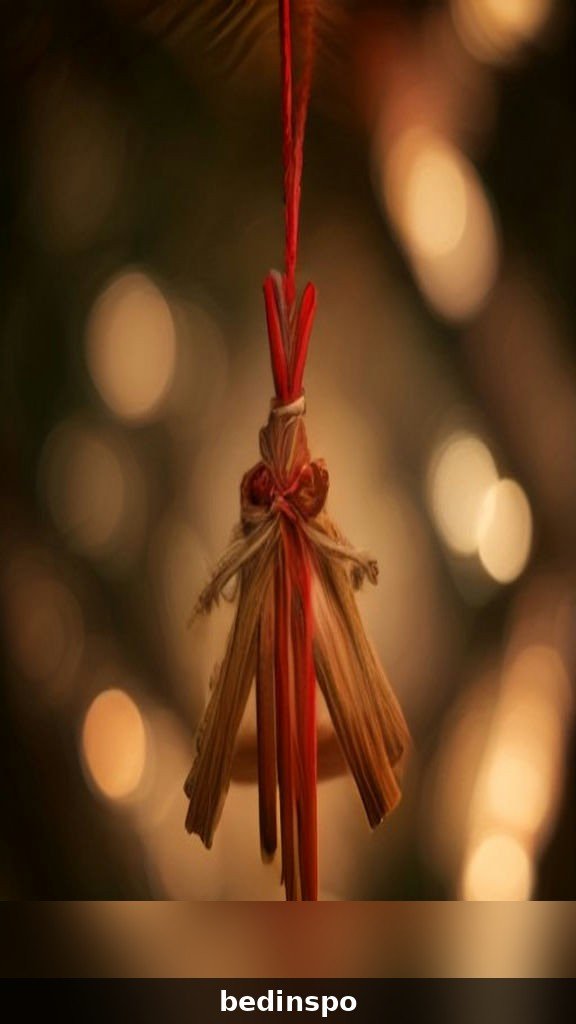
Cinnamon stick ornaments are the easiest entry point into DIY Christmas decorating, and they smell incredible. Bundle three or four cinnamon sticks together with twine, tie a small bow at the top, and add a sprig of faux greenery or a dried orange slice for contrast. Hang the bundle from the tree with a loop of jute string, and your whole living room will smell like a holiday bakery.
These ornaments cost almost nothing and take about five minutes each, which makes them perfect for kids, classroom gifts, or last-minute hostess presents. For a prettier finish, dab the ends of the cinnamon sticks with a little gold paint, or tuck a tiny pinecone into the twine. Bundle a few together in a cellophane bag with a ribbon, and you have an instant handmade gift that looks far more thoughtful than it was difficult.
2. Dried Orange Slice Ornaments
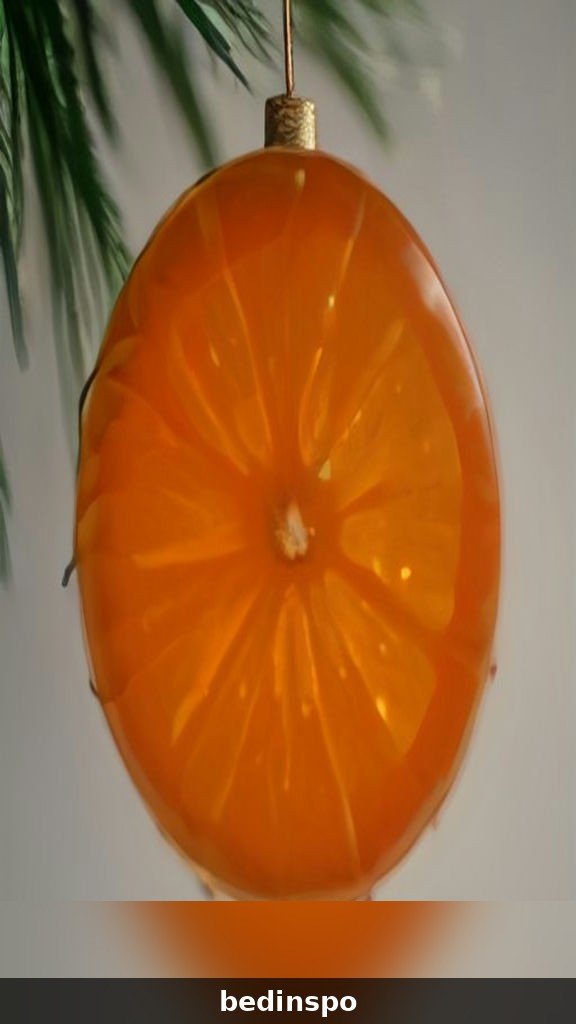
Dried orange slices are one of the most beautiful DIY Christmas ornaments you can make, and they look like stained glass when the tree lights shine through them. Slice oranges about a quarter-inch thick, lay them on a parchment-lined baking sheet, and dry them in a low oven — around 200°F — for two to three hours, flipping once halfway through. Let them cool completely before handling.
Once dried, thread the slices with twine through a small hole poked near the top, or tie them in little clusters of three with a cinnamon stick for a rustic farmhouse look. The translucent amber color glows against green branches, and they smell faintly of citrus for weeks. Store them carefully between sheets of tissue paper after the holidays, and they will last for several seasons.
3. Salt Dough Keepsake Ornaments
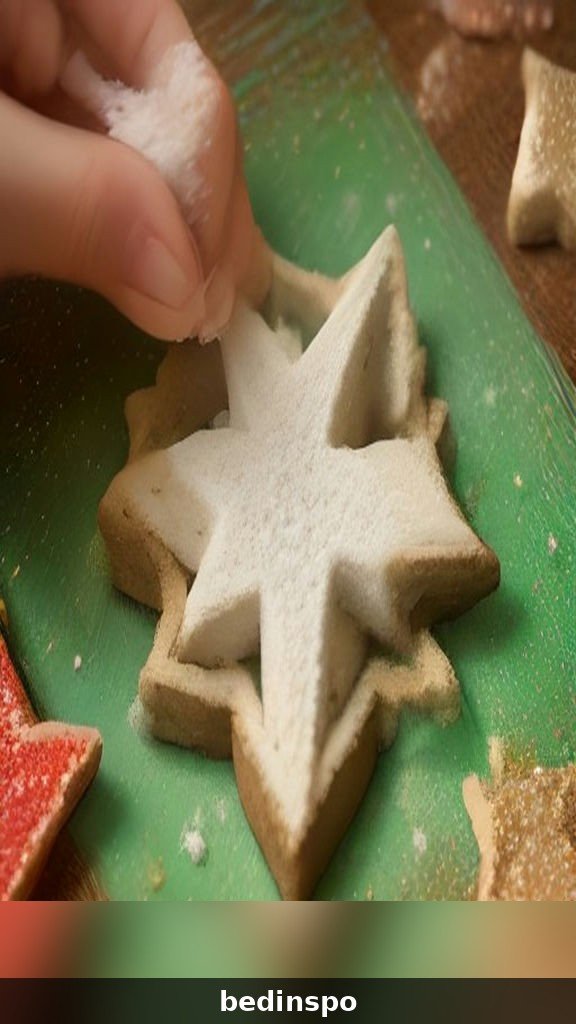
Salt dough ornaments are the classic childhood craft for a reason: the dough is made from flour, salt, and water, the shapes are endless, and the finished ornaments last for years. Mix one cup of flour, half a cup of salt, and half a cup of water, roll the dough to a quarter-inch thickness, and cut shapes with cookie cutters — stars, trees, hearts, and gingerbread people are all perfect.
Poke a hole for hanging before baking, then bake at 200°F for two to three hours until completely hard. Once cool, paint them with acrylics, add names and dates with a fine marker, and seal with a clear spray varnish. Handprint ornaments for babies and toddlers are the most treasured kind — press a tiny hand into the dough, bake, paint, and you have a keepsake grandparents will cry over.
4. Pinecone Ornaments from the Yard
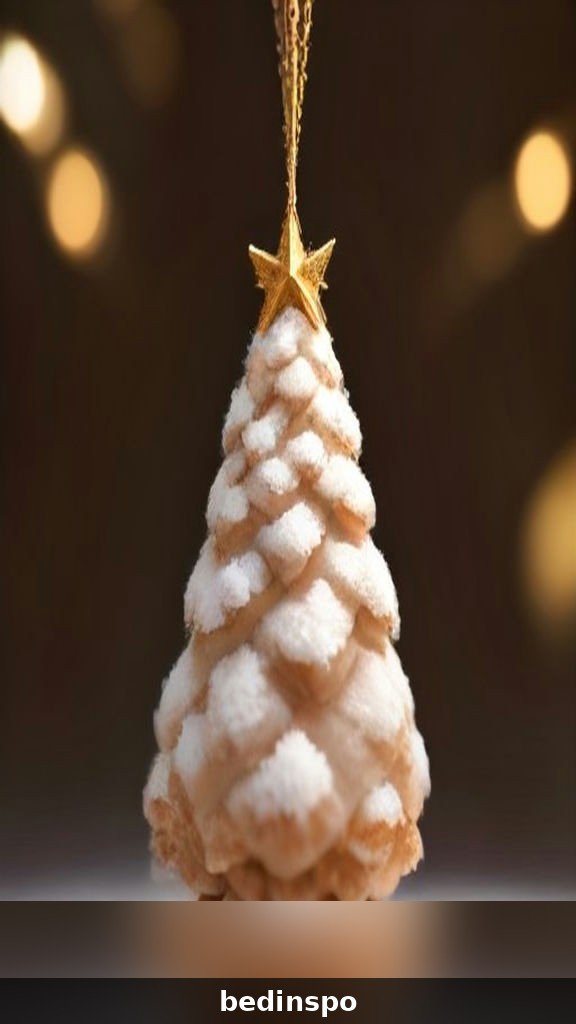
Some of the prettiest DIY Christmas ornaments are free, and pinecones are proof. Gather pinecones on a winter walk, clean them by soaking briefly in warm water with a splash of vinegar, and let them dry completely — they will open back up as they dry. Tie a ribbon or twine loop around the top, and you have a perfect rustic ornament in about two minutes.
For a dressier version, brush the tips of the pinecone scales with white paint for a snow-dusted look, or dip the edges in glue and roll them in gold or silver glitter. Tiny pom-poms glued between the scales make adorable miniature trees, and a dab of cinnamon-scented oil keeps them smelling festive. Pinecone ornaments are also wonderful for wreaths, garlands, and gift toppers.
5. Cozy Felt Ball Ornaments

Felt ball ornaments bring soft color and texture to the tree, and they are wonderfully forgiving to make. Buy a bag of wool felt balls in your chosen palette, or make your own by felting wool roving in hot soapy water. Thread the balls onto a long piece of embroidery floss with a large needle, alternating colors, and tie the ends into a loop for hanging.
A garland of felt balls draped around the tree looks modern and Scandinavian, while single oversized felt balls with a ribbon hanger make sweet standalone ornaments. Kids love helping with this one because there is no glue, no paint, and no way to mess it up. Choose a classic red-and-cream palette for tradition, or dusty pastels for a softer, more contemporary tree.
6. Hand-Painted Glass Ball Ornaments

Clear glass or plastic ball ornaments are blank canvases waiting for your creativity. Fill them with paint by pouring a little acrylic inside, swirling it around, and letting the excess drip out for a marbled effect — or paint the outside with winter scenes, snowflakes, names, or simple stripes. Metallic paints look especially stunning against tree lights.
For a foolproof technique, try the “paint pour”: drip two or three colors of thinned acrylic into the ball and rotate it slowly, letting the colors swirl together into a galaxy or marble pattern. Add a pinch of glitter inside before sealing for extra sparkle. These make spectacular personalized gifts — paint someone’s name in elegant script and you have a keepsake they will hang every year.
7. Photo Ornaments Full of Memories

Photo ornaments are the ornaments people reach for first every December, because they hold the year’s best moments. Print favorite photos small — wallet size or smaller — and slip them into clear fillable ball ornaments, or glue them onto wooden discs with a coat of decoupage medium. Add the year with a paint pen so the memory is dated forever.
Make it a yearly tradition: each Christmas, add one new photo ornament capturing something special from the year — a baby’s first steps, a graduation, a family trip, a new pet. Within a decade, your tree will tell the story of your family better than any photo album. These also make deeply meaningful gifts for grandparents, who will treasure a tree full of grandchildren’s faces.
8. Spiced Applesauce Ornaments
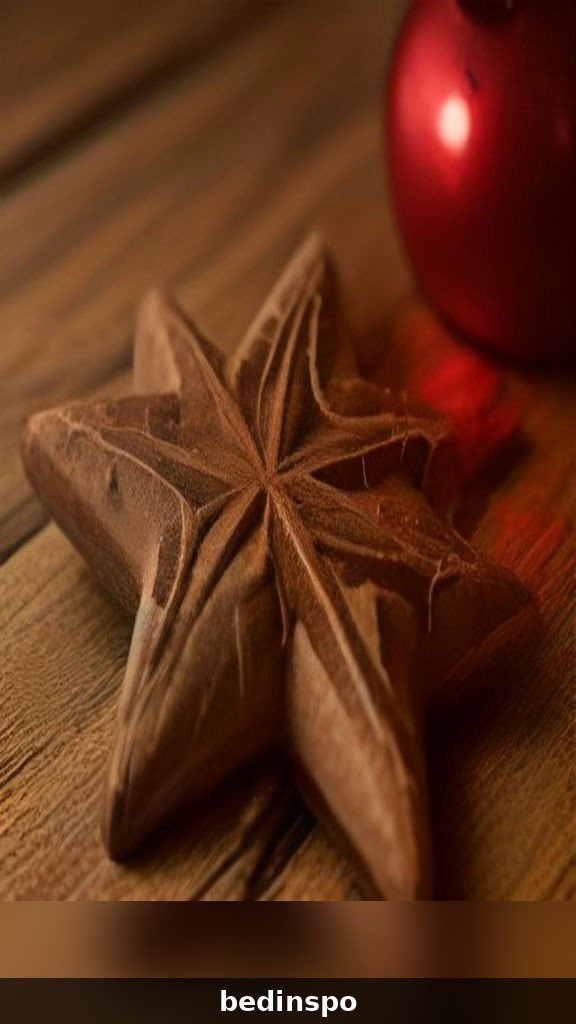
Applesauce cinnamon ornaments are a beloved old-fashioned craft that smells like Christmas itself. Mix one cup of unsweetened applesauce with one and a quarter cups of ground cinnamon to form a stiff dough, roll it out, and cut shapes just like salt dough. These ornaments air-dry in a day or two — no baking required — and they stay fragrant for years.
The deep brown color looks beautiful tied with red ribbon or cream lace, and the spicy scent perfumes the whole tree naturally. Because they are not baked, they are a great no-oven project for kids, though little ones should be supervised since the dough is not for eating despite smelling delicious. Stamp them with cookie stamps for pretty patterns, and they double as gift tags tied onto presents.
9. Rustic Twig Star Ornaments

Twig stars are the perfect rustic DIY Christmas ornament, and they cost absolutely nothing. Collect straight twigs from the yard, cut five pieces to equal length, and arrange them into a star shape. Secure each joint with a dab of hot glue and a wrap of twine, then add a hanging loop. The natural, woodland look suits farmhouse, cabin, and minimalist trees beautifully.
Dress them up with a tiny sprig of dried lavender, a small pinecone at the center, or a light dusting of faux snow spray. Make them in different sizes for visual interest — tiny ones for the inner branches, bigger ones as statement pieces. Kids can help gather and arrange the twigs, and the finished stars are sturdy enough to survive years of storage.
10. Paper Snowflake Ornaments
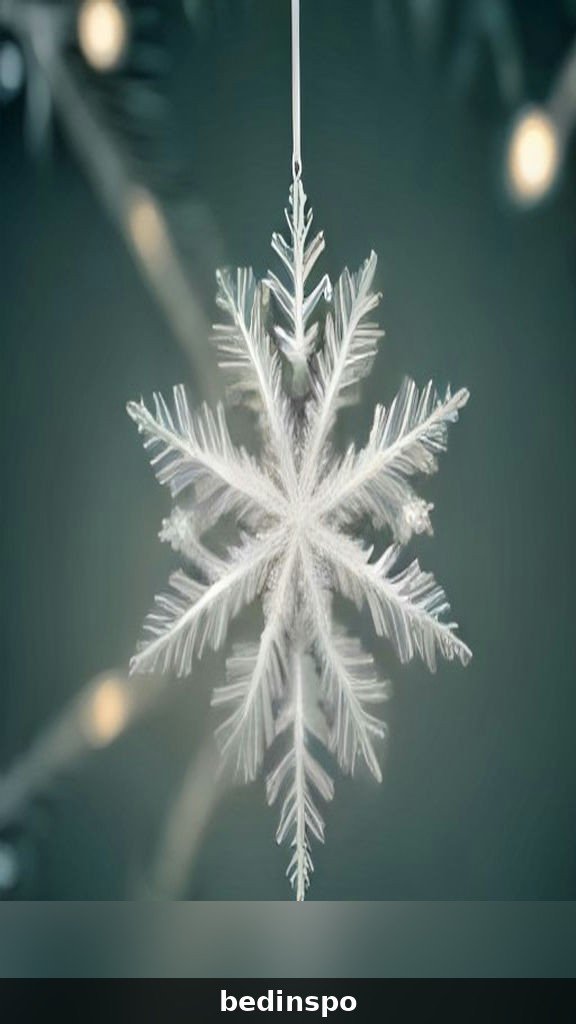
Paper snowflakes are the craft everyone learned as a child, but done with beautiful paper they become genuinely elegant ornaments. Use white, cream, or metallic paper — or old sheet music and book pages for a vintage look — fold, cut intricate patterns, and unfold to reveal a one-of-a-kind flake. No two are ever alike, which is exactly the point.
For ornaments that last, cut snowflakes from heavy cardstock or laminate the paper versions, then hang them with invisible thread so they appear to float among the branches. Layer two or three snowflakes of different sizes with a brad in the center for a dimensional effect. This is the perfect snowy-day craft for kids, and a whole tree trimmed only in paper snowflakes looks breathtakingly chic.
11. Mason Jar Lid Ornaments
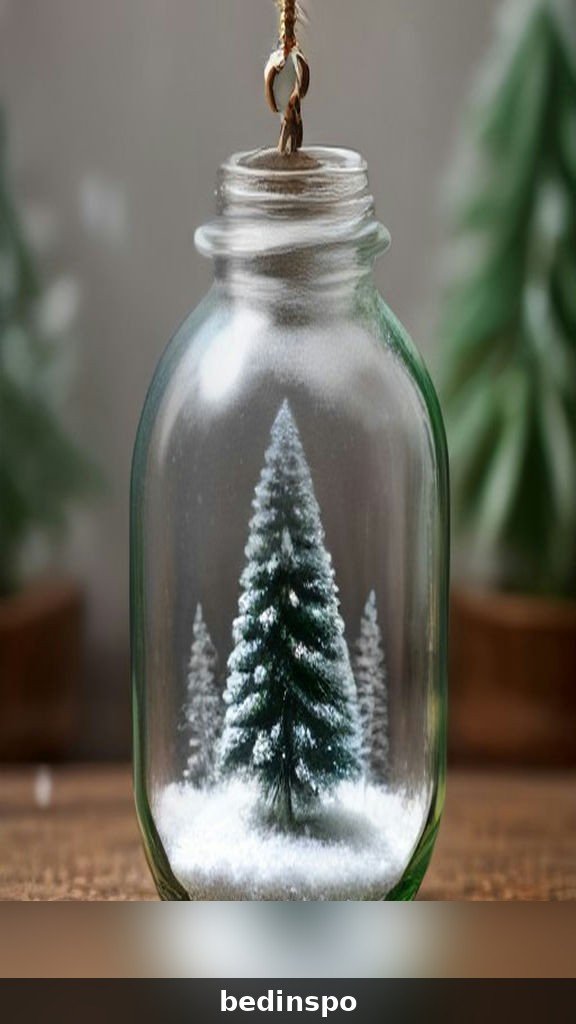
Do not throw away those mason jar lids — they make charming DIY Christmas ornaments. Fill the lid ring with a small photo, a piece of festive fabric, or a miniature winter scene built from bottle-brush trees and faux snow. Glue a backing circle of cardboard or felt behind it, add a ribbon hanger, and you have a tiny framed ornament.
The round metal frame gives every design a finished, intentional look with almost no effort. Try filling them with dried flowers, pressed leaves, or small sprigs of eucalyptus for a natural look, or with glittery paper and tiny figurines for something playful. A set of matching mason jar lid ornaments in different designs makes a lovely handmade gift set.
12. Yarn-Wrapped Ball Ornaments
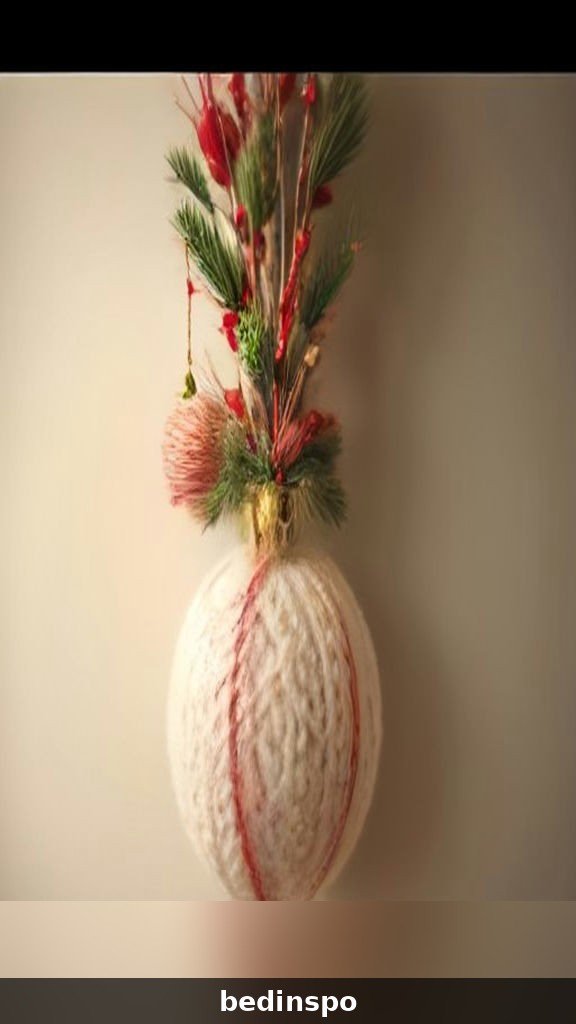
Yarn-wrapped ornaments turn plain foam or plastic balls into soft, textured decorations in any color you like. Coat a ball with craft glue, then wrap yarn tightly around it, working in sections and pressing the yarn into the glue as you go. Tuck the end under with a dab of glue, add a ribbon loop, and you are done — no special skills required.
Chunky knit-look yarn in cream, red, or forest green gives a cozy sweater-weather feel, while metallic or variegated yarns create more glamorous ornaments. Mix textures on the tree by combining yarn balls with smooth glass and natural pinecones. This is a wonderful craft-night project — put on a Christmas movie, wrap ornaments together, and the evening flies by.
13. Sparkling Beaded Icicle Ornaments
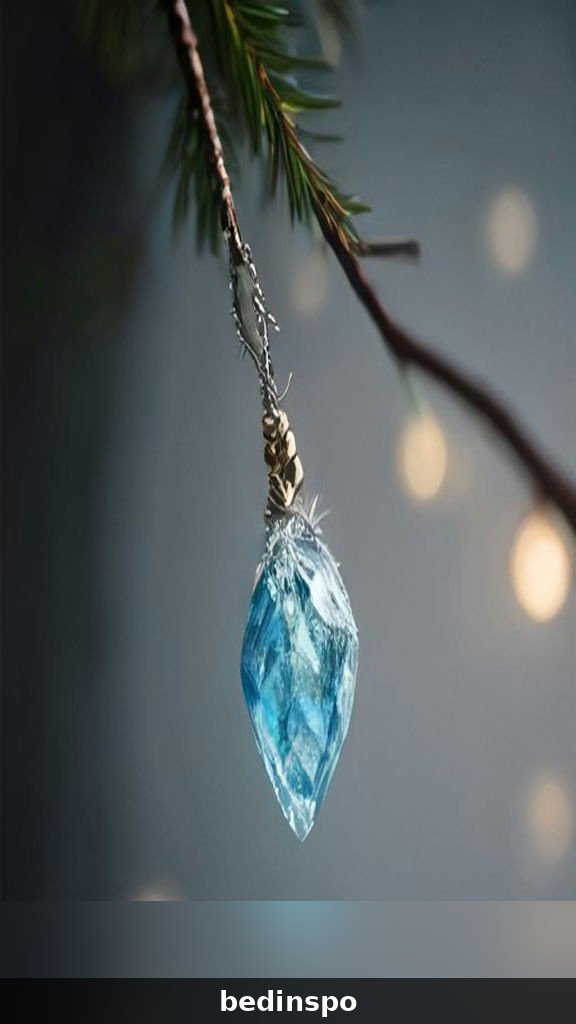
Beaded icicles catch the tree lights like real ice, and they are surprisingly simple to make. Thread crystal, glass, or acrylic beads onto thin wire or fishing line, starting with larger beads at the top and tapering to a single small bead or teardrop at the bottom. Twist the top into a loop for hanging, and the icicle is ready for the tree.
Silver and clear beads give the most realistic icy look, but try pale blue or iridescent beads for a frosted fantasy effect. Make them in graduated lengths — long icicles for the outer branches, short ones tucked inside — and they will shimmer every time the tree lights twinkle. Older kids love this project because the repetitive beading is relaxing, and the results look genuinely professional.
14. Painted Wood Slice Ornaments
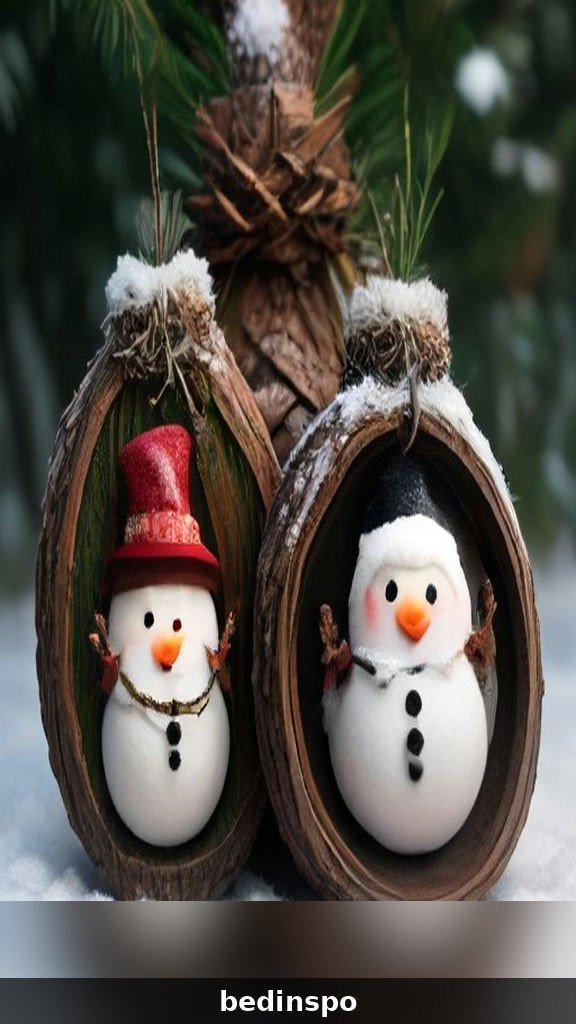
Wood slices are one of the most versatile bases for DIY Christmas ornaments. Buy pre-cut slices with bark edges, or cut them from fallen branches — just let them dry fully first. Sand lightly, then paint winter scenes, snowmen, reindeer, simple trees, or even family names in pretty lettering. The natural wood edge frames every design beautifully.
For beginners, simple designs work best: a white snowflake on the raw wood, a red truck carrying a tree, or each family member’s name in gold paint. Seal with a clear matte varnish so the paint lasts, and drill a small hole or glue a ribbon loop to the back for hanging. A set of wood slices painted with the twelve days of Christmas makes an heirloom gift.
15. Glitter Dipped Ornaments

When in doubt, add glitter. Glitter-dipped ornaments are the fastest way to make plain balls look expensive: brush the bottom half of a matte ball ornament with decoupage glue, roll it in fine glitter, and let it dry. The two-tone effect — matte color melting into sparkle — looks designer-made and takes about ten minutes per ornament.
Try unexpected color combinations: matte black with gold glitter, cream with copper, navy with silver. For an ombré effect, apply the glue in a gradient — heavier at the bottom, fading upward — before dipping. These are perfect for using up old ornaments whose color you no longer love; a glitter dip gives them a whole new life. Just work over newspaper, because glitter goes everywhere, and that is half the fun.
How to Make Your DIY Ornaments Last for Years
Handmade ornaments deserve to be enjoyed for many Christmases, and a little care makes that happen. Always seal painted ornaments with a clear varnish or spray sealant — this protects the paint from chipping and moisture. Food-based ornaments like dried orange slices and cinnamon bundles should be stored in airtight containers with silica gel packets to keep them dry and fragrant.
When packing away the tree, wrap each handmade ornament individually in tissue paper rather than tossing them into a box together — most damage happens in storage, not on the tree. Label the box clearly so it is handled gently, and store it somewhere climate-stable rather than a damp garage or a baking-hot attic. With these simple habits, the ornaments you make this year will still be hanging decades from now, carrying their stories with them.
Frequently Asked Questions
What is the easiest DIY Christmas ornament for beginners?
Cinnamon stick bundles and pinecone ornaments are the easiest — they take minutes, need almost no supplies, and look great with zero craft experience. Dried orange slices are only slightly more work and look stunning. Start with one of these three and you will be hooked on ornament-making.
What can kids make for Christmas ornaments?
Salt dough ornaments, paper snowflakes, felt ball garlands, and painted wood slices are all wonderful for kids. Handprint salt dough ornaments are especially precious keepsakes. Choose non-toxic supplies, supervise anything involving an oven or hot glue, and let kids embrace imperfection — the lopsided ones become family favorites.
How do you hang homemade ornaments so they look nice?
Use ribbon, twine, or jute string instead of plain wire hooks for a finished look — the hanger is part of the design. Match the hanger to the ornament’s style: rustic twine for natural ornaments, satin ribbon for elegant ones. Hang heavier ornaments on strong inner branches and lighter ones at the tips.
Can you sell handmade Christmas ornaments?
Absolutely — the Christmas crafts market is huge. Ornament sets sell well at craft fairs, on Etsy, and at holiday markets, especially personalized ones like photo ornaments, hand-painted names, and baby’s-first-Christmas keepsakes. Price them to cover materials plus your time, and package them beautifully — presentation matters as much as the ornament itself.
Conclusion
DIY Christmas ornaments are about so much more than decorating a tree. They are about the flour-dusted kitchen table, the smell of cinnamon in the air, the kids arguing over whose snowflake is best, and the quiet satisfaction of hanging something beautiful that you made with your own hands. Every handmade ornament on your tree is a small story, and together they tell the story of your family’s Christmases.
Start with just one idea from this list this weekend — the cinnamon bundles take five minutes, and the dried oranges practically make themselves in the oven. Before you know it, you will be planning next year’s ornament craft night. Save this list, gather your supplies, and make this the year your tree becomes truly, wonderfully yours. Happy crafting, and merry Christmas!