Curly Shag Haircut Ideas for Natural Texture
If you have curly hair, you already know the struggle: most haircuts either flatten your curls into a triangle or chop them into a shape that only looks good for about five minutes after you leave the salon. The curly shag haircut is the rare cut that does the opposite. It works with your natural texture instead of fighting it, using short, face-framing layers that open into longer lengths so every curl has room to spring, bounce, and do its own beautiful thing. It is vintage and modern at the same time, low-effort and high-impact, and it is one of the most pinned curly haircuts of the year for a very good reason.
A curly shag is built on layers — lots of them, cut at different lengths, so the top of the hair has lift and movement while the ends stay light and airy instead of heavy and pyramid-shaped. Shorter pieces around the face blend into curtain bangs or a soft fringe, and the longer layers underneath give the style its length and swing. The result is a cut that looks intentionally tousled, effortlessly cool, and completely alive. Whether your curls are loose waves, springy ringlets, or tight coils, there is a version of the curly shag made for you, and this guide covers all of them: the classic shape, the modern updates, styling and volume tricks, salon wording, and the mistakes to avoid.
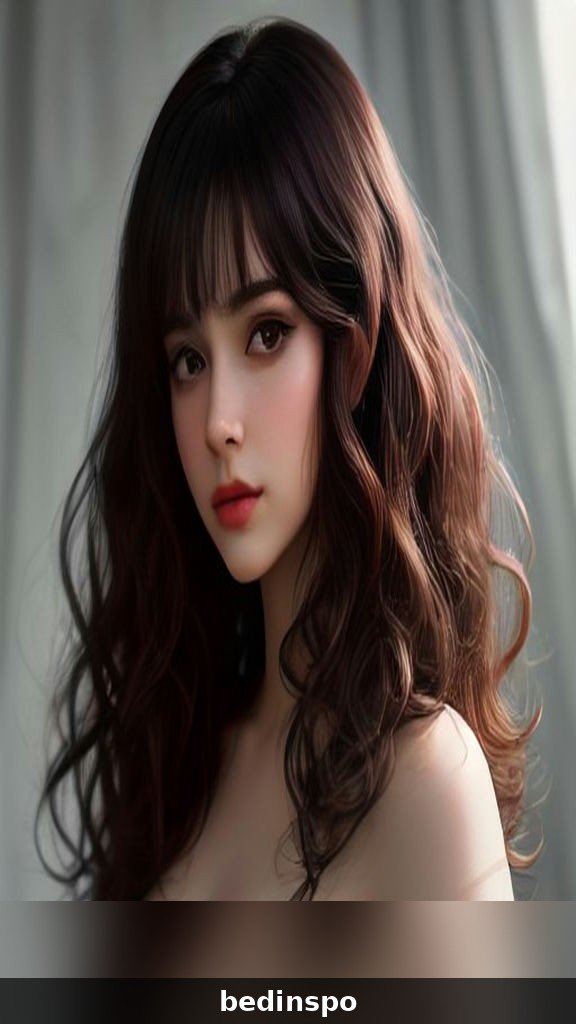
What Exactly Is a Curly Shag Haircut?
A curly shag haircut is a layered haircut designed specifically for curly and wavy hair, with short layers through the crown and around the face that gradually get longer toward the ends. The signature of the shag is its graduation: the shortest layers sit at the top, creating volume and lift right where curly hair naturally wants to expand, while the longer layers below keep the length and prevent the dreaded triangle shape. Unlike a traditional layered cut, where the layers are subtle and blended, shag layers are deliberately visible — they create texture, movement, and that lived-in, rock-and-roll edge that makes the cut so distinctive.
The modern curly shag borrows its shape from the iconic 1970s shag — think of the feathered, tousled cuts worn by rock stars and supermodels of the era — but it is cut with curly hair in mind. That matters enormously, because curly hair shrinks as it dries, springs up when it is cut, and behaves completely differently from straight hair. A good curly shag is almost always cut dry, curl by curl, so the stylist can see exactly where each curl falls and how much it will spring. The cut celebrates texture rather than trying to tame it, which is why so many people with curly hair say the shag is the first haircut that ever felt like it was made for them.
Why the Curly Shag Is Having a Moment
The curly shag is everywhere right now, and it is not a coincidence. After years of sleek, straight, polished hair dominating the trends, the beauty world has swung hard toward texture, volume, and natural hair. Social media is full of people embracing the curls they used to straighten, and the shag is the cut that lets those curls take center stage. It photographs beautifully — all that movement and dimension reads gorgeously in photos — which is exactly why it performs so well on Pinterest, where volume and texture stop the scroll.
There is also a practical reason for the shag’s popularity: it is genuinely low-maintenance. A curly shag does not require daily heat styling, precise parting, or a shelf full of tools. Wash it, scrunch in some product, diffuse or air-dry, and the cut does most of the work. The layers are built to fall into place on their own, and the slightly messy, undone finish is the whole point — so a bad hair day just looks like a good shag day. For busy people who want a haircut with personality but without a complicated routine, the curly shag is one of the easiest wins in hair right now.
The Classic Curly Shag: The Original 70s Shape
The original 1970s shag was all about attitude: choppy layers, feathered ends, curtain-like bangs, and a silhouette that was wider at the top and tapered toward the ends. On curly hair, that vintage shape translates beautifully, because the volume at the crown is something curls do naturally. The classic curly shag keeps the top layers short and bouncy, the sides full and rounded, and the back layers long enough to give the style its signature swing. It is the version of the cut that looks most like the rock-and-roll inspiration, and it suits anyone who loves a bold, statement-making hairstyle.
To wear the classic curly shag well, ask your stylist for shorter layers through the crown — about chin length at the shortest — with longer layers through the back, and face-framing pieces that start at the cheekbones. The key is keeping the layers connected so the shape reads as one cohesive cut rather than disconnected chunks. Styling is simple: a curl cream for definition, a diffuser on low heat to encourage volume at the roots, and a little scrunching at the ends to break up any curls that clump together too neatly. The result is a cut with vintage soul and modern wearability, and it works on nearly every curl type.
Curly Shag vs. Wolf Cut: What’s the Difference?
The curly shag and the wolf cut get confused constantly, and it is easy to see why: both are layered, both are shaggy, and both celebrate texture. But they are not the same cut, and knowing the difference matters before you sit in the salon chair. The wolf cut is essentially a shag mixed with a mullet — it has very short, choppy layers on top, a dramatic disconnect between the short crown and the long back, and a wilder, more extreme silhouette. It is the edgier, more rebellious cousin of the shag, and it makes a bigger statement.
The curly shag, by contrast, is softer and more blended. The layers graduate gradually rather than jumping from short to long, the face-framing pieces are gentler, and the overall shape is rounder and more balanced. A shag grows out gracefully and suits more face shapes and more settings — it works in an office, at a wedding, and on a lazy Sunday alike, while a wolf cut always reads a little more dramatic. If you love the idea of layers and volume but want a cut you can wear anywhere, the curly shag is the safer, more versatile choice. If you want maximum edge and drama, the wolf cut is your cut.

Curly Shag by Curl Type: Finding Your Match
One of the best things about the curly shag is that it is not a one-size-fits-all cut — it adapts to your curl pattern, and the right version depends on whether your hair is wavy, curly, or coily. The principles stay the same — short layers on top, longer layers below, face-framing pieces — but the length of the layers, the amount of texture, and the styling approach all shift with your curl type. Understanding your curl pattern before your appointment helps you and your stylist speak the same language, and it is the difference between a shag that flatters your texture and one that fights it.
Before we get into the specifics, remember the golden rule of curly cutting: your hair should be cut dry, or at least in its natural curl pattern, so the stylist can see the true length and shape of each curl. Wet cutting can lead to layers that spring up much shorter than expected once the hair dries — the classic curly hair surprise. Always book a stylist who has experience with curly hair, and bring photos of shags on hair that looks like yours, not just photos of the cut on a different texture.
Wavy Hair (Type 2A–2C): The Soft, Beachy Shag
Wavy hair is the easiest entry point into the curly shag, because waves are forgiving and the layers create instant movement. For type 2 hair, the shag works best with slightly longer layers — the top layers should start around the cheekbones or chin, not too short, so the waves have enough length to form their S-shape instead of flipping out. The result is a soft, beachy, effortlessly tousled shag that looks like you spent the day at the coast, even when you did not.
Styling a wavy shag is wonderfully simple: a lightweight mousse or sea-salt spray scrunched into damp hair, then air-drying or a quick diffuse, is usually all it takes. Avoid heavy creams, which can weigh waves down and erase the volume the layers are meant to create. If your waves fall flat by midday, a quick flip of the head and a scrunch at the roots brings the shape right back. The wavy shag is the lowest-maintenance version of the cut, and it is perfect if you are trying the shag for the first time.
Curly Hair (Type 3A–3C): The Classic Shag Sweet Spot
Type 3 curls — the classic ringlets and corkscrews — are where the curly shag truly shines. These curls have enough spring to show off the layers beautifully, and the shag’s graduation gives each curl room to form its own shape without getting crushed by the weight of the hair above it. The result is a cut with incredible dimension: shorter curls bouncing at the crown, longer curls cascading below, and face-framing pieces that curl naturally around the cheeks. It is the version of the shag you see most often on Pinterest, and for good reason.
For type 3 hair, the layers can go a little shorter than on wavy hair — the shortest pieces can start at the cheekbones or even the temples, since the curls will spring up and create that coveted volume. Use a curl-defining cream or gel to encourage clumping, and diffuse with the head flipped upside down for maximum root lift. One caution: avoid over-thinning. Type 3 hair can look stringy if too much bulk is removed, so ask your stylist to use cutting techniques that preserve density while creating shape.
Coily Hair (Type 4A–4C): The Bold, Sculptural Shag
Coily and kinky hair makes a stunning shag, because the tight curl pattern creates incredible natural volume and a beautifully sculptural silhouette. On type 4 hair, the shag reads as a rounded, full shape with gorgeous texture — shorter coils at the crown create lift, longer coils at the back give length and movement, and the face-framing pieces soften the whole look. It is a bold, confident cut that celebrates the hair’s natural architecture instead of trying to stretch or smooth it away.
For coily hair, moisture is everything. The layers in a shag expose more of the hair’s surface, so a rich leave-in conditioner and a sealing oil or butter are essential to keep the coils defined and frizz-free. Twist-outs and braid-outs also work beautifully with a shag, since the layers give the stretched curls extra shape. When cutting, your stylist should work with your hair in its natural, dry state and consider shrinkage carefully — coily hair can shrink by fifty percent or more, so the cut length needs to account for that spring. Done right, a coily shag is one of the most striking versions of the cut.

Short Curly Shag: Chin-Length and Full of Personality
A short curly shag — hitting somewhere between the ears and the chin — is pure personality. The short length concentrates all the volume at the top and sides, creating a rounded, bouncy silhouette that frames the face beautifully. It is a bold, confident cut that works especially well on tighter curl patterns, where the short length lets every coil spring to its fullest. The short shag is also wonderfully practical: it dries fast, needs very little product, and grows out into a medium shag gracefully, so you are never stuck in an awkward phase.
The short curly shag pairs beautifully with micro bangs or a short fringe, which adds to the retro, rock-and-roll feel. If you are nervous about going short, ask your stylist to start at chin length rather than ear length — you can always go shorter at your next appointment, but you cannot glue it back on. Style with a small amount of curl cream, diffused on low heat, and use your fingers — not a brush — to arrange the curls. The short shag is proof that less length can mean more style.
Medium-Length Curly Shag: The Most Versatile Option
The medium-length curly shag, falling between the chin and the shoulders, is the most popular version of the cut — and the most versatile. It has enough length to pull back into a ponytail or a clip on lazy days, but it is short enough that the layers stay bouncy and the volume stays high. The medium shag works on every curl type, suits every face shape, and transitions easily between casual and dressed-up. If you are trying the curly shag for the first time, this is the length to start with.
What makes the medium shag so flattering is its balance: the top layers create lift and frame the face, the mid-lengths add movement and swing, and the ends stay light enough to avoid the triangle effect. Ask for layers that start at the cheekbones and graduate down, with the longest layer hitting the collarbone or just above the shoulders. Styling is flexible — diffuse for maximum volume, air-dry for a softer look, or pin back the front pieces for a half-up style. The medium curly shag is the cut that does everything, and it is the reason so many people never go back to a one-length cut after trying it.

Long Curly Shag: Layers Without Losing Length
If you love your long hair and do not want to give it up, the long curly shag is your answer. It keeps the length — past the shoulders, sometimes to the mid-back — while adding the layers that long curly hair desperately needs. Without layers, long curly hair gets heavy, the roots go flat, and the ends turn into a triangle. The long shag fixes all of that: short layers at the crown restore root volume, mid-length layers create movement through the body, and the long bottom layers keep your hard-earned length intact.
The trick with a long curly shag is keeping the layers connected and gradual. Ask for the shortest layer to start no higher than the chin, and let the layers flow down in a smooth cascade rather than jumping abruptly. This keeps the shape soft and romantic instead of choppy. Long shags look incredible with caramel or honey highlights, which catch the light and show off the layering beautifully. Styling takes a little more time than a short shag — more hair to diffuse — but the payoff is a cut with movement, volume, and length all at once.
Curly Shag with Curtain Bangs
Curtain bangs and the curly shag were made for each other. The soft, center-parted bangs blend seamlessly into the face-framing layers, creating a continuous cascade that opens up the face and draws attention to the eyes and cheekbones. On curly hair, curtain bangs are wonderfully forgiving — they do not need to be perfectly straight or perfectly even, because the curls give them natural texture and movement. They are the most popular bang choice for the curly shag, and they suit almost every face shape.
To get curtain bangs right on curly hair, ask your stylist to cut them dry and a little longer than you think you want — remember, curls spring up, and bangs that look perfect when wet can end up an inch shorter when dry. The bangs should start at the cheekbones at their longest and graduate up toward the center, so they frame the face like a curtain. Style them by scrunching with a little curl cream and letting them fall naturally, or clip them back on days when you want them out of the way. Curtain bangs are the easiest, most flattering way to complete a curly shag.

Curly Shag with Wispy Bangs
If curtain bangs feel like too much commitment, wispy bangs are the softer, lighter alternative. These are thin, airy, piece-y bangs that let the forehead peek through, and they pair beautifully with a curly shag because they echo the cut’s light, textured feel. Wispy bangs work especially well on wavy and loose curly hair, where they blend into the layers almost invisibly, adding softness around the face without a heavy, blunt line.
The key to wispy bangs on curly hair is keeping them light — ask your stylist to point-cut the ends rather than cutting a straight line, which creates that feathery, piece-y texture. They also need very little styling: a tiny bit of curl cream scrunched through, and they will fall into place on their own. Wispy bangs are a great choice if you want the face-framing effect of bangs without the maintenance of a full fringe, and they grow out gracefully into face-framing layers, so there is no awkward phase.
The Modern Soft Shag: A Gentler Take
Not everyone wants the full rock-and-roll shag, and that is where the modern soft shag comes in. This version keeps the layered structure and the face-framing pieces but softens everything: the layers are longer, the graduation is gentler, and the ends are less choppy. The result is a cut that reads as polished and romantic rather than edgy — a shag for people who want movement and volume without the drama. It is the version most often seen on celebrities and influencers, because it photographs as effortlessly elegant.
The soft shag is also the most office-friendly version of the cut, and the easiest to grow out. Ask for long layers starting at the chin, soft face-framing pieces, and textured ends that are point-cut rather than razor-cut for a gentler finish. Styling is simple: a curl cream for definition, a diffuser for volume, and a light hold spray to keep the shape through the day. If the classic shag feels too bold for your taste, the soft shag gives you the same beautiful movement with a more understated finish.
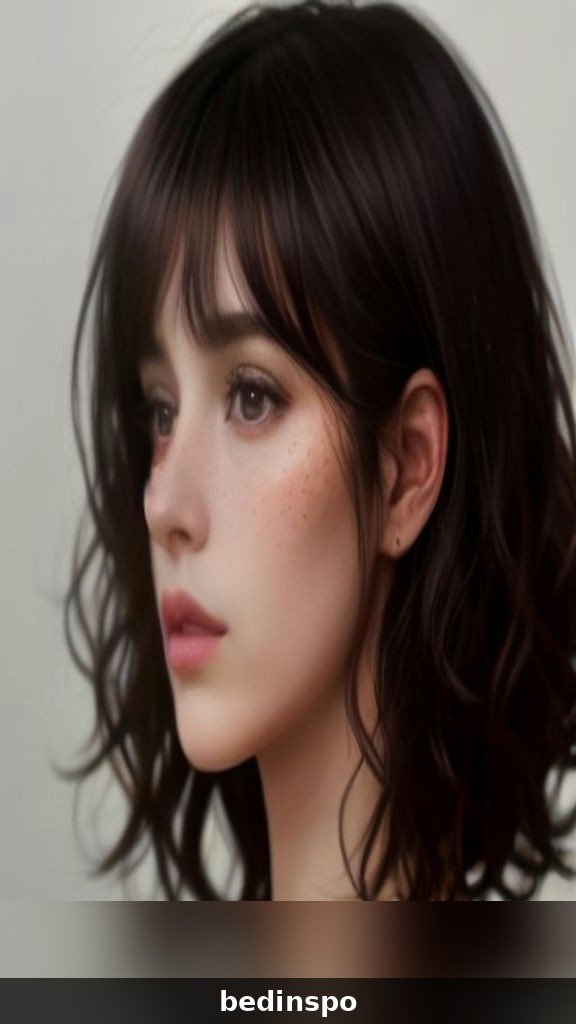
Curly Shag for Thick Hair: Taming the Volume
Thick curly hair and the shag are a natural match — the cut is designed to remove bulk exactly where thick hair needs it. Without layers, thick curly hair can feel heavy, take forever to dry, and expand into a shape that overwhelms the face. The shag’s short crown layers lift the weight off the top, the mid-length layers thin out the bulk through the body, and the textured ends keep the silhouette from getting too wide. The result is thick hair that finally feels light, moves freely, and dries in a reasonable amount of time.
For very thick hair, your stylist may use thinning or texturizing techniques in addition to layering — but be careful. Over-thinning curly hair can create frizz and stringy ends, so the texturizing should be strategic, focused on the interior bulk rather than the surface. Ask for layers that remove weight without removing the curls’ natural clumping, and use a leave-in conditioner to keep the definition. A thick-haired shag is one of the most transformative versions of the cut, turning heavy, hard-to-manage hair into a bouncy, shapely style.
Curly Shag for Fine Curly Hair: Creating the Illusion of Fullness
Fine curly hair has the opposite problem from thick hair: it needs more volume, not less. The good news is that the curly shag is one of the best cuts for creating the illusion of fullness on fine hair. The short layers at the crown add lift right at the roots, where fine hair tends to go flat, and the textured ends make the hair look thicker than it is by creating movement and separation. A shag can make fine curly hair look twice as full as a one-length cut — it is genuinely transformative.
The key for fine hair is keeping the layers from getting too short or too thinned out, which can make the ends look wispy and sparse. Ask for layers that start at the chin and keep the perimeter fairly full, with just enough texturizing at the ends to create movement. Use lightweight products — a volumizing mousse at the roots and a light curl cream on the lengths — and avoid heavy butters and oils that weigh fine curls down. Diffuse with your head upside down for maximum root lift, and you will be amazed at how much volume a shag can create on fine hair.
Curly Shag for Round Faces: Lengthening the Silhouette
A curly shag is actually one of the most flattering cuts for round faces, because the volume at the crown adds height and the face-framing layers create length. The trick is in the placement: the shortest layers should sit above the cheekbones to draw the eye upward, and the face-framing pieces should fall past the chin to elongate the face. Avoid a shag that is widest at the cheeks — that width emphasizes roundness — and instead aim for a shape that is taller on top and longer at the sides.
Curtain bangs work beautifully on round faces with a shag, because the center part and the longer side pieces create vertical lines that slim the face. A side part can also work, adding asymmetry that breaks up the roundness. Keep the length at least to the shoulders if you can, since longer hair naturally elongates the face. With the right layer placement, a curly shag does not just flatter a round face — it actively sculpts it, adding height where you want it and length where you need it.
Curly Shag for Oval and Long Faces: Adding Width and Balance
Oval faces can wear almost any version of the curly shag, because the balanced proportions of an oval face suit both short and long layers. The one thing to watch is length: a very long shag can elongate an already long face, so oval-faced people often look best with a medium or short shag that adds width at the sides. Bangs — curtain, wispy, or a full fringe — also work beautifully on oval faces, adding a horizontal line that balances the face’s length.
For long faces, the curly shag is a gift, because its width and volume add fullness exactly where a long face needs it. Ask for layers that create width at the cheekbones and temples, and consider a fringe to shorten the forehead visually. The shag’s natural volume at the sides is your best friend here — it widens the silhouette and balances the face’s length. Avoid a shag that is too flat on top and too long at the bottom, which can exaggerate length. With the right shape, the curly shag makes a long face look balanced, soft, and beautifully proportioned.
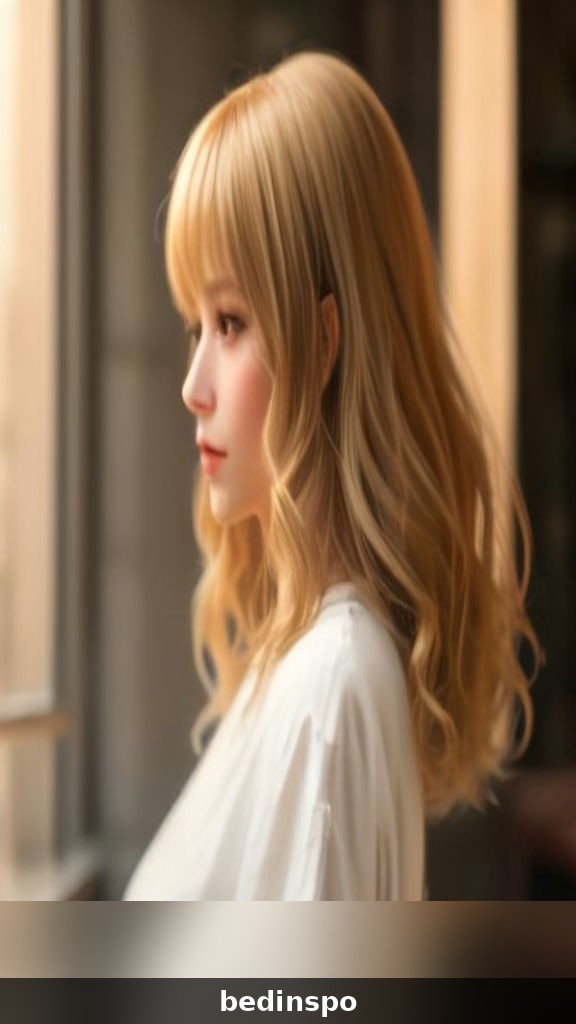
How to Style a Curly Shag at Home
Styling a curly shag at home is refreshingly simple, and that is one of the cut’s biggest selling points. Start with clean, soaking-wet hair — curly hair styles best when it is very wet, because the water helps the curls clump into their natural pattern. Apply a leave-in conditioner first, then your styling product of choice: a curl cream for soft definition, a gel for stronger hold, or a mousse for volume. Rake the product through with your fingers, then scrunch upward to encourage the curls to form.
Next, decide between diffusing and air-drying. Diffusing gives you more volume and faster results: attach a diffuser to your hair dryer, set it to low heat and low speed, and cup sections of hair into the diffuser bowl, holding for thirty seconds at a time. Start at the roots for lift, then work toward the ends. For air-drying, simply scrunch and leave the hair alone — touching it while it dries creates frizz. Once the hair is completely dry, scrunch out any crunch from gel with your hands, fluff the roots gently, and you are done. The whole routine takes ten to fifteen minutes once you get the hang of it.
The Best Products for a Curly Shag
The right products make a curly shag look its best, and the good news is that you do not need many of them. Start with a sulfate-free shampoo and a rich conditioner — curly hair is naturally drier than straight hair, and the shag’s layers expose more surface area, so moisture matters even more. A leave-in conditioner is the non-negotiable foundation: it detangles, hydrates, and gives your styling products something to grip onto. Apply it generously to soaking-wet hair.
For styling, choose based on your curl type and your goals. Curl creams give soft, touchable definition and are best for looser curls and waves. Gels give stronger hold and better frizz control, and they work beautifully on tighter curls — just remember to scrunch out the crunch once dry. Mousses add volume and are ideal for fine hair or for anyone who wants maximum lift at the roots. A light oil or serum, applied to the ends after styling, adds shine and seals in moisture. The golden rule: use less product than you think you need, and add more only if your curls ask for it. Overloaded curls look limp and greasy, while well-dosed curls look bouncy and defined.
Diffusing vs. Air-Drying: Which Is Better for a Shag?
The diffusing versus air-drying debate is one of the great divides in the curly hair world, and the honest answer is that both work beautifully for a shag — they just give different results. Diffusing creates more volume, more lift at the roots, and more defined curls, because the controlled airflow encourages the curls to form while lifting them away from the scalp. It is the better choice when you want maximum shag energy: big, bouncy, full of movement. The downside is time and heat, even on a low setting.
Air-drying gives a softer, more relaxed shag with less volume but a more natural, lived-in feel. It is gentler on the hair, completely free, and requires zero effort — just scrunch and wait. The tradeoff is time: air-drying can take hours, and the roots tend to dry flatter. A good compromise is to diffuse just the roots for five minutes to get the lift, then let the lengths air-dry. Many shag wearers end up doing exactly this hybrid method, and it gives the best of both worlds: root volume without the full diffusing session.
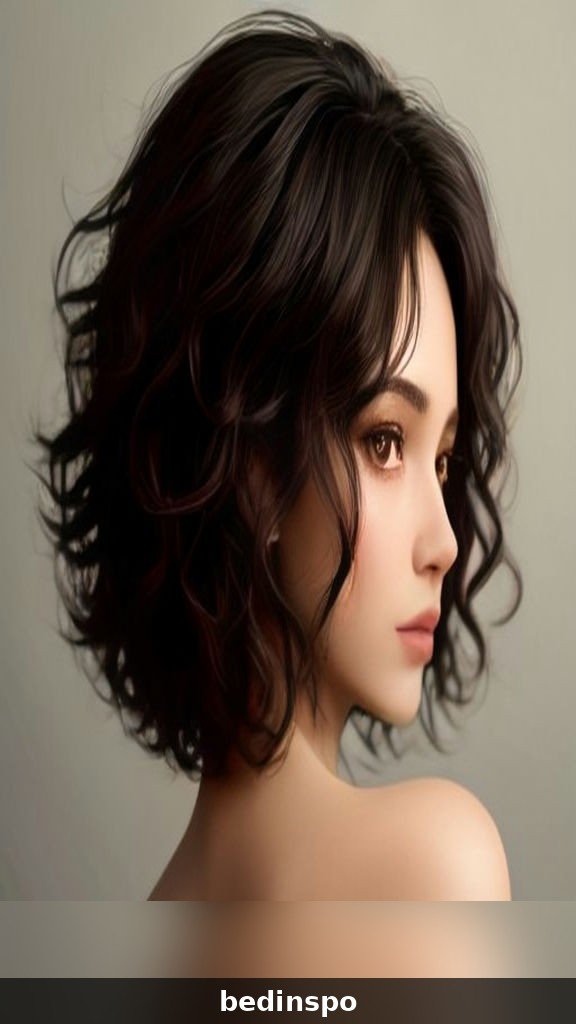
Volume Tricks for the Curly Shag
Volume is the whole point of a curly shag, so it pays to know the tricks that maximize it. The single most effective trick is root clipping: while your hair is still damp, clip small sections at the roots with claw clips or duckbill clips, lifting them away from the scalp, and let them dry that way. When you remove the clips, the roots stay lifted for hours. It takes two minutes and makes a dramatic difference, especially for wavy and loose curly hair that tends to go flat at the crown.
Other volume tricks: flip your head upside down while diffusing, which uses gravity to lift the roots. Scrunch with a microfiber towel or a cotton t-shirt instead of a regular towel, which reduces frizz and preserves the curl pattern. Once dry, gently shake the roots with your fingers — never a brush — to separate the curls and create fullness. A volumizing mousse applied directly to the roots before styling also helps. And remember: volume starts with the cut. If your shag is not giving you the lift you want, ask your stylist for shorter layers at the crown at your next appointment — sometimes the fix is in the scissors, not the products.
Second-Day Refresh: Keeping Your Shag Alive
One of the best things about a curly shag is how well it holds up on day two and day three — the layers are forgiving, and the slightly messy texture is the point. But even the best shag needs a refresh. The simplest method: mist the hair lightly with water from a spray bottle — just enough to dampen it, not soak it — then scrunch in a small amount of leave-in conditioner or curl refresher spray. Focus on the flattened sections, usually at the crown and the sides where you slept on them.
For stubborn flat spots, re-wet the section, apply a dab of gel or cream, and diffuse for a minute or two. A silk or satin pillowcase makes a huge difference for multi-day wear, reducing friction and frizz overnight. The pineapple method — gathering the hair loosely on top of the head with a silk scrunchie before bed — preserves the curl pattern and the volume at the crown. With these tricks, a curly shag easily lasts three to four days between washes, which is one of the reasons it is so beloved by people with busy schedules.
How to Ask Your Stylist: Salon Wording That Works
Walking into a salon and asking for a curly shag is only half the job — the other half is communicating exactly what you want. Start with the magic words: “I want a curly shag, cut dry, with short layers through the crown and longer layers through the back.” Mention your curl type and how much shrinkage your hair has, since that affects the length. Bring at least three reference photos of shags on hair with a similar curl pattern to yours, and point out what you like in each one — the length, the bangs, the volume.
Be specific about the details: where you want the shortest layer to start (cheekbones, chin, or collarbone), whether you want curtain bangs or no bangs, and how much length you want to keep. Ask your stylist to cut the hair dry or in its natural curl pattern, and to avoid thinning shears unless they explain why they are using them. If your stylist has never cut a curly shag before, that is a red flag — this is a cut that rewards experience with curly hair. A good stylist will also show you how to style it before you leave, so ask for a quick styling lesson. The right words in the chair save you months of growing out a cut that was not what you wanted.

Maintenance and Grow-Out: Living with a Shag
A curly shag is refreshingly low-maintenance compared to many trendy cuts, but it still needs regular upkeep to look its best. Plan on a trim every eight to twelve weeks to keep the layers fresh and the ends healthy. The trim is usually a dusting — just taking off the very ends and refreshing the shortest layers — so you are not losing length, just maintaining the shape. Between appointments, deep-condition weekly to keep the layers hydrated and defined, since the shag’s exposed surface area makes moisture loss more noticeable.
The grow-out is where the shag really earns its keep. Unlike a bob or a pixie, which goes through awkward phases, a shag simply grows into a longer shag — the layers stay proportional, the shape stays balanced, and the cut keeps looking intentional for months. If you decide you want to grow your hair long, you can go six months between cuts and still look great, just with a longer, softer version of the shape. And if you decide to change things up, the shag transitions easily into long layers or a wolf cut. It is one of the most forgiving cuts you can choose, and that flexibility is a big part of its appeal.
Color Ideas That Show Off the Layers
A curly shag and color are a match made in heaven, because the layers create natural dimension that color can enhance beautifully. Balayage is the classic pairing: hand-painted highlights through the mid-lengths and ends catch the light on every curl and make the layering pop. The effect is especially gorgeous on a long or medium shag, where the color moves through the hair as it bounces. Caramel, honey, and golden tones work beautifully on brunettes, while buttery and platinum tones suit blondes.
For a bolder look, consider a color that plays with the shag’s texture: copper and auburn shades look incredible on curly shags, because the warm tones make the curls look rich and dimensional. Peekaboo highlights — a brighter color hidden underneath the top layers — are another fun option, revealing flashes of color as the curls move. And if you love the vintage vibe, a rich, all-over color like espresso or deep chocolate gives the shag a polished, expensive finish. Whatever color you choose, ask your colorist to place it with the layers in mind, so the color enhances the cut instead of competing with it.

Common Curly Shag Mistakes to Avoid
The most common curly shag mistake happens before the cut even starts: getting it cut wet by a stylist who does not understand curl shrinkage. Wet curls stretch longer than dry curls, so layers cut wet can spring up shockingly short once the hair dries. Always insist on a dry cut or a cut done in your natural curl pattern. The second mistake is over-thinning — removing too much bulk with thinning shears, which can leave curly hair frizzy, stringy, and hard to style. Thinning should be strategic and minimal, or skipped entirely.
Other mistakes to avoid: using a brush on dry curls, which breaks up the curl pattern and creates a frizzy halo. Skipping leave-in conditioner, which the shag’s layered surface desperately needs. Applying heavy products at the roots, which weighs down the volume the layers are meant to create. And expecting the cut to do all the work — even the best shag needs a basic styling routine to look its best. Avoid these mistakes and your shag will reward you with months of great hair days.
Curly Shag for Special Occasions
A curly shag is not just an everyday cut — it dresses up beautifully for special occasions. For a wedding or a formal event, the shag’s natural volume and texture are already half the styling done. Add a few face-framing curls pinned back with decorative clips, or sweep one side behind the ear with a jeweled pin, and the cut looks instantly elegant. A half-up style works wonderfully with a shag, since the top layers gather easily while the bottom layers cascade freely.
For holiday parties and nights out, amp up the volume: diffuse with your head upside down, add a little texturizing spray at the roots, and let the curls go big. A bold lip and statement earrings complete the look, and the shag’s retro energy pairs perfectly with vintage-inspired outfits. The beauty of a curly shag at a special event is that it looks intentional and polished without looking overdone — it has personality built in, so you do not need an elaborate updo to make an impression.

Curly Shag at Every Age
One of the loveliest things about the curly shag is that it has no age limit. On younger wearers, it reads as cool, effortless, and a little rebellious — the perfect cut for someone who wants their hair to have personality. On women in their forties, fifties, and sixties, the shag is equally flattering: the volume at the crown lifts the face, the face-framing layers soften features, and the movement keeps the style looking fresh and modern rather than dated. It is one of the rare cuts that genuinely suits every generation.
For mature hair, a few adjustments make the shag even better. Slightly softer layers and a medium length tend to be most flattering, since very short, choppy layers can read as harsh on finer, aging hair. A soft shag with curtain bangs is a particularly beautiful choice for women over fifty, because the bangs soften the forehead while the layers add volume that thinning hair often needs. Silver and gray curls look stunning in a shag, too — the texture and the color together create a striking, confident look. The curly shag proves that great style has nothing to do with age and everything to do with the right cut.
Frequently Asked Questions
Will a curly shag work on my curl type?
Yes — the curly shag is one of the most adaptable cuts out there, and it works on wavy, curly, and coily hair alike. The layer placement and length simply shift with your curl pattern: looser waves need longer layers, tighter coils can handle shorter ones. The key is finding a stylist experienced with your specific curl type and having the cut done dry, so the layers are placed according to how your curls actually fall.
How often should I get a curly shag trimmed?
Every eight to twelve weeks is ideal for keeping the layers fresh and the ends healthy. The good news is that a shag grows out gracefully, so if life gets busy and you stretch it to four or five months, the cut will still look intentional — it simply becomes a longer, softer version of itself. Regular dustings of the ends are more important than frequent full reshaping.
Is a curly shag hard to style?
No — it is one of the easiest curly cuts to style. Wash, apply leave-in conditioner and your styling product, scrunch, then diffuse or air-dry. The layers are designed to fall into place on their own, and the slightly undone finish is the whole point. Most people find their routine takes ten to fifteen minutes, and the style holds up well for three to four days with a simple refresh.
What is the difference between a curly shag and a wolf cut?
The wolf cut is a shag mixed with a mullet — very short, choppy layers on top with a dramatic disconnect to a long back, giving a wilder, edgier silhouette. The curly shag is softer and more blended, with gradual layers and a rounder, more balanced shape. The shag is more versatile and easier to wear in everyday settings, while the wolf cut makes a bolder statement.
Can I get a curly shag if I have fine curly hair?
Absolutely — the shag is actually one of the best cuts for fine curly hair, because the short crown layers create lift and the textured ends make the hair look fuller. Ask your stylist to keep the layers from getting too short or too thinned out, use lightweight products like mousse and light curl cream, and diffuse upside down for maximum root volume.
Do I need bangs with a curly shag?
No, bangs are optional — but they are one of the most popular additions, because they blend so naturally into the face-framing layers. Curtain bangs are the most versatile choice and suit almost every face shape. If you are unsure, start with longer face-framing pieces that can be worn as bangs or swept to the side; you can always go shorter later.
Will a curly shag make my hair look bigger?
The shag does create volume, especially at the crown — that is part of its charm. But it is controlled volume, not unshaped width: the layers are placed to create lift on top and movement through the lengths while keeping the silhouette balanced. If you are worried about too much volume, ask for longer layers and less texturizing at the sides, which keeps the shape closer to the head while still giving you the shag’s movement.

Conclusion: Your Curls Were Made for This Cut
The curly shag haircut is more than a trend — it is a love letter to natural texture. It takes everything curly hair does best — volume, movement, bounce, personality — and builds a cut around it, instead of asking your curls to behave like someone else’s hair. With short layers on top, face-framing pieces, and longer lengths below, the shag gives every curl room to shine, and it does it with a routine so simple that great hair days stop feeling like an accident.
Whether you go short and bold, medium and versatile, or long and romantic — with curtain bangs, wispy bangs, or no bangs at all — there is a curly shag with your name on it. Bring your reference photos, find a stylist who cuts curls dry, and trust the layers to do their work. Your curls have been waiting for this cut. Go get your shag.


Related Reads
If you loved this curly shag guide, keep exploring these Bedinspo hair favorites:
- Wispy Bangs Hairstyles: 15 Soft, Face-Framing Looks You’ll Love — soft bangs that blend beautifully into a curly shag.
- 20 Gorgeous Long Layered Bob Haircuts to Try in 2026 — more layered inspiration with the same bouncy, face-framing energy.
- Braided Hairstyles: 25 Gorgeous Braids for Every Occasion — beautiful ways to style your layered curls on days you want them up.
- Sleek Ponytail Hairstyles: 25 Polished Looks You’ll Love — a polished contrast to the shag’s tousled texture, for days you want sleek.