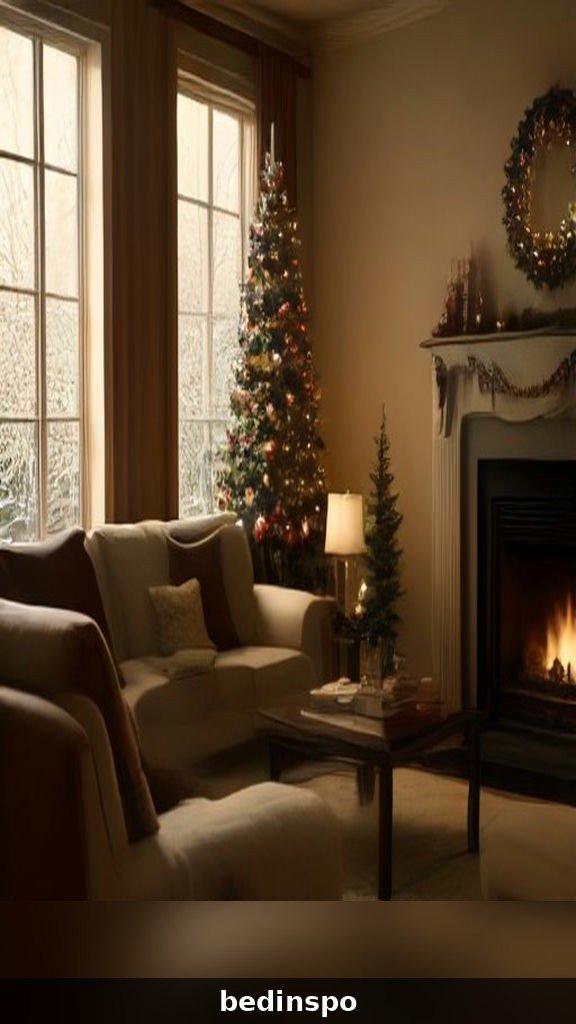
25 Christmas Village Aesthetic Ideas
25 Christmas Village Aesthetic Ideas You’ll Love
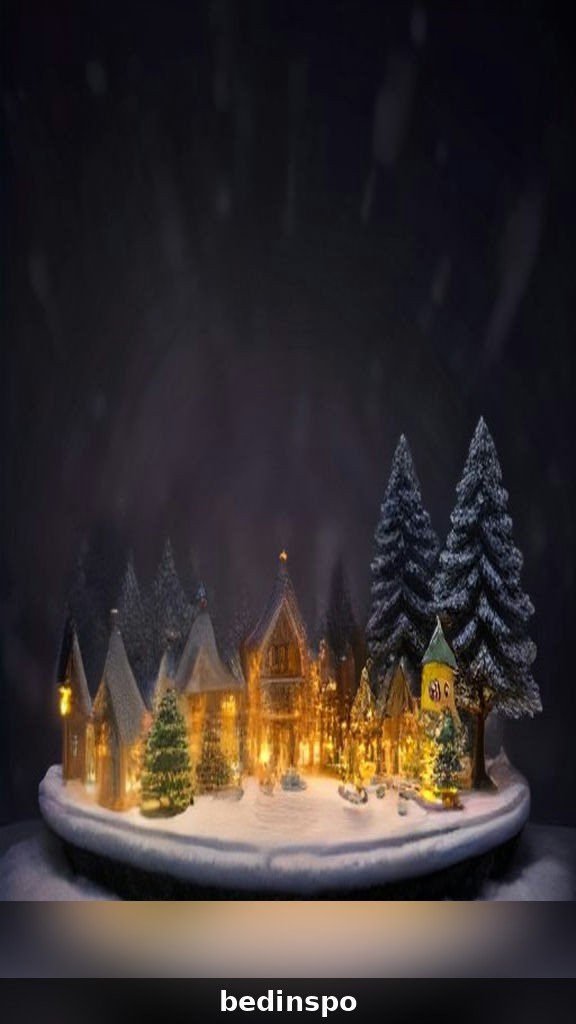
There is something magical about a Christmas village. A row of tiny ceramic houses with glowing windows, miniature trees dusted with snow, little figures skating on a frozen pond, and a tiny train winding through it all — it is a whole little world, small enough to fit on a mantel, and magical enough to make adults feel like children again. The Christmas village aesthetic is about that wonder: a miniature holiday world, glowing warmly in the corner of a dark December room.
Christmas villages have been a beloved holiday tradition for generations. Families build them slowly, adding one house or one figure each year, until the village becomes a whole little town with its own story. Some villages are elaborate, with trains, churches, and ice rinks. Others are simple — a few houses, a string of lights, and a snowy base. In this guide, you will find 25 Christmas village aesthetic ideas that help you build, display, and enjoy your own tiny holiday world, whether you are starting your first village or adding to one you have loved for years.
A Christmas village is more than a decoration. It is a ritual, a collection, and a story that grows every year. It is the decoration children remember most, the one guests always stop to look at, and the one that makes a dark winter evening feel like a fairytale. Build yours slowly, light it up in the evening, and let the tiny glowing windows remind you why Christmas feels like magic.
1. What Is a Christmas Village?

A Christmas village is a miniature holiday scene built from small ceramic or resin houses, tiny trees, miniature figures, and lights, arranged on a table, mantel, or windowsill to look like a tiny town in winter. The houses have glowing windows, the streets are dusted with fake snow, and the whole scene is lit from within, so it glows warmly in a dark room. It is a decoration, a collection, and a little world all at once.
Christmas villages come in many styles: traditional ceramic villages with Victorian houses and churches, modern villages with sleek houses and shops, rustic villages with wooden cabins and barns, and whimsical villages with candy shops and gingerbread houses. The style does not matter as much as the feeling — a tiny world, glowing in the dark, that makes you want to lean in close and look at every little detail. That feeling is the heart of the Christmas village aesthetic.
2. Starting Your First Village
Starting a Christmas village is easier than it looks, and you do not need to buy everything at once. Begin with three or four pieces: a couple of houses, a church or a shop, and a few miniature trees. Arrange them on a side table or a windowsill, add a snowy base, and you have a village. The beauty of starting small is that the village grows with you, one piece at a time, year after year.
Choose a style you love — traditional, rustic, or whimsical — and stick to it, so the village feels cohesive. Look for houses at craft stores, thrift shops, and holiday sales, where individual pieces are often very affordable. Add one new piece each year as a tradition, and let the village become a record of your family’s Christmases. A village that grows slowly is a village that tells a story.
3. Choosing the Perfect Spot
Location matters for a Christmas village, because the village needs to be seen — and it needs to be lit. The best spots are places where people naturally gather and look: a mantel, a console table, a wide windowsill, or a side table in the living room. The village should be at eye level or slightly below, so the glowing windows are easy to see, and near an outlet for the lights.
Choose a spot that is safe from bumps and curious pets, and where the village will not be in the way of daily life. A mantel is ideal because it is high, visible, and already decorated for Christmas. A windowsill is lovely because the village glows against the dark glass at night. Wherever you put it, make sure the village has room to breathe — a crowded village looks cluttered, while a village with space around it looks like a little world.
4. Ceramic Houses That Glow
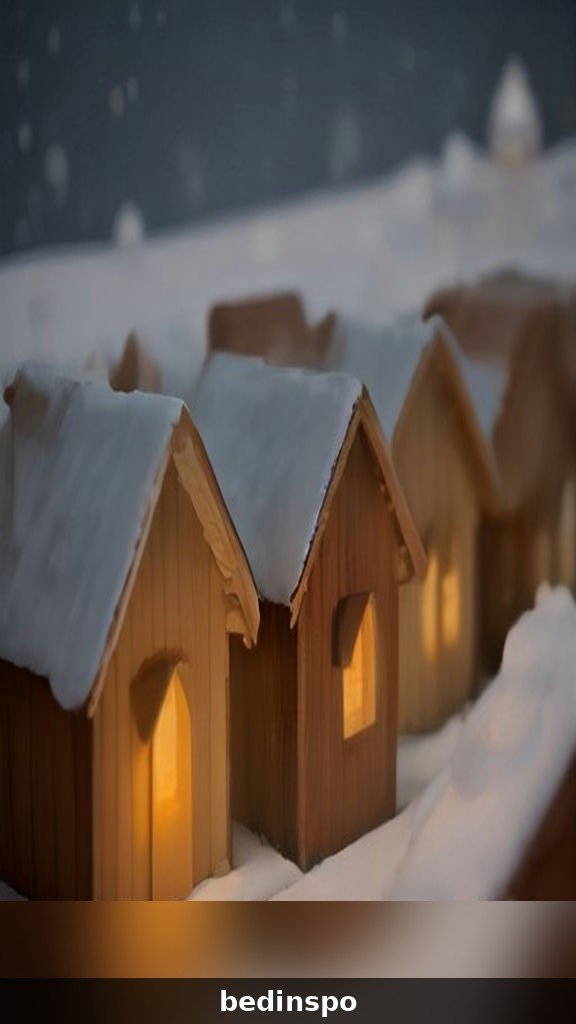
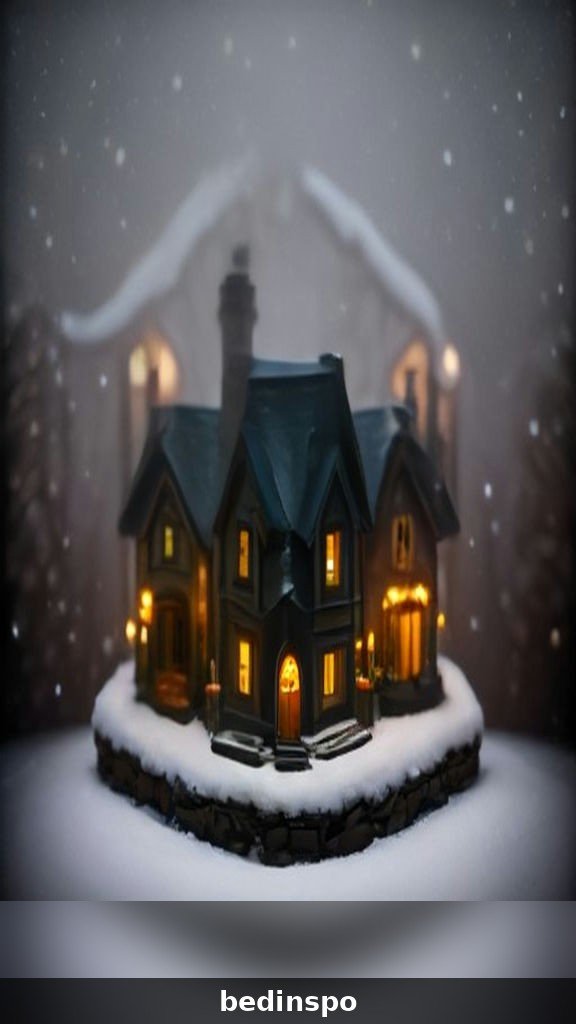
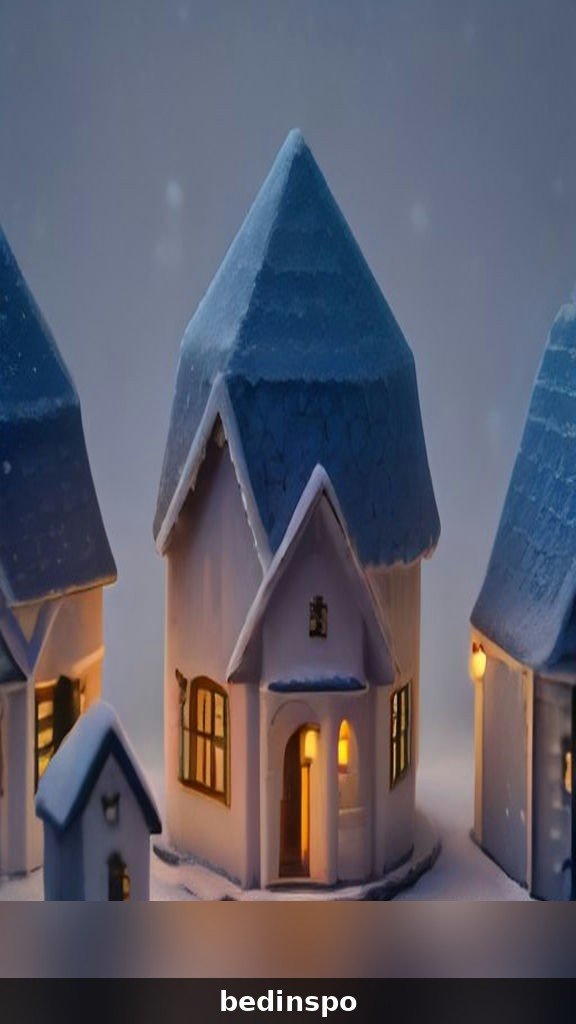
The houses are the heart of a Christmas village, and ceramic houses with glowing windows are the most beautiful kind. The warm light shining through tiny windows, the snow-dusted rooftops, and the detailed little doors and chimneys make each house feel like a real home, warm and lived-in, even though it is only a few inches tall. A row of glowing houses is one of the prettiest sights of the season.
Choose houses in a consistent style and scale, so the village looks like a real town rather than a random collection. Mix houses with shops, a church, and a schoolhouse for variety, and place the tallest buildings at the back. Battery-operated houses are the easiest to light, and they can go anywhere. When the room is dark and the village is glowing, the little houses will look like a real town on a snowy night.
5. A Snowy Base That Looks Real
The base of a Christmas village is just as important as the houses, because it creates the world the village lives in. White cotton batting, stretched thin and fluffed up, is the classic snowy base — it looks like fresh snow, it is easy to shape into drifts, and it costs almost nothing. Lay it over a board or a table, tuck the edges under the houses, and the village will look like it is sitting in a snowfield.
For a more realistic look, sprinkle fake snow or glitter over the batting, and add a few small white pebbles for texture. You can also use a white tablecloth or a sheet of white felt as a base, and shape the batting into gentle hills. The base should look soft and snowy, never flat and hard. A good snowy base makes the whole village look like a real place, and it is the foundation everything else stands on.
6. Miniature Trees and Bottle Brush Pines
No Christmas village is complete without miniature trees. Bottle brush trees — those little fuzzy trees in green, white, and pastel colors — are the classic choice, and they look wonderful clustered around the houses, along the streets, and on the village green. They are inexpensive, widely available, and they come in many sizes, so you can create a whole little forest.
Mix bottle brush trees with tiny ceramic trees and small sprigs of fresh pine for variety. Place the tallest trees at the back and the smallest ones at the front, so the village has depth. Dust the trees with a little fake snow or glitter, and they will look like they have been standing in a snowstorm. A village with plenty of trees feels alive and green, even in the middle of winter.
7. Tiny Lights, Big Magic

Lighting is what makes a Christmas village magical. A string of tiny warm white lights woven through the village, fairy lights behind the houses, and the glow from the windows themselves will turn a simple display into a glowing wonderland. The lights are the difference between a village that looks nice and a village that makes people stop and stare.
Use battery-operated fairy lights on a timer, so the village lights up every evening without you having to remember. Weave the lights behind the houses, along the streets, and through the trees, and hide the battery pack under the snowy base. Warm white lights look best — they mimic the glow of real windows and streetlights. When the room is dark and the village is glowing, the whole scene will feel like a tiny world that is truly alive.
8. Village Figures and Characters
Figures bring a Christmas village to life. Tiny carolers, children building a snowman, a couple skating on a pond, a Santa with his sleigh, and a lamplighter on the street corner — each little figure adds a story to the village, and together they make it feel like a real town full of people. Figures are the detail that turns a display into a world.
Choose figures that match the scale of your houses, and place them in natural spots: carolers near the church, children near the snowman, skaters on the pond, and shoppers near the stores. Do not overcrowd the village — a few well-placed figures are better than dozens crammed together. The figures should look like they belong in the scene, going about their tiny holiday lives, and that is what makes the village feel real.
9. A Village on the Mantel
The mantel is the classic place for a Christmas village, and for good reason. It is high, visible, and already the focal point of the living room, and a village glowing on the mantel will draw every eye in the room. Arrange the houses along the mantel, with the tallest at the back and the smallest at the front, and let the village span the whole width.
Drape a garland along the front of the mantel, and let the village sit behind it, so the greenery frames the little town. Add a string of fairy lights, a few miniature trees, and a snowy base that runs the length of the mantel. The village on the mantel becomes the heart of the living room, and in the evening, when the lights are on and the fire is lit, it is the most beautiful sight in the house.
10. A Window Village Display
A Christmas village in a window is pure magic. The glowing houses against the dark glass, with the snow outside and the warm light inside, create a scene that looks like a snow globe come to life. From outside, the village glows like a tiny town in the window. From inside, it frames the winter night beautifully.
Build the village on a wide windowsill or a narrow table placed in front of the window, and keep it low so it does not block the view. Use battery-operated lights so there are no cords to hide, and add a few miniature trees for height. A window village is especially beautiful in the evening, when the room is dark and the village is the brightest thing in the house. It is a display that delights everyone who sees it, inside and out.
11. A Christmas Village Centerpiece
A small Christmas village makes a wonderful dining table centerpiece. Arrange a few houses, some miniature trees, and a string of fairy lights on a wooden board or a woven tray, and place it down the center of the table. The village becomes the conversation piece of every meal, and it glows beautifully in the candlelight.
Keep the centerpiece low, so guests can see each other across the table, and use battery-operated lights to avoid cords. A centerpiece village should be small — three or four houses, a few trees, and a snowy base — so it leaves room for plates and food. When the candles are lit and the village is glowing, the table will feel like a holiday postcard.
12. Adding a Train to the Village
A tiny train winding through a Christmas village is one of the most delightful sights of the season. The train adds movement and sound to the scene, and children will watch it go around for hours. A small battery-operated train on a circular track, running around the village, turns a static display into a living one.
Choose a train that matches the scale of your houses, and lay the track in a loop around the village, or in a figure-eight through the middle. Add a tiny station, a few trees along the track, and a crossing sign for detail. The train does not need to be elaborate — even a simple loop will bring the village to life. A village with a train is a village that feels like a real place, with somewhere to go.
13. A Village Under the Tree
The space under the Christmas tree is the perfect home for a Christmas village. The village sits in the glow of the tree lights, surrounded by presents, and it becomes part of the tree itself. Arrange the houses in a circle around the base of the tree, with the miniature trees and figures filling in the gaps, and the whole scene will look like a winter wonderland.
Use a snowy base under the village, and let the tree skirt or a woven basket hide the edges. Keep the village low and spread out, so it does not compete with the tree, and use battery-operated lights to avoid extra cords. A village under the tree is especially magical for children, who will spend hours looking at the tiny houses and imagining the people who live in them.
14. DIY Village Houses
Making your own village houses is one of the most rewarding Christmas crafts. Small wooden houses, clay cottages, and houses made from cardboard and paint can be just as beautiful as store-bought ones, and they carry the mark of the person who made them. A handmade village is completely unique, and it is a wonderful family project.
Start with simple wooden house shapes from a craft store, paint them in soft colors, add tiny windows with a marker, and dust the rooftops with white paint for snow. Or make houses from cardboard, with cut-out windows that glow when you place a tea light inside. Children love making village houses, and the ones they make will be treasured long after the store-bought ones are forgotten.
15. A Vintage Village Collection
Vintage Christmas villages — the ceramic houses from the seventies, eighties, and nineties — have a charm that new villages cannot imitate. The colors are softer, the details are hand-painted, and each house carries the mark of the era it was made in. Collecting vintage village pieces is a wonderful hobby, and a vintage village is a beautiful display.
Look for vintage houses at thrift stores, flea markets, and estate sales, where individual pieces are often very affordable. Mix houses from different years and makers, and let the village look collected rather than matched. The slight differences in color and style are part of the charm. A vintage village is not just a decoration — it is a piece of Christmas history.
16. A Village in a Glass Cloche

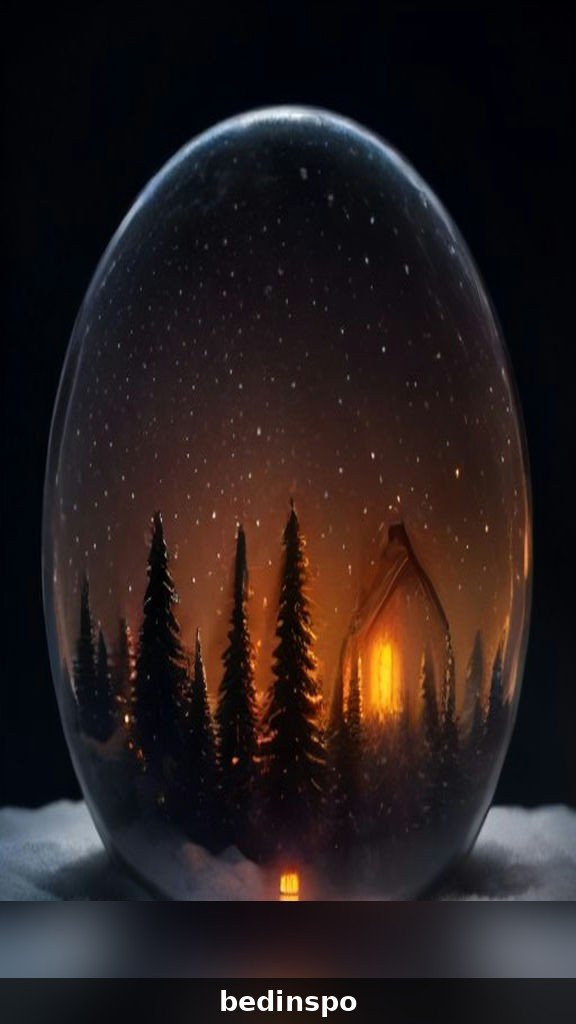
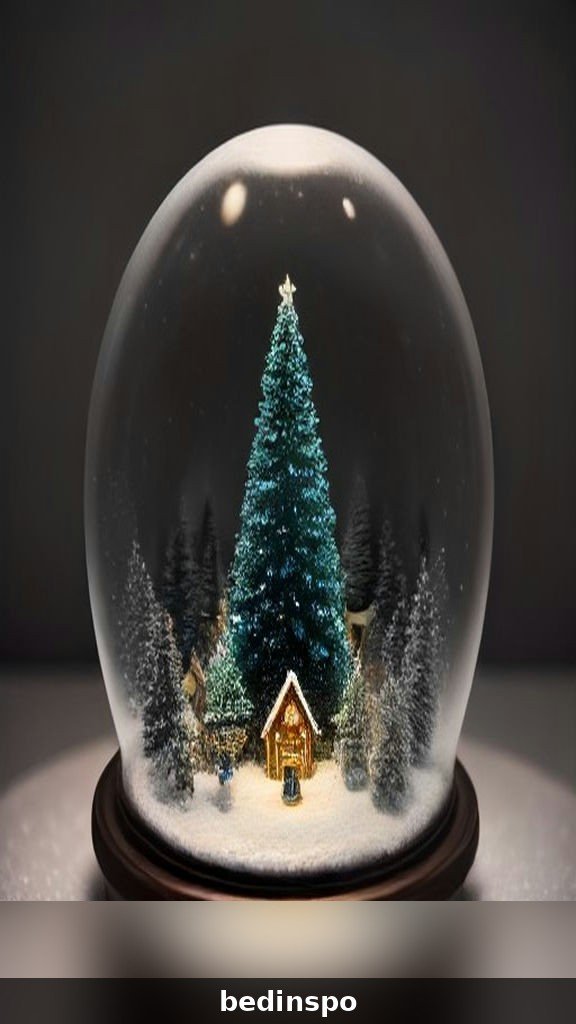
A Christmas village under a glass cloche is like a snow globe without the water — a tiny world, perfectly preserved under glass, glowing softly in the corner of a room. The cloche protects the village from dust and curious hands, and it makes the display feel precious and special. It is a beautiful way to display a small village, especially if you have young children or pets.
Build a small village on a wooden base — two or three houses, a few trees, and a snowy base — and place the cloche over it. Add a string of battery-operated fairy lights inside, and the village will glow through the glass. A cloche village looks wonderful on a side table, a bookshelf, or a mantel, and it is a display that guests will always stop to admire.
17. Snowy Village Rooftops
Snowy rooftops are what make a Christmas village look like winter. The white dusting on every roof, the icicles on the eaves, and the snow piled on the chimneys create the feeling of a town after a fresh snowfall. If your houses did not come with snow, you can add it yourself with white paint, fake snow, or a little glitter.
Use a small brush to paint white acrylic paint on the rooftops, letting it drip slightly at the edges for an icicle effect. Sprinkle fine glitter over the wet paint for sparkle, and let it dry completely. The snowy rooftops will catch the light from the village windows and the fairy lights, and the whole village will look like it is sitting in fresh snow. It is a small detail with a big effect.
18. A Village for Kids to Play With
A Christmas village does not have to be a look-but-do-not-touch display. A play village — made from sturdy wooden houses, felt trees, and chunky figures — is a wonderful toy that children can rearrange, play with, and make their own. A play village teaches imagination, and it becomes one of the most loved Christmas traditions in the house.
Build the play village on a low table or a rug, where children can reach it easily. Use wooden or felt pieces that will not break, and let the children arrange the houses, move the figures, and tell stories about the tiny town. The play village will look different every day, and that is the point. A village that children can touch is a village that becomes part of their Christmas memories.
19. A Village Christmas Tree Theme
A Christmas village theme for the whole tree is a wonderful idea. Decorate the tree with miniature house ornaments, tiny trees, small figures, and warm white lights, and let the tree itself become a village. Hang the house ornaments at different heights, add a few miniature street lamps, and top the tree with a glowing star.
The village tree works beautifully with a village display underneath — the tree above and the village below create a whole little world in one corner of the room. Use ornaments in the same style and colors as your village houses, so the tree and the village feel like they belong together. A village-themed tree is a charming, cohesive look that guests will love.
20. Lighting Your Village at Night
A Christmas village is at its most magical at night, when the room is dark and the village is glowing. The key is to light it well: the windows of the houses, the fairy lights woven through the scene, and a few street lamps will create layers of warm light that make the village look like a real town at night. Lighting is what turns a display into a wonderland.
Use a timer so the village lights up every evening at the same time, and turns off when you go to bed. Place the village where it can be seen from the sofa, so you can enjoy it while you relax in the evening. Turn off the overhead lights, light a candle, and let the village glow. In the dark, the tiny windows and twinkling lights will feel like a real place, far away and full of warmth.
21. A Village on the Stairs
A staircase is a wonderful, unexpected place for a Christmas village. Arrange the houses along the steps, with the tallest at the top and the smallest at the bottom, and the village will cascade down the stairs like a little hillside town. The stairs give the village natural levels and depth, and the display will be visible from all over the house.
Place a house or two on each step, with miniature trees and figures filling in the gaps, and run a string of fairy lights along the banister. Use battery-operated lights to avoid cords on the stairs, and secure the houses with a little museum putty so they do not slide. A village on the stairs is a surprising, delightful display that guests will remember long after they leave.
22. Mixing Old and New Pieces
The most beautiful Christmas villages mix old and new. A vintage ceramic house beside a new resin shop, an old bottle brush tree next to a new LED-lit house, and a handmade figure beside a store-bought one — the mix is what makes the village feel collected and real, like a town that has grown over time. Do not worry about matching everything perfectly.
The key to mixing is consistency in scale and color. Keep the houses roughly the same size, and stick to a consistent palette — warm whites, soft greens, and glowing golds — so the village feels cohesive even when the pieces come from different eras. A village that mixes old and new tells a story, and that story is what makes it feel like a real place.
23. Storing Your Village Safely
Christmas village pieces are delicate, and proper storage is essential if you want them to last for years. Wrap each house individually in tissue paper or bubble wrap, store them in sturdy boxes with dividers, and label each box clearly. Keep the boxes in a cool, dry place, away from attics that get too hot or basements that get damp.
Take a photo of your village before you pack it away, so you remember the arrangement next year. Store the lights, the trees, and the figures separately, and check the battery packs before you put them away. A little care in storage means your village will come out next December looking just as beautiful as it did this year, ready to glow again.
24. Growing the Village Each Year

The loveliest tradition of a Christmas village is growing it, one piece at a time. Each year, add one new house, one new figure, or one new accessory — a tiny train, a skating rink, a new shop — and watch the village grow with your family. The new piece becomes a memory of that Christmas, and the village becomes a record of the years.
Make the new piece a gift: give a house to a child, buy a figure on a family trip, or choose a new piece together on a holiday shopping day. Over the years, the village will become a collection of memories, each piece with its own story. A village that grows slowly is a village that is loved, and it is one of the most meaningful Christmas traditions you can keep.
25. The Magic of a Tiny World

In the end, a Christmas village is magic because it is small. A tiny world, glowing in the dark, reminds us that wonder does not need to be big — it just needs to be real. The little houses, the tiny trees, the glowing windows, and the miniature figures all add up to something larger than themselves: a feeling of warmth, hope, and the simple joy of Christmas.
This year, build a village — even a small one, even just three houses on a windowsill — and light it up in the evening. Sit with it for a few minutes, in the dark, with a warm drink, and let the tiny glowing windows remind you why you love this season. A Christmas village is a small thing, but it holds a very big feeling, and that is the magic of a tiny world.
Frequently Asked Questions
How do I start a Christmas village?
Start small with three or four pieces: a couple of houses, a church or a shop, and a few miniature trees. Arrange them on a table or mantel with a snowy base, add a string of battery-operated fairy lights, and you have a village. Add one new piece each year, and the village will grow with your family.
Where is the best place to display a Christmas village?
The best spots are places where people naturally gather and look: a mantel, a console table, a wide windowsill, or a side table in the living room. Choose a spot at eye level or slightly below, near an outlet if you use plug-in lights, and safe from bumps and pets.
How do I light a Christmas village?
Use battery-operated fairy lights woven through the scene, and houses with built-in lights or tea lights inside. Warm white lights look best. Put the lights on a timer so the village glows every evening, and hide battery packs under the snowy base.
What should I use for the snowy base?
White cotton batting, stretched thin and fluffed up, is the classic snowy base — it looks like fresh snow and costs almost nothing. You can also use a white tablecloth, white felt, or fake snow sprinkled over a board. Shape the batting into gentle drifts for a realistic look.
How do I store a Christmas village safely?
Wrap each house individually in tissue paper or bubble wrap, store them in sturdy boxes with dividers, and label each box. Keep the boxes in a cool, dry place. Take a photo of your village before packing it away, so you can recreate the arrangement next year.
Can children play with a Christmas village?
Yes — build a separate play village with sturdy wooden or felt pieces that children can rearrange and play with. Keep the delicate ceramic village on a high shelf or mantel, and let the play village be the one that gets touched, moved, and loved.
Conclusion
A Christmas village is a tiny world of wonder, small enough to fit on a mantel and magical enough to make the whole room glow. Glowing houses, snowy rooftops, miniature trees, and tiny figures add up to something larger than themselves: a feeling of warmth, hope, and the simple joy of Christmas. Whether your village is three houses or thirty, it is a tradition worth keeping.
Start your village this year — even a small one — and light it up in the evening. Add one piece each Christmas, and watch the little town grow with your family. Save this guide, share it with a friend who loves miniature magic, and have a Christmas full of tiny, glowing wonder.




You May Also Like
- Gingerbread Christmas Decor — Sweet gingerbread Christmas decorating with warm spice colors and cozy holiday charm.
- Moody Christmas Decor — Rich, dramatic Christmas decorating with deep colors and warm candlelight.
- Christmas Mantel Decor Ideas — Festive mantel styling with garland, candles and stockings for a magical holiday.
- Fireplace Christmas Decor Ideas — Cozy fireplace Christmas looks with stone, wood and warm glowing light.