Heatless Curls Overnight: 7 Easy Ways to Wake Up with Gorgeous Curls
Heatless Curls Overnight: 7 Easy Ways to Wake Up with Gorgeous Curls
Imagine rolling out of bed, shaking out your hair, and having perfect, bouncy curls — without ever touching a curling iron. That is the magic of heatless curls overnight, and it is not a fairy tale. Millions of women have swapped their morning heat-styling routine for a five-minute nighttime wrap, and their hair has never been healthier.
Heat styling breaks down your hair a little more every single day. Do it daily and you get dryness, split ends, frizz, and breakage that no deep conditioner can fully undo. Overnight heatless curls give you the same glamorous result — soft spirals, beachy waves, or big bouncy curls — using nothing but damp hair, a little patience, and gravity.
In this guide you’ll find seven proven methods ranked from easiest to most defined, the exact prep routine that makes or breaks the result, fixes for every common fail (frizz, dents, curls that fall by noon), and the best products to use. Pick your method tonight — your future self, sleeping in an extra twenty minutes, says thanks.
Why Heatless Curls Are Worth the Hype

Let’s start with the obvious: your hair grows about half an inch a month, but a hot tool habit can break it off faster than it grows. That is why so many women feel stuck at the same length for years. Removing daily heat is the single most effective change you can make for length retention and shine — and overnight curls make it painless, because the styling happens while you sleep.
There is also a money argument. A good curling iron costs $50–$150 and needs replacing; a silk curling rod costs about ten dollars and lasts for years. And there is the morning argument: instead of 25 minutes of sectioning, clamping, and spraying, you spend two minutes shaking out and fluffing. Your curl pattern sets slowly over six to eight hours, which is exactly why overnight curls tend to look softer and more natural than heat curls — and often last longer, too.
One honest note before we dive in: heatless curls reward the right prep. Hair should be slightly damp — not wet, not dry — and your method should match your hair type and length. Get those two things right and every method below works beautifully.
What You Need Before You Start: The Perfect Prep Routine

Great overnight curls are 50% prep. Start with clean or second-day hair; freshly washed hair holds a set best, but day-two hair with a light mist of water works too. The golden rule is dampness: hair should feel cool and slightly moist, like a towel you wrung out well. Soaking-wet hair won’t dry by morning (hello, damp frizz), and bone-dry hair won’t take the shape at all.
- Leave-in conditioner — a pea-size amount through the lengths for moisture and slip.
- Curl cream or lightweight mousse — your setting power. Mousse gives the strongest hold for fine or straight hair; cream suits thick, coarse, or naturally wavy hair.
- A detangling brush — tangles become bends and frizz by morning, so brush smooth first.
- Your method’s tools — silk rod, satin scrunchies, flexi rods, or just your own hands for braids.
- A satin bonnet or silk pillowcase — cotton steals moisture and roughs up curls; satin lets them slide and survive the night.
Apply products to damp hair, brush everything smooth, and part your hair where you normally wear it — overnight curls set your part too, so choose tonight where tomorrow’s part lives. Now pick your method.
Method 1: The Heatless Curling Rod (The Viral Favorite)

The silk or satin curling rod — that long, padded, bendy tube all over your feed — is popular for a reason: it produces the most polished, curling-iron-like results of any method here, with big, uniform spirals that look like a fresh blowout.
Here’s how: clip the rod to the top of your head like a headband. Take a small section of hair from the front, wrap it away from your face over the rod, then pick up more hair with each wrap as you work toward the back — exactly like a French braid pattern, but around the rod. Repeat on the other side, secure both ends with satin scrunchies, and tuck the rod’s ends up or back. Sleep, wake, unwind gently, and separate the curls with your fingers — never a brush.
Best for: medium to long hair, all hair types. Result: defined, glossy, uniform curls. Watch out for: wrapping too tightly near the face, which creates a dent at the cheekbone — keep the first wrap a little loose.
Method 2: Braids for Soft, Beachy Waves

The oldest heatless method in the book still delivers. Braiding damp hair before bed creates soft, crimped waves with a beachy, undone texture that looks amazing on every length from bob to waist.
The number of braids controls the result. One loose French braid gives gentle, flowing waves with volume at the root. Two braids (one each side) give more defined, even waves — the classic choice. Four to six smaller braids create a tighter, mermaid-like crimp with lots of texture. Braid all the way to the very ends and secure with a small soft elastic, because the last straight inch is the part everyone forgets — and it’s the part that shows.
Best for: every hair type and length past the shoulders. Result: soft waves, not true curls. Pro tip: braid on hair that’s 80% dry for waves that hold; braid looser at the top if you want volume rather than flat, tight roots.
Method 3: Sock Curls (The Zero-Cost Method)

No tools? No problem. The sock method uses ordinary soft socks as curlers, and the results — big, bouncy, vintage-style curls — are shockingly good for something from your laundry basket.
Use two to four long, soft socks. Divide damp hair into sections (four is a good start). Place a sock at the end of a section and roll the hair up toward your head, or wrap the section around the sock downward — both work; rolling up gives more curl at the ends, wrapping gives a spiral. Tie the sock’s ends in a soft knot at the top or side of your head where it won’t dig in while you sleep. In the morning, untie, unroll, and shake.
Best for: medium and long hair; great for beginners. Result: large, soft, bouncy curls. Comfort tip: position the knots on top of your head, not at the back, if you’re a back-sleeper.
Method 4: Flexi Rods and Foam Rollers for Defined Spirals
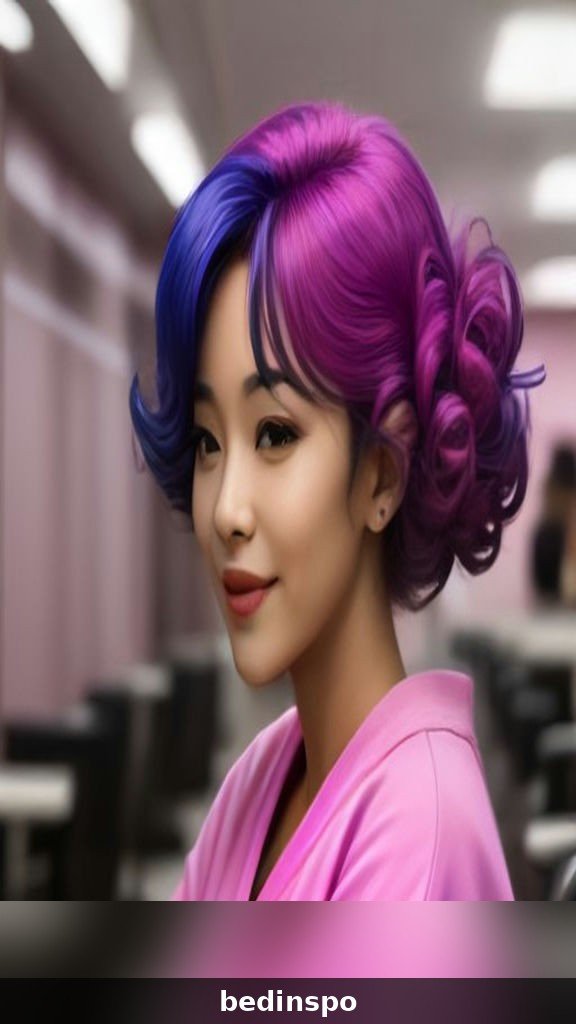
When you want real spirals — defined, springy, roller-set curls — flexi rods and foam rollers are the tools. These bendable rods come in sizes: thick rods for big curls, thin rods for tight spirals. This is the method salons used for decades before heat took over, and it still produces the most “set” curl of all.
Work in small, even sections (about an inch wide). Smooth each section with a little mousse, place the rod at the end, and roll up toward the root, keeping tension even. Bend the rod’s ends to lock it. Smaller sections and smaller rods mean tighter, longer-lasting curl. Because the rods are foam or soft rubber, most people sleep in them comfortably — but a satin bonnet over the top keeps everything in place and frizzy edges away.
Best for: all lengths including shorter hair; anyone wanting defined curls. Result: springy spirals that last for days. Time: 15–20 minutes to put in — the most effort, the most payoff.
Method 5: The Pineapple and Loose Top Bun for Natural Curls

If you already have curly or wavy hair, your overnight goal isn’t creating curl — it’s protecting it. That’s where the pineapple comes in: the beloved method of gathering hair into a very loose, high ponytail right on top of your head with a satin scrunchie.
Flip your head upside down, gather everything loosely (one pass of the scrunchie only — tight equals a dent), and let the curls cascade over the top. Your curls sleep above your head instead of being crushed under it, so they keep their shape, volume, and definition. In the morning, take it down, shake at the roots, and refresh any flat pieces with a spritz of water and leave-in.
Best for: naturally curly and wavy hair, any length past the chin. Result: preserved, refreshed natural curls — day two and three hair that looks like day one.
Method 6: Headband Curls (The Comfort Champion)

If you can’t stand sleeping with anything bulky on your head, headband curls are your method. You wear a soft elastic or satin headband around your head — over your hairline, hippie-style — and simply tuck sections of damp hair up and around the band, working from front to back until everything is wrapped.
The curls this creates are soft, romantic, and vintage — loose spirals that fall around the shoulders beautifully. Because the band sits flat, it’s by far the most comfortable method to sleep in, and it’s gentle on edges and hairlines since there’s almost no tension. The trade-off is definition: headband curls are softer and loosen faster than rod curls, so this is the pick for waves-and-body days rather than special-event spirals.
Best for: medium to long hair; sensitive sleepers; fine hair that dents easily. Result: soft, old-Hollywood waves.
Method 7: Rope Braids and Twists for Tight, Uniform Curls

For hair that refuses to hold a curl — very straight, silky, or heavy hair — rope braids are the secret weapon. A rope braid twists two strands around each other, and that constant tension creates a stronger set than a regular braid.
Divide damp hair into two (or four) sections. Split each section in two, twist each strand in the same direction, then wrap the two strands around each other in the opposite direction. It sounds fiddly; after two tries it’s muscle memory. The result in the morning: tight, uniform, ropey spirals that can be left as-is for a textured look or separated for big volume. Flat twists work similarly and lie flatter for sleeping — a favorite for natural hair, where twist-outs are a whole art form.
Best for: stubborn straight hair and natural hair alike. Result: the tightest, longest-lasting heatless curl of the braid family.
How to Make Your Overnight Curls Last All Day

The saddest heatless story: perfect curls at 7 a.m., gone by lunch. Here’s how to stop the fade. First, don’t touch your hair until it’s 100% dry — disturbing damp curls is the number-one cause of morning frizz. Second, when you unwind, separate curls with fingers coated in a drop of lightweight hair oil; this seals each curl and prevents the fluffy halo.
Third, set the style: a light mist of flexible-hold hairspray or a texturizing spray after separating gives fine hair the grip it needs. Fourth, hands off during the day — every touch breaks the curl clumps that create definition. And fifth, for day two, refresh instead of redoing: mist with water mixed with a little leave-in conditioner, scrunch, and let dry. Most overnight curl styles easily refresh for a second full day.
If your curls consistently fall within hours, the fix is usually smaller sections, more mousse, or wrapping on hair that’s a touch damper. Overnight styling is a formula — adjust one variable at a time and you’ll find yours.
Heatless Curls for Short Hair

Short-haired girls are not excluded from the overnight curl club — you just need smaller tools. Flexi rods in the thinnest size are the best bet for bobs and lobs, since they grip short sections securely. Pin curls are the vintage alternative: wrap small sections around two fingers, slide off, and pin the coil flat with a bobby pin — flat against the head, so they’re comfortable to sleep in and create gorgeous retro waves.
For bobs, even two small braids or a pair of mini sock curls at the front can add the bend and movement that makes a bob look styled instead of slept-in. Keep sections small and products light; short hair gets weighed down and dented more easily. A satin pillowcase matters even more for short hair, because there’s less length to absorb the friction.
Reality check: true pixie cuts are mostly too short for overnight methods — for pixies, a nighttime silk scarf wrap to keep the shape smooth is the better overnight move.
Heatless Curls for Long and Thick Hair
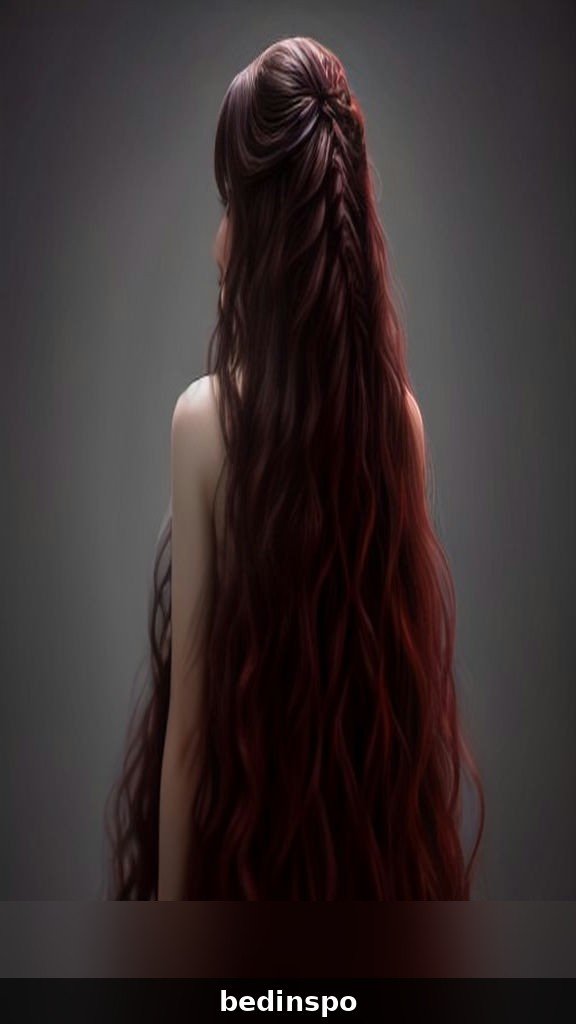
Long, thick hair is where heatless curls save the most time — curling it with a wand can take 45 minutes — but it needs adjustments. Your mantra: more sections, more time. Four to six sections (two rods, four braids, or jumbo flexi rods) ensure the inside layers actually dry and set, which is where thick hair usually fails.
Start earlier in the evening when you can; giving thick hair an extra hour or two of set time before bed makes a real difference. Use strong-hold mousse rather than cream, which can be too heavy, and be extra strict about the damp rule — thick hair that goes in wet will still be wet at the crown in the morning. If mornings are rushed, do your wrap right after your evening shower and let the set run 10–12 hours; thick hair rewards the long game with curls that hold for two or three days.
Common Mistakes That Ruin Overnight Curls
Starting with Hair That’s Too Wet
The classic error. Hair set soaking wet can’t dry inside the wrap, so you wake up to damp, limp, frizzy hair. Aim for 70–80% dry — damp to the touch, not dripping. When in doubt, wait fifteen more minutes.
Skipping Product Entirely
Water alone has no memory. Without mousse, gel, or curl cream, the set has nothing holding it, especially on straight or fine hair. A golf-ball of mousse is cheap insurance.
Wrapping Uneven Sections
One huge section and three tiny ones equals one flat patch and three tight spirals. Even sections — even if it takes an extra two minutes — are the difference between “salon” and “sleepover craft project.”
Brushing Out the Curls
A brush turns defined curls into a frizzy triangle in ten seconds. Fingers only, or a very wide-tooth comb on wavy styles. If you want more volume, flip your head and shake at the roots instead.
The Best Products for Heatless Styling (What Actually Matters)

You don’t need a shelf of products — you need four things that work. A lightweight leave-in conditioner for moisture. A strong-hold mousse (fine/straight hair) or curl cream (thick/coarse/natural hair) for memory. A lightweight oil or serum for the morning shake-out, to seal and shine. And satin everything for the night: scrunchies that don’t dent, a bonnet or pillowcase that doesn’t steal moisture.
If you buy one upgrade, make it the silk curling rod kit — it’s the easiest on-ramp and the method most beginners succeed with on night one. Everything else on this list you probably already own: socks, a headband, your own two hands for braids. Heatless curls are the rare beauty routine that asks for less — less heat, less money, less morning time — and gives back more.
Frequently Asked Questions
Do heatless curls really work on straight hair?
Yes — straight hair is actually who these methods were made for. The keys for straight hair are mousse for hold, smaller sections, and rope braids or flexi rods for the strongest set. Your first attempt may fall softer than you hoped; by the third try, once you’ve dialed in dampness and product, straight hair holds overnight curls beautifully.
How long do heatless curls last?
Typically one to three days depending on hair type and method. Rod and flexi-rod sets last longest; headband waves are a one-day style. Refreshing with a water-and-leave-in mist on day two revives most styles for another full day.
Can I do heatless curls every night?
You can, and it’s far gentler than daily heat — but give your hair some nights off, and vary your method so you’re not putting tension on the same spots nightly. Always use satin accessories, and never wrap tightly enough to pull at the hairline.
Why did my heatless curls come out frizzy?
Almost always one of three causes: hair was too wet when wrapped, the curls were touched or separated before fully dry, or you brushed them out. Fix the dampness level first — it’s the culprit nine times out of ten.
Conclusion

Heatless curls overnight are the rare beauty hack that delivers exactly what it promises: real curls, zero damage, and mornings that start with a shake-out instead of a styling session. Start with the silk rod if you want polish, braids if you want effortless waves, or flexi rods if you want spirals that last for days. Give yourself three tries to learn your hair’s formula — dampness, product, section size — and you’ll never go back to the daily heat routine.
Save this guide to your hair board, pick tonight’s method, and set out your satin scrunchies. Tomorrow morning, the mirror is going to make you smile.