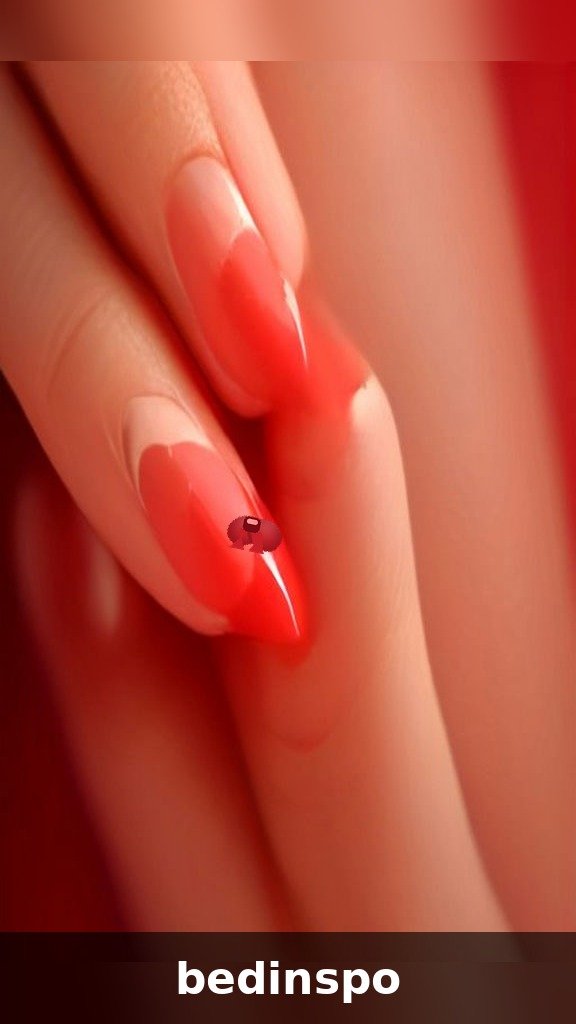
15 Candy Cane Nail Ideas (2026)
15 Candy Cane Nail Ideas (2026)

Nothing screams Christmas quite like candy canes. Those iconic red-and-white stripes are festive, fun, and instantly recognizable — which makes them absolutely perfect for holiday nails. Candy cane nails have been trending on Pinterest and TikTok every December for years, and in 2026 they’re bigger than ever, with creative new twists on the classic striped look.
The beauty of candy cane nail art is its versatility. You can go bold with full-on striped nails, keep it classy with a single accent nail, or get creative with 3D elements, glitter, and ombre effects. Whether you’re a nail art pro or a total beginner armed with a toothpick, there’s a candy cane design here for you.
Below you’ll find 15 candy cane nail ideas with step-by-step instructions for each, plus a complete beginner’s toolkit list and pro tips to make your stripes crisp and clean. Let’s get striping!
1. Classic Red & White Candy Cane Stripes

The OG candy cane nail look — diagonal red and white stripes across every nail. This timeless design is bold, festive, and surprisingly easy once you get the hang of striping. It’s the manicure equivalent of hanging the first ornament on the tree.
- Apply a white base coat to all nails and let it dry completely (this is crucial — a tacky base will smudge your stripes).
- Using a thin striping brush or nail art pen loaded with red polish, paint diagonal stripes across each nail. Keep them evenly spaced.
- For extra crisp lines, use striping tape: place thin strips diagonally, paint red over the whole nail, then peel the tape off while the polish is still wet.
- Seal with a glossy top coat to smooth out any texture from the stripes.
Pro tip: Striping tape is the secret weapon for perfect candy cane stripes. It’s cheap, reusable, and gives you razor-sharp lines that freehand painting just can’t match. Apply the tape to fully dry white polish, press the edges down firmly, then paint and peel immediately.
2. Candy Cane French Tips
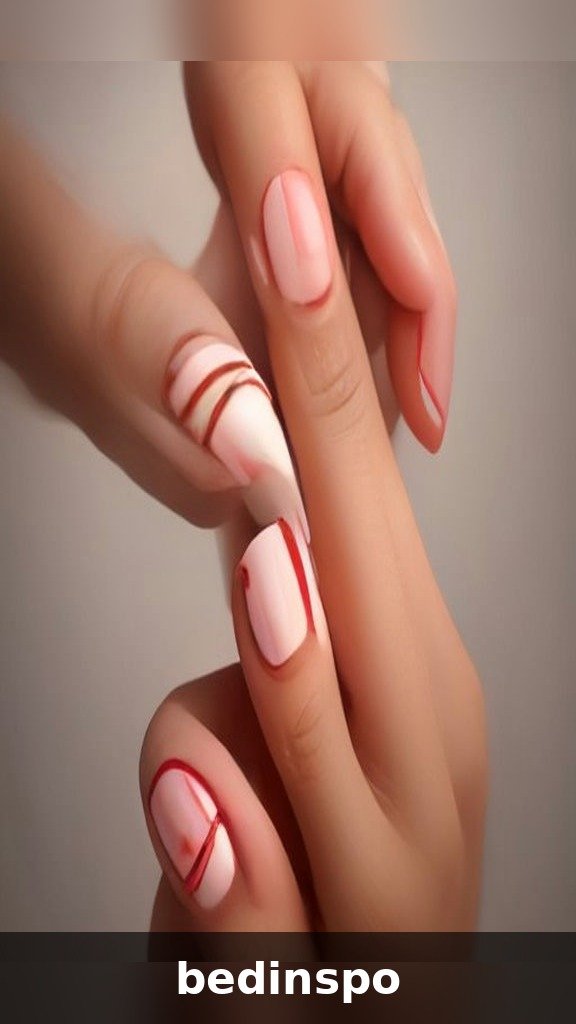
Take the elegant French manicure and give it a holiday twist — instead of plain white tips, paint them with mini candy cane stripes. This look is office-party appropriate but still totally festive, making it perfect if you want Christmas nails that don’t scream.
- Apply a sheer nude or pale pink base to all nails.
- Paint classic French tips in white using guides or a steady hand.
- Once the white tips are dry, add thin diagonal red stripes across just the tip area with a striping brush.
- Top coat everything for a smooth, glossy finish.
Pro tip: Keep the red stripes thinner than you think — about half the width of the white tip. Delicate stripes look elegant; thick ones can look cartoonish on a French tip.
3. Peppermint Swirl Ombre
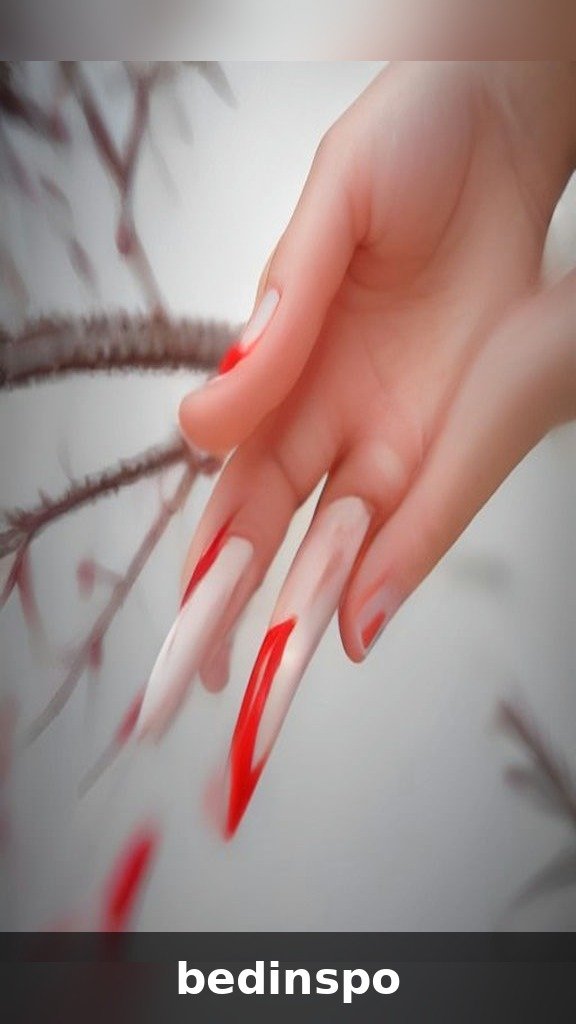
This dreamy design blends red into white in a soft ombre, then adds subtle swirl details for a peppermint-candy effect. It’s like the nail version of a swirled peppermint lollipop — sweet, soft, and totally Instagram-worthy.
- Apply a white base coat to all nails.
- On a makeup sponge, paint horizontal stripes of red and white polish side by side.
- Dab the sponge onto each nail, reloading polish as needed, to create a blended red-to-white ombre.
- Clean up the cuticles with a small brush dipped in acetone.
- Once dry, use a thin brush to add a few curved swirl lines in a deeper red for the peppermint effect.
- Seal with top coat.
Pro tip: Sponge ombres always look better with two rounds. Let the first sponged layer dry completely, then do a second pass — the color will be richer and the blend smoother.
4. 3D Candy Cane Charms
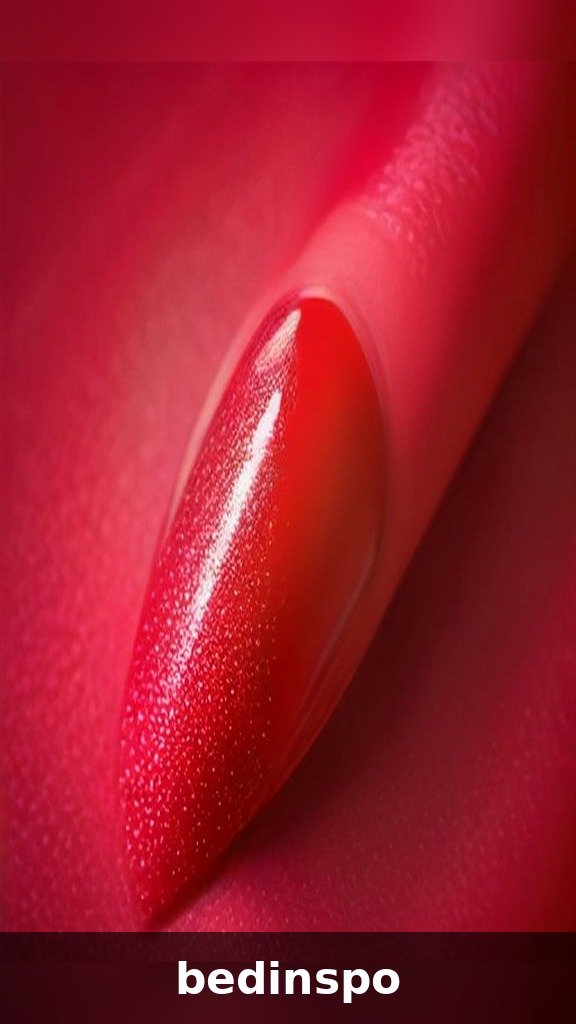
Take your candy cane nails into the third dimension with tiny 3D candy cane charms. These miniature candy canes (yes, they make them that small!) glued onto accent nails turn a pretty manicure into an adorable statement. They’re the ultimate conversation starter at any holiday party.
- Paint all nails with red-and-white stripes or a solid deep red base.
- Apply a dot of nail glue to your chosen accent nail (ring finger works best).
- Using tweezers, press the 3D candy cane charm firmly onto the glue and hold for 10 seconds.
- Seal the charm’s base edges (not the charm itself) with a thin layer of top coat.
Tip: Save this design for short events — 3D charms are adorable but can snag. Remove with warm water and cuticle oil, never force them off.
5. Glitter Candy Cane Stripes

Make your candy canes sparkle! This version replaces plain red polish with red glitter stripes over a white base. The glitter catches light with every hand movement — perfect for holiday parties where you want your nails to shine as bright as the tree.
- Apply a white base coat with full opacity (two thin coats).
- Paint red glitter polish in diagonal stripes using a striping brush.
- Apply glitter stripes in two thin coats rather than one thick one for even sparkle.
- Seal with two coats of glossy top coat to smooth the glitter texture.
Tip: Glitter polish can be streaky — use a “dabbing” motion rather than long strokes when applying glitter stripes for even, dense coverage.
6. Matte Candy Cane Stripes

Glossy is classic, but matte makes candy cane nails look modern and high-fashion. Flat red stripes over a flat white base create a chic, velvety finish that stands out in a sea of shiny holiday manicures.
- Apply a white base and paint red diagonal stripes as usual.
- Let everything dry completely.
- Apply one generous coat of matte top coat over the whole nail.
- Do not add any gloss — the matte finish is the whole point.
Tip: Matte top coat shows every bump, so buff your nail surface smooth before you start, and keep your polish layers thin.
7. Candy Cane Ombré

Instead of crisp stripes, blend red into white for a soft candy cane ombré that fades like melting peppermint. This dreamy gradient is softer and more romantic than hard stripes — perfect if you want a festive look that still feels elegant.
- Paint a white base and let it dry fully.
- Use a makeup sponge: paint horizontal bands of white and red polish on the sponge.
- Dab the sponge onto the nail in a rolling motion until the gradient blends.
- Repeat 2–3 times for full opacity, then clean up edges and add top coat.
Tip: Wet the sponge slightly before loading it with polish — it soaks up less polish and gives you a smoother blend.
8. Green & Red Twisted Stripes
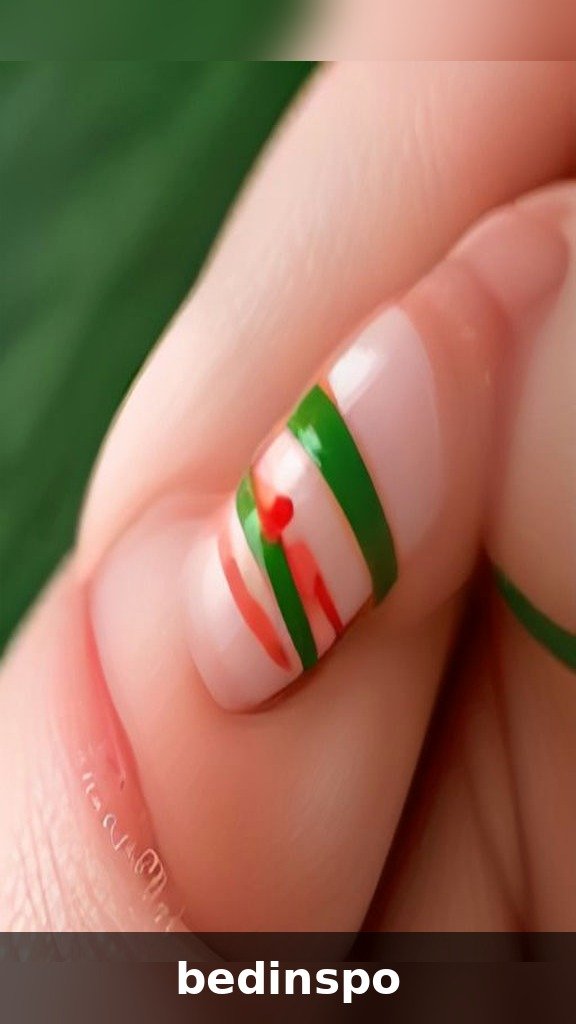
Who says candy canes have to be red and white? This twist uses emerald green stripes alongside red over a white base, capturing the full Christmas color palette in one manicure. It pairs beautifully with gold jewelry and green holiday outfits.
- Apply a white base coat with full opacity.
- Alternate thin red and green diagonal stripes across each nail.
- Keep both stripe colors the same width for a balanced look.
- Finish with glossy top coat.
Tip: Choose a true emerald green rather than a forest green — brighter greens photograph better next to cherry red.
9. Minimalist Single Stripe

For the girl who loves festive but subtle, a single candy cane stripe down the center of a nude nail is perfection. It whispers “holiday” instead of shouting it, and it works in any professional setting.
- Apply two coats of a sheer nude or milky white base.
- With a thin striping brush, paint one red stripe down the center of each nail.
- Optionally outline the stripe with a hairline-thin white line on one side for dimension.
- Seal with glossy top coat.
Tip: Anchor your pinky finger against the table while striping the other hand — the extra stability makes one-line designs flawless.
10. Candy Cane + Snowflakes
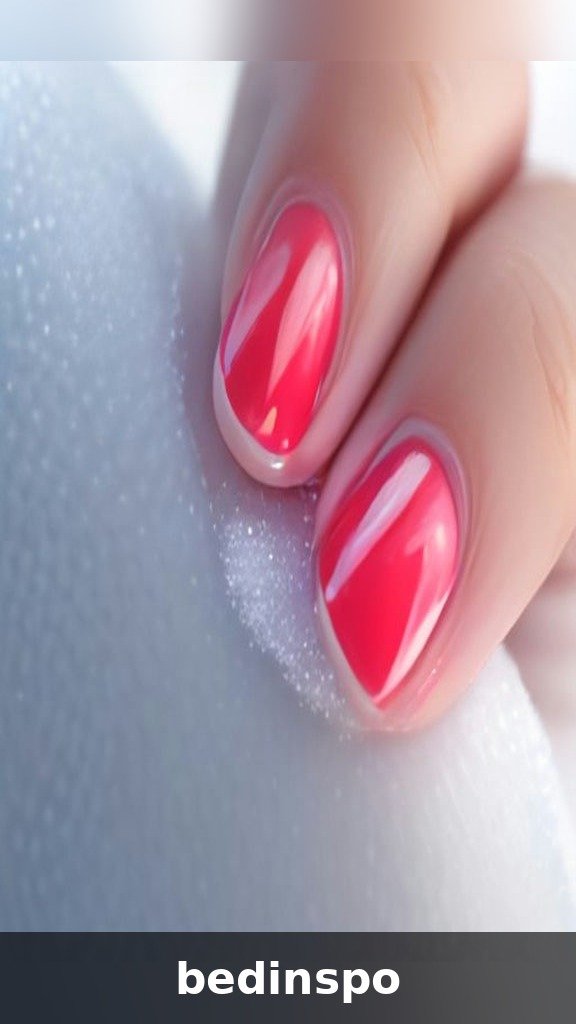
Combine two winter classics in one manicure: striped candy cane accent nails paired with delicate hand-painted or stamped snowflakes on the remaining nails. The deep red background makes white snowflakes pop dramatically.
- Paint the accent nails (index and ring finger) with red-and-white stripes.
- Paint the rest solid deep red.
- Use a white nail art pen or stamp to add snowflakes to the red nails.
- Top coat everything for shine and protection.
Tip: If freehand snowflakes feel intimidating, a stamping plate gives you perfect flakes in seconds — white stamping polish is the secret.
11. Chrome Candy Cane
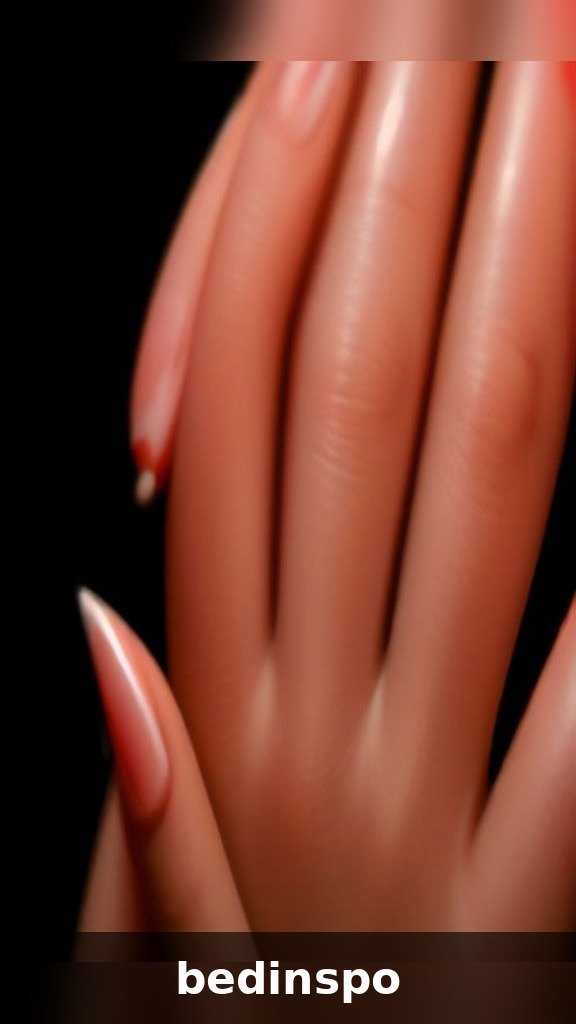
The hottest 2026 nail trend meets the happiest holiday design. Paint your stripes, then rub red chrome powder over the whole nail for a mirror-like, liquid-metal candy cane effect that catches light with every movement.
- Paint red-and-white stripes and seal with a no-wipe gel top coat (cure under a lamp).
- Rub chrome powder over the tacky top coat layer with an applicator.
- Brush away excess powder with a soft fluffy brush.
- Seal with two coats of regular top coat.
Tip: Regular polish will not hold chrome powder — you need at least one gel no-wipe top coat layer for the powder to grip properly.
12. Candy Cane Coffin Nails

Long coffin nails are the ultimate canvas for dramatic candy cane art. Extend the stripes down the full length of the nail in a chevron pattern that meets at the center — like a holiday tree silhouette wrapped around your fingertips.
- Apply a white base across the full coffin length.
- Paint angled red stripes that form V-shapes meeting at the nail’s center line.
- Mirror the pattern on every nail so both hands match.
- Finish with a thick glossy top coat.
Tip: Map out the V-shape with the brush handle before painting — lightly scoring the line helps you keep every chevron symmetrical.
13. Short & Sweet Stripes

Candy cane nails are not just for long nails. On short, practical nails, thinner stripes packed closer together create an adorable peppermint look that is workplace-friendly and chip-resistant. Bonus: short nails need less polish and dry faster.
- Apply a white base — short nails need only two quick coats.
- Use your thinnest striping brush for narrow red stripes.
- Place 3–4 stripes per nail, keeping them close together.
- Wrap the tip with polish to prevent chips, then top coat.
Tip: Thin stripes on short nails look best slightly angled rather than straight across — the diagonal adds the illusion of length.
14. Candy Cane + Holly Accents

Elevate the candy cane theme with tiny holly sprigs — green leaves and red berries painted at the base of striped nails. This botanical detail makes the manicure look like professional salon work.
- Paint red-and-white stripes on all nails.
- Near the cuticle of each nail, paint two small green leaves with a detail brush.
- Add three tiny red dots between the leaves for berries.
- Top coat to seal the artwork.
Tip: Paint the leaves first, let them dry, then add the berries — layering in that order keeps the berries perfectly round instead of smeared.
15. Negative Space Stripes
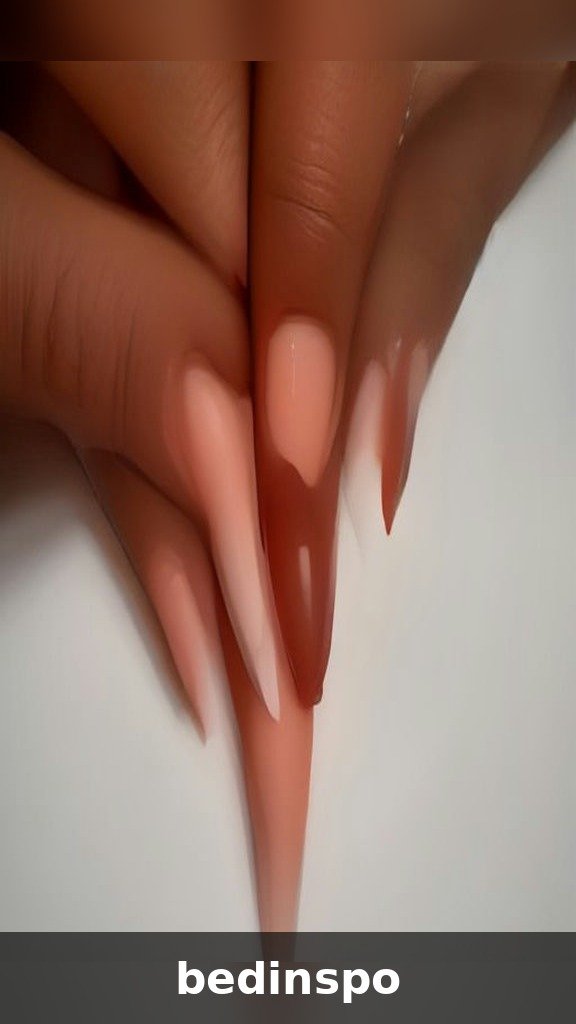
The most modern take on the list: leave sections of your natural nail bare and let the negative space act as the “white” of the candy cane. Thin red stripes floating over a clear base create a graphic, runway-ready design that lets your natural nail shine through.
- Apply a clear base coat and let it dry fully.
- Paint thin diagonal red stripes with generous bare space between them.
- Keep at least half the nail clear — the negative space is the design.
- Finish with glossy top coat.
Tip: Hydrate your cuticles before starting — since bare nail is part of the design, healthy-looking natural nails are essential to the finished look.
How to Paint Perfect Candy Cane Stripes
Stripes are the heart of every candy cane design, so let’s master them. The secret is a proper striping brush — long, thin, and flexible — rather than the thick brush that comes in your polish bottle. Dip just the tip into red polish and wipe one side on the bottle rim so the brush holds less polish; this prevents blobs. Paint with the whole length of the bristles in one smooth stroke, not short scrubs. If you are right-handed, paint your left hand first, since it is steadier practice before tackling the trickier hand. A great practice exercise is painting stripes on a plastic sandwich bag first: lay it flat, stripe away, and peel it off when dry to see how even your lines really are. Once your bag stripes look clean, your nails will too.
Another game-changing trick is “floating” your stripes slightly above the nail: hover the brush so only the very tip touches the polish surface, and let the bristles do the work as you glide across. This prevents dragging through wet layers underneath. Most importantly, keep a small cleanup brush soaked in acetone nearby: even professionals touch up their lines after painting.
Nail Prep Basics for a Long-Lasting Mani
Beautiful candy cane art deserves a foundation that lasts through December. Start by shaping your nails with a gentle file (always file in one direction to prevent splitting), then push back cuticles after a warm-water soak. Dehydrate the nail plate with a swipe of rubbing alcohol on a lint-free pad — this single step dramatically improves polish adhesion. Apply a sticky base coat designed for nail art; it grips colored polish better than regular base coat. Between steps, give each layer at least two full minutes to dry, and finish your manicure with cuticle oil once everything is set. Your stripes will stay crisp for 7–10 days.
Best Products for Candy Cane Nails
You don’t need a professional kit to nail these looks. Here is the short list that covers all 15 designs:
- A creamy white polish — look for one that is opaque in two coats; thin, watery whites will frustrate you.
- A true cherry-red polish — candy-apple reds photograph best; avoid burgundy for the classic look.
- A thin striping brush — the single most important tool for crisp stripes.
- Red glitter polish — for the glitter tips and peppermint accents.
- Matte and glossy top coats — one of each covers every design on this list.
- Nail glue and mini charms — for the 3D charm look.
- Chrome powder + no-wipe gel top coat — only if you are trying the chrome design.
- A dotting tool and cleanup brush — small investments that make every design cleaner.
Pro Application Tips
Work in a well-lit spot — stripes show every wobble in bad lighting. Keep your polish bottles thin; if polish gets goopy, a few drops of thinner (never remover) restores it. Do one nail at a time for wet-on-wet techniques like the peppermint swirl, and always cap the free edge of the nail with polish to prevent holiday chip disasters. Finally, schedule your candy cane manicure the week of Christmas so the design is fresh for photos.
Finally, consider your overall holiday look when choosing: chrome and 3D charm designs photograph like a dream for Pinterest and holiday party pictures, while the minimalist stripe and short-and-sweet versions are perfect for everyday December wear. There is no wrong choice here — every single design brings the peppermint magic.
Conclusion
Candy cane nails are the sweetest way to wear the holiday spirit on your fingertips in 2026. Whether you go classic with bold red-and-white stripes, edgy with chrome and negative space, or glam with glitter and 3D charms, each of these 15 designs is beginner-friendly and totally Pinterest-worthy. Pin your favorites, try one tonight, and let your nails be the most festive accessory at every holiday party. Happy holidays — and happy painting!