25 Soft Wispy Pixie Cut Ideas for 2026
25 Soft Wispy Pixie Cut Ideas for 2026
The pixie cut is having a moment again, but forget everything you remember about severe, razor-sharp crops. The defining short haircut of 2026 is the wispy pixie cut — a longer, softer, feathered take on the classic pixie that trades blunt edges for airy movement. Named by celebrity stylist Alex Pardoe as one of the standout trends of 2026, the wispy pixie keeps extra length through the top and around the face, with ends that are point-cut and feathered so they float instead of sitting flat. The result is a haircut that feels romantic and effortless rather than edgy and severe.
If you have seen our long pixie roundup, think of the wispy pixie as its softer, more textured cousin. Where a long pixie is defined mainly by its length, the wispy pixie is defined by its technique: feathered ends, soft internal layers, and a diffused perimeter that melts into the skin around the ears and nape. It is the difference between a haircut that looks “cut” and one that looks like it simply grew that way, only better. That softness is exactly why it photographs so beautifully and why it dominates Pinterest saves right now.
What makes the wispy pixie genuinely special is how forgiving it is. The feathered texture disguises cowlicks, adds the illusion of fullness to fine hair, removes bulk from thick hair without harsh thinning, and grows out more gracefully than any other short cut. It flatters women in their twenties and their sixties alike, works on straight, wavy, curly, and coily textures, and needs only minutes of styling. Whether you want a wash-and-go crop or a polished feathered look, there is a wispy pixie with your name on it.
In this guide, we are breaking down 25 soft wispy pixie cut ideas for 2026. You will learn exactly what “wispy” means, the magic words to use in the stylist’s chair, which variation flatters your face shape and hair texture, and how to style and maintain the cut at home. Save your favorites, screenshot the details, and walk into your next appointment knowing exactly what to ask for.

1. What Exactly Is a Wispy Pixie Cut?
A wispy pixie cut is a pixie defined by softness. Instead of the blunt, graphic lines of a traditional pixie, the wispy version is built with point cutting and feathering techniques that remove weight from the ends of the hair, creating fine, airy pieces that move independently. Length is typically kept longer through the crown and around the face — usually two to three inches on top — while the sides and nape are tapered softly rather than clippered hard. The perimeter around the ears and hairline is diffused, so there are no harsh lines anywhere in the cut.
The easiest way to spot a true wispy pixie is to look at the ends. In a blunt pixie, the ends form a solid, visible line; in a wispy pixie, the ends dissolve into feathery points, almost like the edge of a watercolor painting. This texture catches light beautifully, which is why the cut looks so dimensional in photos even in a single hair color. The airy finish also means the cut is incredibly forgiving as it grows: instead of an awkward in-between stage, a wispy pixie simply softens into a longer, shaggier shape that still looks intentional.
2. Wispy vs. Blunt Pixie: What to Ask Your Stylist For
Walking into the salon and saying “wispy pixie” is a good start, but the magic is in the details. Ask your stylist for point cutting through the ends rather than blunt cutting, soft internal layers to create movement without visible steps, and two to three inches of length through the crown so the top has something to feather. Around the ears and nape, ask for a soft taper instead of a hard clipper line, and request that the fringe be texturized and piecey rather than cut straight across. These five phrases tell any experienced stylist exactly what you mean.
Just as important is what not to ask for. Avoid the words “blunt,” “sharp,” “geometric,” or “disconnected” unless you want a graphic look, because those cues push the cut toward severity. Bring three reference photos showing the exact level of wispiness you want — one front view, one side view, and one back view — since “wispy” means different things to different people. A great consultation trick is to point at the ends in your photo and say, “See how the ends disappear into points? That is the texture I want everywhere.” Photos plus precise language eliminate guesswork and appointment-day surprises.
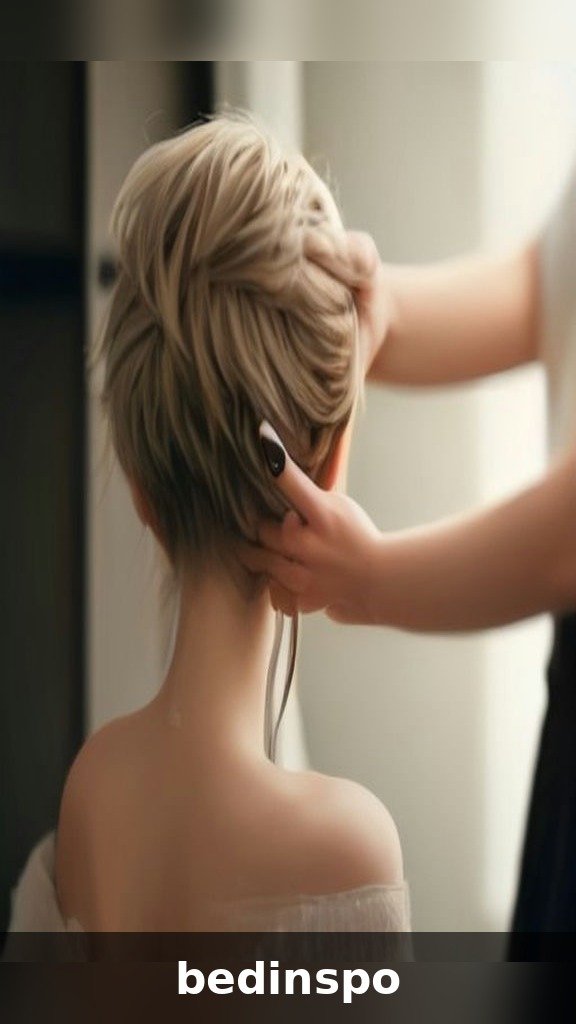
3. The Classic Wispy Pixie
The classic wispy pixie is the blueprint every other version is built on: a softly tapered nape, feathered sides that hug the head without clinging, a longer textured crown, and a piecey fringe that grazes the eyebrows. Nothing is harsh, nothing is heavy, and every section melts into the next. It is the haircut equivalent of a perfectly broken-in white tee — simple, flattering, and quietly confident. This is the version to choose if you want the wispy look in its purest form, and it suits nearly every face shape because the softness can be adjusted in any direction.
Styling the classic wispy pixie takes about five minutes. On damp hair, work a golf-ball-sized amount of lightweight mousse through the roots for lift, then blow-dry using only your fingers, lifting the crown as you go. Once dry, warm a pea-sized dab of texturizing paste between your palms and pinch the ends to separate the feathers. The goal is definition without stiffness — you should be able to run your fingers through it. A light mist of flexible-hold hairspray locks in the airy texture without gluing it down.
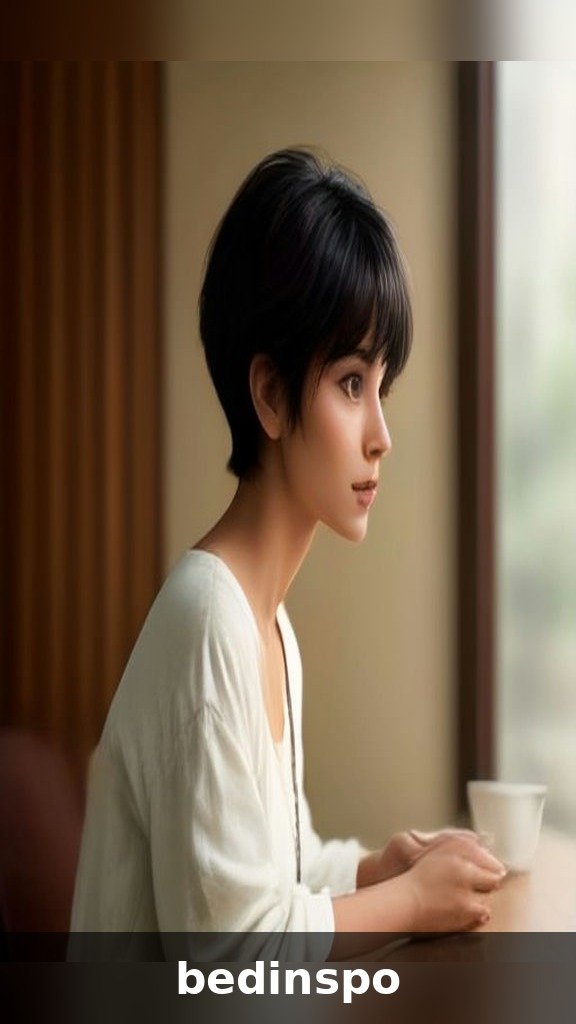
4. Wispy Pixie with Long Bangs
Pairing a wispy pixie with long, face-framing bangs creates the most romantic version of this cut. The bangs fall somewhere between the eyebrows and the cheekbones, feathered at the ends so they blend seamlessly into the longer pieces around the face. This combination is incredibly flattering because the long bangs draw the eye to your eyes and cheekbones while softening the forehead. It is also the most versatile fringe option: wear it swept to the side, parted in the middle, or brushed forward depending on your mood.
Ask your stylist to cut the bangs dry or nearly dry so they can see exactly where each feathered piece falls — wet bangs shrink as they dry and can end up much shorter than planned. At home, blow-dry the bangs first (before the rest of the hair) with a small round brush or just your fingers, directing them in the direction you want them to sit. A tiny amount of pomade on the very tips keeps the feathers separated and piecey. Trim the bangs every three to four weeks to keep them at that perfect brow-grazing length.
5. Side-Swept Wispy Pixie
The side-swept wispy pixie is pure elegance: a deep side part with the longer top swept diagonally across the forehead in soft, feathered ribbons. This version is a favorite for special occasions because it reads polished from every angle while still keeping that airy, touchable texture. The diagonal line of the sweep is also a secret weapon for face shapes — it breaks up the width of a round face, softens a strong jaw on a square face, and adds asymmetry that keeps the look modern rather than retro.
To style it, create your side part while the hair is damp, then blow-dry the top section over to the opposite side of the part for maximum volume before sweeping it back into place. This “over-direction” trick is what gives the sweep its lift instead of lying flat. Tuck the shorter side neatly behind the ear to emphasize the asymmetry, and finish with a light-hold spray. For extra polish, flat-iron just the very ends of the swept section with a slight bend so the feathers curve softly instead of sticking straight out.

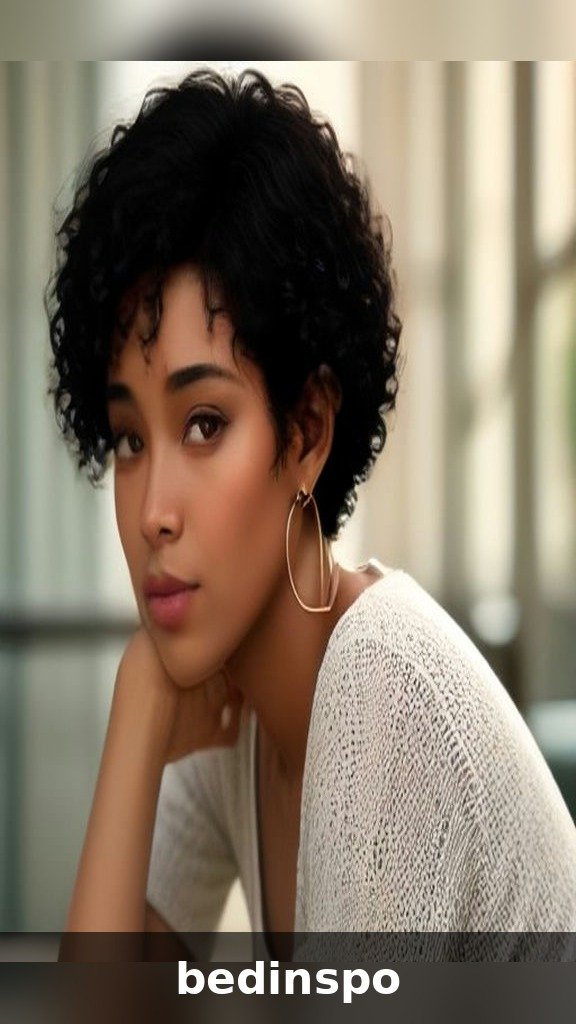
6. Curly Wispy Pixie
The curly wispy pixie might be the most joyful version of this trend. Instead of fighting natural curls into submission, this cut works with them: the stylist shapes the hair curl by curl, then feathers the ends of each curl so the overall silhouette stays soft and rounded rather than triangular. The result is a halo of defined, bouncy curls with a deliberately airy finish — no helmet head, no harsh outline. It is proof that “wispy” is a texture philosophy, not just a straight-hair technique.
See a curl specialist for this one, ideally someone who cuts hair dry so they can see each curl’s natural spring. Ask for rounded volume through the crown, a soft tapered nape, and absolutely no razoring, which shreds curly ends and creates frizz. At home, style on soaking-wet hair: rake curl cream through, scrunch upward with a microfiber towel, and either diffuse on low heat or air-dry. Once fully dry, gently shake the roots to separate the curls into that wispy finish. Sleep in a satin bonnet to protect the shape.
7. Textured Piecey Wispy Pixie
If the classic wispy pixie is watercolor, the textured piecey version is its bolder, more graphic sibling. Here the feathering is amped up into clearly separated pieces and spikes through the crown, giving the cut an edgy, piecey finish that still reads soft because every point is feathered rather than blunt. This is the wispy pixie for anyone who wants their short hair to have attitude — it looks amazing with a little grit and separation, and it is the version you see most on fashion-week runways.
Texture paste is non-negotiable for this style. Start with completely dry hair, warm a small amount of matte paste between your fingertips, and pinch small sections at the crown, pulling upward and outward to create separation. Work in layers from the nape up so the pieces stack naturally. The key is using less product than you think — you can always add more, but too much collapses the airy texture into greasy clumps. A spritz of dry texture spray at the roots before pasting adds the gritty hold that keeps pieces separated all day.
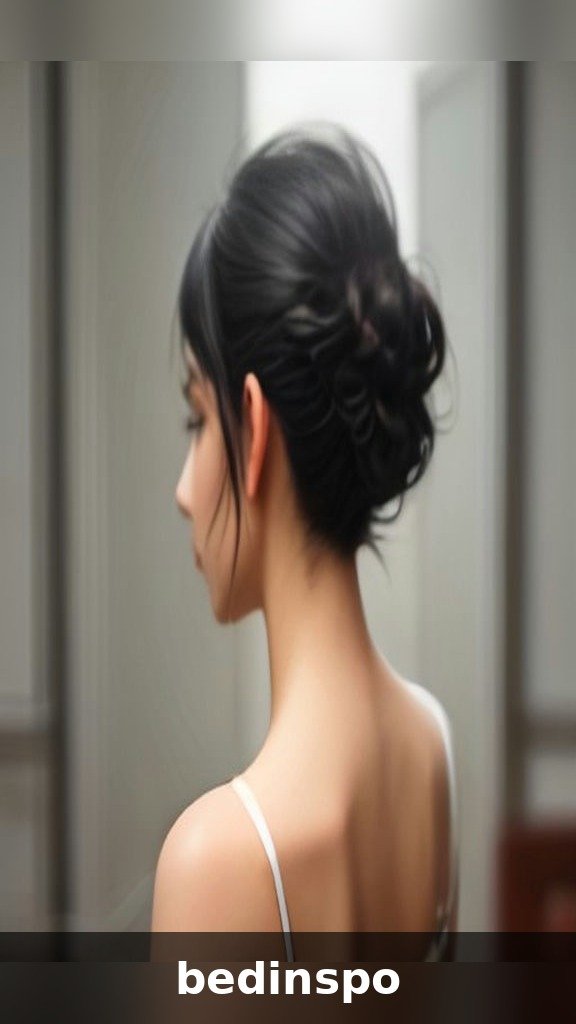
8. Wispy Pixie with Micro Bangs
Micro bangs — a short fringe sitting well above the eyebrows — paired with a wispy pixie is the cool-girl combination of 2026. The contrast is what makes it work: the bold, graphic line of the short fringe against the soft, feathered chaos of the rest of the cut. It draws all the attention to the eyes and gives the whole haircut an editorial, fashion-forward edge. Fair warning: this is a commitment fringe that puts your forehead and brow shape on display, so it suits those who love a statement.
Ask your stylist to point-cut the micro bangs rather than cutting them blunt, so even the short fringe keeps a soft, feathery edge that connects visually with the rest of the cut. Style them by blow-drying straight down with a small flat brush, then pinching the ends with a tiny bit of pomade for separation. Micro bangs grow fast, so plan on a quick trim every two to three weeks — many salons do complimentary bang trims between appointments. If you are nervous, start the bangs slightly longer; you can always go shorter.
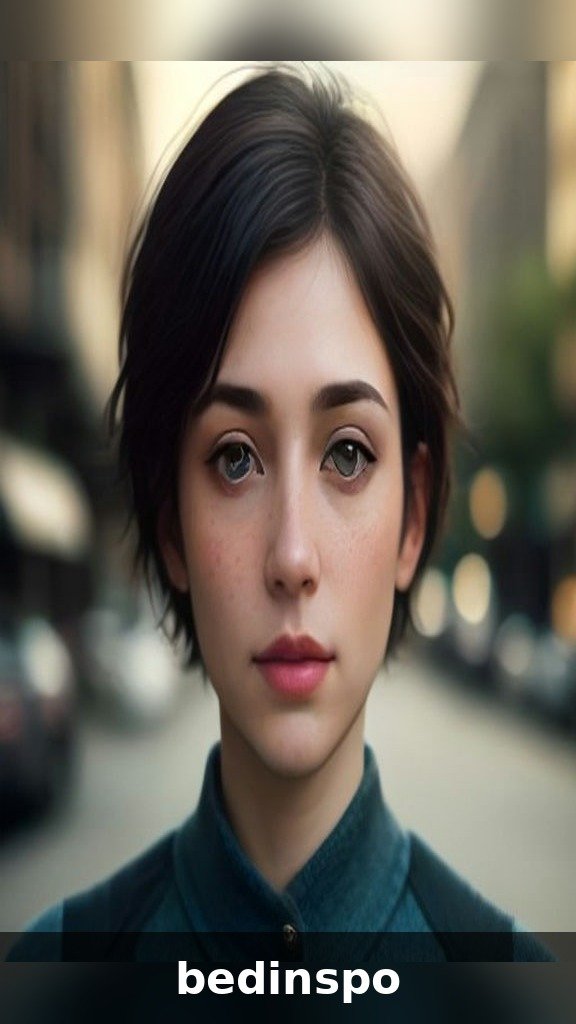
9. Asymmetrical Wispy Pixie
The asymmetrical wispy pixie takes the softness of the classic cut and adds a jolt of drama: one side is kept noticeably longer, with feathered pieces sweeping past the cheekbone or even grazing the jaw, while the other side stays neatly tapered. The asymmetry keeps the eye moving, which makes this version incredibly slimming and striking in photos. Because the longer side is feathered rather than blunt, the dramatic length difference still feels soft and wearable instead of severe.
This cut is all about the consultation — use your fingers to show your stylist exactly how much longer you want the dramatic side, since “asymmetrical” can mean anything from a half-inch difference to several inches. At home, style the longer side with a flat iron bend or a round brush to emphasize the sweep, and keep the shorter side tucked or smoothed for contrast. A shine serum on the longer pieces highlights the length difference beautifully. The asymmetry grows out gracefully, gradually becoming a deep side part as the shorter side catches up.
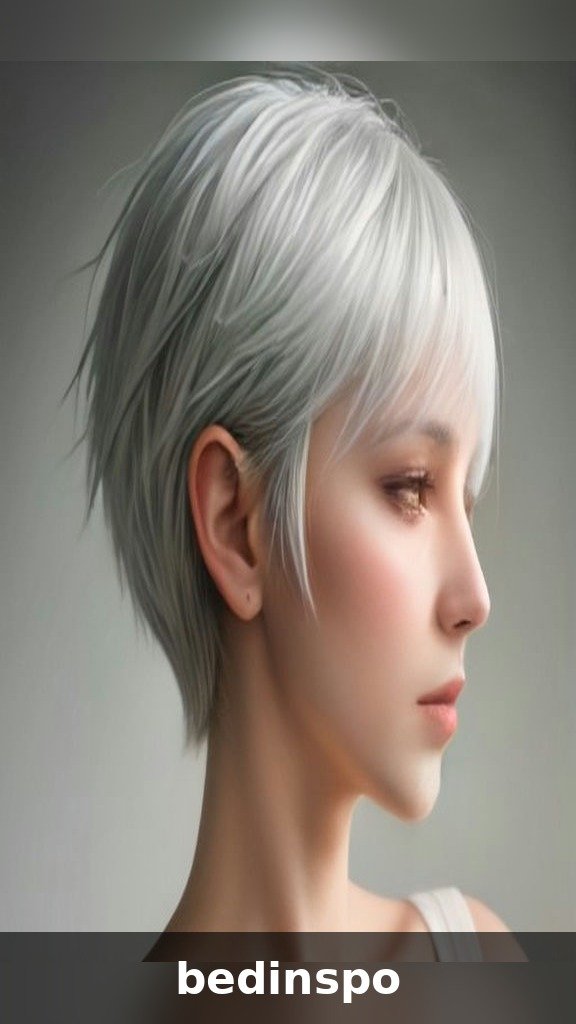
10. Wispy Pixie with Undercut
For the woman who wants softness with a secret edge, the wispy pixie with an undercut delivers both. The top keeps all the feathered, airy length of a classic wispy pixie, while a section at the nape — or along one side — is clippered short underneath. Worn down, it looks like a perfectly soft pixie; tuck the hair behind your ear or sweep it up, and the undercut reveals itself. It is also brilliantly practical, removing bulk and heat from the nape, which thick-haired women will appreciate in summer.
Discuss placement carefully with your stylist: a nape undercut is the most subtle and grow-out-friendly option, while a side undercut makes a bolder statement. Ask for the undercut to be faded softly into the longer hair rather than left with a hard line, so the reveal looks intentional. Maintenance is the trade-off — the clippered section needs a cleanup every three to four weeks to stay sharp. Between appointments, the longer wispy top completely covers regrowth, so there is never an awkward stage.
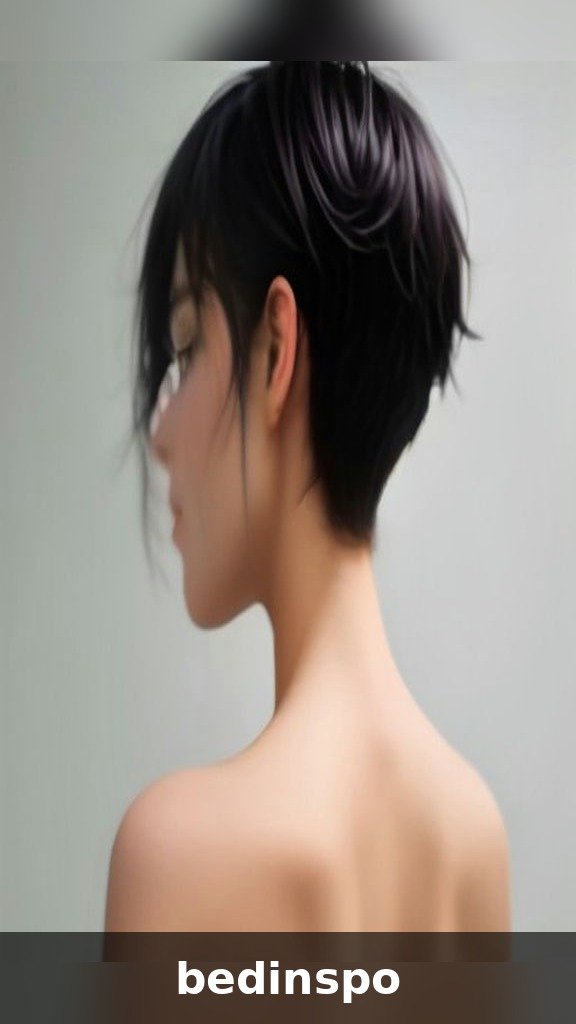
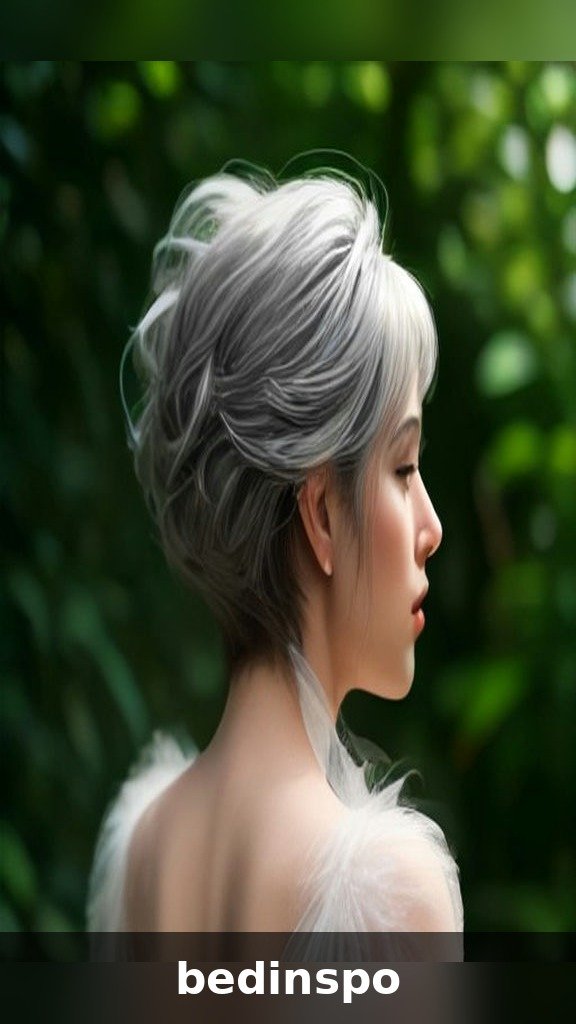
11. Silver and Gray Wispy Pixie
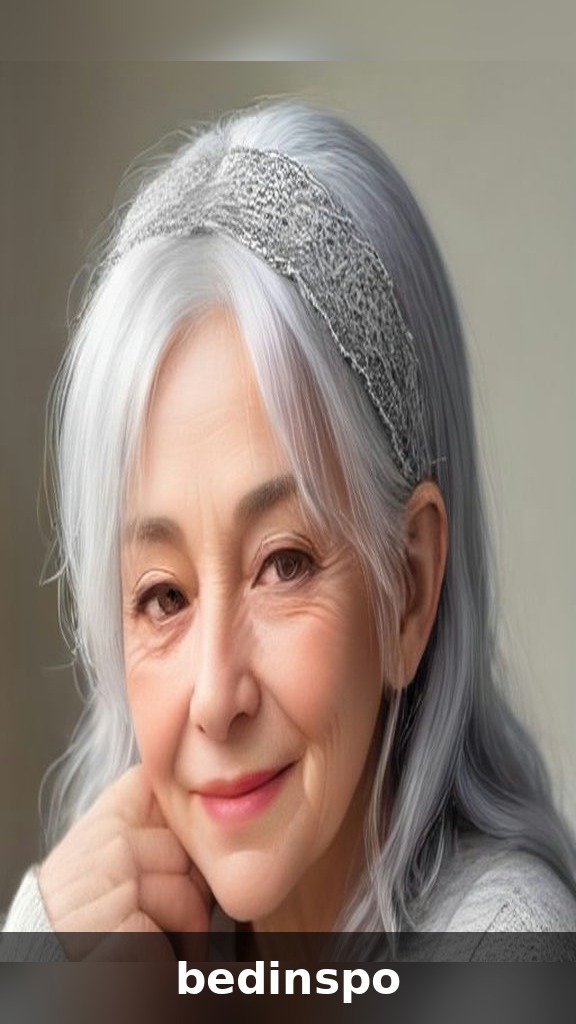
Few combinations are as striking as silver hair in a wispy pixie cut. The feathered texture is uniquely flattering on gray and white hair because it breaks up the solid mass of silver that can otherwise look flat or wig-like. Each wispy point catches the light differently, creating natural dimension and movement that makes silver hair look luminous instead of dull. It is no coincidence that so many women choose the exact moment they stop coloring to go for a wispy pixie — the cut was practically designed for the grow-out.
Silver hair has its own care rules. Use a purple shampoo once a week to neutralize yellow tones and keep the silver bright, and follow with a deeply hydrating mask, since gray hair tends to be coarser and drier. Ask your stylist about a clear gloss treatment — it seals the cuticle and makes silver hair reflect dramatically more light. For styling, a lightweight shine serum on the feathered ends prevents the wiry texture gray hair can develop. The result is a head of silver feathers that looks like the chicest accessory you own.
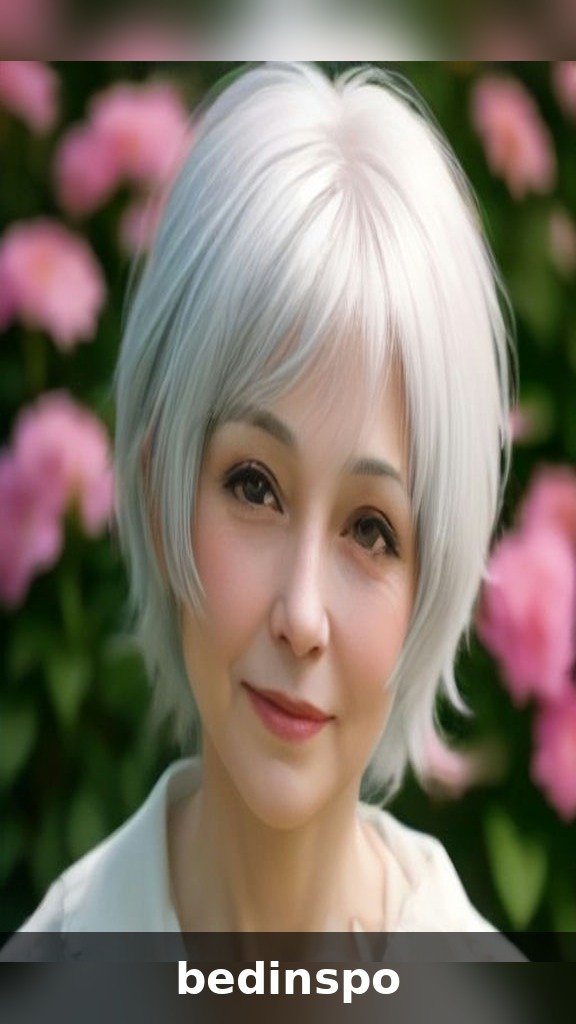
12. Wispy Pixie for Fine Hair
If you have fine hair, the wispy pixie might be the haircut you have been waiting for your whole life. Here is why it works: fine hair’s biggest enemy is weight, and the feathering technique removes exactly the weight that drags fine hair flat, while the point-cut ends create the illusion of more pieces — and therefore more hair — than actually exist. A blunt pixie on fine hair can look sparse and severe; a wispy pixie looks full, airy, and touchable. It is optical illusion as haircut.
The fine-hair styling routine centers on root lift. Apply volumizing mousse to damp roots, then blow-dry upside down or with a small round brush, lifting each section at the base. Once dry, use a dry texture spray — not a heavy wax — to separate the feathers, since anything oily will collapse fine hair by noon. Ask your stylist to keep the nape and sides close so the top looks comparatively fuller, and consider subtle highlights through the crown: the color variation creates depth that fine, single-process hair cannot achieve alone.
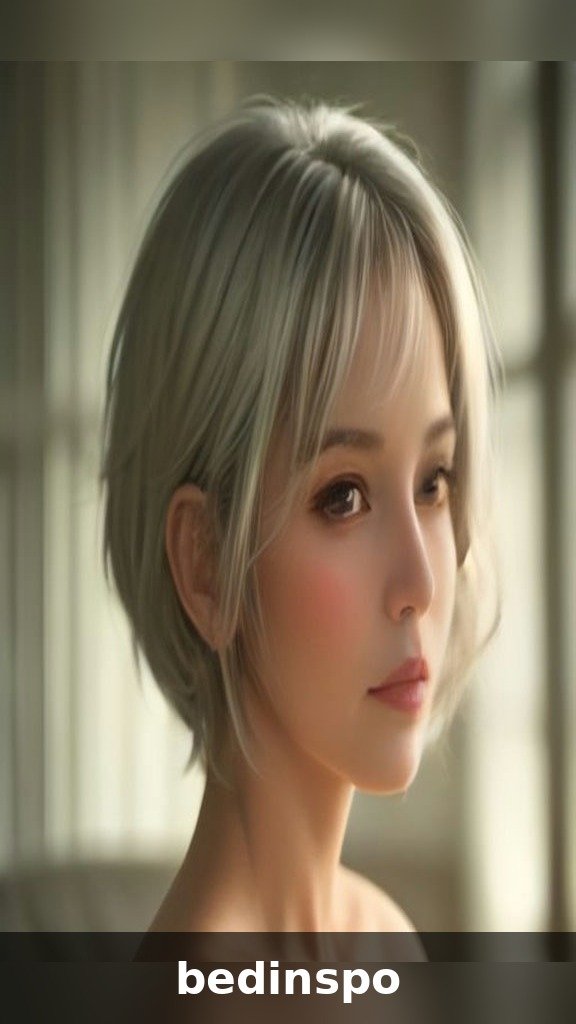
13. Wispy Pixie for Thick Hair
Thick hair and pixies can be a tricky combination — too much bulk and the cut turns into a helmet. The wispy pixie solves this elegantly: the feathering and internal layering remove significant weight without the harsh, spiky texture that traditional thinning shears can leave behind. The result keeps your hair’s natural density and volume but gives it movement, separation, and a shape that actually lies the way you want. Thick-haired women often find this is the first short cut that feels light.
Be specific with your stylist: ask for internal weight removal through the crown and sides, and make sure they understand you want to keep the perimeter soft, not thinned into nothing. At home, a smoothing cream applied to damp hair tames any puffiness before blow-drying, and the diffuser or a paddle brush keeps the cut sleek through the sides while the crown keeps its airy lift. Thick hair holds the feathered texture beautifully between washes — many women find day-two and day-three hair looks even better as natural oils add separation.
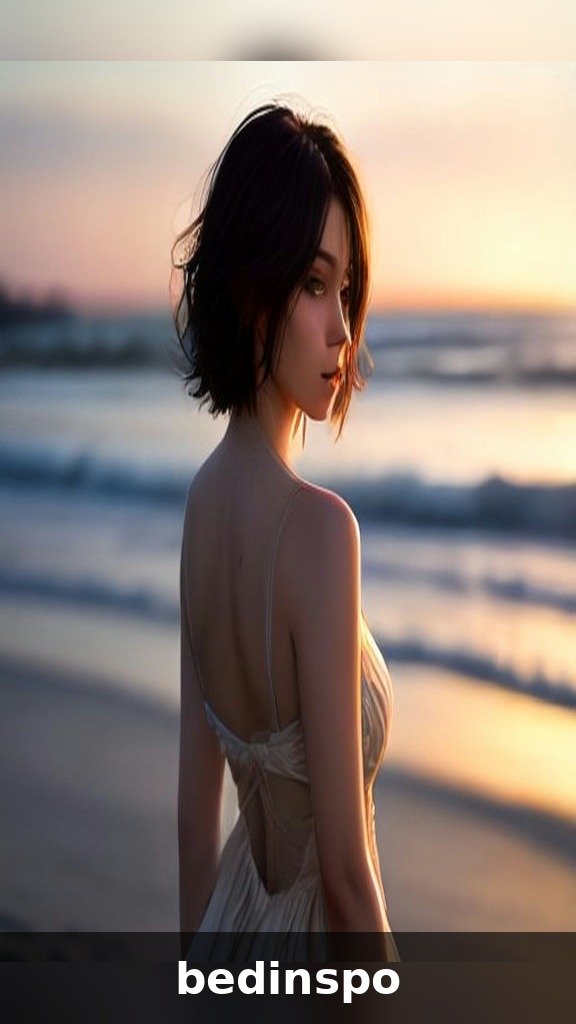
14. The Grown-Out Wispy Pixie
Here is the wispy pixie’s secret superpower: it has the most graceful grow-out of any short haircut. Where blunt pixies hit an awkward mushroom stage, a grown-out wispy pixie simply evolves — the feathered ends keep everything soft as the top gains length, and within a few months you have a shaggy, French-girl crop that looks completely deliberate. Many women discover they love the in-between stage so much they keep growing toward a bixie (bob-pixie hybrid) or a textured bob.
To grow out intentionally, ask your stylist for “grow-out trims” every eight to ten weeks: they will clean up just the nape and around the ears while leaving the top and fringe alone to gain length. During the transition, styling products become your best friends — a little pomade lets you redirect the longer front pieces into curtain bangs or a deep side sweep. Headbands, clips, and scarves also shine during grow-out, turning longer pieces into styled accessories rather than awkward flaps. Document the stages with photos; you may find your favorite length is one you never planned.
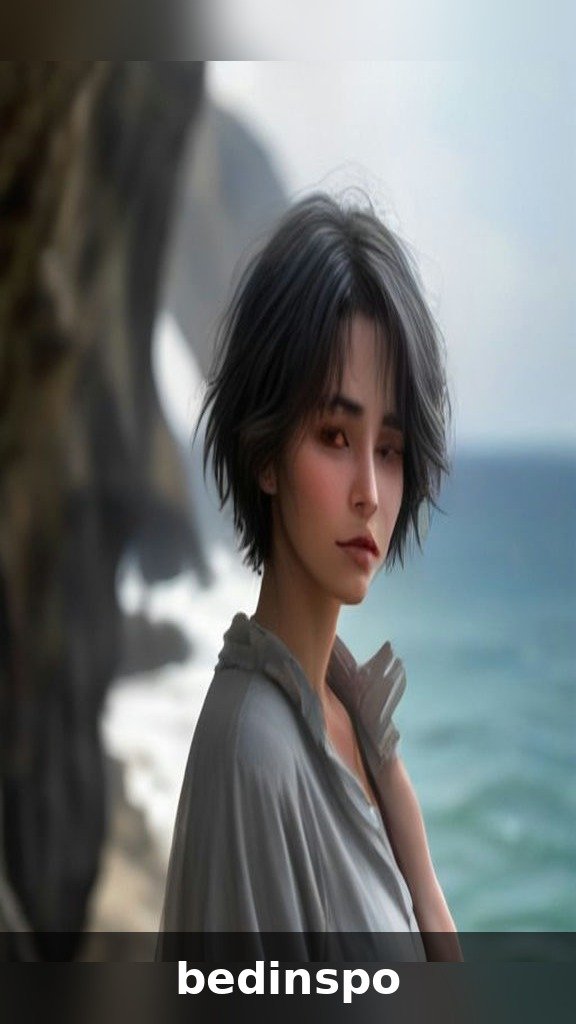
15. Wispy Pixie with Curtain Fringe
The curtain fringe — parted in the middle and sweeping out to frame each side of the face — is a dream partner for the wispy pixie. The parted bangs blend directly into the feathered layers around the face, creating one continuous curtain of soft texture from forehead to cheekbone. This version is exceptionally flattering on heart-shaped and oval faces, and it is the easiest fringe to grow out since it is already designed to be worn long and swept aside.
Style the curtain fringe by blow-drying it forward and down first, then parting it in the middle and sweeping each half outward with a round brush or your fingers — the “forward then out” sequence is what creates that signature curtain bend. A velcro roller on each side for five minutes while you do your makeup sets the sweep without any heat damage. Keep a tiny bit of texturizing spray on hand for midday touch-ups; curtain bangs on a pixie can fall flat by afternoon, and a quick scrunch brings the feathers back to life.
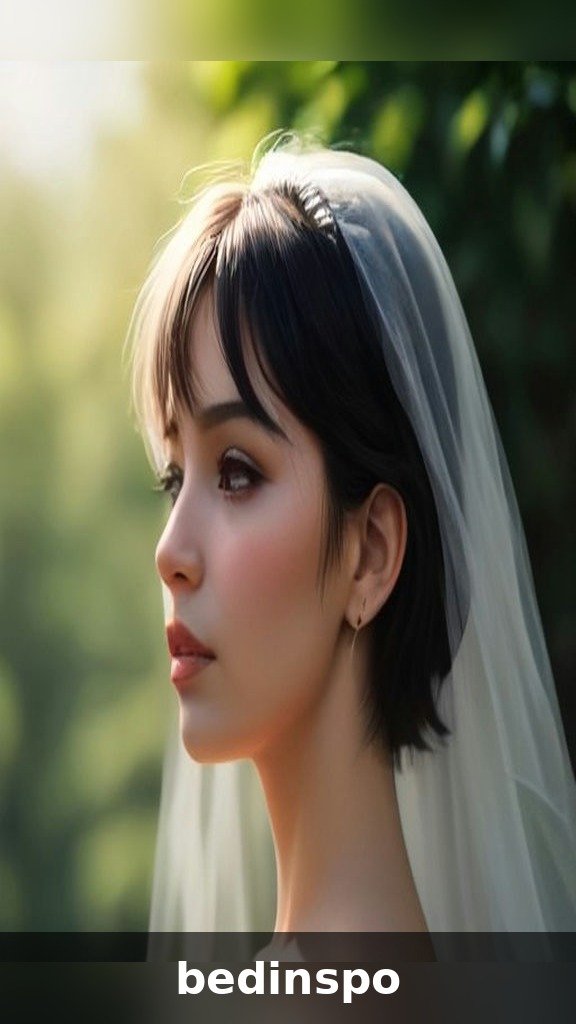
16. Tapered Nape Wispy Pixie
The tapered nape is the quiet detail that elevates a wispy pixie from pretty to polished. Instead of a hard clipper line, the hair at the back of the neck is graduated softly with scissors, getting progressively shorter toward the hairline so it melts into the skin. This creates a beautiful, elongated line through the back of the head and neck that looks elegant from behind — important for a short cut, since the back view is what the world sees most. It also means no harsh grow-out line as the weeks pass.
A tapered nape grows out more gracefully than a clippered one, but it still benefits from a quick cleanup every four to five weeks — ask your stylist if they offer complimentary neckline trims between full appointments, since many do. At home, the nape needs almost no styling; just make sure your blow-dryer reaches it, directing the hair downward so it lies flat against the neck. If you have cowlicks at the nape, a dab of pomade smoothed downward while the hair is damp trains them to behave.
17. Wispy Pixie for Round Faces
Round faces and pixies are a fantastic match when the cut is placed strategically — and the wispy pixie gives your stylist all the right tools. The keys are height through the crown, which visually elongates the face, and asymmetry or diagonal lines, which break up fullness. A wispy pixie with a deep side part, longer feathered pieces sweeping across one cheek, and volume lifted at the top creates the illusion of a longer, slimmer face shape while keeping everything soft.
What to avoid: a wispy pixie that is all one length around the head with a straight-across fringe, since that mirrors the face’s roundness. Instead, ask for the fringe swept to the side, the crown left longer for styling height, and the sides kept close and tapered. Style with root-lifting mousse at the crown and blow-dry the top forward and up for volume. Longer, face-framing feathers in front of the ears are slimming — think of them as contouring for your cheekbones.
18. Wispy Pixie for Heart and Oval Faces
Heart-shaped and oval faces are the natural home of the wispy pixie, because the cut’s softness balances their proportions beautifully. On a heart-shaped face — wider forehead, narrower chin — the feathered fringe and fuller sides fill in around the forehead while the tapered nape keeps the jawline delicate. On an oval face, which suits nearly everything, the wispy pixie adds texture and personality without overwhelming balanced features.
For heart shapes, ask for a fuller, brow-grazing fringe and slightly more length through the sides to balance a wider forehead; avoid too much height at the very top, which can exaggerate the forehead. For oval faces, you have complete freedom — play with micro bangs, asymmetry, or a deep side sweep purely based on personal style. Both face shapes should keep the nape soft and tapered rather than ultra-short, preserving the feminine, feathered silhouette that makes this cut so flattering.
19. Wispy Pixie for Square Faces
Square faces benefit enormously from the wispy pixie’s whole philosophy: softness. A strong jawline paired with a blunt, geometric pixie can read severe, but the feathered texture of the wispy pixie drapes softly around the angles, visually rounding them. Wispy pieces falling in front of the ears and a side-swept fringe create diagonal lines that draw the eye away from the jaw’s corners and toward the eyes and cheekbones.
Ask your stylist to keep some softness around the jawline — longer feathered pieces that fall just in front of the ears work like a curtain, softening the transition from cheek to jaw. A side-swept or curtain fringe is more flattering than a straight-across one, and texture through the crown adds height that balances a strong jaw. Avoid cuts that are clippered very tight on the sides with a heavy top, since that contrast emphasizes angularity. The goal is harmony: let the feathers do the softening work for you.
20. Wispy Pixie on Straight Hair
Straight hair shows off the wispy pixie’s feathered architecture better than any other texture — every point-cut end is visible, and the layers read with crisp, clean separation. The challenge with pin-straight hair is that it can look flat if the cut does not build in enough internal layering, so the consultation matters: ask for plenty of texture through the crown, not just at the ends. When done right, a wispy pixie on straight hair has that perfectly undone, model-off-duty quality.
Straight hair needs product to hold the airy texture, since gravity is not your friend. A volumizing mousse at the roots plus a dry texture spray through the mid-lengths gives straight hair the grip it needs to keep the feathers separated. Blow-dry with your head flipped upside down for maximum lift, then piece out the ends with a tiny amount of matte paste. Straight-haired pixies also show regrowth fastest, so keep that four-to-six-week trim schedule — the crispness of the cut is what makes it look expensive.
21. Wispy Pixie on Wavy Hair
Wavy hair might be the wispy pixie’s soulmate texture. Natural wave gives the feathered ends built-in movement, so the cut practically styles itself — the waves create the piecey separation that straight hair needs product to achieve. A wispy pixie on wavy hair has an effortless, beachy softness that looks like you spent an hour styling when you spent five minutes. The waves also add natural volume through the crown, which flatters nearly every face shape.
The key technique for wavy pixies is enhancing, not fighting, the wave pattern. Scrunch a curl-enhancing cream or light mousse into damp hair, then either diffuse on low heat or air-dry — both work beautifully. Avoid brushing a wavy pixie when dry, which turns waves into frizz; instead, refresh second-day hair with a water mist and a re-scrunch. Ask your stylist to cut with your natural wave pattern in mind, leaving the ends long enough that the waves can form. Too short, and waves spring up into unwanted volume.
22. Wispy Pixie with Highlights and Dimension
Color takes the wispy pixie from beautiful to breathtaking, because the feathered texture was made to show off dimension. Fine highlights — babylights or a soft balayage through the crown — catch on each wispy point, making the texture look deeper and more intricate. Even a single-process color looks more interesting in a wispy pixie than in a blunt cut, since the varying lengths of the feathered ends reflect light differently. If you are going to invest in the cut, consider investing in the color too.
Ask your colorist for dimension concentrated through the top and around the face, where the longest feathered pieces live — that is where highlights have the most visual impact. Face-framing babylights brighten the complexion and emphasize the wispy fringe. For brunettes, caramel or honey ribbons add warmth and movement; for blondes, a root shadow with brighter ends keeps the grow-out soft. Maintain the color with a gloss treatment every six to eight weeks to keep the feathered ends reflective and healthy-looking.
23. The Two-Tone Wispy Pixie
The two-tone wispy pixie — a bold money piece or contrasting panel against a softer base — is the most playful way to wear this cut in 2026. Picture a brunette pixie with face-framing platinum feathers, or a black pixie with a copper panel sweeping through the fringe. The feathered texture blurs the line between the two tones so the contrast looks artistic rather than harsh, like watercolor bleeding from one shade into another.
Placement is everything with two-tone color: the contrasting shade should sit where the longest wispy pieces are — the fringe, the face frame, or the crown — so it moves and catches light. Discuss maintenance honestly with your colorist, since vivid or platinum panels need toning every four to six weeks. At home, use color-safe shampoo and a weekly mask to keep both tones vibrant, and style with a shine serum to emphasize the interplay between the shades. This is the version that gets stopped on the street.
24. Your Everyday Styling Routine
The wispy pixie has a reputation for being wash-and-go, and it can be — but a simple five-minute routine takes it from good to great. Start with the right foundation: a lightweight volumizing shampoo and a conditioner applied only from mid-lengths to ends, since heavy roots kill the airy texture. On damp hair, apply your styler of choice — mousse for volume, curl cream for waves and curls, smoothing cream for thick hair — focusing on the roots and crown where lift matters most.
Blow-dry using your fingers as your brush, lifting the crown and directing the fringe into place; a diffuser on low heat works beautifully for wavy and curly versions. Once dry, the finishing step defines the “wispy”: warm a pea-sized amount of matte paste or pomade between your palms and pinch the ends of small sections, working from the nape upward. This separates the feathers and creates that airy, piecey finish. Lock it in with a flexible-hold hairspray misted from arm’s length. The whole routine takes under ten minutes — and second-day hair often looks even better.
Build a small product wardrobe rather than buying everything at once: a volumizing mousse, a matte texture paste, a dry texture spray, and a flexible hairspray cover ninety percent of wispy pixie styling needs. Fine hair should lean on the mousse and texture spray; thick hair needs the smoothing cream and paste. One product rule matters above all: use less than you think. The wispy pixie is about air and movement, and heavy product is its kryptonite. When in doubt, start with half the amount and add more.
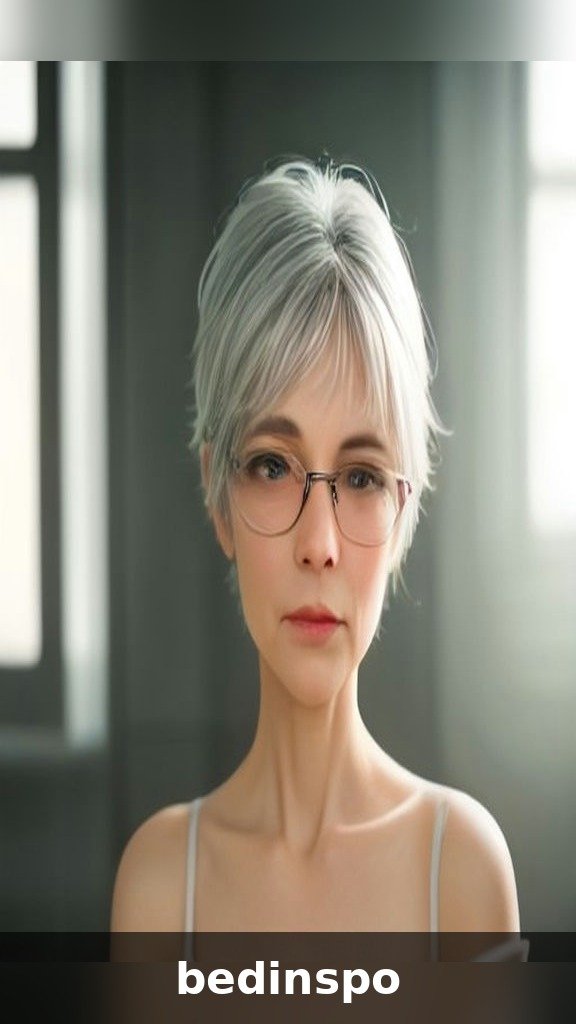
25. Maintenance: Trims, Color, and Keeping It Fresh
A wispy pixie is low-effort daily but not no-maintenance — the feathered texture that makes it beautiful also means it shows regrowth. Plan on a full trim every four to six weeks to keep the shape intentional: the nape and around the ears lose their soft taper first, and the fringe starts falling into the eyes around week five. Between appointments, many salons offer complimentary bang and neckline cleanups — ask yours, since a ten-minute tidy at week three can extend the life of your cut significantly.
Color maintenance depends on your shade. Single-process color needs root touch-ups every four to six weeks to match the trim cycle; highlights and balayage can stretch to eight to twelve weeks since the grow-out is softer. Silver pixies need weekly purple shampoo and a gloss every couple of months to stay bright. And here is the maintenance silver lining: because the wispy texture grows out so gracefully, stretching a trim an extra week or two never looks sloppy — it just looks like a slightly longer, shaggier version of the same beautiful cut.
Conclusion: The Softest Way to Go Short
The wispy pixie cut earns its place as 2026’s defining short haircut because it solves the pixie’s historic problems: it is soft where traditional pixies are severe, forgiving where they are demanding, and graceful in grow-out where they turn awkward. With feathered ends, airy layers, and a diffused perimeter, it flatters every age, face shape, and hair texture — from fine and straight to thick and curly, from the twenties to the sixties and beyond.
Whether you choose the classic feathered crop, a silver showstopper, a curly halo, or a bold two-tone statement, the formula stays the same: point-cut texture, longer length through the top, and softness everywhere. Bring your reference photos, use the stylist language from this guide, and give yourself a week to fall in love — most wispy pixie converts say the cut looks better on day three than day one. Save this guide, pin your favorite ideas, and enjoy the lightest, airiest hair of your life.