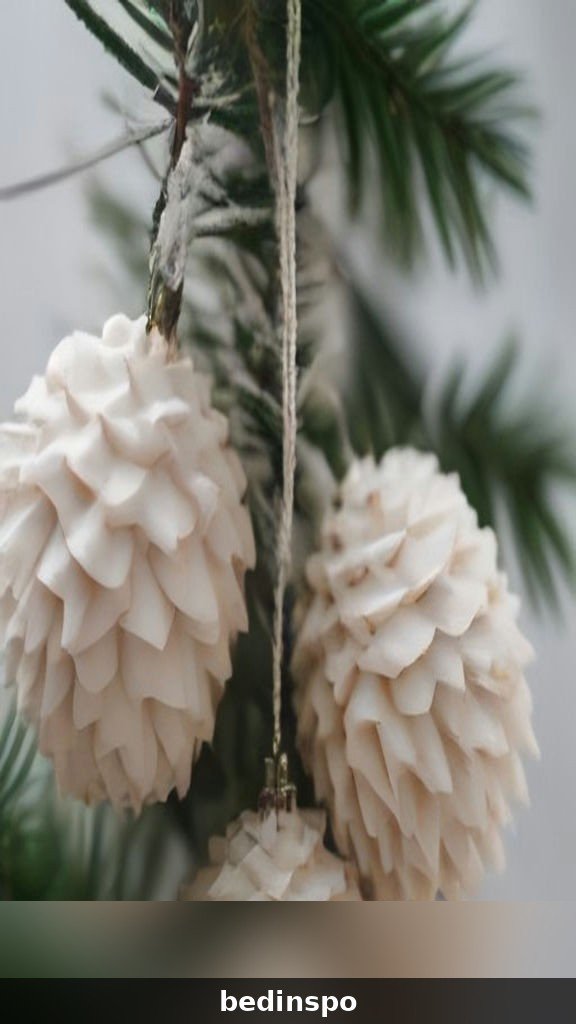
DIY Folded Paper Pinecone Ornaments: 25 Ideas
DIY Folded Paper Pinecone Ornaments: 25 Paper Craft Ideas for a Cozy Tree

There is a special kind of magic in turning a flat piece of paper into a pinecone. DIY folded paper pinecone ornaments are one of the most satisfying paper crafts of the season, because a few simple folds and a little glue transform ordinary paper into a layered, three-dimensional ornament that looks far more complicated than it is. They are light, inexpensive, and endlessly customizable, which is exactly why they have become one of the most pinned handmade Christmas crafts of the year.
Paper pinecones are also wonderfully forgiving for crafters of every level. If you can fold a piece of paper, you can make a pinecone, and the basic technique is the same whether you use kraft paper, scrapbook paper, old book pages, or gold foil. Most of the projects below take under an hour, cost less than three dollars each, and make beautiful gifts, tree decorations, and table settings that feel far more expensive than they are.
Before you begin, gather your basics: paper in a few colors and weights, scissors or a craft knife, a bone folder or a ruler for crisp folds, a glue gun or strong craft glue, twine or ribbon for hanging, and a small foam ball or a cardboard cone for the base. A paper trimmer helps if you are making a lot of pinecones, but scissors work just fine. Set up a table with a cutting mat, put on some Christmas music, and let us fold a whole forest of paper pinecones.
1. Classic Kraft Paper Pinecones
The classic kraft paper pinecone is the perfect place to start, because the warm brown paper looks like real pinecone scales and the technique is simple. Cut kraft paper into strips, fold each strip into a small triangle or petal shape, and glue the petals in overlapping rows around a foam ball or a cardboard cone, starting at the bottom and working your way up. The finished pinecone has a natural, rustic look that suits any tree.
Make a whole set in kraft paper for a coordinated, natural look, or mix in a few painted tips for a frosted effect. These pinecones are sturdy enough to hang on the tree year after year, and they make lovely gift toppers and place card holders too. A light spray of clear sealer keeps the paper crisp and protects it from humidity.
Materials: Kraft paper, foam balls or cardboard cones, scissors, glue gun, twine.
Cost: about $2 · Time: about 45 minutes each.
2. Gold Foil Paper Pinecones
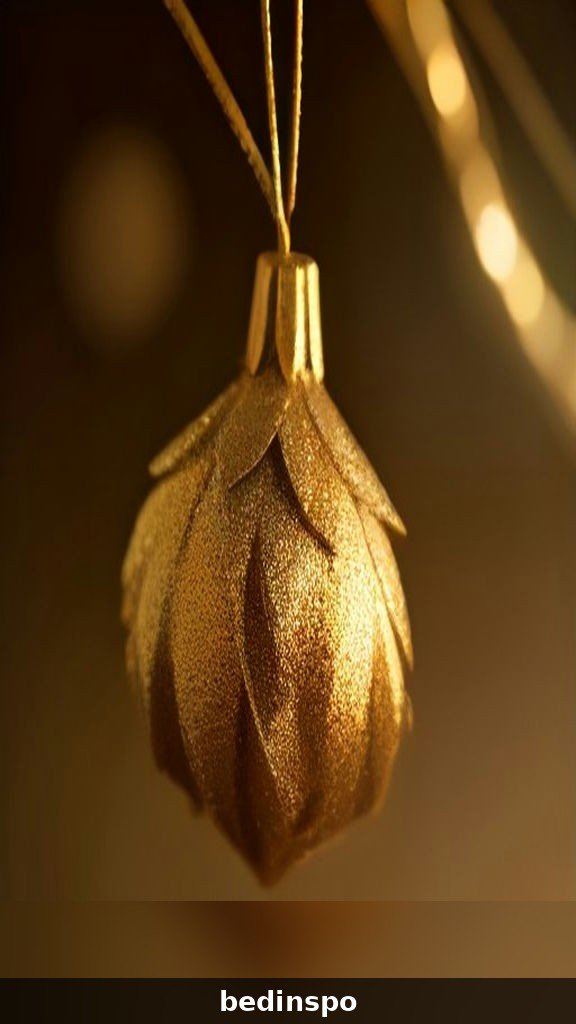
Gold foil paper turns a simple pinecone into a glamorous ornament that catches every bit of light on the tree. Use gold metallic cardstock or gold foil wrapping paper, fold the petals the same way as the kraft version, and glue them in overlapping rows around a foam ball. The metallic surface reflects the tree lights beautifully, and the finished pinecone looks like it came from a high-end boutique.
Mix gold pinecones with silver and copper ones for a metallic collection, or use gold pinecones as accents on a green and white tree. They are quick to make once you get the folding rhythm, and they look far more expensive than the few dollars they cost. A gold ribbon loop makes them feel extra special, and they photograph beautifully for Pinterest.
Materials: Gold foil cardstock or wrapping paper, foam balls, scissors, glue gun, gold ribbon.
Cost: about $3 · Time: about 45 minutes each.
3. Red and Green Paper Pinecones
Red and green paper pinecones are the most festive version of this craft, and they are perfect for a traditional Christmas tree. Use red cardstock for the bottom rows and green cardstock for the top rows, or alternate the colors in a pattern that looks like a striped pinecone. A tiny gold star or a red berry at the top finishes the design, and the finished pinecone looks cheerful from across the room.
Make a whole set in red and green for a coordinated tree, or mix in a few kraft pinecones for a more natural look. Children love choosing the colors for these pinecones, and the simple folding technique is easy enough for young crafters with a little help. They also make sweet gift tags and package decorations when you make them in miniature.
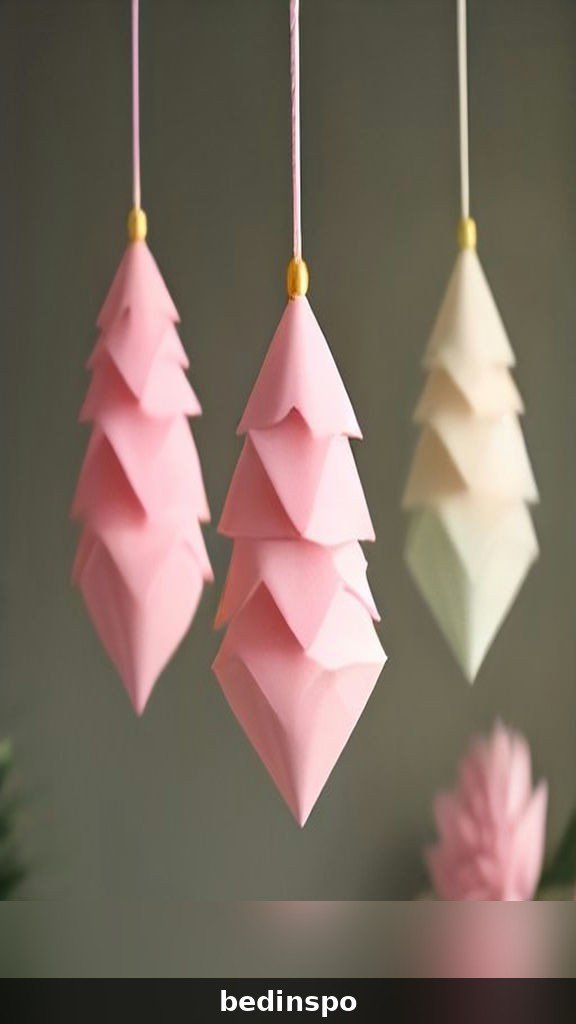
Materials: Red and green cardstock, foam balls, scissors, glue gun, twine, gold star stickers.
Cost: about $2 · Time: about 45 minutes each.
4. Snowy White Paper Pinecones

A snowy white paper pinecone is one of the most elegant ornaments you can make, and it looks like it was dusted with fresh snow. Use white or cream cardstock for the petals, fold and glue them in overlapping rows, then brush the tips lightly with white glitter glue or a dusting of fake snow. The finished pinecone glows softly against the green of the tree, and it looks beautiful on a white or silver-themed tree.
White pinecones are lovely on a winter wonderland tree, and they make beautiful wedding and bridal shower decorations as well as Christmas ornaments. Try a cream version for a warmer, more vintage look, or a bright white version for a crisp, modern feel. A silver ribbon loop completes the frosty effect, and a light coat of sealer keeps the glitter in place.
Materials: White or cream cardstock, foam balls, scissors, glue gun, white glitter glue, silver ribbon.
Cost: about $3 · Time: about 50 minutes each.
5. Pinecones With Glitter Tips
Glitter-tipped pinecones are the easiest way to add sparkle to a paper pinecone, and they look like frost catching the morning light. Make a pinecone in kraft, green, or red paper, then brush the tip of each petal with a little craft glue and dip it in fine glitter. Gold glitter on brown paper, silver glitter on green paper, and white glitter on red paper all look stunning.
Let the glitter dry completely before you hang the pinecone, and seal it with a light spray of clear sealer so the glitter does not shed all over your tree and your floor. Glitter-tipped pinecones are beautiful mixed with plain pinecones on the same tree, and they make lovely gifts for anyone who loves a little sparkle. Use fine glitter rather than chunky glitter for the most elegant effect.
Materials: Cardstock in any color, foam balls, scissors, glue gun, craft glue, fine glitter, clear sealer spray.
Cost: about $3 · Time: about 50 minutes each, plus drying time.
6. Mini Pinecone Garland
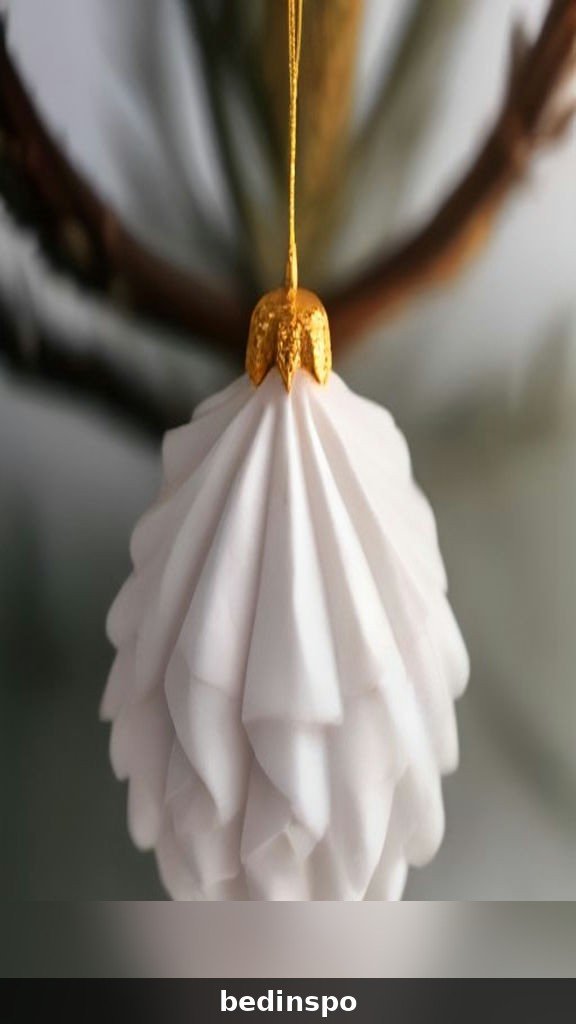
Why hang one paper pinecone when you can hang a whole garland of them? Make a dozen miniature pinecones in matching or coordinating papers, string them on a length of twine with wooden beads and dried orange slices between each one, and drape the garland across a mantel, a doorway, or a window. The garland brings the same cozy, handmade warmth as the tree ornaments, and it is a beautiful way to use up small paper scraps.
Mini pinecones are quick to make once you have the technique down, and a whole garland takes an afternoon. Mix colors for a joyful, eclectic look, or keep the garland in a single color family for a more sophisticated feel. A garland is also a wonderful handmade gift for a friend’s first home, and it stores flat in a box when Christmas is over.
Materials: Cardstock scraps, small foam balls, scissors, glue gun, twine, wooden beads, dried orange slices.
Cost: about $8 · Time: about 2 hours to assemble.
7. Pinecones With Pine Sprigs
A paper pinecone with a real pine sprig tucked into the top looks like it was just picked from the forest. Make a pinecone in kraft or green paper, then glue a small fresh pine sprig into the top center, add a tiny red berry or two, and finish with a twine loop. The combination of paper and real greenery is charming, and the pine scent will fill the room for weeks.
These pinecones are perfect for a woodland or cabin-themed tree, and they make beautiful additions to wrapped gifts and holiday place settings. Use fresh pine sprigs and replace them each year, or use faux pine sprigs for a version that lasts forever. A dusting of fake snow on the pine needles makes the whole ornament look like a tiny winter forest.
Materials: Cardstock, foam balls, scissors, glue gun, fresh or faux pine sprigs, red berries, twine.
Cost: about $3 · Time: about 50 minutes each.
8. Vintage Book Page Pinecones
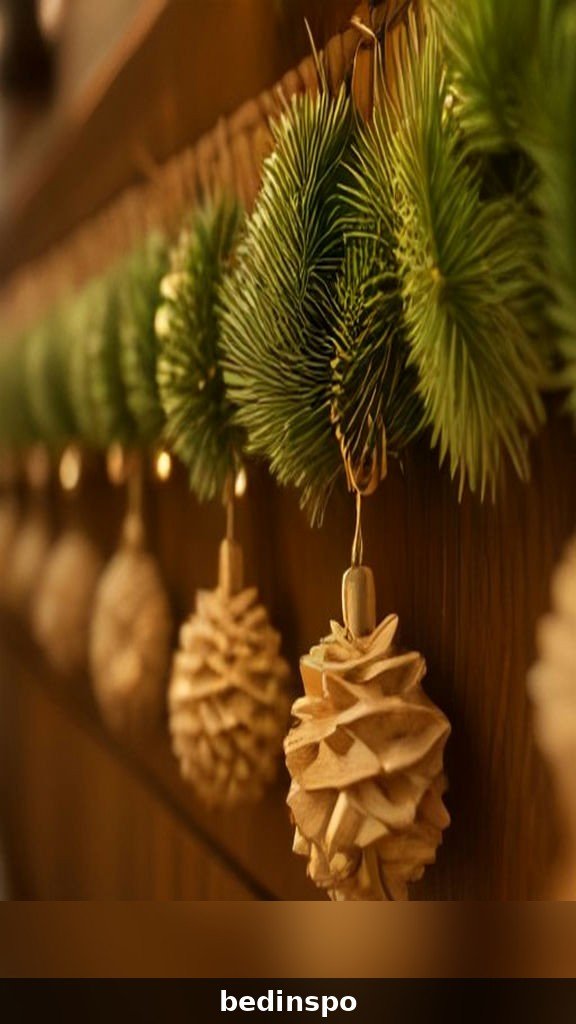
Old book pages make the most charming paper pinecones, with faded print and soft, creamy paper that looks like it came from another century. Use pages from a damaged book, an old encyclopedia, or a vintage Christmas story, cut them into petals, and fold them into a pinecone. The printed words peek out between the layers, and the finished ornament has a literary, nostalgic feel that book lovers will adore.
Book page pinecones are beautiful on a vintage or literary-themed tree, and they make wonderful gifts for teachers, librarians, and book club friends. Try pages from a Christmas novel for a seasonal touch, or use sheet music for a musical version. A light coat of sealer protects the paper and gives it a soft sheen that makes the print easier to read.
Materials: Old book pages, foam balls, scissors, glue gun, twine, clear sealer.
Cost: about $2 · Time: about 50 minutes each.
9. Scrapbook Paper Pinecones
Scrapbook paper opens up a whole world of patterns for paper pinecones, from plaid and polka dots to holly prints and vintage florals. Choose a paper with a small, busy pattern so the design shows up on every petal, fold and glue the petals in overlapping rows, and finish with a ribbon that matches one of the colors in the paper. The finished pinecone looks like a tiny piece of wrapped present hanging on the tree.
Mix different scrapbook papers for an eclectic, collected look, or use a single paper for a coordinated set. Scrapbook paper pinecones are a great way to use up paper scraps from other crafts, and they make lovely gifts when you choose a paper that matches the recipient’s taste. A set in Christmas plaid is a classic that never goes out of style.
Materials: Scrapbook paper, foam balls, scissors, glue gun, ribbon, clear sealer.
Cost: about $3 · Time: about 50 minutes each.
10. Pinecones With Cinnamon Scent

A paper pinecone that smells like cinnamon is a treat for two senses at once, and it is easy to make. Brush the finished pinecone lightly with cinnamon-scented oil, or tuck a cinnamon stick into the top and add a few whole cloves between the petals. The warm, spicy scent will drift through the room all season, and the pinecone looks just as beautiful as it smells.
Cinnamon-scented pinecones are perfect for a kitchen tree or a holiday table decoration, and they make lovely gifts when paired with a jar of homemade mulling spices. Use cinnamon essential oil sparingly, because a little goes a long way, and keep the pinecones away from open flames. A plaid ribbon completes the cozy, spicy look.
Materials: Cardstock, foam balls, scissors, glue gun, cinnamon sticks, whole cloves, cinnamon essential oil, plaid ribbon.
Cost: about $3 · Time: about 50 minutes each.
11. Ombre Paper Pinecones
An ombre pinecone, with petals that fade from dark at the bottom to light at the top, is one of the most beautiful paper crafts you can make. Use three or four shades of the same color, dark green at the bottom, medium green in the middle, and pale green at the top, and glue the petals in overlapping rows so the color shifts gradually. The finished pinecone looks like a watercolor painting, soft and sophisticated.
Ombre pinecones are lovely in any color family, from deep burgundy fading to blush pink, to navy fading to pale blue. They are beautiful on a modern or minimalist tree, and they make stunning gifts for anyone who loves color. The technique is the same as a regular pinecone, so the only extra step is sorting your paper by shade before you start folding.
Materials: Cardstock in 3-4 shades of one color, foam balls, scissors, glue gun, ribbon.
Cost: about $3 · Time: about 55 minutes each.
12. Pinecones With Jingle Bells
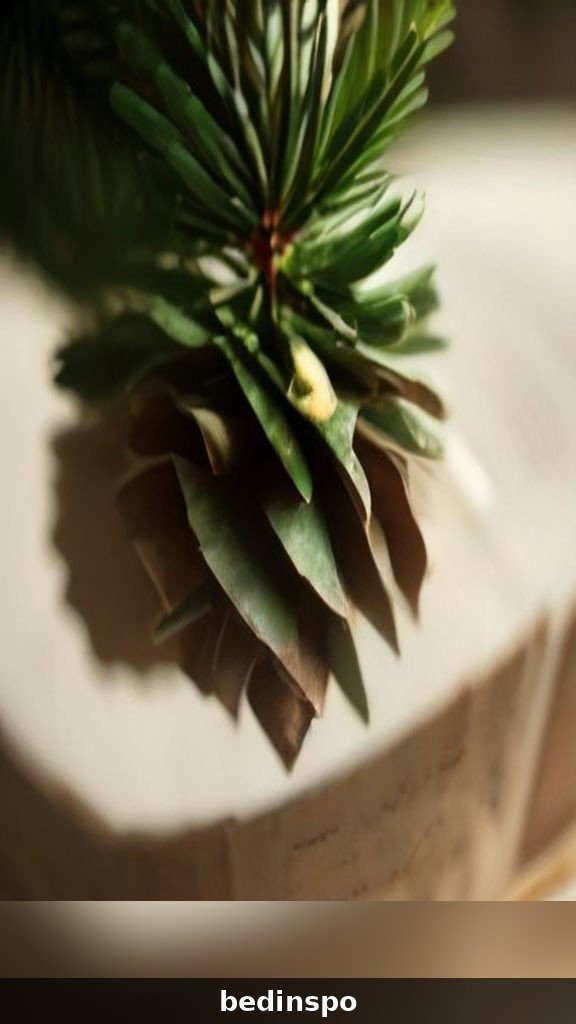
A tiny jingle bell tucked into the top of a paper pinecone adds a soft, cheerful sound every time the tree moves. Make a pinecone in any color you like, glue a small jingle bell to the top center, and add a tiny bow beside it. The bell is small enough not to overwhelm the pinecone, but big enough to ring softly when the branches sway.
Jingle bell pinecones are a favorite with children, who love hearing the tree tinkle, and they make sweet gifts for anyone who loves the sound of Christmas. Use gold or silver bells to match your tree, and make sure the bell is glued firmly so it does not fall off. A set of bell pinecones on one branch makes a delightful musical cluster.
Materials: Cardstock, foam balls, scissors, glue gun, tiny jingle bells, ribbon.
Cost: about $3 · Time: about 50 minutes each.
13. Oversized Paper Pinecones
An oversized paper pinecone makes a bold statement on the tree, and it is easier to make than you might think. Use a large foam ball or a cardboard cone as the base, cut larger petals from cardstock, and glue them in overlapping rows just like a regular pinecone. The finished ornament is the size of a grapefruit, and it becomes a focal point that draws the eye from across the room.
Oversized pinecones are beautiful on a large tree, and they make stunning mantel and table decorations as well. Try one in gold foil for a glamorous statement piece, or one in kraft paper for a rustic focal point. They are also a fun project to make with older children, because the larger petals are easier to fold and glue.
Materials: Large foam balls or cardboard cones, cardstock, scissors, glue gun, ribbon.
Cost: about $5 · Time: about 1 hour each.
14. Pinecone Place Card Holders
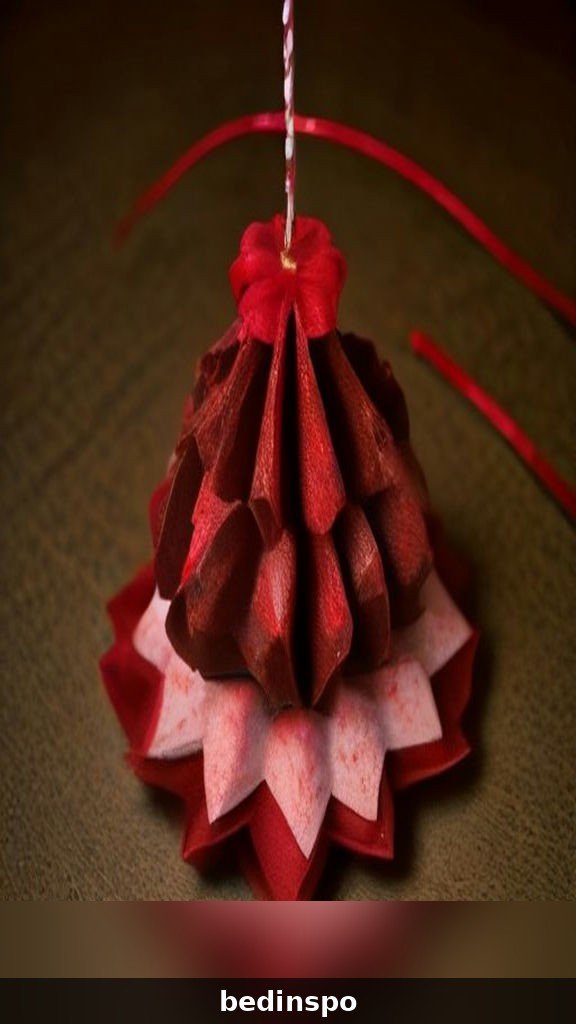
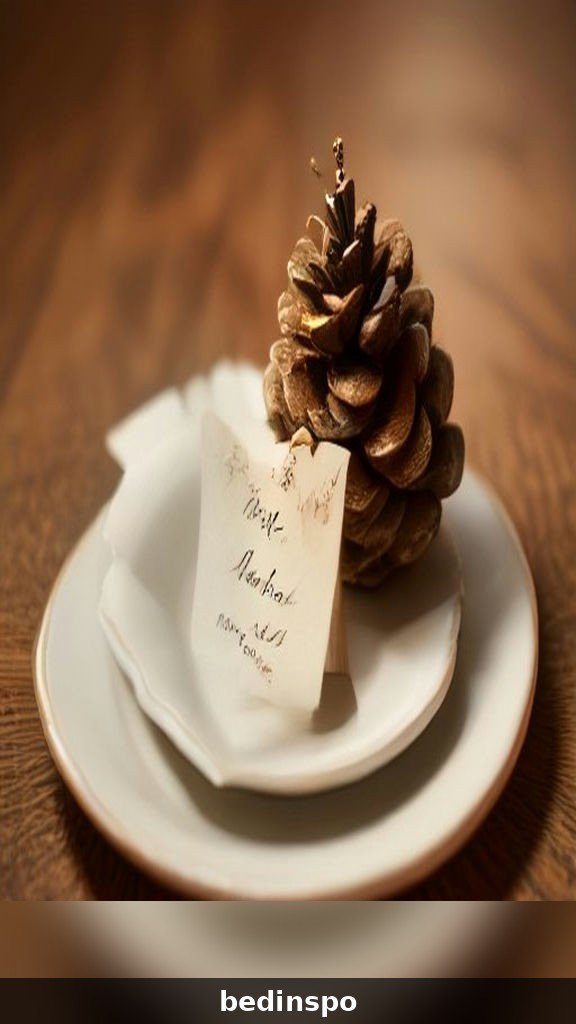
A paper pinecone with a slit at the top makes a charming place card holder for a Christmas dinner. Make a small pinecone in a festive color, cut a narrow slit in the top with a craft knife, and slide a name card into the slit. Each guest finds their seat marked by a tiny pinecone, and they can take it home as a favor at the end of the evening.
Place card pinecones are lovely on a holiday table, especially when they match the tree ornaments, and they make a dinner feel thoughtful and personal. Make them in the same paper as your invitations for a coordinated look, or in a contrasting color for a pop of festivity. A sprig of greenery beside each pinecone completes the table setting.
Materials: Cardstock, small foam balls, scissors, glue gun, craft knife, name cards, greenery sprigs.
Cost: about $2 · Time: about 30 minutes each.
15. Pinecone Wreaths
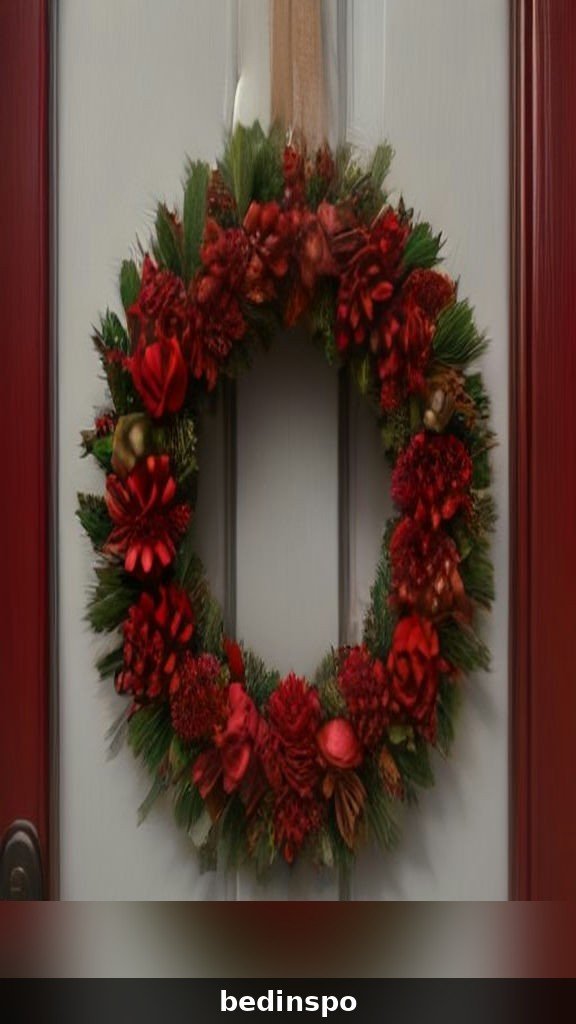
A wreath made from paper pinecones is a show-stopping decoration for a door or a wall. Make a dozen small pinecones in coordinating colors, glue them onto a foam or cardboard wreath form, and fill the gaps with greenery, berries, and a big bow. The finished wreath looks like a florist made it, but it costs a fraction of a store-bought one and it is completely handmade.
Paper pinecone wreaths are beautiful on a front door, above a mantel, or as a table centerpiece with candles in the middle. Make the pinecones in a single color for an elegant look, or mix colors for a joyful, eclectic wreath. A light coat of sealer protects the paper from humidity, and the wreath stores flat in a box when Christmas is over.
Materials: Cardstock, small foam balls, scissors, glue gun, wreath form, greenery, berries, ribbon.
Cost: about $15 · Time: about 3 hours to assemble.
16. Pinecone Gift Toppers
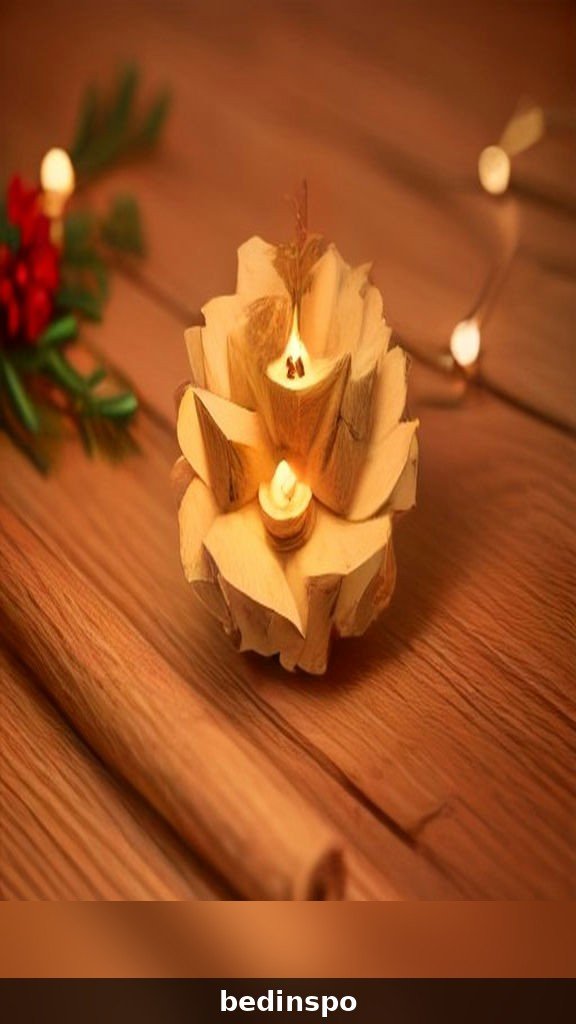
A paper pinecone tied to the top of a wrapped gift turns an ordinary present into something special. Make a miniature pinecone in a paper that matches the wrapping paper, tie it to the gift with ribbon, and add a sprig of greenery and a tiny tag. The recipient gets two gifts in one, a present and a handmade ornament they can hang on their tree.
Mini pinecones are quick to make once you have the technique down, and they are a wonderful way to use up paper scraps. Make a batch in different colors and keep them in a box by your wrapping station, so every gift you wrap this Christmas gets a handmade topper. They are also lovely on gift bags and wine bottles.
Materials: Cardstock scraps, tiny foam balls, scissors, glue gun, ribbon, greenery sprigs, gift tags.
Cost: about $1 · Time: about 20 minutes each.
17. Metallic Paper Pinecones
Metallic paper pinecones in gold, silver, and copper are the most glamorous version of this craft, and they look like they came from a luxury store. Use metallic cardstock in three shades, fold and glue the petals in overlapping rows, and finish with a metallic ribbon. The finished pinecones reflect the tree lights from every angle, and they make the whole tree shimmer.
Metallic pinecones are beautiful on a white, black, or green tree, and they make stunning gifts for anyone who loves glamorous Christmas decor. Mix the three metals for a rich, layered look, or use a single metal for a more restrained, elegant effect. Metallic cardstock is a little stiffer than regular cardstock, so use a bone folder to get crisp folds.
Materials: Metallic cardstock in gold, silver and copper, foam balls, scissors, glue gun, metallic ribbon, bone folder.
Cost: about $4 · Time: about 55 minutes each.
18. Pastel Paper Pinecones
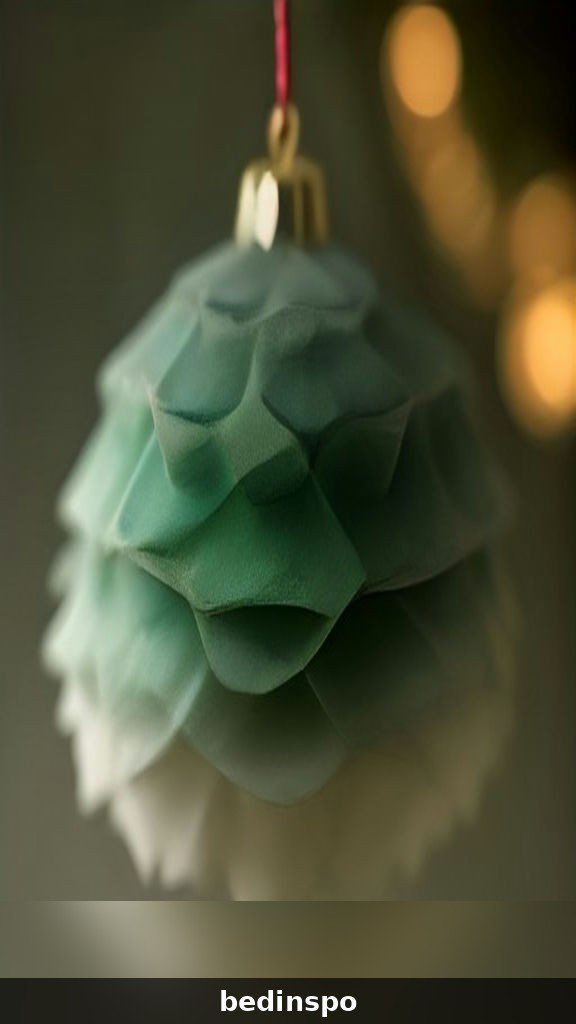
Pastel paper pinecones in soft pink, mint, lavender, and baby blue are a fresh, modern take on Christmas crafting, and they look beautiful on a pastel or Scandinavian tree. Use pale cardstock in four soft colors, fold and glue the petals in overlapping rows, and finish with a white or cream ribbon. The finished pinecones look like Easter eggs and Christmas ornaments had a beautiful baby.
Pastel pinecones are lovely for a nursery tree, a first Christmas, or a tree in a light, airy room. They also make beautiful spring decorations if you swap the ribbon for a pastel one and hang them in a window. A set in matching pastels makes a sweet gift for a new mother or a young family celebrating their first Christmas together.
Materials: Pastel cardstock, foam balls, scissors, glue gun, white or cream ribbon.
Cost: about $3 · Time: about 50 minutes each.
19. Pinecones With Ribbon Bows
A paper pinecone with a pretty ribbon bow is a simple, classic ornament that never goes out of style. Make a pinecone in any color you like, tie a small bow from matching or contrasting ribbon, and glue it to the top beside the hanging loop. The bow adds a soft, feminine touch, and it makes the pinecone look finished and polished.
Try velvet ribbon for a luxurious look, plaid ribbon for a rustic feel, or sheer organza ribbon for a delicate, airy effect. Ribbon bows are also a great way to use up small pieces of ribbon from other crafts, and they make each pinecone look a little different. A set of pinecones with matching bows makes a beautiful coordinated collection for a themed tree.
Materials: Cardstock, foam balls, scissors, glue gun, ribbon in assorted styles, twine.
Cost: about $3 · Time: about 50 minutes each.
20. Pinecones With Faux Snow
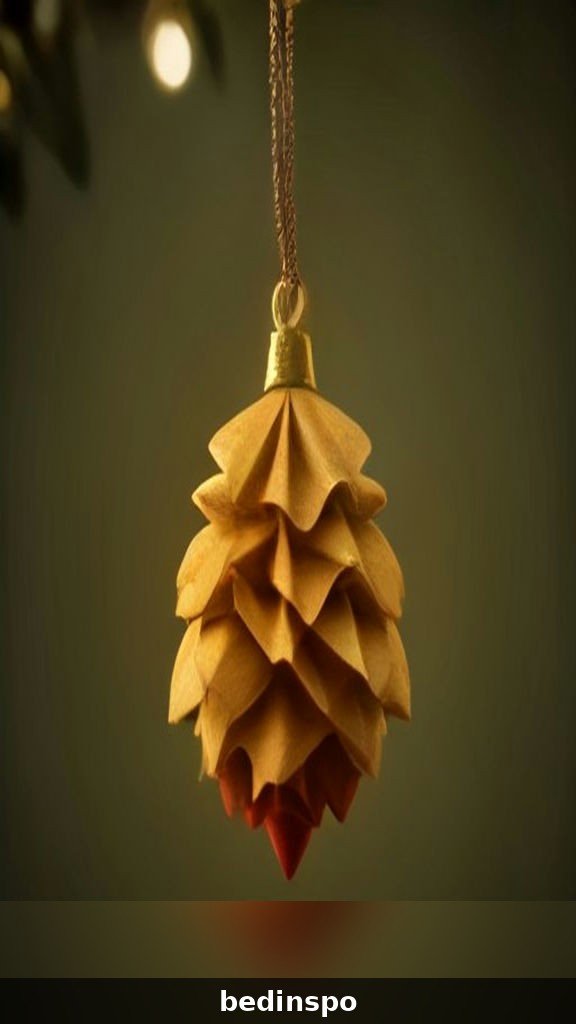
A paper pinecone dusted with faux snow looks like it was just brought in from a snowy forest. Make a pinecone in kraft, green, or brown paper, then brush the tips of the petals with white paint or spray them lightly with fake snow spray. The white dusting softens the colors and makes the pinecone look frosty and wintry, especially when the tree lights hit it.
Faux snow pinecones are beautiful on a winter wonderland tree, and they make lovely mantel and table decorations as well. Use a light hand with the snow, because a little goes a long way, and let it dry completely before you hang the pinecone. A silver ribbon completes the frosty look, and a light coat of sealer keeps the snow from shedding.
Materials: Cardstock, foam balls, scissors, glue gun, white paint or fake snow spray, silver ribbon.
Cost: about $3 · Time: about 50 minutes each, plus drying time.
21. Pinecone Tree Toppers
A large paper pinecone makes a unique and beautiful tree topper, and it is much lighter and safer than a glass star. Make an oversized pinecone in gold or silver metallic paper, attach it to a sturdy base that fits over the top branch, and add a few sprigs of greenery around the base. The finished topper looks like a giant pinecone sitting on top of the tree, and it is a conversation starter that guests will ask about.
Paper pinecone tree toppers are perfect for a rustic or woodland tree, and they make a lovely alternative to a traditional star or angel. Make sure the base is secure and the pinecone is balanced, because a topper that leans will drive you crazy all season. A little hot glue and a twist tie will hold it firmly in place.
Materials: Large foam ball or cardboard cone, metallic cardstock, scissors, glue gun, greenery sprigs, twist ties.
Cost: about $6 · Time: about 1 hour each.
22. Pinecone Mobiles
A mobile made from paper pinecones is a beautiful decoration for a nursery, a child’s bedroom, or a window. Hang five or six small pinecones in different colors from a wooden hoop or a branch at different heights, using fishing line or thin twine. The pinecones spin gently in the air, catching the light and the breeze, and the mobile becomes a piece of kinetic art.
Pinecone mobiles are lovely for a baby’s first Christmas, and they make sweet gifts for new parents. Use pastel papers for a nursery mobile, or festive colors for a Christmas window decoration. Make sure the pinecones are balanced on the hoop so the mobile hangs level, and hang it where it will not be bumped by little hands.
Materials: Cardstock, small foam balls, scissors, glue gun, wooden hoop or branch, fishing line or twine.
Cost: about $8 · Time: about 2 hours to assemble.
23. Pinecone and Berry Clusters
A cluster of paper pinecones with red berries makes a lush, festive ornament that looks like it was gathered from the garden. Make three small pinecones in coordinating colors, glue them together in a cluster, and fill the gaps with red berries, greenery, and a small bow. The finished cluster is fuller and more dramatic than a single pinecone, and it makes a beautiful focal point on the tree.
Pinecone and berry clusters are lovely on a traditional or woodland tree, and they make beautiful door decorations when you make them larger. Use faux berries rather than real ones, because they last longer and do not attract insects. A cluster in red, green, and gold is a classic Christmas combination that never fails.
Materials: Cardstock, small foam balls, scissors, glue gun, faux red berries, greenery, ribbon.
Cost: about $5 · Time: about 1 hour each.
24. Pinecone Ornaments for Kids
Paper pinecones are a wonderful craft to share with children, because the folding is simple and the results are impressive. Use larger petals and a bigger foam ball so little hands can manage the pieces, and let kids choose their own paper colors and decorations. They will love watching a flat piece of paper turn into a pinecone, and the finished ornaments are sturdy enough to survive being handled by excited little hands.
Make a family set with one pinecone per child, each in their favorite color, and hang them together on the tree as a keepsake. Kids can also make pinecones as gifts for teachers and grandparents, and the pride on their faces when they hand over a handmade ornament is the best part of Christmas crafting. Use a low-temperature glue gun or craft glue for safety.
Materials: Cardstock in bright colors, large foam balls, scissors, low-temp glue gun or craft glue, twine, stickers and glitter.
Cost: about $2 · Time: about 45 minutes each.
25. Pinecone Ornament Gift Sets
When you have made a whole collection of paper pinecones, turn them into a gift set that anyone would love to receive. Choose four or five of your best designs, a kraft, a gold, a red and green, a snowy white, and a metallic, and nestle them in a small kraft box lined with tissue paper and wood shavings. Add a handwritten tag and a sprig of pine, and you have a handmade gift that looks like it came from a high-end craft fair.
Gift sets are perfect for teachers, neighbors, coworkers, and hostess gifts, and they are a wonderful way to sell your crafts at a holiday market if you enjoy making pinecones in batches. Make the sets in a consistent style, all rustic or all metallic, so each box feels like a curated collection. A gift set of handmade paper pinecones is a gift that says you spent time, not just money.
Materials: Finished paper pinecones, kraft gift boxes, tissue paper, wood shavings, gift tags, pine sprigs.
Cost: about $8 per set · Time: about 30 minutes to assemble.
Frequently Asked Questions About DIY Folded Paper Pinecone Ornaments
What kind of paper is best for paper pinecones?
Medium-weight cardstock, about 65 to 80 pounds, is the best choice for paper pinecones, because it holds a fold well without being too stiff to shape. Lighter paper tears easily and heavier paper is hard to fold into small petals, so cardstock is the sweet spot. Kraft paper, scrapbook paper, and metallic cardstock all work beautifully, and you can mix weights for different effects. Avoid glossy photo paper, because glue does not stick to it well and the petals will pop off over time.
How do I get crisp folds on paper pinecone petals?
Use a bone folder or the edge of a ruler to score each fold line before you fold, and press firmly along the fold to make it sharp. Scoring is especially important for metallic and heavy cardstock, which can crack if you fold it without scoring first. Fold all of your petals before you start gluing, so you can work quickly once the glue gun is hot, and keep a damp cloth nearby to wipe glue off your fingers. Crisp folds make the difference between a pinecone that looks handmade and one that looks homemade.
What should I use as the base for a paper pinecone?
A foam ball is the easiest base for a paper pinecone, because it is light, easy to glue to, and available in many sizes. A cardboard cone works well for a taller, more traditional pinecone shape, and you can make one by rolling a piece of cardstock into a cone and taping it closed. For a very small pinecone, a wooden bead or a small ball of crumpled paper works fine. Whichever base you choose, start gluing petals at the bottom and work your way up in overlapping rows, so each row covers the base of the row above it.
How long does it take to make a paper pinecone?
A single paper pinecone takes about forty-five minutes to an hour, depending on the size and the number of petals. The folding is the most time-consuming part, so fold all of your petals first in a batch, then glue them on in one session. Mini pinecones take about twenty minutes, and oversized pinecones take about an hour. A good plan is to fold petals while you watch television one evening, then glue the pinecones together the next day, so the craft feels relaxing rather than rushed.
Can paper pinecones be used outdoors?
Paper pinecones are best kept indoors, because paper absorbs moisture and will wilt in rain or heavy humidity. If you want to use them on a covered porch, seal them very well with several coats of clear acrylic sealer, and bring them inside during wet weather. For an outdoor tree, use plastic or wooden pinecones instead, and save the paper ones for the indoor tree where they will last for years. With careful storage, paper pinecones kept indoors will look just as good after five Christmases as they did the first year.
How should I store paper pinecones after Christmas?
Store paper pinecones in a sturdy box with dividers, like an ornament storage box, so they do not crush each other. Wrap each pinecone loosely in tissue paper to protect the petals, and keep the box in a cool, dry place away from humidity and direct sunlight. Never stack heavy ornaments on top of paper pinecones, because the petals will flatten and lose their shape. With careful storage, paper pinecones will last for many Christmases and become family keepsakes.

Conclusion
DIY folded paper pinecone ornaments are proof that the most beautiful Christmas decorations do not require expensive materials, just a piece of paper, a pair of scissors, and a little bit of patience. Each pinecone carries the rhythm of your hands, folding and gluing petal by petal, and the little imperfections that make handmade things so much more meaningful than perfect ones. Whether you made yours in kraft, gold, red and green, or snowy white, your pinecones are now part of your family’s Christmas story.
Start with one pinecone tonight, even if it is just a simple kraft one, and see how quickly the forest grows. Before you know it, your tree will be full of layered, handmade warmth, your gift list will be shorter, and you will have a new Christmas tradition to look forward to every year. Happy folding, and may your holidays be as warm and layered as the pinecones on your tree.
If you loved these paper pinecones, you will love these handmade Christmas ideas too:
- DIY Christmas Paper Chain Garland — colorful paper chains for a joyful, handmade holiday.
- DIY Paper Honeycomb Ornaments — honeycomb paper ornaments that pop open into festive shapes.
- Easy DIY Christmas Decorations — simple handmade decorations for every room in your home.
- DIY Crochet Christmas Ornaments — soft, stitched ornaments for a cozy handmade tree.