DIY Bows for Christmas Tree: 16 Easy Ideas
DIY Bows for Christmas Tree: 16 Easy Ideas to Try
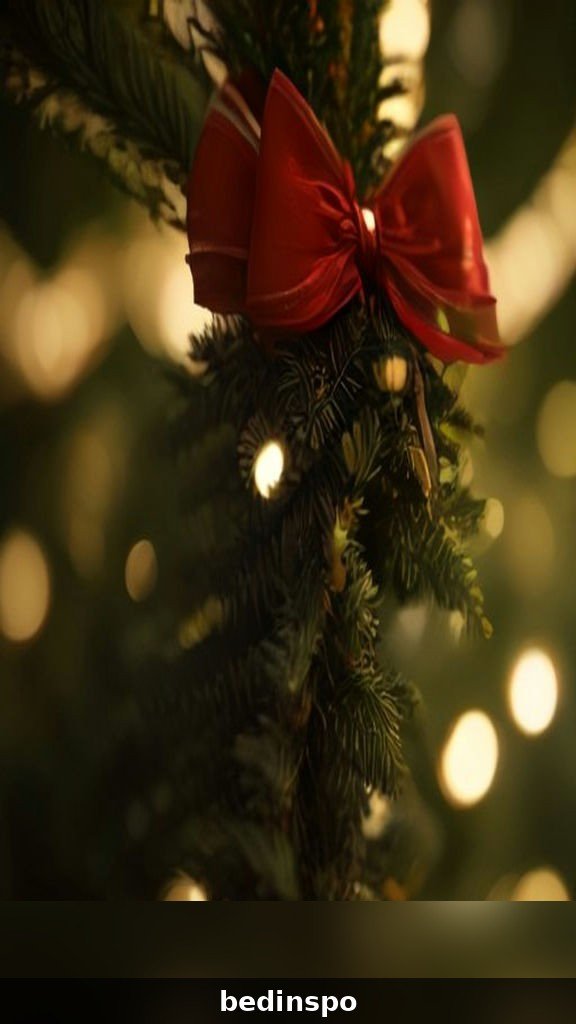
There is something magical about a Christmas tree dressed with handmade bows. Store-bought bows can cost a small fortune — a single big velvet bow at a craft store can run you five dollars or more — but making your own DIY bows for Christmas tree decorating costs pennies per bow and takes only minutes each. With nothing more than ribbon, scissors, and a little wire, you can create tree bows that look like they came from a professional designer.
Bows are one of the most versatile Christmas tree decorations you can make. A cluster of bows tucked into the branches adds color and texture in places where ornaments cannot reach. A big statement bow at the top replaces the traditional star or angel. Mini bows scattered across the branches tie your whole color scheme together. And because you make them yourself, every bow matches your exact vision — your colors, your ribbon, your tree.
This guide walks you through 16 DIY bow ideas for your Christmas tree, from rustic burlap to glamorous velvet, plus a simple step-by-step method that works for almost every style on the list. You do not need any craft experience. If you can tie your shoes, you can make a Christmas tree bow. Grab your ribbon and let’s get started.
What You Need to Make Christmas Tree Bows
The beauty of DIY Christmas tree bows is how little you need. The essentials are wired ribbon in your chosen colors (wired ribbon holds its shape, which is the secret to full, professional-looking bows), sharp scissors, and floral wire or pipe cleaners to secure the centers. That is genuinely it for most of the bows in this guide.
Nice-to-haves include a hot glue gun for attaching embellishments, a ruler or measuring tape for consistent loop sizes, and extra ribbon in a contrasting color for layered looks. Buy ribbon in bulk rolls rather than small spools — it is far cheaper per yard, and you will be surprised how quickly you go through it once you start decorating. Dollar stores and craft store clearance bins are gold mines for ribbon at a fraction of the price.
1. Classic Wired Ribbon Loops

The classic wired ribbon bow is the foundation of nearly every other bow on this list, and it is the one skill worth mastering first. Start with a length of wired ribbon about two yards long. Make a loop on each side, crossing the ribbon in the center like a figure eight, and pinch it in the middle. Wrap floral wire tightly around the center, twist to secure, and fluff the loops out. The wire edges in the ribbon let you shape each loop so it stands up and stays put.
What makes this bow so perfect for a Christmas tree is its structure. Unlike flat bows that collapse, wired loops hold their puffy shape for the entire season. Make three or four loops per side for a fuller bow, and leave long tails that you can curl or drape down the branches. A red and gold wired ribbon version of this bow is the classic Christmas look, but try it in any color that matches your tree theme.
2. Velvet Ribbon Elegance

Velvet ribbon makes the most luxurious-looking DIY Christmas tree bows, and the method is exactly the same as the classic wired bow — velvet ribbon almost always comes wired, which is convenient. The deep, light-absorbing texture of velvet gives your bows a rich, expensive look that photographs beautifully. Emerald green, burgundy, navy, and champagne velvet are all stunning on a Christmas tree.
The trick with velvet is to handle it gently. The pile crushes easily, so fluff your loops by shaping the wire edges rather than grabbing the middle of the ribbon. Keep the tails long and let them cascade down the tree — velvet tails look especially elegant draped over branches. Because velvet reads as formal, a few velvet bows can make even an inexpensive artificial tree look like it belongs in a department store window.
3. Rustic Burlap Bows
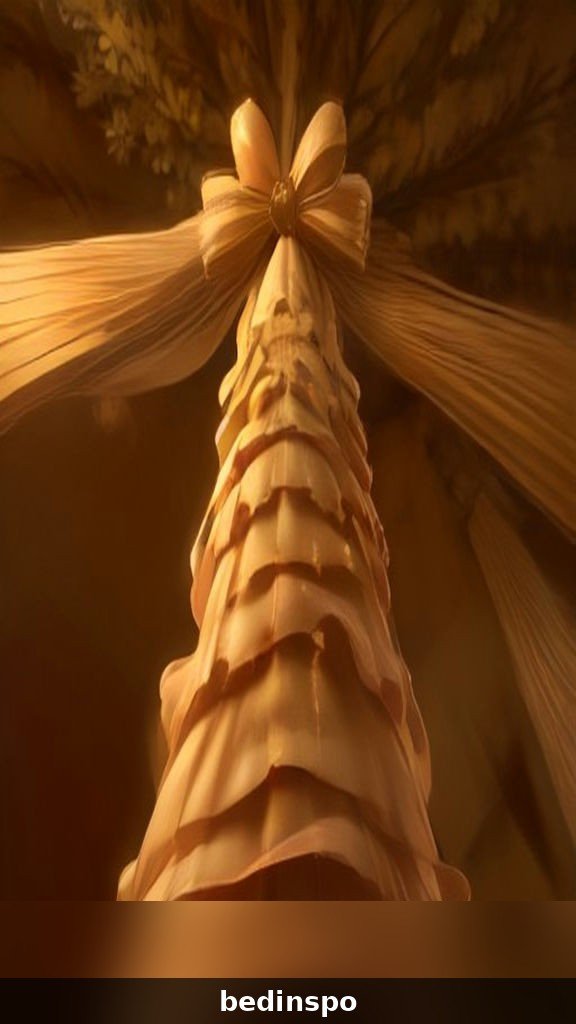
For a farmhouse or rustic Christmas tree, nothing beats burlap. Burlap ribbon bows have a wonderful rough texture that contrasts beautifully with shiny ornaments and warm lights. Cut your burlap ribbon a little wider than you think — the loose weave means narrow burlap bows look scrappy rather than charming. Three-inch wide burlap ribbon makes a gorgeous, substantial bow.
Layer a thinner ribbon on top of the burlap for extra interest: red and black buffalo plaid over burlap is the classic farmhouse combination, and cream lace over burlap gives a softer cottage look. Seal the cut ends of burlap with a dab of clear glue or a quick pass with a lighter flame to stop the fraying. Tuck these bows deep into the tree among pinecones and wooden ornaments for a cozy cabin feel.
4. Oversized Statement Tree Topper Bow

A giant bow makes a spectacular alternative to a traditional tree topper. Use extra-wide wired ribbon — four inches or wider — and make your loops big, at least six to eight inches across. You will need about four to five yards of ribbon for a truly oversized topper bow. Build it with six loops (three per side) plus two extra loops at the top for height, then secure everything with heavy floral wire.
Attach the finished bow to the top of the tree with the wire, winding it firmly around the top branch so it cannot slip. Let the tails stream down a foot or two on each side of the tree for drama. A champagne gold oversized bow on a green tree is breathtaking, and a deep red one makes a bold traditional statement. This single bow can carry your entire tree’s design.
5. Mini Bow Ornaments Scattered on Branches

Mini bows work like jewelry for your tree — small pops of color tucked between ornaments all over the branches. Make them with one-and-a-half-inch wide wired ribbon, using short lengths of about eighteen inches. Two loops per side is plenty at this scale. Attach a short piece of floral wire to the back of each bow and use it to clip the bow onto branch tips.
The magic of mini bows is in the numbers: make twenty or thirty of them and distribute them evenly around the tree, and suddenly your whole tree looks professionally styled. Use them to repeat your accent color — if your ornaments are mostly gold and white, mini red bows tie everything together. They are also the fastest bows to make, so this is a great project to do while watching a Christmas movie.
6. Buffalo Plaid Flannel Bows

Buffalo plaid — that bold red and black check — is the pattern of cozy Christmas, and it makes fantastic tree bows. Use wired buffalo plaid ribbon in a medium width, about two and a half inches. The strong pattern means you do not need many loops; four loops total gives a full, graphic bow that reads clearly even from across the room.
Buffalo plaid bows pair perfectly with natural elements: pinecones, wooden beads, dried orange slices, and simple white lights. They are the backbone of the popular farmhouse Christmas tree style. Make a medium topper bow in buffalo plaid and scatter mini matching bows through the branches, and your tree will look like it walked out of a holiday catalog — for the price of a couple of ribbon rolls.
7. Gold Mesh Ribbon Cascades
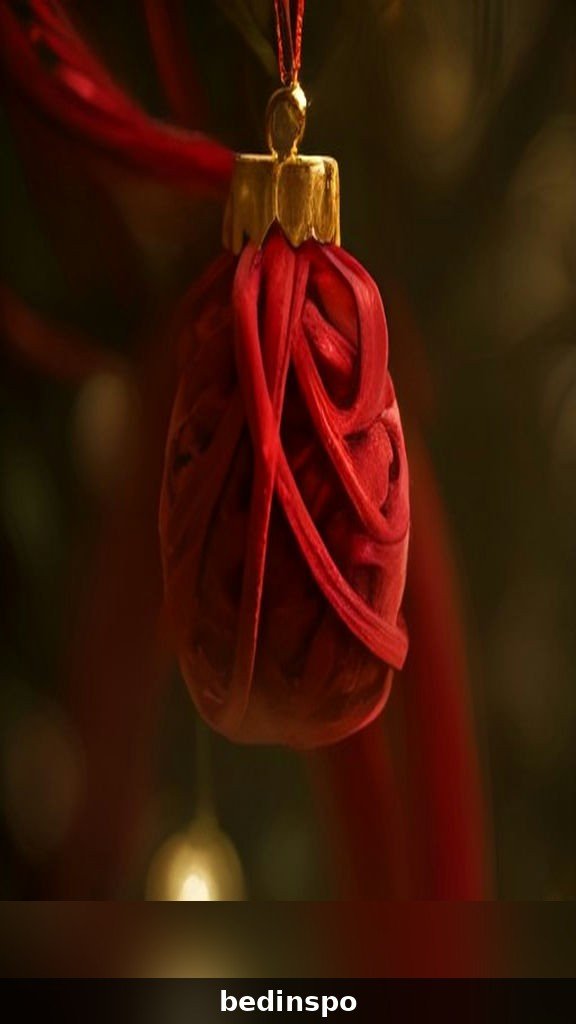
Decorative mesh ribbon (sometimes called deco mesh) creates bows with incredible volume and a glittery, light-catching texture. It is stiffer than fabric ribbon, so mesh bows practically style themselves — just gather, pinch, and wire. A gold mesh bow tucked into the top third of the tree catches the lights and sparkles from every angle.
For a really striking look, make your mesh bow with extra-long tails — three to four feet — and weave the tails down through the branches in a spiral. This technique, borrowed from professional tree decorators, fills in sparse spots on artificial trees and adds a waterfall of shimmer. Red mesh on a flocked tree is a showstopper combination worth trying.
8. Twisted Ribbon Streamer Bows
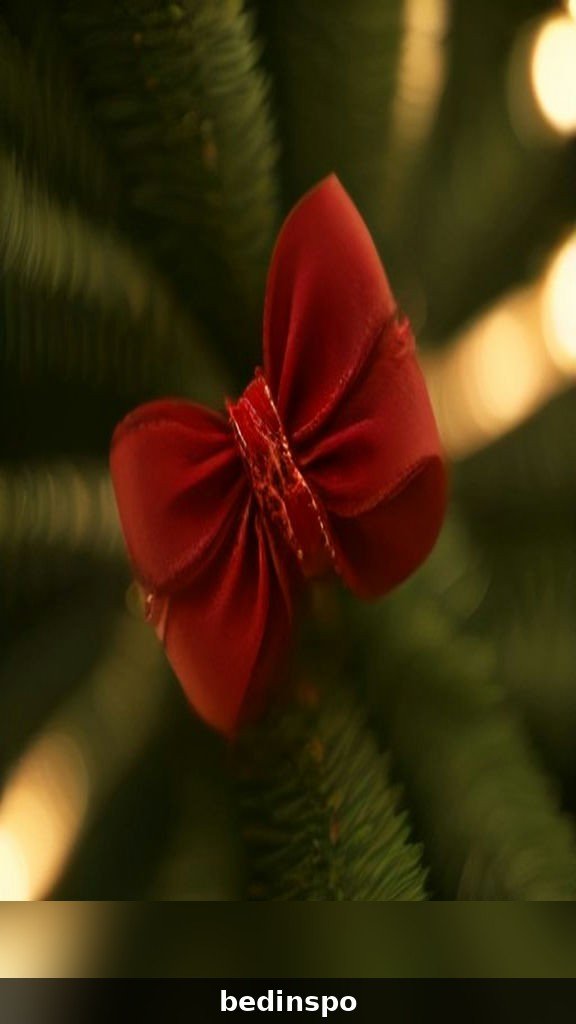
This technique skips the traditional bow shape entirely. Take a long length of wired ribbon — six to eight feet — and starting at the top of the tree, twist it every few inches as you tuck it into the branches in a spiral down to the bottom. At intervals, pull a loop out to the side and pinch it into the branch, creating bow-like puffs along the spiral.
The result looks like a garland and bows combined, and it is one of the easiest ways to make a big tree look fully decorated in minutes. Use two different ribbons twisted together for a layered effect — try gold mesh with red velvet, or silver with icy blue satin. This method uses a lot of ribbon, so buy the big bulk rolls for this one.
9. Double-Layered Two-Ribbon Bows

Layering two ribbons takes a simple bow from pretty to designer. Make your base bow from a wider ribbon, then make a smaller bow from a narrower contrasting ribbon and wire them together at the center. The contrast can be color (red over gold), texture (velvet over burlap), or pattern (solid over plaid).
The key to a clean layered bow is proportion: the top bow should be about two-thirds the size of the base bow so both layers show. Offset the loops slightly rather than lining them up perfectly — the slight rotation makes the bow look fuller and more natural. These double bows make excellent focal points, so place them at the front of the tree at eye level where they will be noticed.
10. Snowy White Satin Bows
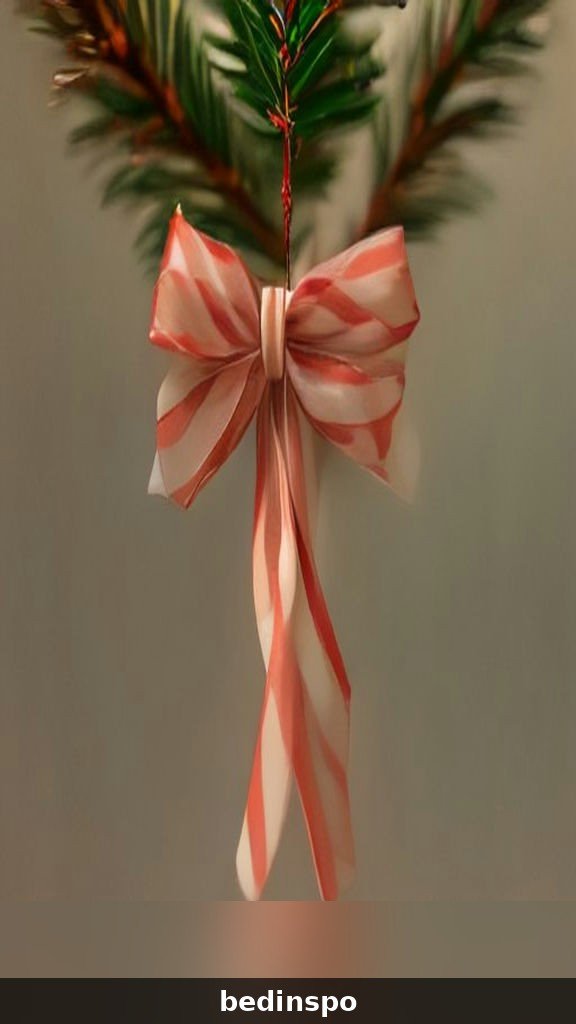
White satin bows bring an elegant, wintry softness to a Christmas tree, especially on a flocked or white tree. The smooth sheen of satin reflects the tree lights beautifully. Use wired white or ivory satin ribbon so the loops hold their shape — unwired satin goes limp within a day. Wide ribbon, three inches or more, makes the most impact.
White bows are the perfect neutral: they work with every color scheme and they brighten up a tree that has a lot of dark ornaments. Add a sprig of faux greenery or a small pinecone wired into the center of each bow for a finished, professional look. On a green tree with warm white lights, ivory satin bows create the coziest glow imaginable.
11. Candy Cane Striped Ribbon Bows
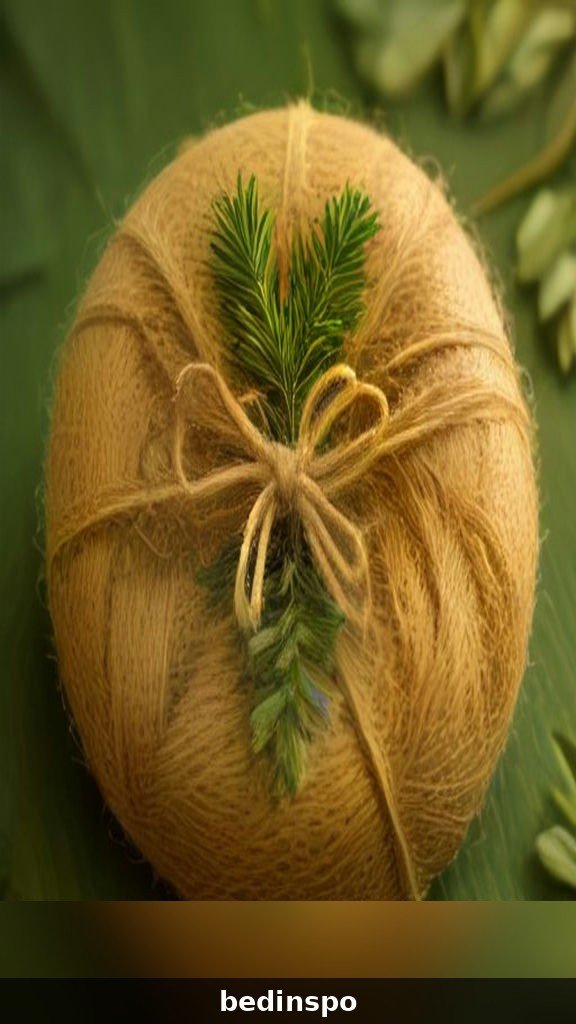
Red and white striped ribbon makes bows that are pure Christmas joy. The candy cane pattern is busy, so keep these bows simple — four loops, medium size — and let the pattern do the talking. These bows are especially fun on a tree with a playful or children’s theme, paired with candy ornaments and colorful lights.
For a more sophisticated take, look for thinner pinstripe ribbon in red and white rather than wide candy stripes; it reads as festive without being cartoonish. Mini candy stripe bows make adorable gift-topper-style accents when scattered through the branches. Mix them with solid red bows in the same tree for a coordinated look that is not overwhelming.
12. Natural Twine and Greenery Bows

For a minimalist, Scandinavian-inspired, or woodland Christmas tree, skip the ribbon aisle entirely and make bows from natural jute twine. Tie simple loops with long tails, then tuck fresh or faux greenery — eucalyptus, pine sprigs, cedar — into the center of each bow. The combination of rough twine and soft greenery is effortlessly beautiful.
Twine bows cost almost nothing and take under a minute each, so they are perfect if you need a lot of them. They look best on trees decorated with natural materials: wood ornaments, dried fruit, pinecones, and simple white lights. Add a cinnamon stick or a dried orange slice to the center of a few bows for a tree that smells as good as it looks.
13. Tulle Softness Bows
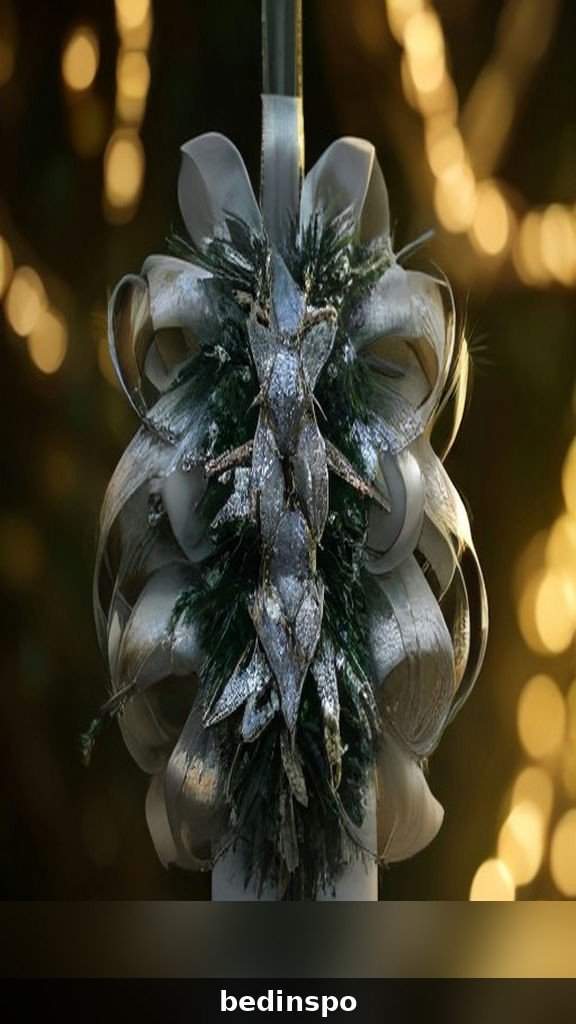
Tulle — the sheer netting fabric used in tutus and veils — makes the softest, dreamiest tree bows. Gather a long strip of tulle, pinch it in the middle, and wire it. The sheerness means you can use a lot of it without the bow looking heavy. White, blush pink, or champagne tulle bows give a tree a romantic, ethereal quality.
Tulle bows are wonderful on white or pastel-themed Christmas trees, and they are a lovely choice for a little girl’s bedroom tree. Because tulle has no wire edge, these bows are floppier than wired ribbon bows — embrace the softness and let the loops fall naturally. Layer tulle over a small wired ribbon bow to get the best of both worlds: structure underneath, softness on top.
14. Glitter Ribbon Glam Bows

When subtlety is not the goal, glitter ribbon delivers maximum sparkle. Glitter wired ribbon holds its shape beautifully and catches every bit of light on the tree. Silver, gold, and champagne glitter are the classics; rose gold glitter is gorgeous on a blush-themed tree. Make your loops generous — glitter ribbon looks best in big, bold bows.
One practical note: glitter ribbon sheds. Work over a trash can or an old sheet, and give each finished bow a gentle shake before it goes on the tree. The sparkle payoff is worth the minor mess. A few glitter bows mixed in with matte ornaments create the perfect balance of shine and calm on a glamorous holiday tree.
15. Scandi Minimalist Linen Bows
The Scandinavian Christmas aesthetic is all about simplicity, and linen ribbon bows are its perfect expression. Use natural or white linen-look wired ribbon in a medium width. Tie simple, unfussy bows with just two loops per side and neat, straight tails. The slightly nubby texture of linen adds quiet interest without any shine or pattern.
These bows shine on a minimalist tree: sparse branches, a few handmade ornaments, simple white lights, maybe some dried botanicals. The restraint is the point. Make all your bows identical in size for the cleanest look — measure your ribbon lengths so every bow matches. It is the easiest bow on this list to make well, and the result is calm, modern, and timeless.
How to Make a Basic DIY Christmas Tree Bow (Step by Step)
Here is the universal method that works for almost every bow in this guide. Cut a length of wired ribbon — two yards is a good starting point for a medium bow. Hold the ribbon about a third of the way along, pinch it, and twist so the pretty side faces out. Form a loop on one side, about the size you want, and pinch it at the center. Form a matching loop on the other side. Repeat for as many loops as you want, alternating sides.
Once your loops are formed, cut a six-inch piece of floral wire and wrap it tightly around the pinched center, twisting the ends together at the back. Trim the ribbon tails to your desired length, cutting the ends at an angle or in a dovetail notch for a finished look. Now fluff: pull each loop out and shape it using the wire edges, working from the back loops to the front. Attach to the tree by twisting the wire ends around a branch.
Where to Place Bows on Your Christmas Tree
Placement matters as much as the bows themselves. Start with your biggest bow at the top as the topper, then place your largest remaining bows in a triangle formation around the tree — one near the top, two spaced around the middle and lower sections. This classic triangle layout keeps the tree balanced from every angle. Fill in with medium bows tucked into any sparse or bare spots.
Scatter mini bows last, distributing them evenly so no section looks crowded or empty. Step back and look at the tree from across the room every few bows — it is easy to cluster everything on the front and forget the sides. Push bows slightly into the branches rather than perching them on the tips; nestled bows look integrated and professional, while bows sitting on top of branches look like an afterthought.
Frequently Asked Questions
How much ribbon do I need to make bows for a Christmas tree?
For a standard six to seven foot tree, plan on about twenty to thirty yards of ribbon total if bows are a main decoration. That covers one topper bow, six to eight medium bows, and twenty or so mini bows. Buying ribbon in bulk rolls of twenty-five or fifty yards is much cheaper than buying individual spools, and leftover ribbon keeps for years.
What is the best ribbon for Christmas tree bows?
Wired ribbon is the best choice for Christmas tree bows because the thin wire in the edges holds the loops open and lets you shape them. Look for ribbon at least one and a half inches wide — wider ribbon makes fuller, more impressive bows. Velvet, burlap, and satin wired ribbons all work beautifully; avoid thin unwired craft ribbon, which goes limp.
How do you attach bows to a Christmas tree?
The easiest method is floral wire: leave long wire tails when you secure the bow’s center, then twist those tails firmly around a branch. For heavy topper bows, use thicker wire or even zip ties for extra security. You can also use ornament hooks threaded through the back of the bow, or hot-glue a clothespin to the back of mini bows so they clip right onto branches.
Can I reuse my DIY Christmas tree bows next year?
Absolutely — that is one of the best things about making your own. Store bows in a box with tissue paper between the layers so the loops do not get crushed, and keep them somewhere dry. Wired ribbon bows hold their shape for years. When you unpack them next Christmas, just re-fluff the loops and they will look brand new.
Conclusion
DIY bows for Christmas tree decorating are one of those rare crafts that is genuinely easy, genuinely cheap, and genuinely impressive. Sixteen ideas, one basic technique, and a few yards of ribbon stand between you and a tree that looks professionally decorated. Start with the classic wired bow, experiment with the textures and colors you love, and do not worry about perfection — slightly imperfect handmade bows have a charm that store-bought decorations cannot match.
This year, skip the overpriced bow section at the craft store and make your own. Your tree will look better, your wallet will thank you, and you will have the satisfaction of pointing at your beautiful tree and saying you made those bows yourself. Happy crafting, and happy holidays!