Easy Sourdough Bread Recipe for Beginners (Crusty, Golden & No-Knead!)
Easy Sourdough Bread Recipe for Beginners (Crusty, Golden & No-Knead!)
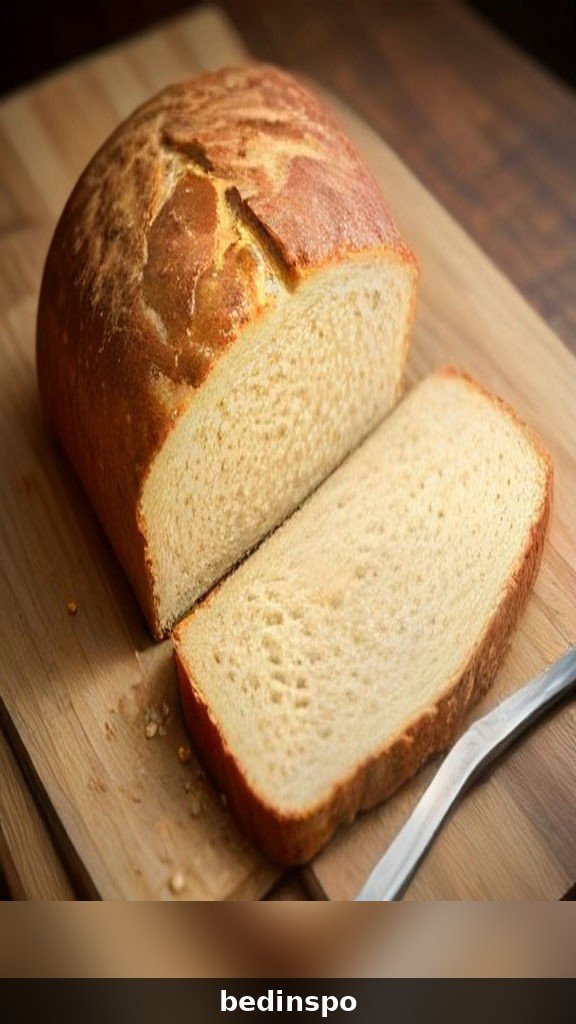
There is a moment every home baker remembers forever: the first time you lift the lid off a Dutch oven and see your sourdough loaf — deeply golden, crackled, and smelling like the best bakery in town. It feels like magic, but here’s the truth: sourdough bread is just flour, water, salt, and time. No fancy ingredients, no bread machine, and with this method, no kneading at all.
This easy sourdough bread recipe is the one I teach every beginner. It uses a simple, forgiving process — mix, rest, a few gentle stretch-and-folds, shape, chill overnight, and bake — that fits around a normal schedule and produces a loaf with a shatteringly crisp crust and a soft, open, slightly tangy crumb. If you’ve ever thought sourdough was too complicated, this recipe is about to change your mind.
I’ll walk you through everything: what a starter is and how to know yours is ready, the exact ingredients and tools, a clear timeline so you always know what happens when, and how to fix the most common problems (dense crumb, flat loaf, pale crust). By the end, you’ll be baking loaves that make your whole house smell incredible and your family gather in the kitchen. Let’s get started.
Why This Easy Sourdough Bread Recipe Works
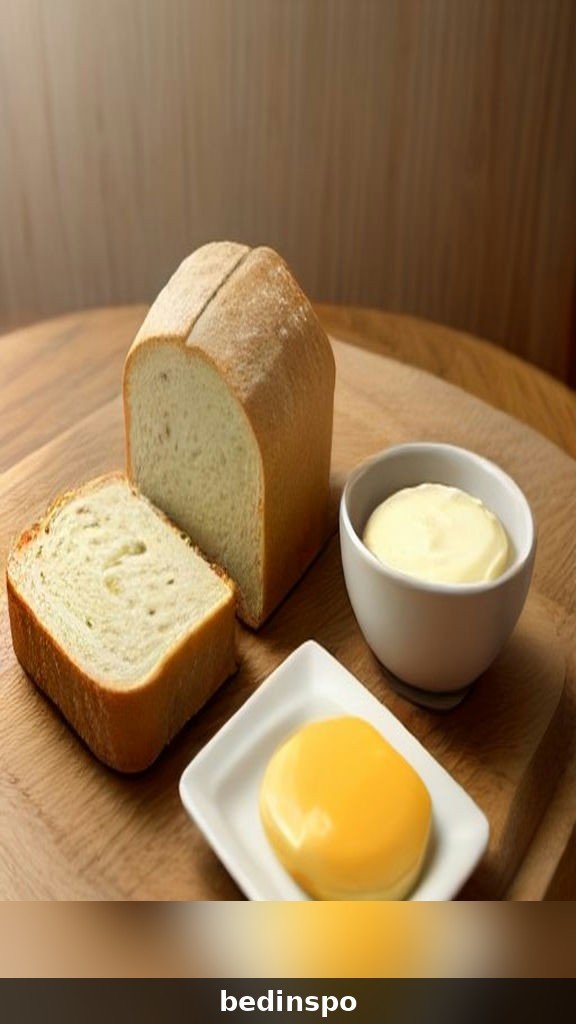
Sourdough has a reputation for being fussy, but the method matters more than the mystique. This recipe is built to be as beginner-friendly as possible:
- No kneading. A few sets of gentle stretch-and-folds build all the strength the dough needs. Your stand mixer can stay in the cupboard.
- A overnight cold proof. Shaping the loaf and letting it rest in the fridge means better flavor, easier scoring, and a bake time that suits YOUR morning — not the other way around.
- Forgiving hydration. At about 72% hydration, this dough is wet enough for an open, airy crumb but dry enough to handle without a wrestling match.
- Baked in a Dutch oven. The lidded pot traps steam, which is the real secret to that professional crackly crust and dramatic rise.
- Just 4 ingredients. Flour, water, salt, and starter. That’s it — the flavor comes from fermentation, not a long shopping list.
Most importantly, this recipe teaches you to read the dough instead of the clock. I’ll give you times as a guide, but I’ll also tell you exactly what to look for at every stage, because your kitchen temperature — not a timer — is what really decides when sourdough is ready.
Sourdough Starter Basics (Start Here!)
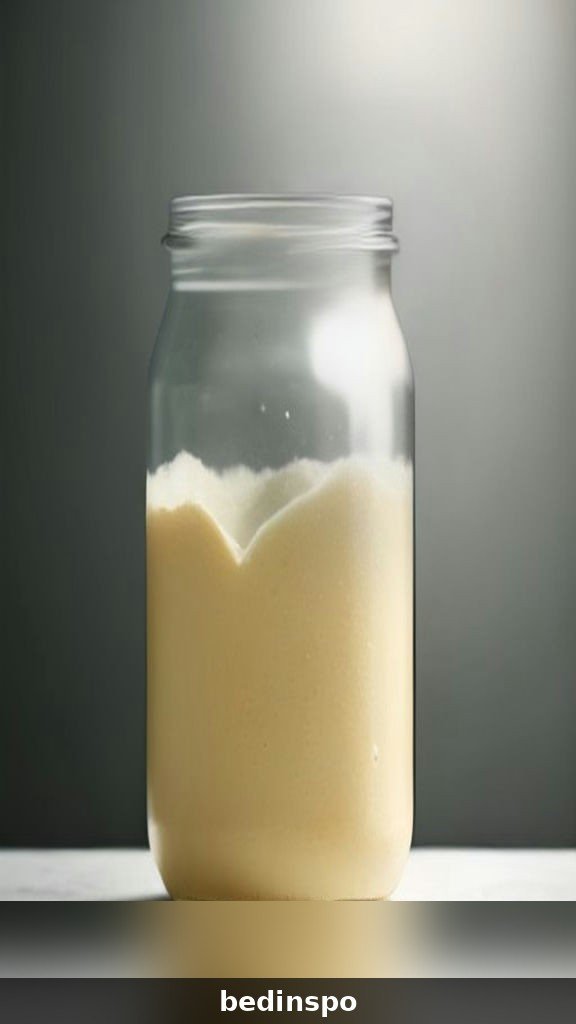
Your starter is the living heart of sourdough. It’s simply a mixture of flour and water that has captured wild yeast and friendly bacteria from the environment. Those microbes are what make the bread rise and give it its signature gentle tang — no packet of commercial yeast needed.
What You Need to Make a Starter
If you don’t have a starter yet, you only need a clean glass jar, unbleached all-purpose or bread flour, whole wheat or rye flour (microbes love it), and water. Combine 50 grams flour (half white, half whole grain) with 50 grams lukewarm water in the jar, stir well, cover loosely, and leave at warm room temperature. Each day, discard all but about 50 grams and feed it with another 50 grams each of flour and water. In about 7–14 days of daily feedings, it should become bubbly, active, and sweet-smelling — and ready to bake with. Many beginners also get a head start by borrowing a spoonful of starter from a friend or a local bakery; there’s no shame in it, it’s how bakers have shared starters for centuries.
How to Know Your Starter Is Ready
A starter is ready to bake with when it reliably doubles (or nearly triples) in size within 4–8 hours of a feeding, is full of bubbles on the surface and throughout, and smells pleasantly tangy — like yogurt or green apples — rather than harsh like nail polish remover. The classic float test (dropping a spoonful in water to see if it floats) is a fun hint, but the doubling test is far more reliable: mark the level with a rubber band after feeding and watch it climb. If your starter is sluggish, a few days of twice-daily feedings in a warm spot (75–80°F is the sweet range) almost always perks it up.
A Simple Feeding Routine
For a baking day, feed your starter the night before (or the morning of, if your kitchen is warm) with a 1:2:2 ratio — for example, 20 grams starter, 40 grams flour, 40 grams water — and use it at its peak, when it has doubled and the top is domed and bubbly. If you bake once a week or less, store the starter in the fridge and give it one feeding a week to keep it happy. Take it out and feed it twice before a baking day to wake it up fully.
Ingredients You’ll Need
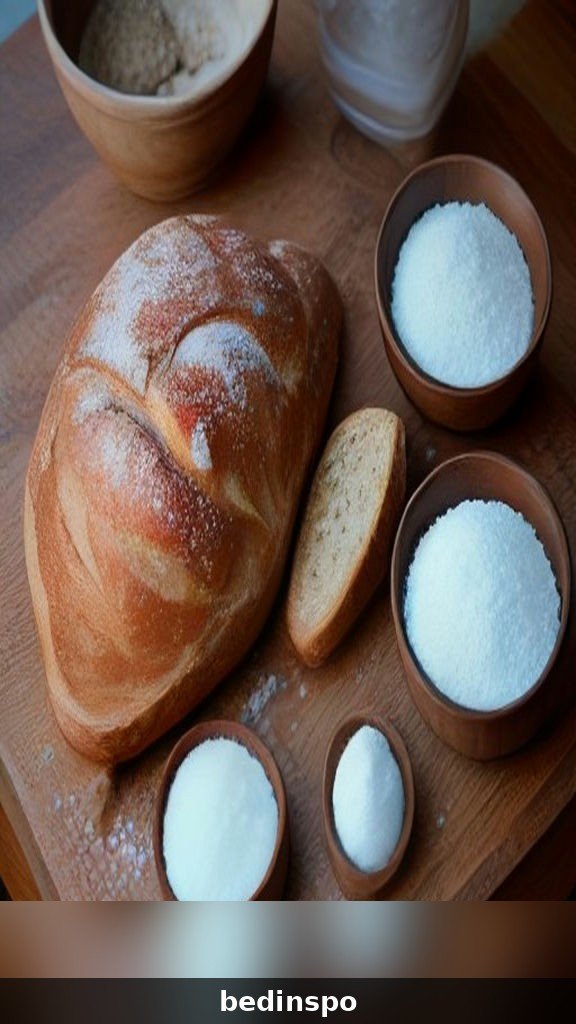
Sourdough rewards precision, so I strongly recommend a kitchen scale and grams. It’s genuinely easier than cups — fewer dishes, no packing flour, and consistent loaves every time.
- 100 grams active sourdough starter (about 1/2 cup), fed and bubbly, used at its peak
- 375 grams warm water (about 1 1/2 cups plus 1 tablespoon), around 80°F
- 500 grams bread flour (about 4 cups plus 2 tablespoons) — bread flour’s higher protein gives the best chew and rise; unbleached all-purpose works too, with a slightly softer crumb
- 10 grams fine sea salt (about 2 teaspoons)
- Rice flour or extra bread flour, for dusting the basket and counter
Yield: 1 large loaf (about 2 pounds). Prep/active time: about 30 minutes spread across the day. Total time: 18–24 hours, almost entirely hands-off (mixing, folds, an overnight fridge rest, and a 50-minute bake). Don’t let the long total time scare you — the dough does the work while you do other things, and the timeline below lays it all out.
About the flour: for your very first loaves, use 100% bread flour so you can learn how the dough should feel. Once you’re comfortable, swapping in 10–20% whole wheat flour adds wonderful flavor and speeds up fermentation slightly (just watch the dough, not the clock — it will ferment a bit faster).
Tools That Make Sourdough Easier
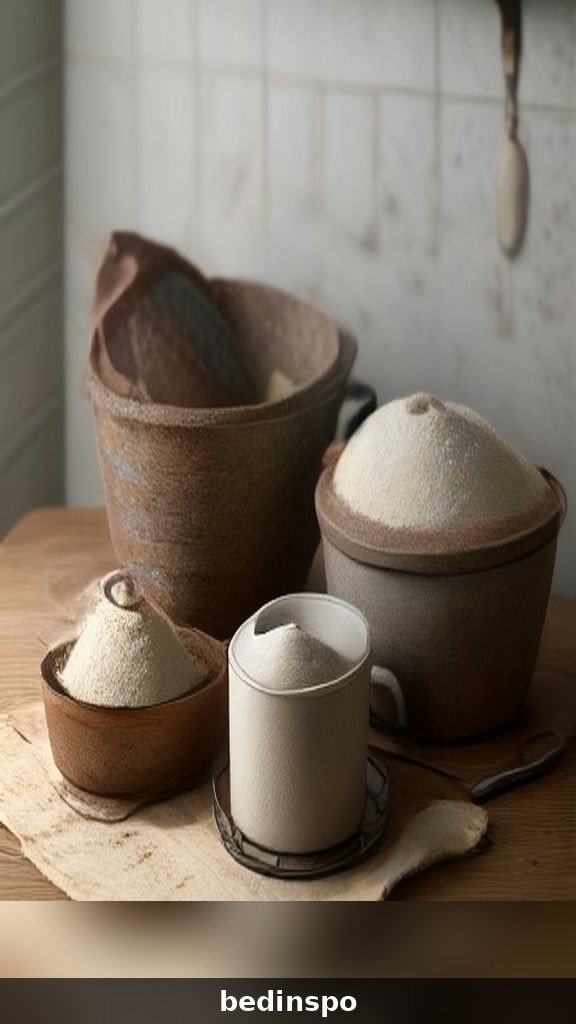
- Kitchen scale — the single most important sourdough tool. Non-negotiable for consistency.
- Dutch oven (5–6 quart) with a lid — traps steam for maximum rise and a crackly crust. A combo cooker works beautifully too.
- Large mixing bowl — for mixing and bulk fermentation.
- Banneton (proofing basket) — supports the loaf’s shape during the cold proof. No banneton? A medium bowl lined with a well-floured linen towel works fine.
- Bench scraper — makes handling and shaping soft dough dramatically easier.
- Lame or a sharp serrated knife / clean razor blade — for scoring.
- Parchment paper — for lowering the loaf into the screaming-hot Dutch oven safely.
- Instant-read thermometer — the foolproof way to know your bread is fully baked.
Baker’s Timeline at a Glance
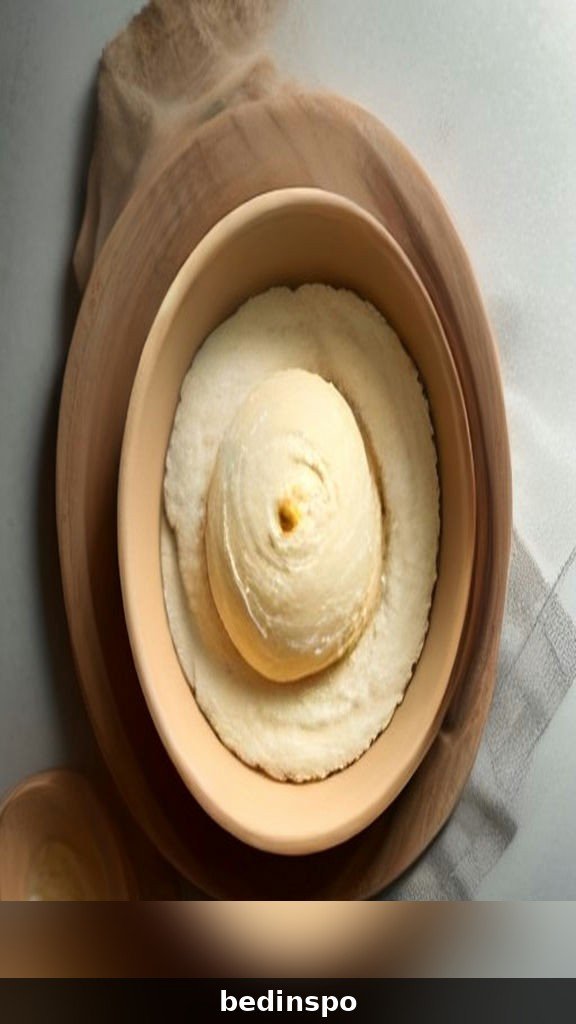
Sourdough runs on its own schedule, but it bends around yours more than you’d expect. Here’s the sample timeline I use for a loaf baked fresh on Saturday morning — adjust the start time to fit your life, and remember the fridge rest can stretch from 8 to 24 hours.
- Friday, 8:00 AM — Feed the starter (1:2:2). Leave at room temperature to peak.
- Friday, 12:00 PM — Mix flour and water; rest 30–60 minutes (the autolyse). Add starter and salt; mix until shaggy, then rest 30 minutes. (If your starter peaks later, simply shift everything — a morning feed and an evening mix works too.)
- Friday afternoon — 4 sets of stretch-and-folds over 2 hours, then let the dough finish bulk fermenting until it has risen 50–75% and looks smooth and jiggly (typically 3–5 hours total from mixing, depending on kitchen warmth).
- Friday evening — Shape the loaf, place it in the floured basket, cover, and refrigerate overnight.
- Saturday, 8:00 AM — Preheat the oven and Dutch oven for a full hour at 500°F. Score the cold loaf and bake: 20 minutes covered, then 20–25 minutes uncovered.
- Saturday, 9:00 AM — Cool at least 2 hours (the hardest step!), then slice and enjoy.
Warm kitchen note: In summer or a warm kitchen (78–80°F), fermentation speeds up noticeably — your bulk ferment may finish in 3 hours. In a cool winter kitchen (65–68°F), it may take 6 or more. This is normal! Watch for the signs described in Step 5 below, and the dough will tell you the truth every time.
How to Make Easy Sourdough Bread (Step-by-Step)
Step 1: Feed Your Starter
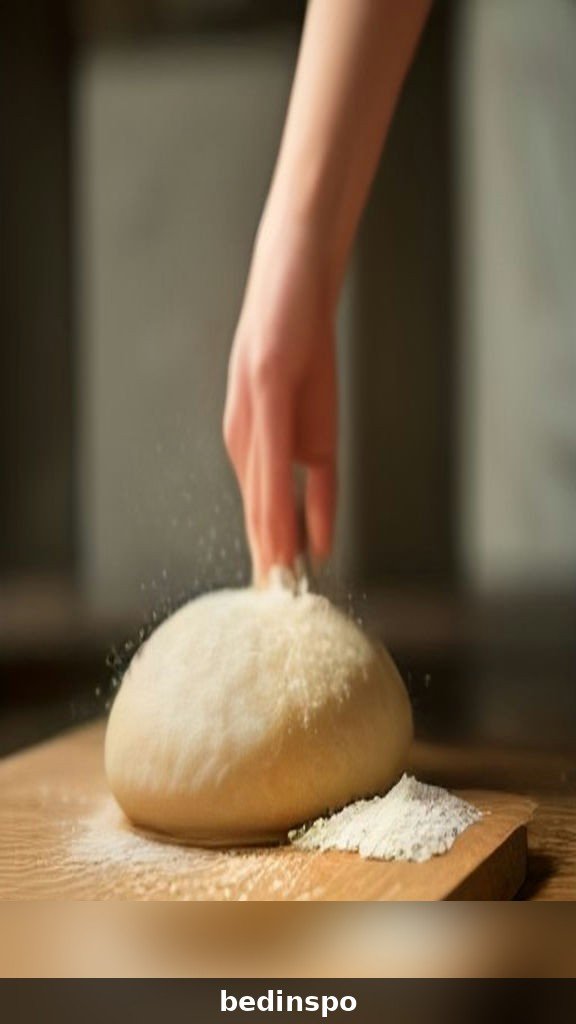
About 4–8 hours before you plan to mix (timed so it peaks when you need it), feed your starter and mark its level with a rubber band. You want it doubled, bubbly, and domed on top — at its peak strength. Using starter that hasn’t peaked yet gives a weak rise; using it long after it has collapsed and become thin and hungry can make the loaf overly sour and sluggish. When in doubt, a little past peak is fine; just give it a stir and proceed.
Step 2: Mix the Dough (Autolyse)
In a large bowl, whisk together the 500 grams bread flour and 375 grams warm water until no dry flour remains. Cover and rest 30–60 minutes. This rest, called the autolyse, lets the flour fully hydrate and starts gluten development with zero effort — the dough will transform from rough and sticky to noticeably smoother and more elastic. Then add the 100 grams starter and 10 grams salt. Pinch and fold the dough over itself in the bowl for 2–3 minutes until everything is fully incorporated and the dough feels cohesive. It will be shaggy and sticky — that’s exactly right.
Step 3: Rest and Stretch-and-Folds
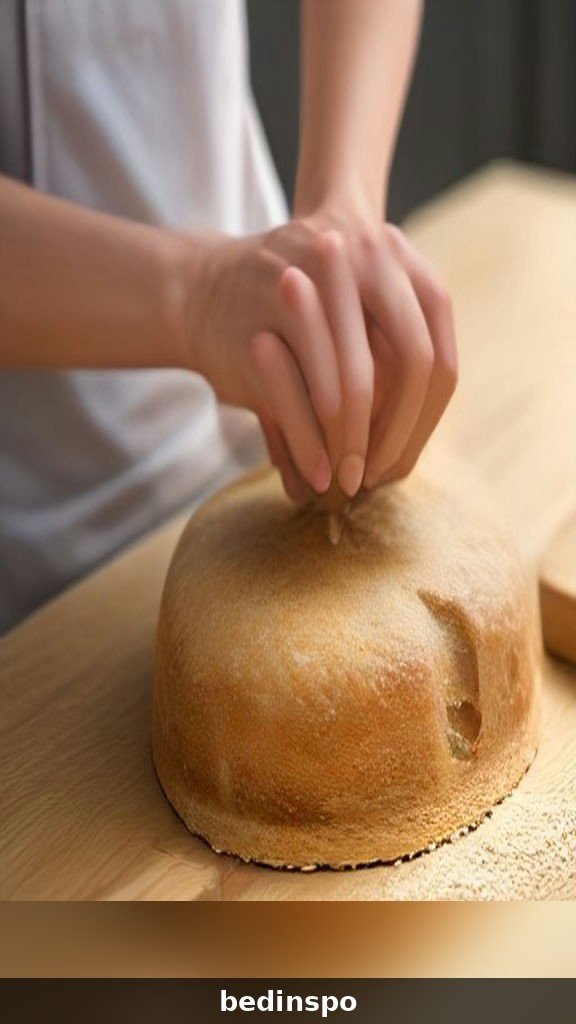
Cover the bowl and rest 30 minutes. Then, with a wet hand (water is the trick — dough won’t stick), reach under the far side of the dough, stretch it up gently, and fold it toward you. Rotate the bowl a quarter turn and repeat until you’ve gone all the way around, 4 stretches total; the dough will tighten into a smooth ball. This is one set of stretch-and-folds. Repeat for 4 sets total, spaced 30 minutes apart, over the first 2 hours. Each set, you’ll feel the dough get smoother, stronger, and more elastic — that’s gluten being built without a minute of kneading.
Step 4: Bulk Fermentation
After the last set of folds, cover the dough and let it rise undisturbed until it has grown by about 50–75% (not doubled — a full double usually means over-proofed at room temperature), looks smooth and domed, shows some bubbles around the edges, and jiggles like gelatin when you shake the bowl gently. At 75°F this typically takes 3–5 hours total from when the starter was mixed in. This stage — bulk fermentation — is where beginners most often go wrong by following a clock instead of the dough. Under-fermented dough makes a dense, gummy loaf; over-fermented dough turns slack and bakes up flat. The 50–75% rise is your golden target.
Step 5: Shape the Loaf
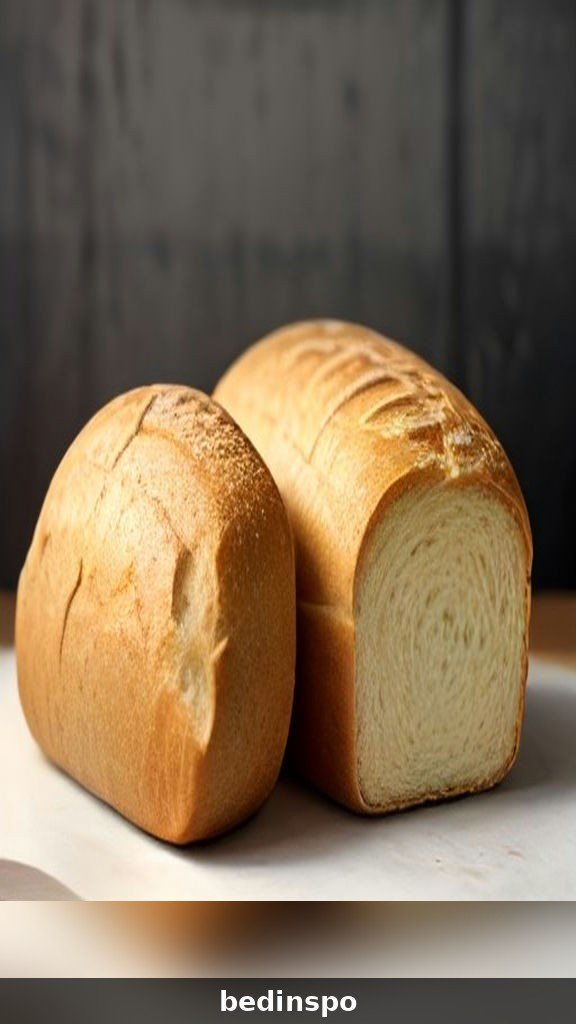
Turn the dough out onto a very lightly floured counter, smooth side down. Gently stretch it into a rough rectangle. Fold the bottom third up, the top third down over it (like a letter), then roll it up tightly from one short end, pinching the seam as you go to create surface tension — you want the surface of the loaf to feel taut, like a drum skin. Tension is what helps the loaf rise UP in the oven instead of spreading out. Flip it seam-side up into a banneton or towel-lined bowl dusted generously with rice flour (rice flour is the secret to a clean release). Pinch the seam closed, dust the top with flour, and cover.
Step 6: Cold Proof Overnight
Place the basket in the fridge for 8–24 hours. This slow, cold fermentation deepens the flavor, makes the loaf much easier to score, and produces those beautiful blisters on the crust. It also means fresh bread on your schedule: bake it the next morning, or even the evening after. Don’t proof at room temperature for this recipe — the fridge is doing important flavor work.
Step 7: Score and Bake
Place your Dutch oven with its lid in the oven and preheat at 500°F for a full hour — a thoroughly hot pot is essential. Turn the cold loaf out onto a sheet of parchment, brush off excess flour, and score the top with a lame or razor: one confident slash about 1/2-inch deep, held at a slight angle, slightly off-center. Scoring gives the expanding loaf a planned escape route for steam, creating that gorgeous “ear” and grinning crust. Using the parchment as a sling, carefully lower the loaf into the hot Dutch oven. Cover and bake 20 minutes. Then remove the lid, reduce the heat to 450°F, and bake 20–25 minutes more, until the crust is a deep, rich mahogany golden-brown. Don’t be shy about color — pale sourdough is under-flavored sourdough.
Step 8: Cool Completely (Don’t Skip This!)
Transfer the loaf to a wire rack and cool for at least 2 hours before slicing. The inside is still finishing cooking as it cools, and slicing too early turns the crumb gummy, no matter how perfectly you baked it. Listen as it cools — a great loaf crackles and sings. When a thermometer in the center reads 205–210°F and the loaf has cooled, slice with a serrated knife and try not to eat half of it standing at the counter with the butter dish. (We all do it anyway.)
How to Know Your Bread Is Done
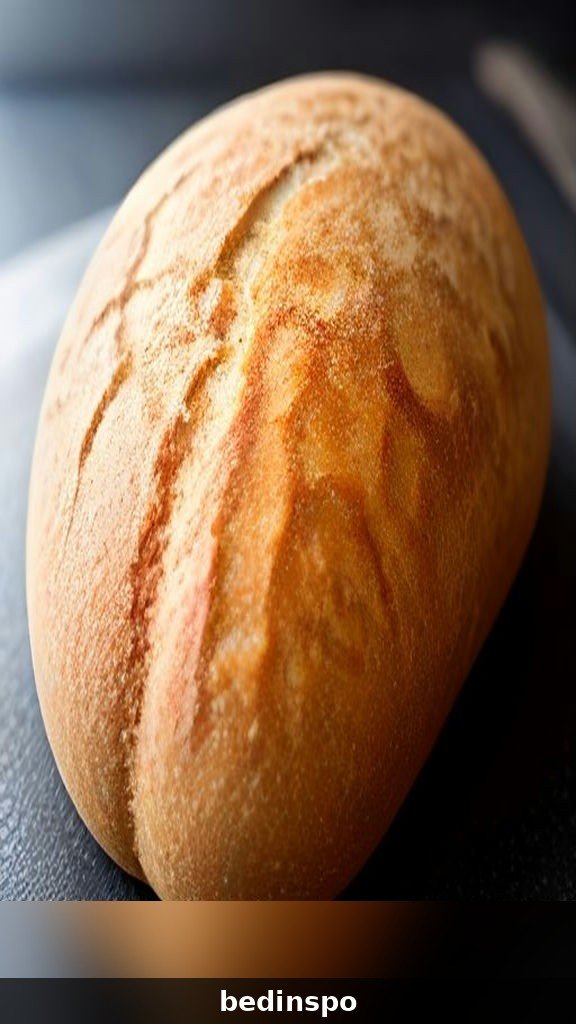
Looks can deceive with sourdough, so use all three of these tests. First, the color: the crust should be a deep golden-brown, bordering on mahogany at the edges — if it’s pale blonde, it needs more time. Second, the sound: tap the bottom of the loaf; a fully baked loaf sounds hollow, like knocking on a door. Third, and most reliable, the temperature: an instant-read thermometer slid into the center should read 205–210°F. If your crust is darkening too fast before the inside is done, leave the lid on a few minutes longer and finish with a shorter uncovered bake.
Troubleshooting: Crust & Crumb Problems
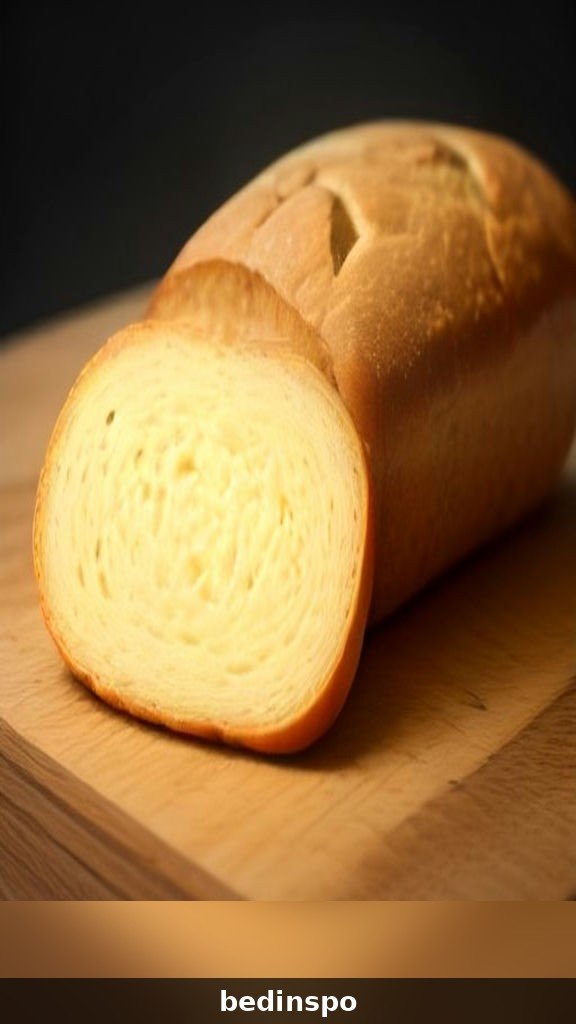
Every baker — every single one — has pulled a disappointing loaf from the oven. The good news is that sourdough problems are almost always diagnosable, and each one teaches you something. Here are the classics:
My Loaf Is Dense and Gummy
This is the number one beginner issue, and it usually means the dough was under-fermented. Next time, let bulk fermentation go longer — aim for the full 50–75% rise with those jiggly, bubbly signs, and make sure your starter was truly at its peak. Gummy crumb also happens when the loaf is sliced before it has cooled for 2 full hours. Both fixes are free: more patience, twice.
My Loaf Spread Out Flat
A flat, pancake loaf points to over-fermentation (the dough rose too long and the gluten broke down) or weak shaping (not enough surface tension). Shorten the bulk ferment slightly, especially in a warm kitchen, and focus on rolling the loaf up tightly with a taut surface. A properly hot Dutch oven also helps the loaf spring up before it can spread.
The Crust Is Too Thick and Hard
Your loaf probably baked a little too long at high heat, or cooled in a humid spot. Reduce the uncovered bake by a few minutes, and for a slightly softer crust, store the cooled loaf in a cloth bag at room temperature — the crust will soften gently overnight. A crust that is pale and thick usually means the oven wasn’t hot enough at the start: preheat the Dutch oven for the full hour.
The Crumb Has a Few Huge Holes and Tunnels
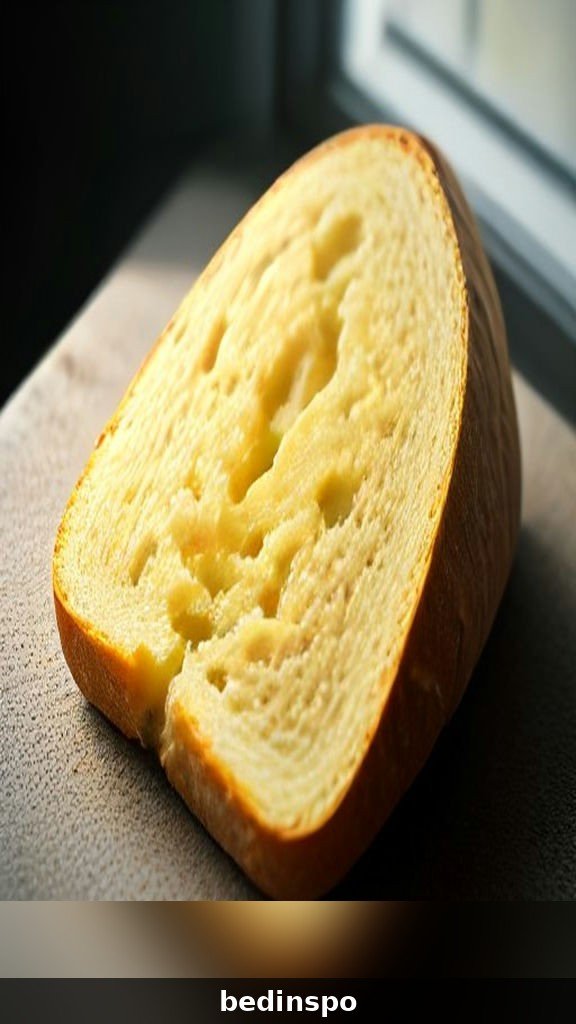
Wild, cavernous holes surrounded by dense patches usually mean the dough was under-fermented or under-shaped, so gas collected in a few big pockets instead of distributing evenly. Ferment a bit longer, make sure your folds are even, and pop any very large bubbles you see on the surface while shaping.
My Bread Is Too Sour (or Not Sour Enough)
Sourness is a dial you can turn. For a milder loaf: use the starter right at its peak (young starter is sweeter), shorten the cold proof, and keep fermentation on the warmer side. For more tang: let the starter get a little hungrier before using it, add some whole wheat or rye flour, and stretch the fridge proof toward 24 hours. Small changes make a real difference, so adjust one thing at a time and take notes.
Flavor Variations to Try Next

Once you’ve baked the classic loaf a few times, the fun really begins. Add mix-ins during the last set of stretch-and-folds so they distribute evenly without tearing the dough.
Garlic Rosemary Sourdough
Add 2 tablespoons finely chopped fresh rosemary and 1 teaspoon garlic powder (or a head of roasted garlic, squeezed and folded in). This is the ultimate bread for dipping in olive oil or serving alongside soup and pasta.
Jalapeño Cheddar Sourdough
Fold in 1 cup of cubed sharp cheddar and 1–2 finely diced jalapeños (seeds removed for gentler heat). The cheese melts into pockets of gold and the crust gets irresistibly crispy cheese edges. Incredible toasted for sandwiches.
Cinnamon Raisin Sourdough
Swap 50 grams of the bread flour for whole wheat, add 2 teaspoons cinnamon and 2 tablespoons sugar with the salt, and fold in 1 cup of plumped raisins. Toasted with butter, this is the best breakfast bread you will ever make.
Seeded Multigrain Sourdough
Add 1/2 cup of mixed seeds (sunflower, pumpkin, sesame, flax) — soaked in hot water for an hour and drained — plus a roll of the shaped loaf in more seeds before it goes into the basket. Nutty, hearty, and wonderful for sandwiches.
How to Store Sourdough Bread
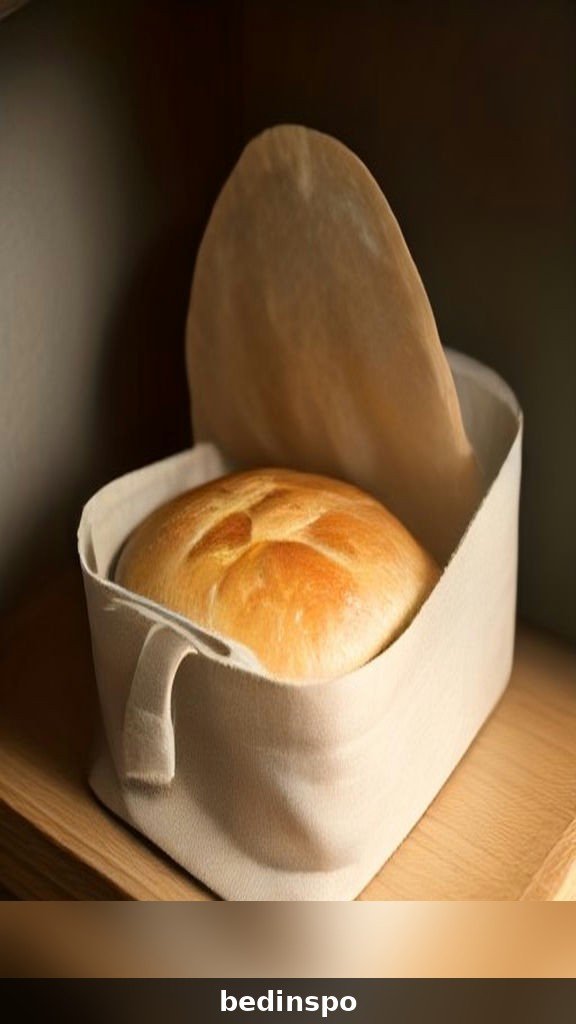
Sourdough keeps better than most homemade breads thanks to its natural acidity, but how you store it matters. Day 1–2: store the cut loaf cut-side-down on the cutting board, or in a paper bag, linen bread bag, or bread box at room temperature. Air is fine; plastic is the enemy of a crisp crust (it traps moisture and turns the crust leathery). Never refrigerate bread — the fridge is exactly the temperature that makes bread go stale fastest.
Freezing: sourdough freezes beautifully. Slice the whole loaf, stack the slices with small pieces of parchment between them, and freeze in a zip-top bag for up to 3 months. Pull out slices as needed and toast them straight from frozen — they taste freshly baked. A whole or half loaf can also be frozen wrapped well in foil and plastic; refresh it in a 350°F oven for 15–20 minutes (sprinkle it with a little water first) and the crust crisps right back up.
Reviving a stale loaf: run the whole unsliced loaf quickly under the tap, then bake at 350°F for 10–15 minutes. It sounds crazy, but it works like a charm — the crust re-crackles and the crumb softens. Day-old slices also make the world’s best croutons, breadcrumbs, French toast, and panzanella.
Best Ways to Enjoy Your Sourdough

You’ve baked it — now eat it like you mean it. Thick slices toasted and spread with salted butter and flaky salt are hard to beat. It’s the definitive bread for a grilled cheese (that tang against sharp cheddar!), for avocado toast with a jammy egg, and for mopping up the last of a bowl of tomato soup or beef stew. Slice it for sandwiches and it will ruin store-bought bread for you forever. Slightly stale slices make legendary French toast and bread pudding. Honestly, the best serving suggestion is simply this: warm bread, good butter, people you like.
Sourdough Bread FAQs
Can I make sourdough without a Dutch oven?
Yes. Bake the loaf on a preheated baking stone or heavy sheet pan, and create steam by placing a pan of boiling water on the rack below for the first 20 minutes. The crust won’t be quite as dramatic as the Dutch oven version, but it will still be delicious. An inverted large oven-safe bowl over the loaf on a stone also mimics the Dutch oven effect.
Why didn’t my bread rise?
Almost always, the starter wasn’t active enough or the dough under-fermented. Make sure your starter doubles reliably within 4–8 hours of feeding before baking day, and let the bulk ferment reach that 50–75% rise. Kitchen temperature matters too — a cold kitchen can double the fermentation time.
Can I use all-purpose flour instead of bread flour?
Yes — unbleached all-purpose flour works and gives a slightly softer, more tender crumb. The dough may feel a touch slacker, so handle it gently and consider reducing the water slightly (to about 350 grams) if it feels unmanageably sticky.
Do I have to do the overnight fridge proof?
Technically you can shape the loaf, let it proof at room temperature for 1–2 hours, and bake the same day — the bread will be good. But the cold proof gives better flavor, better blistering, and much easier scoring, and it makes the whole process calmer. I strongly recommend it, especially for your first loaves.
How do I keep the bottom crust from getting too dark?
Place a baking sheet on the rack below the Dutch oven to deflect direct heat, or slide a layer of parchment plus a sprinkle of cornmeal or rice under the loaf. Moving the Dutch oven to a higher rack for the uncovered portion of the bake also helps.
My starter smells like nail polish remover. Is it ruined?
Not at all — that sharp, acetone smell just means it’s very hungry. Pour off any liquid on top, discard most of the starter, and give it two or three feedings at room temperature over a day. It should bounce back to a pleasant, tangy smell and be ready to bake with.
Conclusion
Baking sourdough is one of those skills that looks intimidating from the outside and turns out to be deeply simple at its core: good flour, water, salt, an active starter, and a little patience. This easy recipe gives you a clear timeline, a no-knead method, and the troubleshooting know-how to bake a crusty, golden, bakery-worthy loaf in your own kitchen — probably this weekend.
Don’t aim for perfection on loaf number one; aim for bread. Every loaf teaches your hands something new, and even the “imperfect” ones make spectacular toast. Pin this recipe to your baking board, feed that starter, and get ready for the best-smelling kitchen on the block. Happy baking!