Turkey Brine Recipe: The Secret to the Juiciest Turkey You’ll Ever Make
Turkey Brine Recipe: The Secret to the Juiciest Turkey You’ll Ever Make

If there is one single trick that separates a dry, forgettable Thanksgiving turkey from the juicy, golden, everyone-asks-for-seconds kind, it’s this: the brine. A good turkey brine recipe takes almost no effort, uses simple pantry ingredients, and does all of its magic while you sleep. By the time your turkey hits the oven, it’s already seasoned to the bone and loaded with moisture — so even if you overcook it slightly (it happens to the best of us), it still comes out tender and delicious.
In this guide you’ll get not one but TWO complete brines: the classic wet brine that soaks your bird in a savory, herbed salt bath, and the easy dry brine that needs nothing but salt, a rack, and fridge space. I’ll walk you through both step by step, give you a timing chart by turkey size, share the food-safety rules that actually matter, and answer every brining question you’ve ever Googled at 11 p.m. the night before Thanksgiving.
Whether this is your first turkey or your fifteenth, this is the only turkey brine recipe you’ll ever need. Pin it now — future you, standing in front of a thawed turkey, will be so glad you did.
Why Brining Makes the Juiciest Turkey
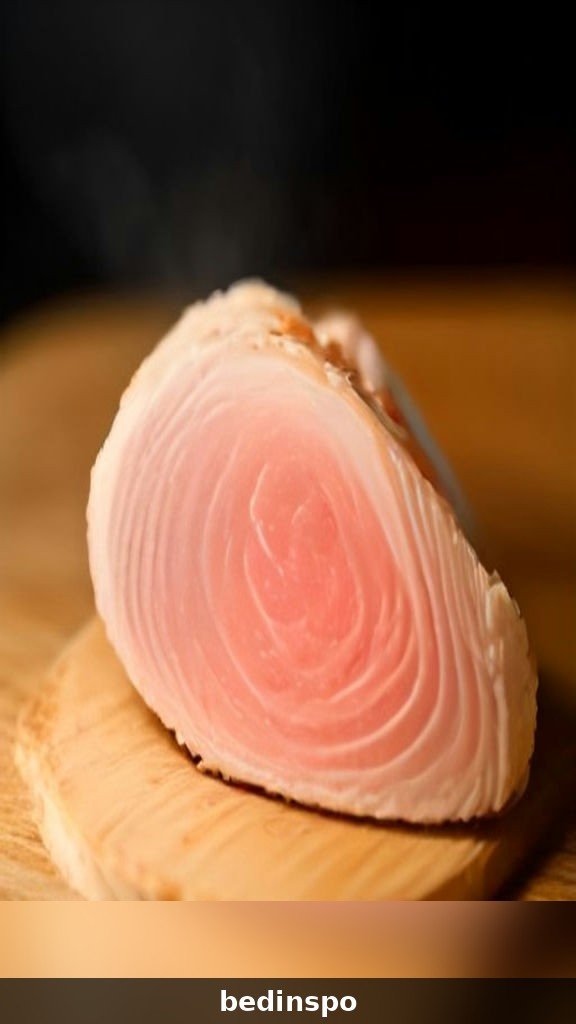
Brining sounds fancy, but the science is beautifully simple. When you surround a turkey with salt — either dissolved in water (wet brine) or rubbed directly onto the skin (dry brine) — two wonderful things happen. First, the salt seasons the meat all the way through, not just on the surface the way a last-minute sprinkle does. Second, salt changes the structure of the proteins in the meat so they hold on to more water during cooking. A plain turkey can lose up to 30% of its moisture in the oven; a brined turkey loses far less, which means every slice stays juicy.
There’s a flavor bonus, too. A wet brine carries aromatics — bay leaves, peppercorns, orange peel, fresh herbs — deep into the meat, so every bite tastes like Thanksgiving. A dry brine concentrates the turkey’s own flavor and gives you the crispiest, most beautifully browned skin of your life. Either way, you win.
Think of brining as insurance. Roasting a huge bird evenly is genuinely tricky — the breast is done before the thighs, ovens have hot spots, and the turkey always takes longer than the chart said because someone keeps opening the oven door. Brining builds in a margin of error so the turkey stays forgiving, moist, and flavorful no matter what the day throws at you.
Wet Brine vs Dry Brine: What’s the Difference?

Both methods use salt to season and moisturize your turkey, but they work in different ways and give slightly different results. Here’s how to choose.
The wet brine submerges the turkey in seasoned salt water for 12 to 24 hours. The meat absorbs some of that water, so the texture is plump, silky, and incredibly juicy, with flavor in every bite. It’s the classic method and the most forgiving for beginners. The trade-offs: you need a big container (a brining bag, stockpot, or food-safe bucket), enough fridge space to hold it, and the skin can come out paler unless you dry the bird well before roasting.
The dry brine is simply a salt-and-herb rub applied directly to the turkey, which then rests uncovered in the fridge for 1 to 3 days. The salt first draws moisture out, then that moisture dissolves the salt and is reabsorbed, seasoning the meat deeply. Because the skin dries out in the fridge air, it roasts up shatteringly crisp and deeply golden. The trade-offs: it takes more fridge time, and the meat is juicy but in a firmer, more “turkey-forward” way rather than plump.
So which one should you pick? Choose the wet brine if it’s your first turkey, if you love ultra-juicy sliced meat for sandwiches, or if you only have one day. Choose the dry brine if crispy skin is your love language, if your fridge can’t fit a bucket, or if you can start two to three days ahead. Honestly? Both are wonderful — and both full recipes are below.
What You’ll Need: Equipment and Brining Basics
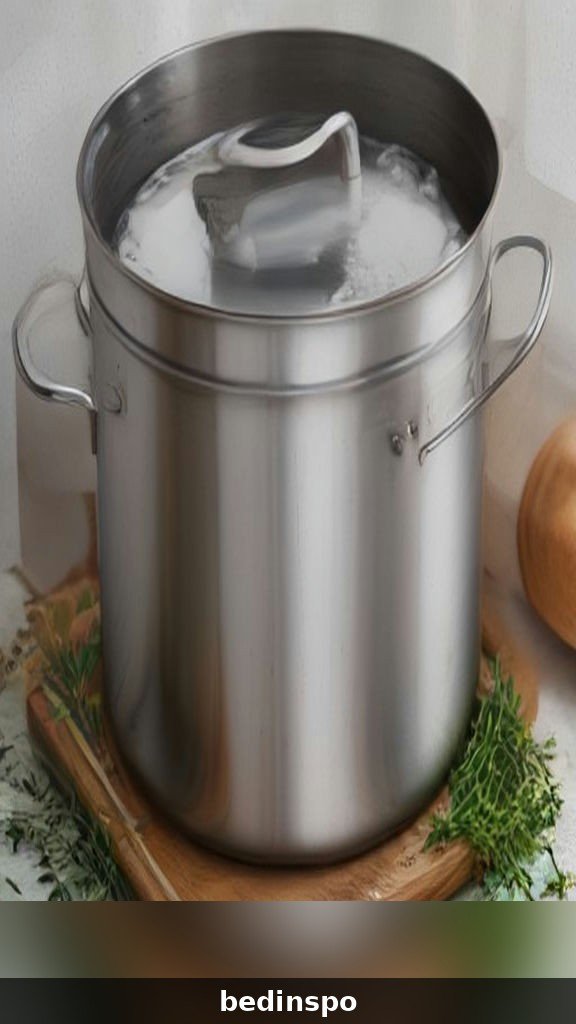
Good news: brining needs almost no special gear. For either method, start with a fully thawed turkey (allow 24 hours of fridge thawing for every 4 to 5 pounds), with the neck and giblet bag removed from the cavity.
For a wet brine you’ll need: a large stockpot, 5-gallon food-safe bucket, or heavy-duty brining bag (oven-roasting bags work in a pinch); a big pot for dissolving the salt; lots of ice; and fridge space. A cooler packed with ice also works if your fridge is full — just keep the brine at or below 40°F and check the ice often.
For a dry brine you’ll need: a rimmed sheet pan, a wire rack that fits inside it (or a roasting rack), paper towels, and room in the fridge for the turkey to sit uncovered.
The most important ingredient note of this whole post: salt is NOT interchangeable by volume. Kosher salt brands have different crystal sizes, and table salt is far denser. Use these conversions and you’ll never over-salt: 1 cup Diamond Crystal kosher salt = 3/4 cup Morton kosher salt = 1/2 cup table salt. When in doubt, Diamond Crystal kosher salt is the brining standard, and it’s what both recipes below are written for.
The Classic Wet Turkey Brine Recipe

This is the beloved, never-fails wet brine — savory, lightly sweet, and perfumed with bay, peppercorn, and orange. It’s written for a 12- to 16-pound turkey; see the timing chart below for other sizes.
Wet Brine Ingredients:
- 1 gallon cold water, divided
- 1 cup Diamond Crystal kosher salt (or 3/4 cup Morton kosher, or 1/2 cup table salt)
- 1/2 cup packed brown sugar (light or dark)
- 1 tablespoon black peppercorns
- 1 teaspoon allspice berries (optional but lovely)
- 4 to 5 bay leaves
- 1 orange, sliced into rounds (optional)
- 4 to 5 sprigs fresh thyme and 2 sprigs fresh rosemary
- 1 gallon heavily iced water (or about 4 pounds of ice plus cold water to cover)
Directions:
- In a large pot, combine 4 cups of the water with the salt, brown sugar, peppercorns, allspice, and bay leaves. Bring to a boil over medium-high heat, stirring until the salt and sugar dissolve completely, about 5 minutes.
- Remove from the heat and let the concentrate cool to room temperature, then chill it in the fridge until cold. Never pour warm brine over a raw turkey.
- Place your turkey (neck and giblets removed) breast-side down in your brining bag, bucket, or stockpot. Pour in the cold brine concentrate, the orange slices, and the fresh herbs.
- Add the iced water until the turkey is completely submerged. Weigh it down with a plate if it floats.
- Seal and refrigerate for 12 to 18 hours (see the timing chart for your turkey’s exact size). Keep the brine at or below 40°F the whole time.
- Remove the turkey from the brine and discard the brine — never reuse it. Rinse the turkey briefly under cold water and pat it very dry with paper towels.
- For the crispiest skin, place the turkey on a rack in the fridge, uncovered, for 8 to 24 hours to air-dry before roasting. Then roast as directed below.
That’s it — the brine does the work while you get on with pie duty. Now let’s make it your own with flavor twists.
Wet Brine Flavor Variations You’ll Love

Once you’ve mastered the classic, the brine becomes your playground. Swap the aromatics in the base recipe for any of these combinations — the salt, sugar, and water amounts stay exactly the same.
Apple Cider and Maple Brine
Replace half the water with fresh apple cider, swap the brown sugar for 1/2 cup pure maple syrup, and add 2 cinnamon sticks and a sliced apple. The turkey comes out with a gentle orchard sweetness and gorgeous mahogany skin — this one tastes like a New England autumn day.
Citrus Herb Brine
Double down on the citrus: add the sliced peel and juice of 2 lemons and 1 orange, a whole head of garlic cut in half crosswise, and a generous handful of sage, rosemary, and thyme. Bright, herby, and incredible with gravy made from the drippings.
Sweet Tea Brine
A Southern favorite: replace 4 cups of the water with strong-brewed sweet tea and add sliced lemon and fresh thyme. The tea’s tannins deepen the color of the skin and add a subtle, soulful flavor that will have everyone guessing your secret.
Spicy Cajun Brine
Add 2 tablespoons Cajun seasoning, 1 tablespoon smoked paprika, 1 teaspoon cayenne, and a sliced onion. Perfect if your Thanksgiving table leans bold — and the leftover turkey makes the best spicy sandwiches of your life.
The Easy Dry Turkey Brine Recipe
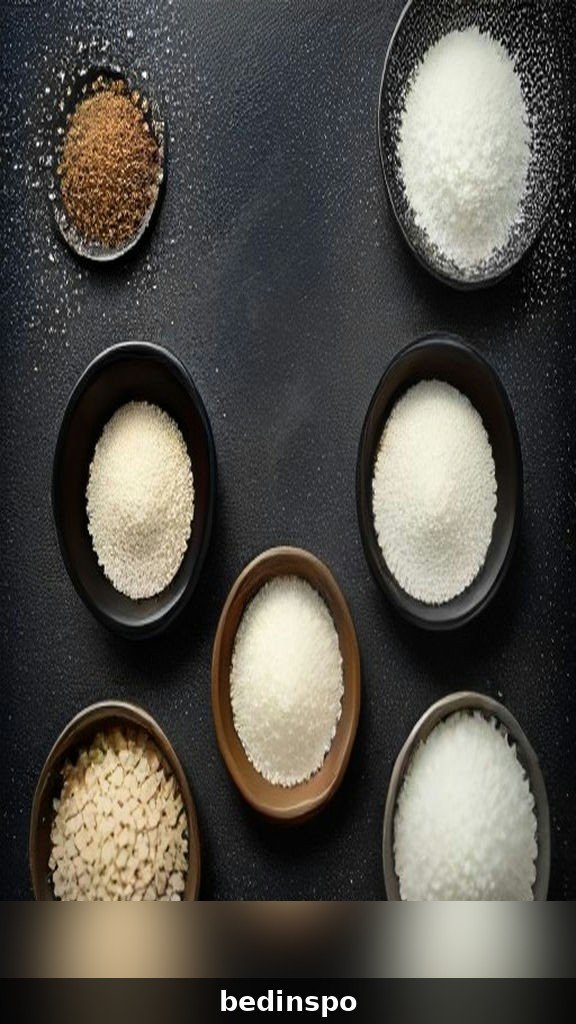
No bucket, no sloshing, no fridge Tetris — the dry brine is the low-effort, high-reward method beloved by chefs, and it produces the crispiest skin imaginable. The rule of thumb is about 1 tablespoon of Diamond Crystal kosher salt per 5 pounds of turkey, plus herbs and spices for flavor.
Dry Brine Ingredients (for a 12- to 14-pound turkey):
- 3 tablespoons Diamond Crystal kosher salt (use 2 1/4 tablespoons if using Morton kosher, or 1 1/2 tablespoons table salt)
- 2 teaspoons freshly ground black pepper
- 1 teaspoon garlic powder
- 1 teaspoon sweet or smoked paprika (optional, for color)
- 2 teaspoons brown sugar (optional, for deeper browning)
- 1 tablespoon finely chopped fresh thyme, rosemary, and sage (or 2 teaspoons dried poultry seasoning)
Directions:
- Stir all the dry brine ingredients together in a small bowl.
- Pat the turkey completely dry with paper towels, inside and out. Dry skin is the secret to even seasoning and crisp results.
- Sprinkle the mixture all over the turkey — top, bottom, legs, and inside the cavity. Gently loosen the skin over the breast and thighs with your fingers and rub about a third of the mixture directly onto the meat underneath.
- Set the turkey breast-side up on a wire rack set inside a rimmed sheet pan.
- Refrigerate uncovered for 24 to 72 hours (2 to 3 days is the sweet spot). The skin will look dry and slightly translucent — that’s exactly right.
- Before roasting, brush off any excess salt if you see piles of it, but do NOT rinse. Rub the skin with softened butter or oil and roast as directed below.
Yes, the turkey really sits uncovered in the fridge — the cold, dry air is what transforms the skin. Keep it on the lowest shelf, away from other foods, and your fridge will smell like nothing at all. Promise.
Step-by-Step: Dry Brining Timeline

Because the dry brine works over days instead of hours, here’s the simple rhythm so you can plan backwards from Thanksgiving:
Three days before: Make sure your turkey is fully thawed (a frozen turkey can’t absorb salt evenly). Pat it dry and apply the dry brine. Into the fridge it goes, uncovered, on its rack.
Two days before: Do nothing. Seriously — this is the beauty of it. The salt is drawing out moisture, dissolving, and being reabsorbed, seasoning the meat to the center. The skin will start to look tight and dry.
One day before: Still nothing required, though you can flip the turkey breast-side down for the last 24 hours if you want the breast skin extra dry — totally optional. This is a great day to make your gravy base, cranberry sauce, and pie.
Thanksgiving morning: Take the turkey out of the fridge about 1 hour before roasting so it loses its deep chill. Brush with butter, tuck aromatics (a halved onion, lemon, and herb stems) into the cavity — no extra salt is needed anywhere — and roast.
If you’re short on time, even a 24-hour dry brine beats no brine at all. But give it the full 48 to 72 hours once, and you’ll understand why people plan their whole holiday week around it.
Turkey Brining Time Chart by Size

Under-brined turkey is under-seasoned; over-brined turkey (especially wet-brined) can turn soft and overly salty. Use this chart as your guide — and remember, the turkey must be fully thawed before the clock starts.
| Turkey Size | Wet Brine Time | Dry Brine Time |
|---|---|---|
| 8 to 12 pounds | 12 to 16 hours | 24 to 48 hours |
| 12 to 16 pounds | 16 to 18 hours | 48 to 72 hours |
| 16 to 20 pounds | 18 to 24 hours | 72 hours |
| 20 to 24 pounds | 24 hours (maximum) | 72 hours |
Quick rules to remember: Wet brine runs about 1 hour per pound and should never pass 24 hours. Dry brine needs a bare minimum of 24 hours and shines at 2 to 3 days — but don’t go past 3 days, or the meat can start to cure like deli meat. Brining just parts, like a bone-in breast? A breast wet-brines in 6 to 12 hours and dry-brines in 24 to 48. And if your plans slip and the turkey brines a couple of hours long, don’t panic — a brief rinse and a slightly shorter salt hand everywhere else will save the day.
Food Safety Rules for Brining a Turkey

Brining is easy and safe as long as you respect a few non-negotiables. Raw poultry plus salt water plus time is a wonderful thing for flavor — as long as everything stays cold and clean.
Keep it at or below 40°F. A wet-brining turkey must live in the refrigerator, or in a cooler packed with plenty of ice that you check and replenish. Never brine on the counter, in the garage “because it’s cold out,” or anywhere the temperature can drift. If your fridge is jammed, the cooler method with a thermometer is your safest friend.
Use a food-safe container. Brining bags, food-grade buckets, stainless stockpots, and Cambros are all great. Skip regular trash bags (not food-safe) and reactive metals like aluminum for long soaks.
Discard the brine. Used brine has raw turkey juices in it — it goes down the drain, every time, no exceptions. Never boil it into a sauce and never reuse it for the next bird. Wipe down counters, the sink, and anything the raw turkey touched with hot soapy water.
Check the label before you brine. If your turkey is labeled “kosher,” “self-basting,” or “enhanced with up to X% solution,” it has already been salted — brining it again will make it far too salty. For brining, look for a natural, unenhanced turkey. (If an enhanced turkey is all you have, cut the salt in a wet brine by half, or skip brining and just season well.)
Thaw first, thaw safely. Brining a partially frozen turkey seasons unevenly and keeps the bird in the temperature danger zone too long. Thaw in the fridge — 24 hours per 4 to 5 pounds — then brine.
After the Brine: Rinsing, Drying, and Seasoning
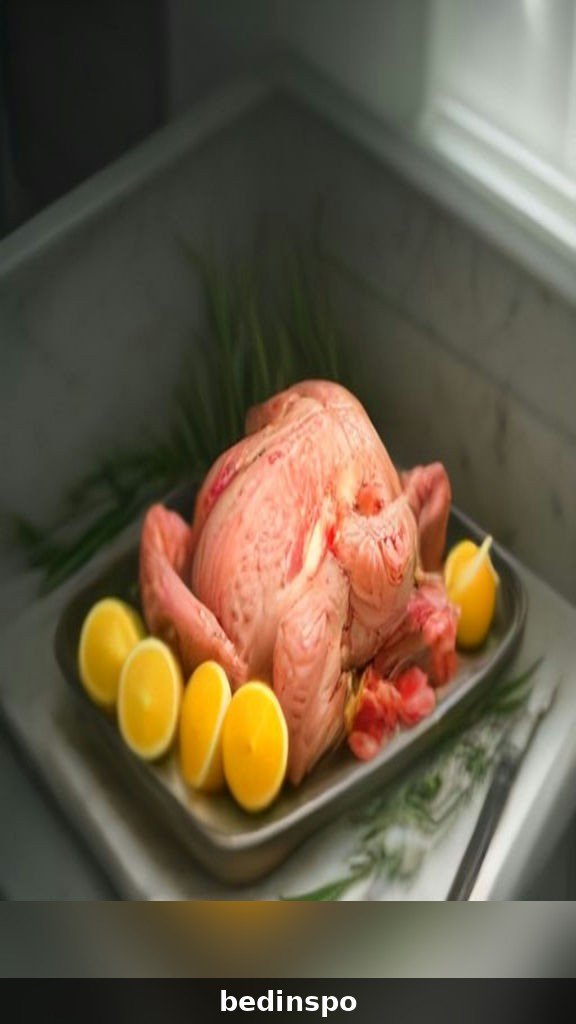
What you do in the hour after the brine matters almost as much as the brine itself — this is where crispy skin is decided.
Wet-brined turkey: Lift it out of the brine, give it a quick rinse under cold water to wash off the surface salt, and pat it thoroughly dry with paper towels — top, bottom, under the wings, inside the cavity. Then, if you have time, set it uncovered on a rack in the fridge for 8 to 24 hours. This air-dry is the single best trick for deep golden, crisp skin on a wet-brined bird, because the brine leaves the skin damp and damp skin steams instead of browning.
Dry-brined turkey: No rinse, no pat-down drama — the skin is already perfectly dry. Just brush away any visible clumps of salt, and you’re ready.
Seasoning a brined turkey: Here’s the golden rule — the meat is already salted, so everything you add now should be salt-free or very low salt. Rub the skin with softened butter or olive oil, and season with black pepper, garlic powder, paprika, and fresh herbs if you like. Stuff the cavity with flavor, not salt: a halved lemon, a quartered onion, apple wedges, and big handfuls of thyme, sage, and rosemary. Tie the legs loosely with kitchen twine, tuck the wing tips underneath, and your turkey is ready for the oven.
How to Roast a Brined Turkey Perfectly

Brined turkeys roast beautifully — and slightly faster than unbrined ones, because all that moisture conducts heat well. Plan on roughly 13 minutes per pound at 325°F and start checking early so nothing overshoots.
Position a rack in the lower third of the oven and preheat to 425°F. Place the turkey breast-side up on a rack in a sturdy roasting pan, and slide it in. Roast at 425°F for the first 30 minutes to jump-start the browning, then reduce the heat to 325°F and continue roasting until done. If the breast skin gets deeply golden before the thighs are finished, tent it loosely with foil.
Skip the basting — opening the oven and spooning juices over the bird mostly washes off your crisp skin and cools the oven. The brine has already done the moisturizing from the inside.
Doneness is about temperature, not time. Use an instant-read thermometer in the thickest part of the thigh (not touching bone): pull the turkey when the thigh hits 160°F and the breast hits 155°F. Carryover heat during resting will carry both to a safe, juicy 165°F. Let it rest, tented with foil, for 30 to 45 minutes before carving — this is not optional! Resting lets those hard-won brined juices redistribute instead of flooding the cutting board.
Resting, Carving, and Serving Your Brined Turkey

You’ve made it to the best part. After the rest, transfer the turkey to a big cutting board. Carving in this order keeps every slice neat: remove each breast half in one whole piece by slicing down alongside the breastbone, then slice it crosswise into even pieces — this keeps the meat juicier than carving slices straight off the bird. Separate the thighs and drumsticks at the joint, slice the thigh meat, and arrange everything on a warm platter.
A little presentation goes a long way: fan the breast slices down the center of the platter, tuck the drumsticks and thighs around the edges, and garnish with fresh sage leaves, rosemary sprigs, orange slices, and a scatter of fresh cranberries. It takes ninety seconds and looks like a magazine cover — exactly the moment your guests will photograph.
About that gravy: Brined turkey drippings are delicious but saltier than usual. Make your gravy with the pan drippings plus low-sodium turkey or chicken stock, and do not add any salt until you’ve whisked it together and tasted. Nine times out of ten it needs none at all. Leftover brined turkey keeps beautifully for 3 to 4 days in the fridge — and because it started juicy, it reheats without drying out, especially with a splash of stock.
Common Brining Mistakes to Avoid

Even a simple turkey brine recipe can go sideways. Here are the pitfalls that catch people every year — and how to dodge them:
Using the wrong salt amount. Swapping table salt cup-for-cup for kosher salt is the #1 brining disaster — table salt is nearly twice as salty by volume. Always use the conversions in this post, or weigh your salt.
Brining a pre-salted turkey. Kosher, self-basting, and “enhanced” turkeys are already salted. Check the label; if it’s enhanced, halve the brine salt or skip brining.
Wet-brining too long. Past 24 hours, the texture turns soft and spongy and the flavor goes harsh. Set a timer when the turkey goes in.
Pouring warm brine over the turkey. Warm brine plus raw poultry equals the temperature danger zone. Always chill the brine completely first.
Skipping the dry. Wet skin can’t crisp. Pat the turkey dry and, if you can, air-dry it uncovered in the fridge before roasting.
Salting everything else like usual. Your turkey is seasoned, so gravy, compound butter, and any extra rub should be low- or no-salt until you’ve tasted.
Reusing the brine or marinating the sink. Used brine is discarded, and every surface the raw turkey touched gets washed. Also, cook stuffing in a separate dish rather than inside a brined bird — it soaks up salt and juices unevenly and is much safer baked on its own.
Turkey Brining FAQs

Can I brine a frozen turkey?
Not properly — the turkey must be fully thawed first so the salt can penetrate evenly and the bird stays at a safe temperature. Thaw it in the fridge, allowing 24 hours for every 4 to 5 pounds, then start your brine. In a pinch, a cold-water thaw (breast down in cold water, changed every 30 minutes, about 30 minutes per pound) works too — just brine immediately after.
Should I rinse the turkey after brining?
For a wet brine, yes — a quick rinse removes excess surface salt so the skin seasons and browns nicely. For a dry brine, no — rinsing would wash away the dry skin you’ve spent days creating. Just brush off any visible salt piles.
Can I brine a Butterball or self-basting turkey?
It’s not recommended. Those turkeys are injected with a salt solution already, so a full-strength brine usually makes them too salty. If that’s the turkey you have, use half the salt in a wet brine, or skip brining and simply season the bird well.
How long is too long to brine a turkey?
For a wet brine, 24 hours is the ceiling — beyond that the meat turns mushy. For a dry brine, 3 days is the max; after that the texture starts to resemble cured deli meat. A turkey that’s gone a few hours over is fine — one that’s gone a day over is not.
Can I use table salt instead of kosher salt?
Yes, but use half the amount by volume (1/2 cup table salt in place of 1 cup Diamond Crystal kosher). Table salt’s fine grains pack much more tightly, and its anti-caking agents can give a faint off-flavor in a long brine — kosher is the better choice when you can get it.
Can I make gravy from a brined turkey’s drippings?
Absolutely — it’s wonderfully flavorful. Just build the gravy with low-sodium stock, whisk everything together, and taste before adding a single grain of salt. Most of the time, the drippings have you covered.
What if I only have a few hours?
Do a quick dry brine: salt the turkey (same mixture) and refrigerate uncovered for as long as you have — even 4 to 6 hours helps. Or use the wet brine for a minimum of 6 hours on a smaller bird or turkey breast. Any brine beats no brine.
Conclusion

That’s everything you need for the juiciest turkey of your life: a classic wet turkey brine recipe for plump, silky, flavor-packed meat, an easy dry brine for crackling skin and deep turkey flavor, a timing chart that takes the guesswork out of the schedule, and all the safety and roasting tips to land the plane. Pick your method, give it its time, and let the salt do the magic.
This Thanksgiving, when someone at the table asks what you did differently this year — and they will — just smile. Your secret is safe here. Now go save this turkey brine recipe to your Thanksgiving board so it’s waiting for you every November, and tell me in the comments: are you team wet brine or team dry brine? Happy roasting! 🦃