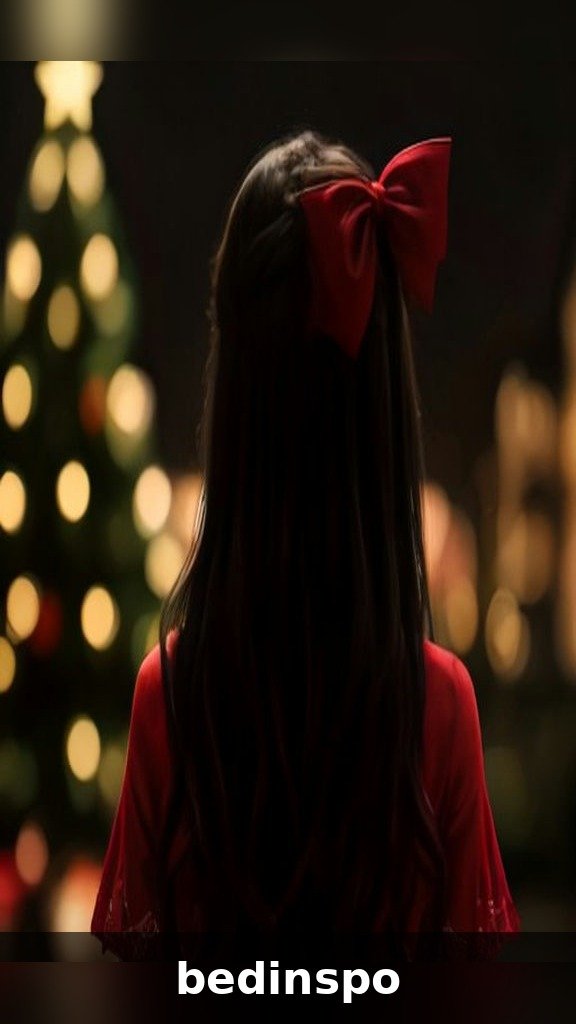
15 Christmas Braids Hairstyles You’ll Love (2026)
15 Christmas Braids Hairstyles You’ll Love (2026)

There is something about the holidays that makes us reach for braids. Maybe it is the way a dutch braid crown looks like a halo of goodwill, or how a single ribbon woven through a fishtail can turn an ordinary Tuesday-in-December into something that feels like a movie. Braids are the ultimate Christmas hairstyle: they stay put through long dinners, look beautiful in photos from every angle, and they give you the perfect framework for adding all those festive little details — velvet ribbon, gold thread, tiny berries, even fairy lights.
For 2026, Christmas braids are all about romantic texture meets thoughtful detail. Think soft, slightly lived-in plaits (nothing stiff or school-picture-perfect) dressed up with seasonal touches that feel intentional, not costume-y. Whether you have waist-length hair or a chin-grazing bob, thick curls or fine straight strands, there is a braid here with your name on it.
Below you will find 15 Christmas braid hairstyles, each with a full description, an easy step-by-step you can actually follow, and a styling tip to make it photo-ready. Grab your elastics, bobby pins, and your favorite holiday ribbon — let us get braiding.
1. Dutch Braid Crown with Velvet Ribbon

The dutch braid crown is the queen of Christmas hairstyles, and for good reason: it frames your face like a halo, keeps every strand off your neck during hot crowded parties, and looks stunning from the back when you are hugging your grandma. For 2026, thread a deep red or forest-green velvet ribbon through the braid as you go and it becomes pure holiday magic.
- Part your hair down the middle and apply a light texturizing spray for grip.
- Starting at one temple, dutch braid (underhand, so the braid pops outward) along your hairline, curving around the back of your head toward the other temple.
- As you braid, lay a length of velvet ribbon along one section and braid it in as the third strand.
- Secure the end under the opposite side with bobby pins, tucking it flat.
- Gently pull the edges of the braid apart (pancaking) for a fuller, softer crown.
Styling tip: Choose a ribbon at least twice as long as your braid, and let the tails hang loose at the end — they look gorgeous peeking out behind one ear.
2. Fishtail Braid with Gold Thread

A fishtail braid already looks intricate and expensive, and weaving gold thread through it takes it straight to holiday-party royalty. This style is especially gorgeous on long hair, and the metallic thread catches candlelight and tree lights in the most beautiful way. It reads elegant, not crafty — like jewelry for your hair.
- Gather hair into a low ponytail (you will remove the elastic later) and split it into two sections.
- Cross a thin strand from the outside of the left section over to the inside of the right; repeat on the other side.
- After every 4–5 crossings, drape a length of gold thread across and incorporate it with the next crossover strand.
- Continue to the ends, secure with a clear elastic, then remove the top elastic.
- Pancake the fishtail gently for a wide, full finish.
Styling tip: Use embroidery floss or metallic sewing thread — it is cheaper than hair-specific thread and comes in every gold tone imaginable.
3. Milkmaid Braids with Red Berries

Milkmaid braids are basically wearable Christmas decor. Two simple braids pinned across the crown of your head become something storybook-beautiful when you tuck in tiny red berries and sprigs of baby’s breath. This style photographs beautifully, stays comfortable for hours, and works on medium to long hair of any texture.
- Part hair down the middle and make two low three-strand braids, one behind each ear.
- Secure each with a clear elastic and pancake them for softness.
- Cross the left braid up and over your crown, pinning it securely behind your right ear.
- Cross the right braid over in the opposite direction, pinning behind your left ear.
- Tuck small berry sprigs and baby’s breath along the braids with bobby pins.
Styling tip: Faux berry picks from a craft store last all night without wilting — just snip the stems short so they sit flat against the braid.
4. Side Waterfall Braid

The waterfall braid is the romantic of the braid family: strands cascade through the plait like a waterfall, leaving the rest of your hair loose and flowing. Worn to one side, it is the perfect Christmas Eve dinner hairstyle — polished enough for family photos, soft enough to feel like you.
- Part hair on a deep side and start a french braid at the fuller temple.
- As you braid along the side of your head, drop the bottom strand each time instead of crossing it in.
- Pick up a new strand from below the dropped one to replace it and continue.
- Braid diagonally down toward the opposite ear, then finish as a regular braid.
- Curl the loose ends with a wand for a romantic finish.
Styling tip: Set the braid with a light mist of flexible hairspray — the dropped strands can slip, and you want them cascading, not escaping.
5. Braided Low Bun with Velvet Bow

Some Christmas plans call for elegance: the office party, midnight mass, a candlelit dinner. This braided low bun with an oversized velvet bow is your answer. The braid adds texture and interest so the bun never looks plain, and the bow says “holiday” without a single word.
- Gather hair into a low ponytail at the nape and braid it to the ends.
- Pancake the braid, then coil it into a bun and pin securely.
- Leave the last 2 inches of the braid uncoiled for a pretty tail detail, or tuck it fully.
- Attach a large velvet bow just above the bun with its built-in clip or bobby pins.
- Smooth flyaways with a pea-sized amount of pomade.
Styling tip: Match your bow to your outfit’s accent color — deep burgundy, emerald, or classic black velvet all photograph beautifully.
6. Double Dutch Braids

Double dutch braids are the cool-girl Christmas style: sporty, youthful, and completely practical. They keep your hair contained through Christmas morning chaos — kids, cooking, gift wrapping — while the ribbon or tinsel you weave in keeps them festive. Bonus: take them out the next day for perfect waves.
- Part hair cleanly down the middle from forehead to nape.
- Dutch braid each side from the hairline to the nape, keeping the braids tight and close to the scalp.
- Before braiding, tie a ribbon to the top of each section and braid it in as a strand.
- Continue each braid down the length and secure with festive elastics.
- Pancake the braids lightly for a fuller look, or leave them sleek.
Styling tip: Metallic gold or red ribbon braided all the way through looks incredible — and the ribbons double as your “accessory,” so no extra pins needed.
7. Pull-Through Braid with Fairy Lights
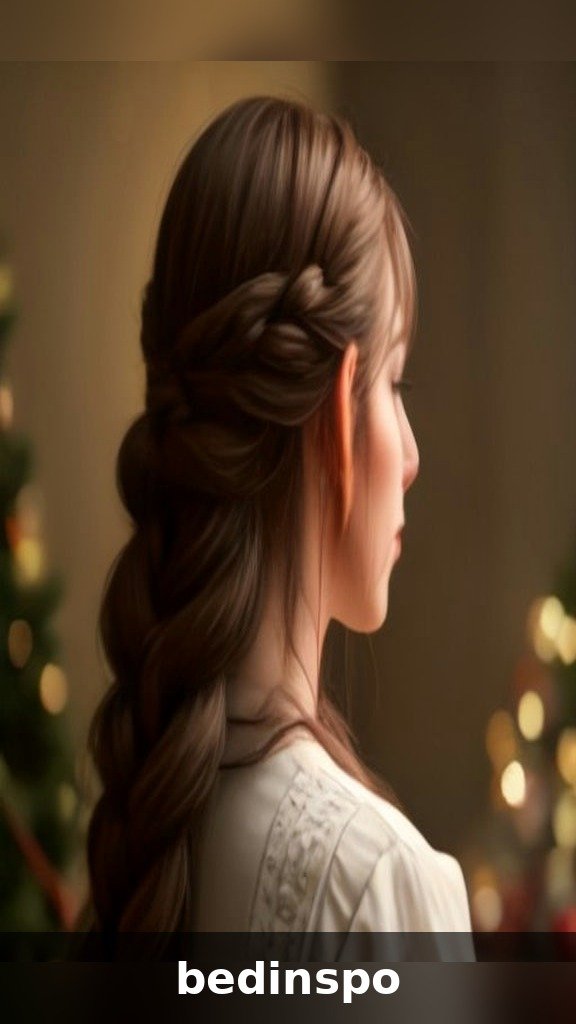
Okay, this one is pure holiday drama — in the best way. A pull-through braid (made with stacked ponytails, no actual braiding skill required) gets woven with a strand of tiny battery-operated fairy lights, and the result is a hairstyle that literally glows. Wear it to the neighborhood light display and prepare for compliments.
- Gather the top section of hair into a ponytail and secure.
- Gather the next section below it into a second ponytail, splitting the first ponytail around it.
- Continue down the head, creating stacked, voluminous loops — this is the pull-through technique.
- Before securing the final elastic, weave a strand of fairy lights in and out of the loops.
- Tuck the battery pack under the braid at the nape and pin it flat.
Styling tip: Choose micro LED lights on thin copper wire — they are nearly invisible in daylight and feather-light, so the braid stays comfortable.
8. Halo Braid with Pine Sprigs

Like the milkmaid braid but softer and more continuous, the halo braid is one long dutch braid wrapped around your entire head. Tucked with fresh pine sprigs, it smells like Christmas and looks like a woodland fairytale. It is a showstopper for holiday photos and surprisingly secure — no stray pieces by dessert.
- Flip your head upside down and dutch braid from the nape upward toward the crown.
- Continue the braid around the head in a circle, picking up hair all the way around.
- When you run out of hair to add, finish as a regular braid and pin the tail flat under the start.
- Tuck small pine sprigs along the braid with bobby pins, angling them all one direction.
- Mist with strong-hold hairspray.
Styling tip: Add the pine right before you leave — fresh sprigs look best for the first few hours, and this style deserves its moment.
9. Rope Braid Ponytail

The rope braid (two twisted strands) is the fastest “fancy” braid in existence, and in a high ponytail it looks sleek, modern, and completely Christmas-party ready. Tie it off with a red silk ribbon and you have a style that takes ten minutes and photographs like it took an hour.
- Smooth hair into a high ponytail and secure tightly — this is your foundation, so make it firm.
- Split the ponytail into two sections and twist each section clockwise.
- Wrap the two twisted sections around each other counterclockwise and secure the end.
- Gently pull at the twists to fatten the rope.
- Tie a red silk ribbon in a bow around the base of the ponytail.
Styling tip: A light coat of shine serum on the ponytail before twisting gives the rope braid a glossy, expensive-looking finish.
10. Lace Braid Headband

Proof that short hair can do Christmas braids too: a lace braid (where you only add hair from one side) runs along the hairline like a headband, pulling the front pieces back while the rest of your bob or lob does its thing. It is delicate, pretty, and keeps bangs out of your eyes while you bake.
- Part hair to one side and take a section near the part at the front hairline.
- Begin a three-strand braid, adding hair only from the side closest to your crown (the lace technique).
- Follow the hairline down toward your ear, keeping the braid snug.
- Pin the end flat behind your ear with two crossed bobby pins.
- Style the rest of your hair as usual — straight, wavy, or curled.
Styling tip: Pin a small sprig of holly or a tiny bow where the braid ends — it turns a simple detail into a deliberate holiday look.
11. Chunky Side Braid with Silver Tinsel

For the maximalists: one big, fat side braid loaded with silver tinsel strands. It is festive, fun, and unapologetically Christmas. This style is perfect for ugly-sweater parties and tree-trimming nights, and it looks incredible in motion — every step sends the tinsel shimmering.
- Sweep all hair over one shoulder and secure loosely with a clear elastic at the nape (remove later).
- Divide into three chunky sections and begin a loose three-strand braid.
- Drape several strands of tinsel over the sections and braid them in.
- Braid to the ends, remove the top elastic, and secure the bottom with a festive band.
- Pancake aggressively — the chunkier, the better.
Styling tip: Use the thinnest tinsel garland you can find, or pull individual strands from a thicker one — thick garland overwhelms the braid.
12. Braided Top Knot

The braided top knot is Christmas-morning elegance: your hair completely up and out of the way while you cook, clean, and tear into presents, but with enough texture to look intentional in every candid photo. A few gold braid cuffs slid onto the braid take it from practical to polished.
- Flip your head forward and gather hair into a high ponytail at the crown.
- Braid the ponytail to the ends and secure with a clear elastic.
- Wrap the braid around its base to form a knot and pin thoroughly.
- Slide 2–3 gold braid cuffs onto the visible braid sections.
- Smooth the hairline with edge control or pomade for a clean finish.
Styling tip: This style is a gift for curly and coily textures — the natural volume makes the knot look lush with zero pancaking needed.
13. Four-Strand Braid

Want a braid that makes people ask “how did you DO that?” — the four-strand braid weaves into a flat, ribbon-like plait that looks far more complicated than it is. Draped over one shoulder with a velvet dress, it is quietly luxurious: the braid equivalent of candlelight.
- Gather hair to one side and divide into four equal strands.
- Take the far-right strand under the next one, over the next, and under the last (under-over-under).
- Take the new far-left strand and repeat: under, over, under.
- Continue alternating sides to the ends and secure.
- Keep the braid flat and slightly loose for the ribbon effect.
Styling tip: Practice the under-over-under rhythm on a willing friend (or a patient ponytail) once before Christmas — your fingers learn it fast.
14. Bubble Braid Hybrid

Half braid, half bubbles: start with a short dutch braid at the crown, then transition into a bubble ponytail tied off with plaid ribbon bands. It is playful, modern, and very 2026 — the kind of style that looks adorable in a Christmas card photo and holds up through a whole day of festivities.
- Dutch braid from the front hairline back to the crown, about 3–4 inches.
- Gather everything into a ponytail at the crown and secure.
- Add elastics every 2–3 inches down the ponytail.
- Gently pull each section outward to puff it into a bubble.
- Wrap small plaid ribbon pieces around each elastic and tie in bows.
Styling tip: Plaid ribbon in red-black buffalo check is the move here — it reads Christmas instantly without any other decoration.
15. Braided Chignon with Pearls

End the list with pure elegance: a low braided chignon dotted with pearl pins. This is the New Year’s Eve of Christmas braids — sophisticated, timeless, and beautiful with earrings. The pearls catch the light every time you turn your head, and the style stays flawless from the first toast to the last dance.
- Create a low side part and loosely braid hair into a low ponytail braid at the nape.
- Coil the braid into a soft chignon, leaving it slightly loose and romantic.
- Pin securely with bobby pins, tucking the ends under.
- Insert pearl-topped hair pins throughout the chignon — cluster them on one side for an asymmetric look.
- Pull out two face-framing pieces and curl them softly.
Styling tip: Mix pearl sizes (a few large, several small) for a collected-over-time look rather than a matched set.
Braid Prep for Long Hold
A Christmas braid has a tough job: it needs to survive hugging, cooking steam, kids, dancing, and about six hours of wear. Prep is everything. Here is how to make any braid on this list last from morning presents to midnight.
Start with Day-Old Hair
Freshly washed hair is slippery and refuses to hold a braid. Second-day hair has natural texture and grip that keeps plaits tight. If you must wash the day of, blow-dry with a volumizing mousse and let it cool completely before braiding.
Products That Actually Work
- Texturizing spray before you start — grip is the foundation of every long-lasting braid.
- Light pomade or wax on your fingertips while braiding to tame flyaways as you go.
- Flexible-hold hairspray to finish — strong enough to hold, soft enough to look touchable.
- Clear mini elastics instead of black ones — they disappear into the braid.
Accessories That Elevate Braids
The difference between a regular braid and a Christmas braid is almost always the accessory. You do not need much — one thoughtful detail beats ten random ones. Stock a small holiday hair kit: velvet ribbon in two colors, gold thread or thin metallic cord, a pack of pearl pins, mini faux berry sprigs, and one set of battery fairy lights. With those five things, you can Christmas-ify literally any braid you already know how to do.
Placement matters more than quantity. A single velvet bow at the base of a ponytail, pearls clustered on one side of a chignon, berries tucked along just one milkmaid braid — asymmetry looks modern, while perfectly mirrored accessories can read costume-y. And always add accessories last, after pancaking and hairspray, so you are decorating the finished shape.
Braids for Short Hair
Short hair can absolutely join the Christmas braid party. The lace braid headband (idea #10) works on bobs and lobs, and a pair of tiny accent braids — one thin dutch braid along each temple, pinned back — gives pixie and bob wearers a festive detail without needing length. Another trick: braid a small section at the crown and pin it flat, then decorate the pin with a berry sprig — it reads as an intentional accessory rather than a full style.
If your hair is too short to braid at all, braid-inspired accessories do the work: a braided-look velvet headband, or a faux braid hairpiece clipped at the back. Nobody will know, and your holiday photos will still have that braided texture everyone loves.
Final Thoughts
Christmas braids are the rare hairstyle that is both practical and magical — they keep your hair beautiful through the longest, happiest, most chaotic days of the year while giving you a canvas for every festive detail you love. Pick the style that matches your plans (fairy lights for the light display, the chignon for the gala, double dutch for Christmas morning), prep your hair the night before, and give yourself a little extra time in the morning. The best Christmas hair is unhurried hair.
Save this post to your holiday board, share it with the friend who always does your hair, and have the merriest, most beautifully braided Christmas yet. Happy holidays!