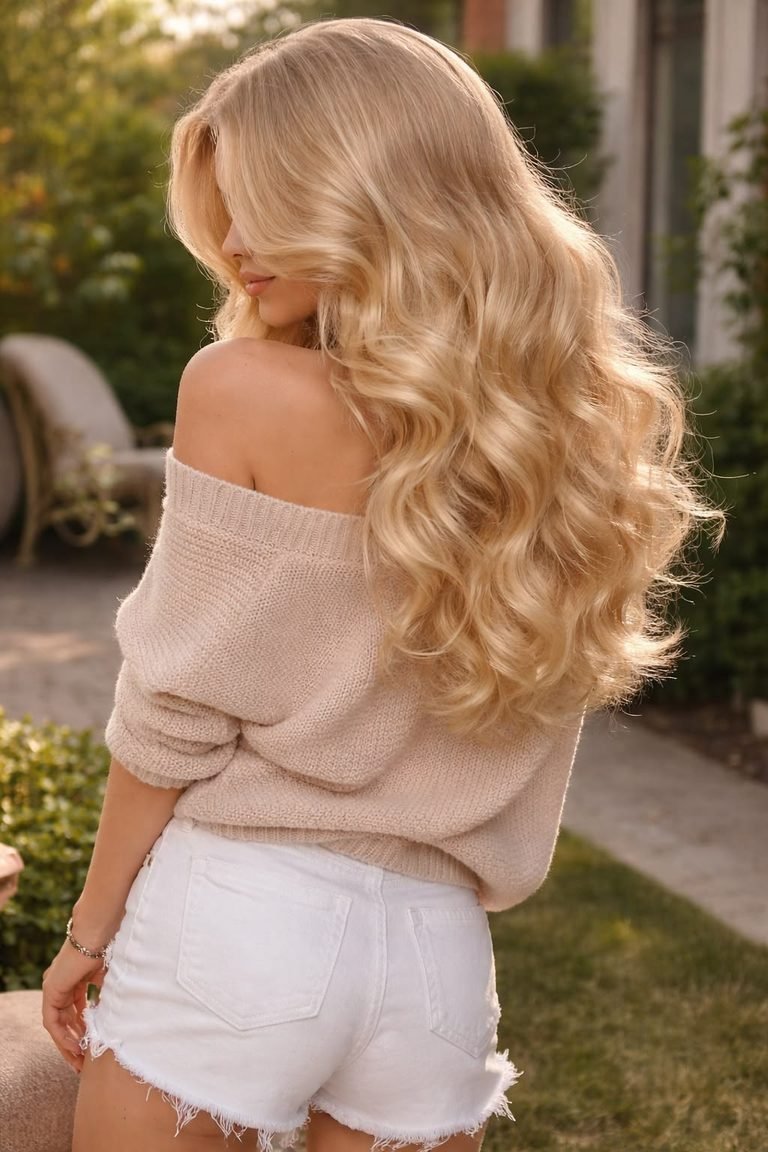
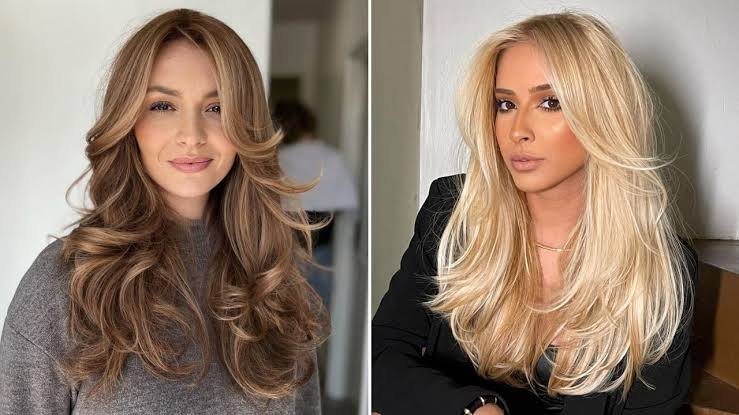
20 Gorgeous Lace Braid Hairstyles You’ll Love in 2026
20 Gorgeous Lace Braid Hairstyles You’ll Love in 2026

There is something undeniably romantic about a lace braid. Unlike a classic French or Dutch braid that gathers hair from both sides as it travels, a lace braid adds hair from only ONE side — which creates that delicate, lacy effect that looks like it was woven by hand. The result is a braid that sits gracefully along the hairline, around a crown, or sweeping across the head, with the rest of your hair flowing free. It is feminine without being fussy, intricate without being complicated, and it photographs beautifully from every angle.
In this complete guide, we are sharing 20 of the prettiest lace braid hairstyles trending in 2026, with step-by-step styling instructions for each one. You will learn exactly who each variation suits best, how to adapt the technique for your hair type and length, clever variations to make it your own, and maintenance tips to keep your braid looking fresh all day. Whether you are braiding for a wedding, a workday, or a lazy Sunday, there is a lace braid here with your name on it. Save your favorites and get ready to fall in love with your hair all over again.
1. Classic Lace Braid
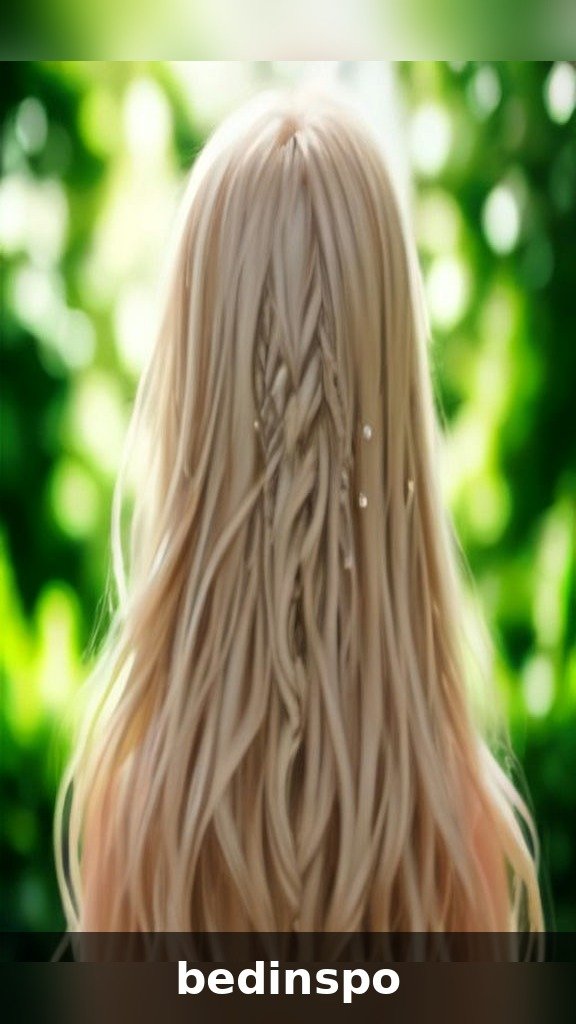
The classic lace braid is where every lace-braid journey begins: a single three-strand braid worked along one side of the hairline, adding new hair only from the top side as you go. Because only one side feeds in, the braid hugs the hairline in a delicate arc while the rest of your hair cascades freely. This is the most versatile and beginner-friendly lace braid, and it flatters nearly every face shape — the diagonal line it creates is especially slimming on round faces, while the softness suits oval, heart, and square faces beautifully.
Here is how to do it: start with brushed, detangled hair and create a deep side part. Take a small section near the part and divide it into three strands. Braid one full stitch of a regular three-strand braid, then — this is the lace part — add a small section of hair to the top strand only before each subsequent stitch, leaving the bottom strand untouched. Continue along the hairline toward your ear, then finish as a regular braid down the remaining length or pin it behind your ear. Secure with a clear elastic and gently pancake the braid (tug the edges outward) for extra fullness. Mist with flexible-hold hairspray. For a softer look, pull a few face-framing pieces loose before you finish.
2. Lace Braid with Loose Waves
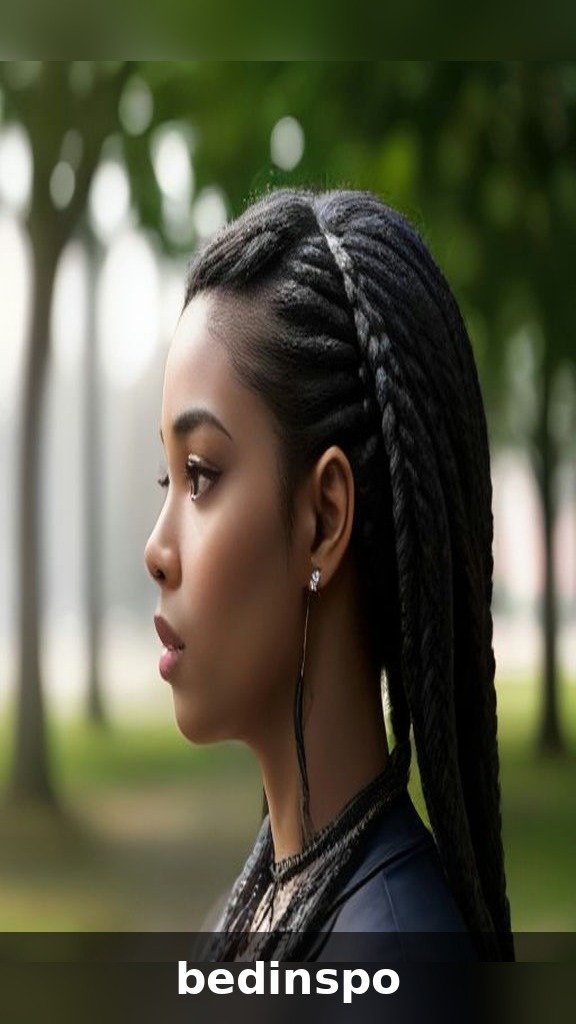
A lace braid paired with loose, beachy waves is the ultimate romantic combination — the structured delicacy of the braid against the soft movement of waves creates gorgeous contrast and texture. This pairing works beautifully on medium to long hair, and it is a favorite for weddings, date nights, and golden-hour photos because it catches light from every angle. The look suits oval, heart, and long face shapes especially well, since the waves add width and softness where it flatters most, while the braid keeps the front polished and out of your face.
Start by curling your hair with a 1.25-inch curling iron, wrapping sections away from your face and leaving the ends out for a modern, undone finish. Let the curls cool completely, then run your fingers through them to break them up — never brush, or you will lose the texture. Now create your lace braid along one side of the hairline using the one-sided feed-in technique, pancaking it generously for a fuller, more romantic effect. Pin the braid’s end discreetly under the waves at the back. Finish with a texturizing spray through the waves and a light flexible spray over the braid. The key to this look is contrast: keep the braid neat-ish but let the waves be perfectly imperfect.
3. Double Lace Braids
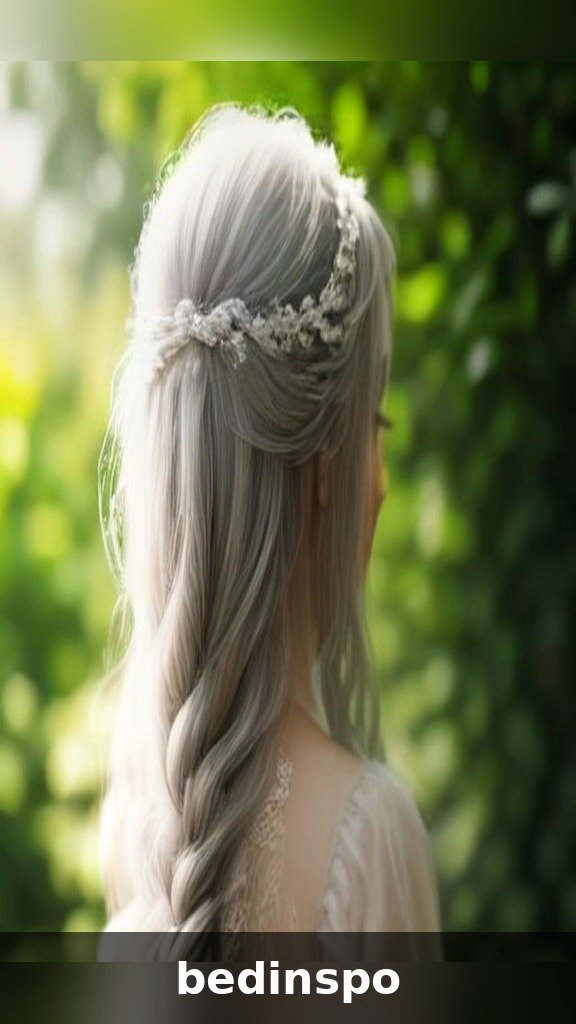
Double lace braids — one tracing each side of a center part — are sporty, youthful, and incredibly practical. This symmetrical style keeps every strand off your face, which makes it perfect for workouts, festivals, beach days, and busy mornings. It flatters oval and heart-shaped faces beautifully, and on round faces the two vertical lines create a lengthening effect. The look also works wonderfully on kids and teens, making it a great mom-and-daughter style, and it holds up remarkably well on second-day hair when there is a little natural grip to work with.
Part your hair cleanly down the middle and clip one side away. On the free side, take a section at the front hairline and begin your lace braid, feeding hair in only from the top side as you work back along the head. Braid all the way down the remaining length in a regular three-strand braid and secure with a small elastic. Repeat on the other side, keeping both braids symmetrical in size and placement — this is what makes the style look polished rather than haphazard. For a softer finish, pancake both braids and pull a few wisps loose around the face. Dress it up by wrapping a small strand of hair around each elastic to hide it, or keep it casual with colorful scrunchies. This style easily lasts all day and even sleeps well overnight.
4. Lace Braid Crown
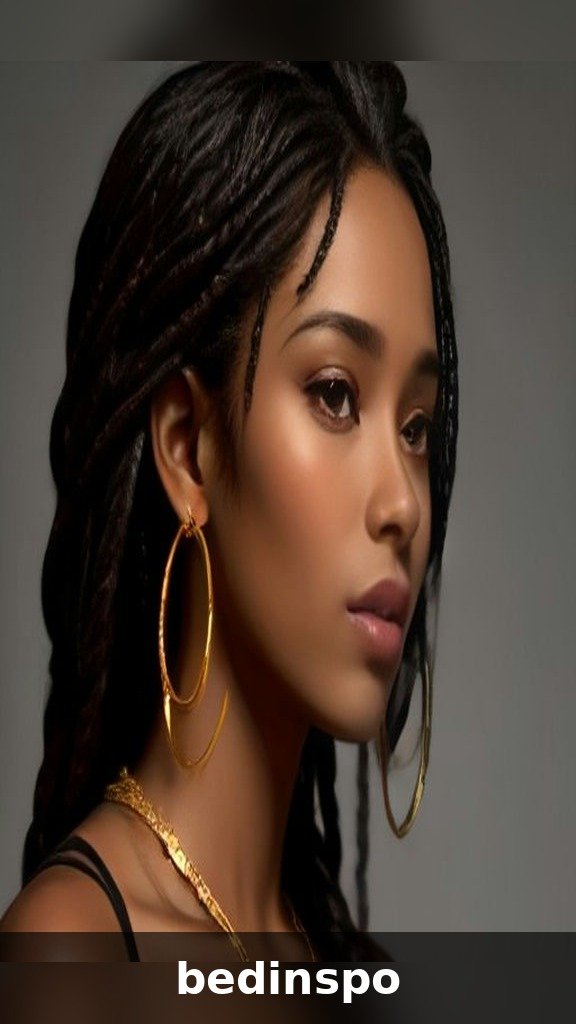
The lace braid crown is pure fairytale — a single braid that travels all the way around your head like a halo, with the rest of your hair flowing beneath it or tucked up inside. It is one of the most requested bridal and prom styles for good reason: it looks intricate and regal, photographs like a dream from every angle, and keeps hair completely secure through hours of dancing. The crown suits long and oval faces especially well, and the all-around frame it creates is incredibly flattering in photos since there is no “bad side.”
Begin behind one ear with a lace braid, feeding hair in only from the top side, and work it along the hairline across the forehead, around to the other ear, and continue down the back of the head if your length allows. When you reach the starting point, finish the tail as a regular braid and tuck it under the beginning of the crown, pinning securely with bobby pins that match your hair color. For shorter hair, braid as far as you can and pin the ends under — nobody will know. Pancake the braid generously before pinning for a fuller, more luxurious crown. Pro tip: do this style on day-old hair with dry shampoo at the roots for maximum grip, and place pins in an X pattern (two pins crossed) wherever the crown meets the head for all-day hold.
5. Lace Braid Headband
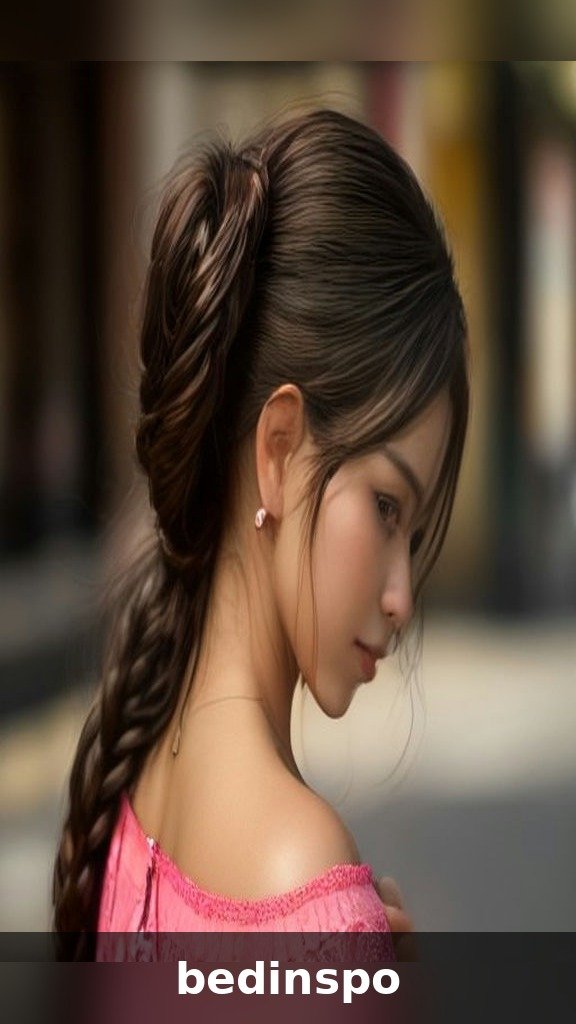
The lace braid headband gives you all the charm of a headband with none of the headaches — literally. Instead of a band pressing into your skull, a braid woven ear-to-ear across the crown holds your hair back in the prettiest possible way. It is perfect for growing-out bangs, second-day hair, or any day you want to look polished with minimal effort. This style suits every face shape and works on hair from chin-length bobs to waist-length lengths, though it is easiest on medium to long hair. It is also a lifesaver for fine hair, since the braid adds the illusion of fullness right where you need it.
Part your hair where you like it, then take a generous section from behind one ear, across the top of the head. Braid it as a lace braid — adding hair only from the front hairline side — working across the crown toward the other ear. Secure the end behind the opposite ear with bobby pins, tucking the tail under the hair there. The trick is tension: keep the braid snug against the head as you work so it actually functions as a headband. For extra staying power, lightly tease the roots at the crown before braiding, and mist the finished braid with hairspray. Variation: make it a Dutch lace braid (crossing strands under instead of over) for a bolder, raised headband effect, or pancake it wide for a soft, romantic band.
6. Lace Braid Ponytail

A lace braid feeding into a ponytail takes the most basic hairstyle in the world and makes it look intentional, textured, and completely fresh. The braid adds visual interest and keeps the front of your hair smooth and controlled, while the ponytail itself can be sleek, wavy, or curly. This is a fantastic gym-to-brunch style, a polished work option, and a great choice for anyone whose ponytails tend to look flat or boring. It flatters every face shape, and the upward line of the braid into the ponytail has a subtle lifting effect on the whole face.
Decide on your ponytail placement first — high for drama, mid for everyday, low for polish. Create a lace braid starting at your front hairline on one side, feeding hair in from the top only, and direct it back toward where your ponytail will sit. Gather all your hair, including the braid’s tail, into the ponytail and secure firmly. For a sleek version, smooth the lengths with a flat iron and wrap a strand around the elastic; for a casual version, curl the ponytail and pancake the braid. To make it extra secure for workouts, do two small lace braids (one on each side) feeding into the ponytail. Refresh the look on day two by re-braiding just the front section — it takes three minutes and makes the whole style look brand new.
7. Lace Braid Wedding Updo
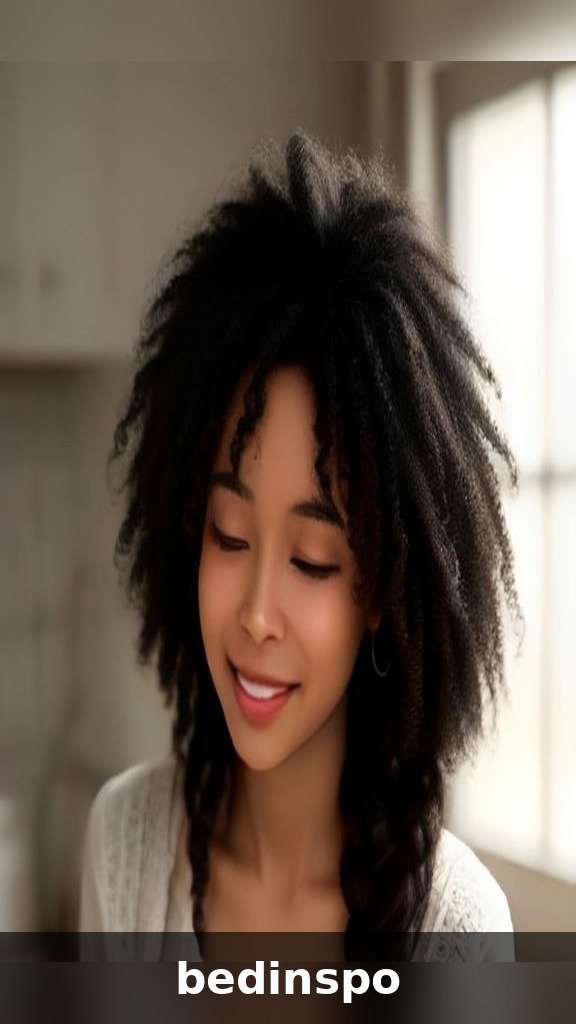
For brides and wedding guests alike, a lace braid woven into an updo is the definition of romantic elegance. The braid’s delicate, lacy texture reads beautifully in professional photography, adds intricate detail without heavy accessories, and holds its shape through ceremonies, hugs, and hours of dancing. This style works for every wedding dress neckline — the updo keeps the neckline clean while the braid adds softness around the face. It suits all face shapes, and it is especially lovely on brides who want texture and interest without a veil or with a simple veil.
The most flattering version starts with a lace braid along one or both sides of the hairline, feeding into a low chignon, twisted bun, or Gibson tuck at the nape. Have your stylist (or a skilled friend) prep the hair with texturizing spray for grip, create the lace braids first, then gather everything into the updo, pinning the braid tails into the bun’s structure so nothing unravels. Pancake the braids before pinning for maximum fullness in photos. Fresh flowers, pearl pins, or a delicate hair vine tucked along the braid elevate it for bridal, while the unadorned version is perfect for guests. Trial this style before the big day, bring reference photos, and ask your stylist to use the X-pin method at every anchor point. A travel-size hairspray in your clutch handles touch-ups.
8. Lace Braid for Curly Hair

Lace braids on curly hair are absolutely stunning — the braid’s smooth, defined structure against bouncy natural texture creates one of the most eye-catching contrasts in all of hairstyling. The technique also serves a practical purpose: it tames the front sections that tend to frizz or fall in the face, while letting your curls do their glorious thing everywhere else. This style works on every curl pattern from loose waves to tight coils, and it is a beautiful protective option since the braided sections experience less manipulation and friction.
Work on stretched or damp, detangled curls with leave-in conditioner and a light styling cream for slip and control. Take your front section and create the lace braid, feeding in hair from the top side only — keep your tension even and consistent, since uneven tension is more visible on textured hair. Because curly hair has natural volume, you may not need to pancake much; let the braid’s fullness come naturally. Secure the end and either let it hang among your curls or pin it back. For wash-day styling, braid on damp hair and let everything dry together — the braid sets with a beautiful wave pattern underneath. Refresh on day two or three by smoothing the braid’s edges with a tiny bit of edge control and fluffing your curls. This style typically lasts two to four days on curly hair.
9. Lace Braid on Short and Medium Hair

Think lace braids are only for long hair? Think again. On bobs and lobs, a lace braid becomes a gorgeous accent that adds instant style to shorter lengths — it is one of the best ways to dress up a bob for an event or add interest while growing hair out. The technique is identical, just scaled down: smaller sections, a shorter travel distance, and the braid tucked and pinned rather than left hanging. It flatters all face shapes and is especially pretty on textured bobs, where the braid contrasts with choppy ends.
On a bob, start the lace braid at the front hairline and work it back just 3 to 4 inches — that is usually enough to create the effect. Pin the tail flat against the head under the surrounding hair, crisscrossing two bobby pins for security. On a lob, you can travel further, even wrapping the braid around to the back. The biggest challenge with shorter hair is layers poking out; solve it by braiding on slightly damp hair with a bit of styling cream, and keep a few bobby pins handy for touch-ups. For extra grip on silky short hair, tease the roots lightly before braiding and mist each section with texturizing spray as you go. A mini lace braid headband is the single prettiest way to style a growing-out pixie — try it once and you will be hooked.
10. Side-Swept Lace Braid
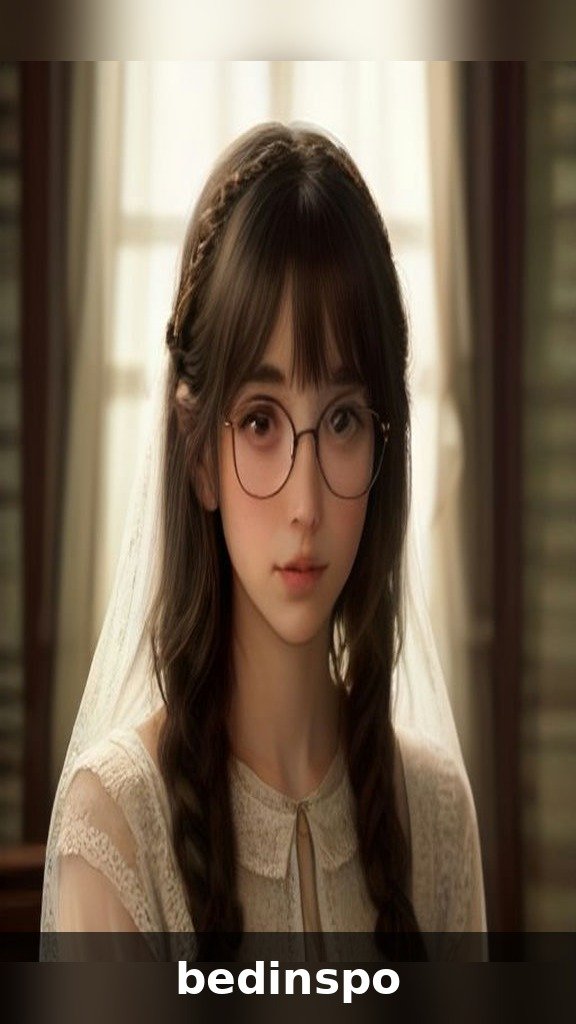
The side-swept lace braid is pure drama: all your hair gathered to one side, anchored by a lace braid that sweeps across the head like a silk ribbon. It is red-carpet glamorous, incredibly photogenic, and surprisingly practical — everything stays put on one shoulder through dinner, dancing, or a windy evening. This style is most flattering on oval, long, and heart-shaped faces, and it is a dream for anyone with one “good side” they like to show off. It works on medium to long hair and looks especially luxurious on thick hair.
Sweep all your hair to your preferred side. Starting at the opposite temple, create a lace braid feeding hair in from the top side only, working it across the back of the head toward the side where your hair is gathered — this braid acts as an anchor that keeps the sweep secure. Once you reach the gathered side, combine the braid tail with the rest of your hair. From here, choose your finish: leave it as a loose side ponytail, braid the remaining length into a full side braid, or twist it into a low side bun. Curl the lengths first for maximum glamour, and pancake the anchor braid generously so it reads as a deliberate design element. Secure everything with pins hidden underneath, and finish with a shine spray for that red-carpet gleam.
11. Lace Braid with Curtain Bangs

Lace braids and curtain bangs are a match made in hair heaven. The bangs provide soft, face-framing romance in front while the lace braid adds intricate detail just behind them — together they create a layered, dimensional frame around the face that looks gorgeous from every angle. This combination is incredibly flattering on round and square faces, since the bangs soften width while the braid’s diagonal line adds structure. It is also the perfect solution for anyone growing out bangs who wants them to look intentional rather than awkward.
Style your curtain bangs first — blow them out with a round brush, sweeping each side away from the face, so they sit exactly where you want them. Then, starting just behind the bangs at the hairline, create your lace braid feeding hair in from the top side, working back along the head. The key is placement: the braid should start where the bangs end so the two elements flow into each other seamlessly rather than competing. Pin the braid’s tail back or let it hang. Keep the bangs piece-y and touchable — over-styling them ruins the effortless vibe. If your bangs are on the shorter side, use a mini flat iron to give them a slight bend away from the face before braiding. This pairing looks especially pretty with the braid pancaked loosely for a soft, romantic finish.
12. Messy Boho Lace Braid

The messy boho lace braid is the free spirit of the braid world — deliberately undone, perfectly imperfect, and effortlessly cool. Instead of a sleek, tight braid, this version is pancaked to the max, with face-framing pieces pulled loose, a slightly fuzzy texture, and an overall “I just threw this together” vibe that actually takes a little know-how. It is ideal for festivals, beach days, outdoor weddings, and anyone whose personal style leans relaxed and romantic. The softness flatters every face shape, and it is wonderfully forgiving on hair that is not freshly washed.
The secret to “messy” that still looks good is starting neat and loosening strategically. Create your lace braid with clean sections and even tension first, secure it, and THEN make it messy: pancake aggressively by tugging each stitch outward, pull small pieces loose around the face and at the nape, and gently rub the braid between your palms to rough up the texture. A texturizing spray or sea-salt spray applied before braiding gives the perfect gritty base. Leave the ends a little imperfect — a slightly undone tail looks more boho than a perfectly finished one. Add a few tiny braids mixed into the loose hair, or weave in baby’s breath or small flowers for festival season. This is the braid that looks better as the day goes on, so do not stress about perfection.
13. Lace Braid for Thick Hair
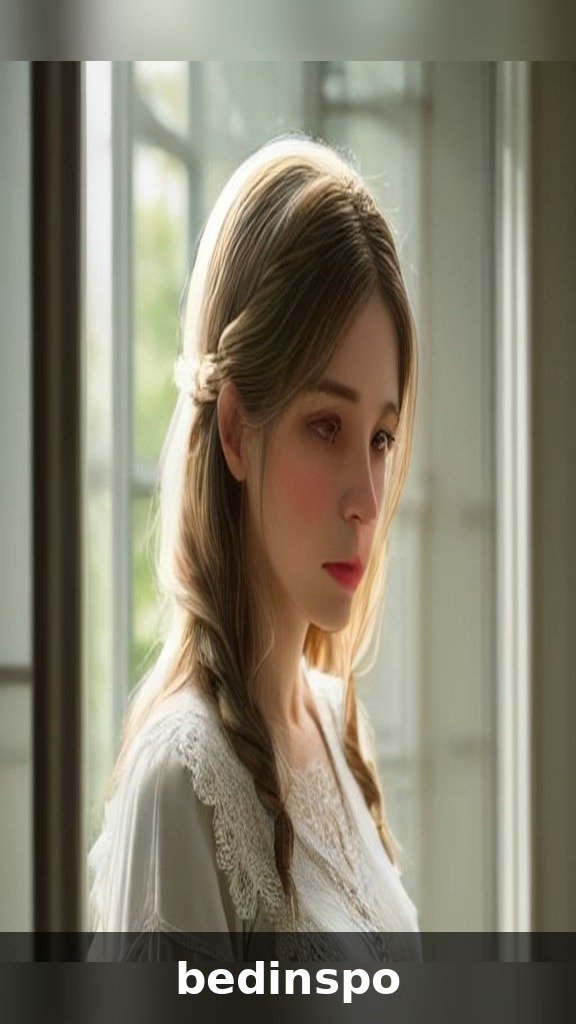
Thick hair and lace braids are a dream pairing — all that density makes for the fullest, most luxurious-looking braids, with beautiful dimension in every stitch. If you have thick hair, your lace braids will naturally look fuller than anyone else’s with minimal pancaking required. The main considerations are weight and control: thick hair can pull a lace braid loose faster, and the sheer volume can make the braid look bulky if sections are too large. With the right technique, though, thick hair produces the most envy-inducing lace braids of all.
Work in smaller sections than you think you need — taking finer feed-in pieces keeps the braid refined rather than chunky, and it distributes the weight more evenly so the style lasts longer. Braid on hair that is completely dry and detangled, using a light styling cream to tame flyaways without adding weight. Because thick hair has natural grip, you can often skip heavy products; a flexible-hold spray at the end is usually enough. If your braid feels heavy at the hairline, anchor it with two crossed bobby pins hidden underneath at the start and middle. For very long thick hair, consider a lace braid that travels only partway and finishes in a bun or ponytail — carrying a full-length thick braid all day can cause tension headaches. Embrace your advantage: pancake just lightly, since your natural fullness does the work.
14. Lace Braid for Fine Hair

Fine hair can absolutely rock a lace braid — in fact, the lace technique is one of the most flattering braid styles for finer textures, because the single-sided feed-in creates a delicate, intricate look that does not demand a lot of density. The key is building grip and volume before you braid, since silky fine hair tends to slip. With the right prep, fine hair produces the daintiest, most elegant lace braids — think ballet dancer, not bulky — and the style photographs beautifully because every stitch shows.
Prep is everything: start with second-day hair or add dry shampoo and texturizing spray at the roots for grip. Lightly tease the sections you will braid — just a few strokes at the roots — to give the strands something to hold onto. Take slightly larger feed-in sections than you would on thick hair; this makes the braid look fuller and prevents it from disappearing into the surrounding hair. Pancake generously but gently, tugging each stitch outward to create width — this is where fine-hair lace braids get their gorgeous fullness. Secure with small clear elastics and hide them by wrapping a strand of hair around each one. Avoid heavy creams or oils before braiding, since they make fine hair slippery; save shine serum for the very ends only. A light mist of flexible hairspray, applied from 10 inches away, sets everything without weighing it down.
15. Glam Lace Braid for Evening Events
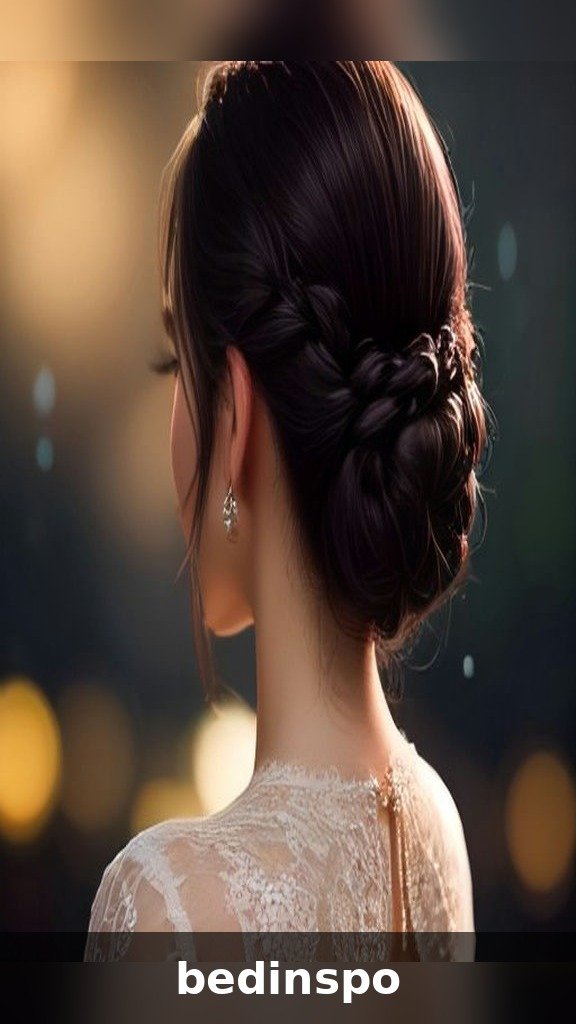
When the dress code says glamorous, a lace braid delivers red-carpet polish with a romantic twist. The evening version is sleeker, more defined, and often paired with glossy waves, a deep side part, or sparkling accessories — it is the braid equivalent of slipping into heels. This style shines at holiday parties, galas, cocktail events, and New Year’s Eve, and it holds up beautifully through long evenings. The polished finish flatters every face shape, and the intricate detail reads as expensive and intentional in event photography.
Start with a professional-quality blowout or smooth curls — sleek, shiny hair is the foundation of evening glam. Create a precise lace braid with clean sections and consistent tension, keeping it close to the head for a polished look rather than pancaking heavily. A deep side part adds instant drama. Weave in the glamour: tuck small crystal pins or a delicate hair vine along the braid, or finish with a shine spray for a glass-hair effect. For extra staying power through a long night, set the finished style with a strong-hold spray in light layers rather than one heavy coat. Pair with a bold lip and statement earrings, letting the braid be the hair’s star moment. This is the style that makes people ask who did your hair — and you can honestly say you did it yourself.
16. How to Make Your Lace Braid Last All Day
A beautiful lace braid deserves to survive the whole day, and with the right prep and products it absolutely can. The foundation is grip: braids hold best on hair with some texture, so second-day hair, dry shampoo at the roots, or a texturizing spray worked through the lengths all help enormously. If you must braid freshly washed hair, rough-dry it upside down for volume and mist each section with texturizing spray as you work. Keep a small kit in your bag — two bobby pins, a clear elastic, and a travel hairspray — and you can fix any escapee in seconds.
Your toolkit does not need to be fancy: a paddle brush for smooth detangling, a rat-tail comb for clean sections and precise parts, small clear elastics that disappear into the braid, bobby pins that match your hair color, a texturizing spray for grip, and a flexible-hold hairspray for the finish. At night, preserve your braid by sleeping on a silk or satin pillowcase, which reduces friction and frizz dramatically — or loosely pineapple the unbraided hair on top of your head. In the morning, smooth flyaways with a tiny amount of styling cream on your fingertips and re-mist with hairspray. Most lace braids can be refreshed for a second day by simply re-pancaking and smoothing the edges, giving you two days of gorgeous hair from one styling session.
Conclusion: Your Braid Era Starts Now
From the classic hairline braid to a full bridal crown, from boho messy to red-carpet sleek, the lace braid proves that the prettiest techniques are often the simplest — just one small twist on a regular braid, adding hair from one side instead of two, unlocks twenty gorgeous styles. The real beauty of the lace braid is its adaptability: it works on short hair and long, fine hair and thick, straight hair and curls, for weddings and workouts alike. Once the one-sided feed-in clicks in your fingers, you will find yourself reaching for it constantly.
So which lace braid will you try first? Save this guide, pick the style that matches your next occasion, and give yourself fifteen unhurried minutes to practice — the first attempt is always the learning round, and the second one looks salon-made. Tag your results, share with a friend who needs braid inspiration, and happy pinning, gorgeous!
SEO Details
SEO Title: 20 Gorgeous Lace Braid Hairstyles to Try in 2026
Meta Description: Discover 20 gorgeous lace braid hairstyles for 2026 – step-by-step styling tips, variations for every hair type and face shape, plus maintenance advice.
Pinterest Pin Title: 20 Lace Braid Hairstyles You’ll Love (So Pretty!)
Pinterest Pin Description: Obsessed with braids? These 20 lace braid hairstyles — from boho crowns to wedding updos — come with easy step-by-step tips for every hair type. Save this! #lacebraid #braidhairstyles #braidedhairstyles #hairtutorial #hairinspo2026