DIY Headboard Ideas on a Budget: Transform Your Bedroom Without Breaking the Bank
Are you tired of staring at a plain wall behind your bed? A stylish headboard can instantly elevate your bedroom’s look, adding personality, comfort, and a focal point that ties everything together. The best part? You don’t need to spend hundreds or even thousands on a store-bought piece. With some creativity and basic supplies, you can create stunning DIY headboard ideas on a budget that look high-end.
In this comprehensive guide, we’ll explore a variety of affordable DIY headboard projects using everyday materials, upcycled items, and simple tools. Whether you’re renting, decorating a small space, or just want to refresh your bedroom decor without a big investment, these ideas will inspire you. Most projects cost under $50, and many can be completed in a weekend or less.

Why Choose a DIY Headboard?
Before diving into the ideas, let’s talk about why a budget-friendly DIY headboard is such a smart choice. Traditional headboards from furniture stores can easily run $200–$800 or more, especially for upholstered or custom designs. By making your own, you save money, customize the size and style perfectly for your space, and often create something truly unique.
Plus, DIY projects are satisfying and eco-friendly—many use repurposed materials, reducing waste. If you’re new to crafting, don’t worry; most of these are beginner-friendly with step-by-step explanations.

1. Painted Wall Headboard: The Easiest Zero-Cost Option
One of the simplest DIY headboard ideas on a budget is painting directly on the wall. No materials to buy if you already have paint!
Choose a shape like a classic rectangle, elegant half-moon, or geometric arch. Use painter’s tape to outline it, then fill in with a bold accent color that complements your bedding—think deep teal, soft blush, or matte black for modern vibes.
Steps:
- Measure and mark the desired headboard height and width above your bed.
- Apply painter’s tape for clean edges.
- Paint two coats and remove tape while still slightly wet.
- Add details like stripes or faux molding with a smaller brush.
This method is renter-friendly (just repaint when you move) and costs next to nothing. It creates the illusion of a built-in headboard without any physical structure.

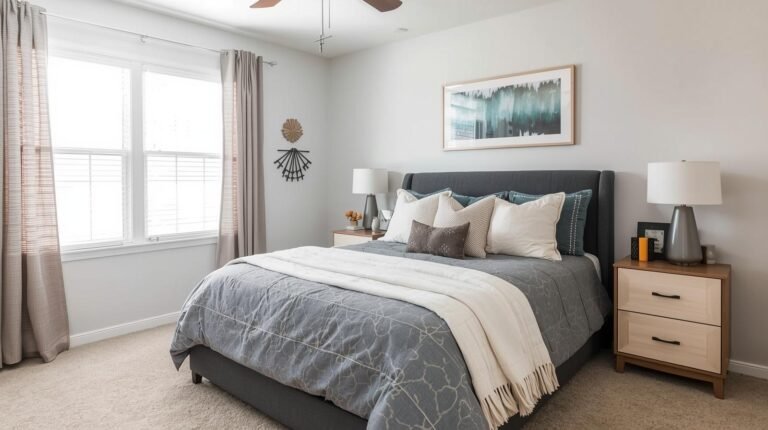
2. Upholstered Fabric Headboard Under $30
A padded, upholstered DIY headboard adds luxury and comfort for reading or lounging in bed. Surprisingly, you can achieve this look affordably.
Materials Needed:
- Plywood or foam board cut to size (often under $25 at hardware stores)
- 1-2 inches of foam padding (or repurpose old pillows/mattress toppers)
- Fabric of choice (velvet, linen, or cotton—check remnant bins for deals)
- Staple gun, batting, and scissors
Steps:
- Cut foam to fit the board.
- Wrap batting over foam for softness.
- Lay fabric face-down, place board on top, and staple edges tightly, folding corners neatly.
- Attach to the wall with brackets or lean against the bed frame.
Opt for neutral or patterned fabric to match your room’s theme. This project mimics expensive tufted designs without the hassle.

3. Upcycled Door or Shutters Headboard
Thrift stores and online marketplaces are goldmines for free or cheap old doors, window frames, or plastic shutters. These make gorgeous rustic or vintage budget DIY headboards.
Ideas:
- A single solid wood door painted white for a farmhouse feel.
- Pair of louvered shutters hinged together for texture and dimension.
- Antique window frame (glass removed) for a romantic, airy look.
Steps:
- Clean and sand the item.
- Paint or stain to match your decor.
- Secure to the wall with L-brackets or mounting hardware.
- Add hooks for hanging lights or decor.
These pieces often cost $10–$40 and add character that new items can’t match.

4. Pegboard or Plywood Painted Headboard
Pegboard isn’t just for garages—it’s a versatile, inexpensive base for a customizable headboard.
Steps:
- Buy a sheet of pegboard and cut to size.
- Paint it in your desired color (or create patterns with tape).
- Mount on the wall.
- Add hooks for hanging plants, lights, or shelves.
Alternatively, use plain plywood and paint a bold geometric design or faux paneling. This modern approach costs under $20 and allows easy updates.

5. Cardboard or Box Tufted Headboard Lookalike
For an ultra-cheap faux-tufted effect, cardboard is surprisingly effective.
Materials:
- Large cardboard pieces (free from boxes)
- Fabric or contact paper
- Hot glue or staples
Steps:
- Cut and layer cardboard for thickness.
- Cover with fabric, creating “tufts” by gluing buttons or pulling fabric.
- Mount or lean it behind the bed.
This trick can mimic expensive tufted velvet headboards for under $15.

6. Pipe Insulation or Foam Pipe Headboard
For a whimsical, modern look, use foam pipe insulation (the kind for plumbing).
Steps:
- Cut insulation tubes to length.
- Arrange in rows or patterns on a backing board.
- Spray paint metallic or fun colors.
- Attach to the wall.
This renter-friendly option costs pennies and looks like trendy piped designs.

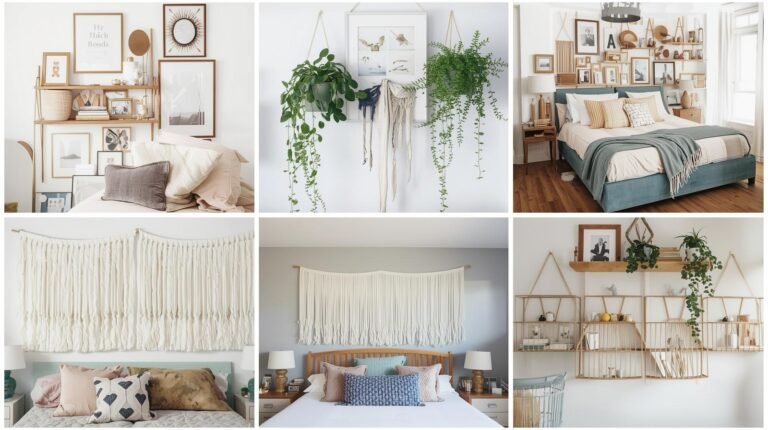
7. Tapestry, Rug, or Textile Headboard
Hang a beautiful tapestry, woven rug, or large scarf directly on the wall above your bed.
Steps:
- Use command hooks or a curtain rod.
- Drape or hang flat for a bohemian vibe.
This no-tools option is perfect for renters and changes easily with seasons.

8. Cedar Shingles or Pallet Wood Headboard
For farmhouse charm, attach cedar shingles or pallet wood slats.
Steps:
- Source free pallets or cheap shingles.
- Arrange in overlapping rows.
- Stain or leave natural.
- Mount securely.
This textured look costs little and brings warmth to any bedroom.

9. Woven or Macramé Headboard
Create a boho masterpiece with rope, yarn, or faux leather strips.
Steps:
- Build a simple wood frame.
- Weave strips in patterns.
- Hang or mount.
This artistic project under $50 adds handmade appeal.

10. Dollar Store or Repurposed Items Headboard
Get creative with dollar store finds like placemats, mirrors, or frames arranged in a grid.
Steps:
- Arrange and glue or tape together.
- Paint for cohesion.
- Mount as a collage-style headboard.
This fun, low-commitment idea sparks joy on a tiny budget.

Tips for Success with Budget DIY Headboards
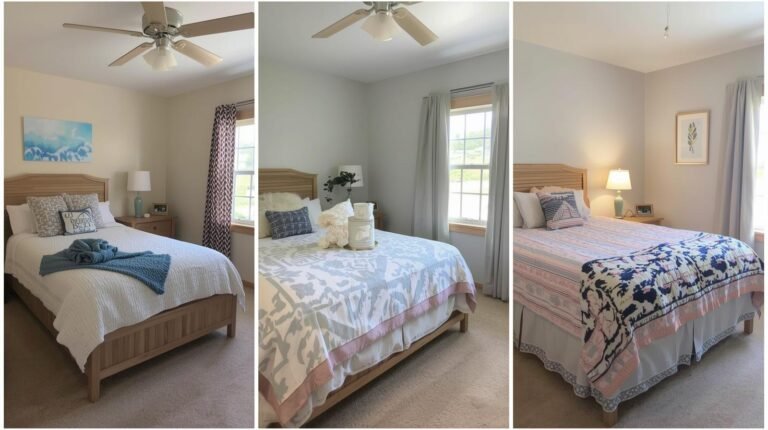
- Measure twice: Ensure your headboard fits your bed size (usually 2–4 inches wider).
- Secure properly: Use wall studs or heavy-duty anchors.
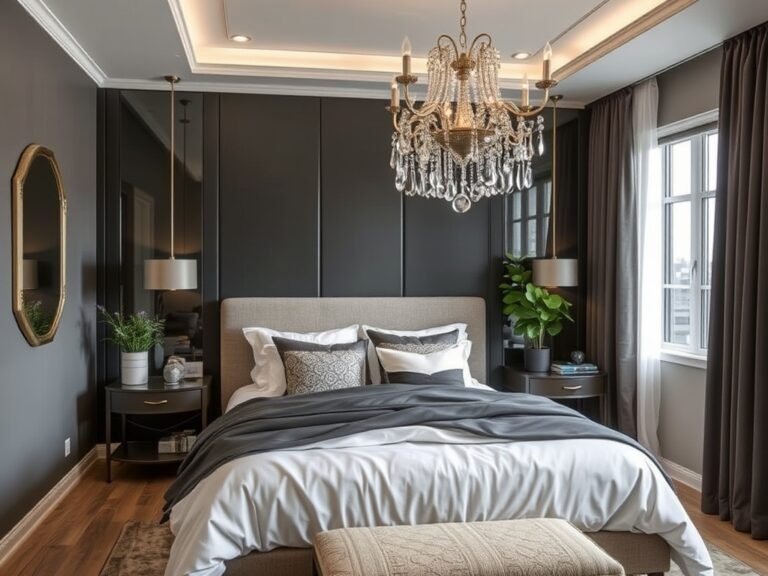
- Lighting enhances: Add string lights or sconces to highlight your creation.
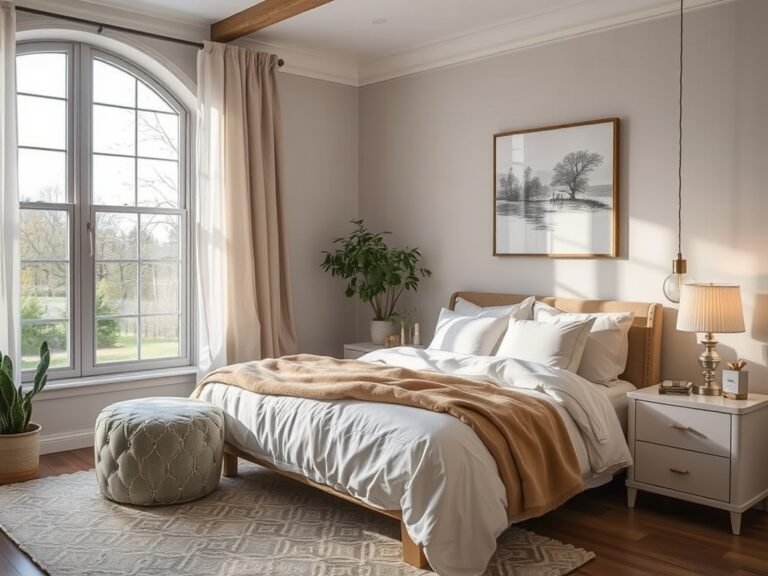
- Personalize: Incorporate your style—minimalist, boho, rustic, etc.
- Maintenance: Choose durable materials for longevity.

Final Thoughts
Creating your own DIY headboard on a budget is one of the most rewarding ways to personalize your bedroom. From painted walls to upcycled treasures, these projects prove you don’t need deep pockets for style. Start small, gather supplies, and enjoy the process—you’ll end up with a unique piece that feels custom-made.
Which idea will you try first? Grab your tools and get creative today. Your dream bedroom is just a DIY away!