Coffin Halloween Nails: The Ultimate Guide to Bold, Spooky Coffin-Shaped Manicures
Coffin-shaped nails have become one of the most requested nail shapes worldwide, and when paired with Halloween-themed designs, they create the perfect canvas for bold, dramatic, and eerie nail art. Also known as “ballerina nails” due to their resemblance to ballet slipper tips, coffin nails offer a long, flat surface that’s ideal for showcasing intricate Halloween designs. In this guide, we’ll explore everything you need to know about coffin Halloween nails — from why the shape works so well for spooky season to step-by-step tutorials, trending designs, and maintenance tips.
What Are Coffin Nails and Why Are They Perfect for Halloween bedinspo.com
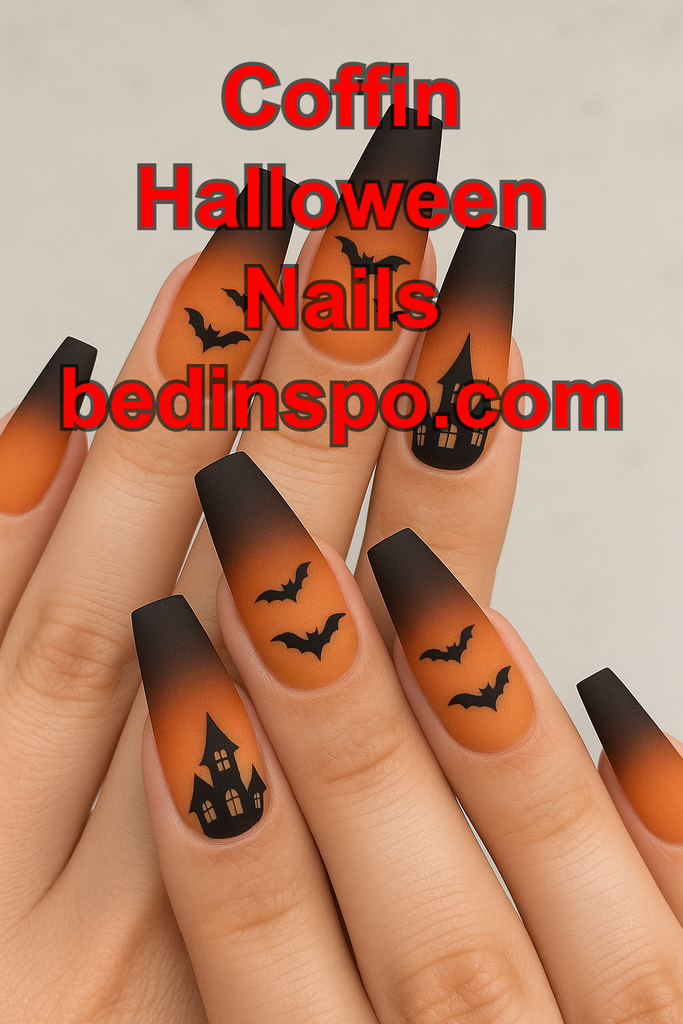
Coffin nails are characterized by their straight sides and a flat, squared-off tip that tapers to resemble a coffin shape — fitting, given the Halloween theme. This shape emerged from high-fashion runways and has since become a mainstream favorite thanks to celebrities and nail influencers. The elongated, flat surface of coffin nails provides significantly more space than rounded or almond shapes, making it easier for nail artists to paint detailed horror scenes, spiderwebs, or 3D embellishments without the design feeling cramped.
The History of Coffin-Shaped Nails
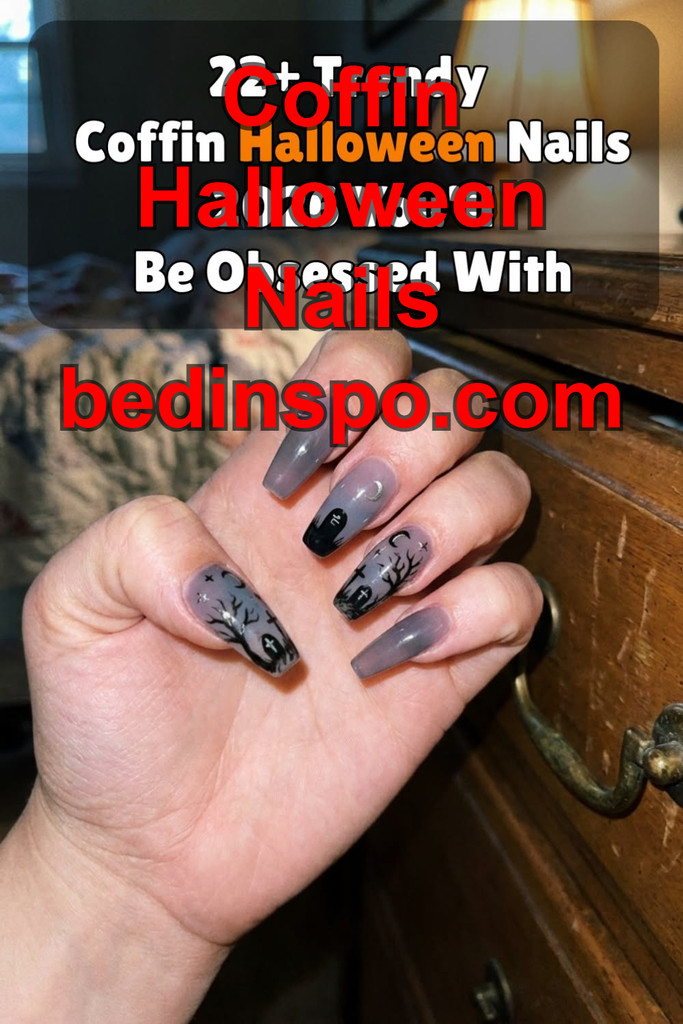
Coffin nails first gained popularity in the early 2010s, often associated with drag culture and high-fashion editorial looks. The shape draws inspiration from ballet flats (hence “ballerina nails”) but earned its more popular nickname due to its resemblance to a traditional coffin. Over the past decade, coffin nails have transitioned from a niche editorial trend into one of the most requested nail shapes at salons worldwide, especially during Halloween when the name itself feels thematically appropriate.
Why Coffin Nails Work So Well for Spooky Designs
The flat, elongated surface of coffin nails is essentially a blank canvas, giving nail artists room to create:
- Full horror scenes spanning the entire nail
- Detailed 3D elements like sculpted spiders or bats
- Elaborate blood-drip effects that flow naturally down the tapered tip
- Gothic lettering or symbols that require more surface area
Shorter or rounder nail shapes simply don’t offer the same real estate, which is why coffin nails remain a favorite for Halloween-specific nail art.
Popular Coffin Halloween Nail Designs
Blood-Drip Coffin Nails
This design uses deep red polish applied in drips flowing from the cuticle toward the tip, mimicking dripping blood. The tapered shape of coffin nails makes the drips look especially realistic as they flow toward the pointed end.
Spiderweb Coffin Nails
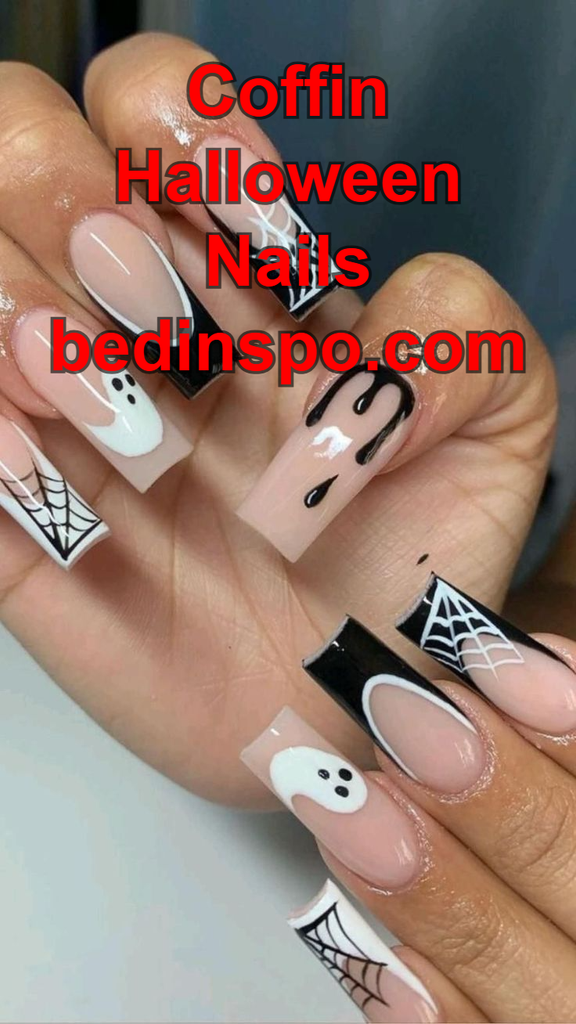
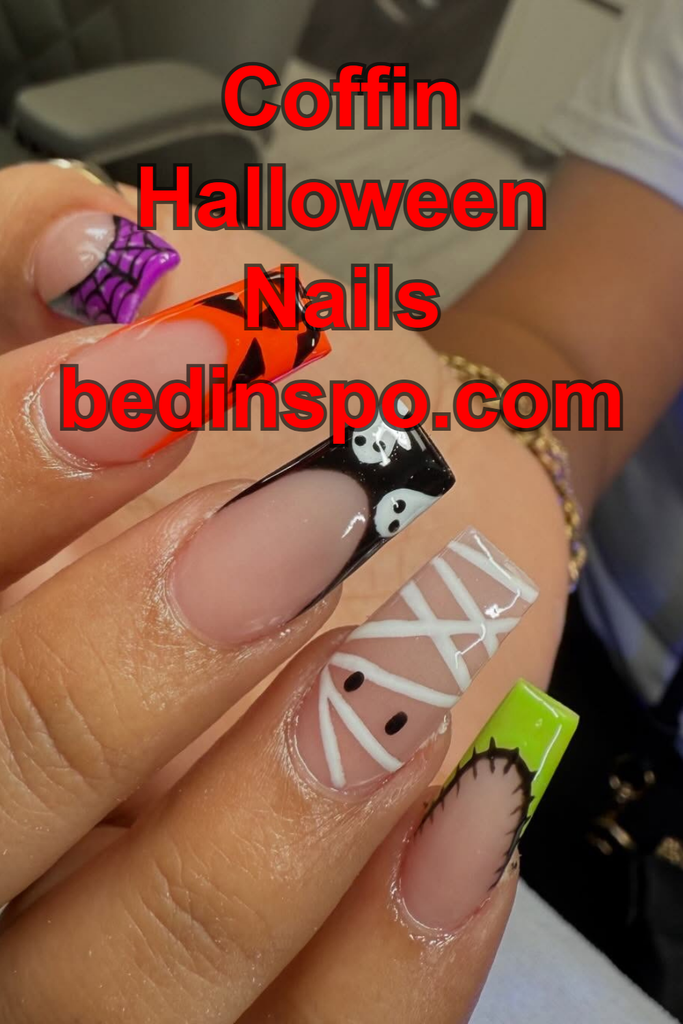
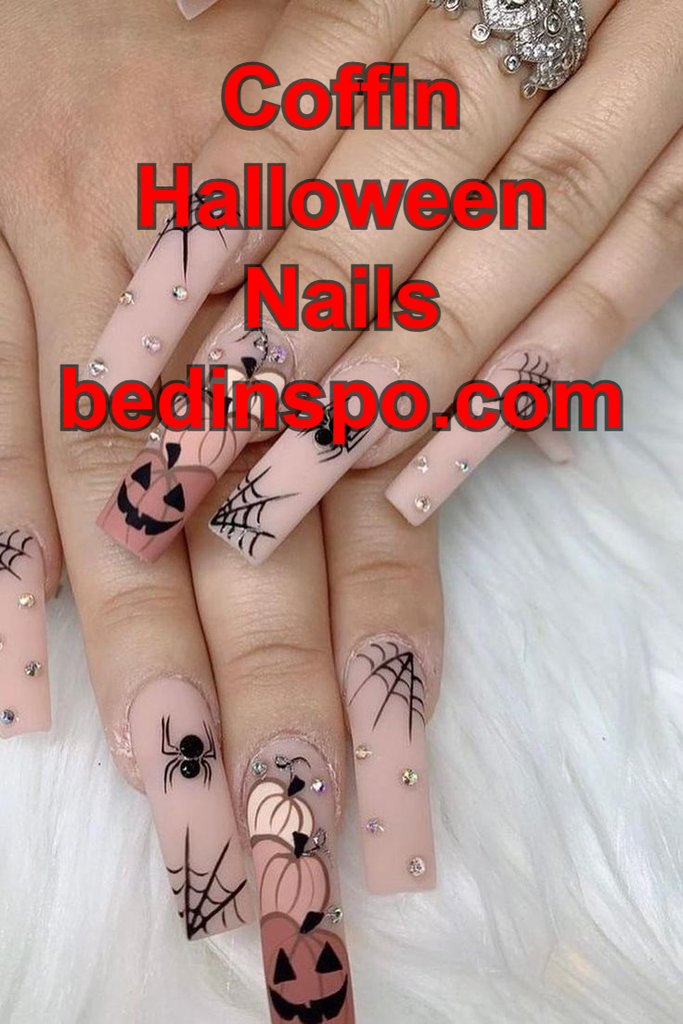
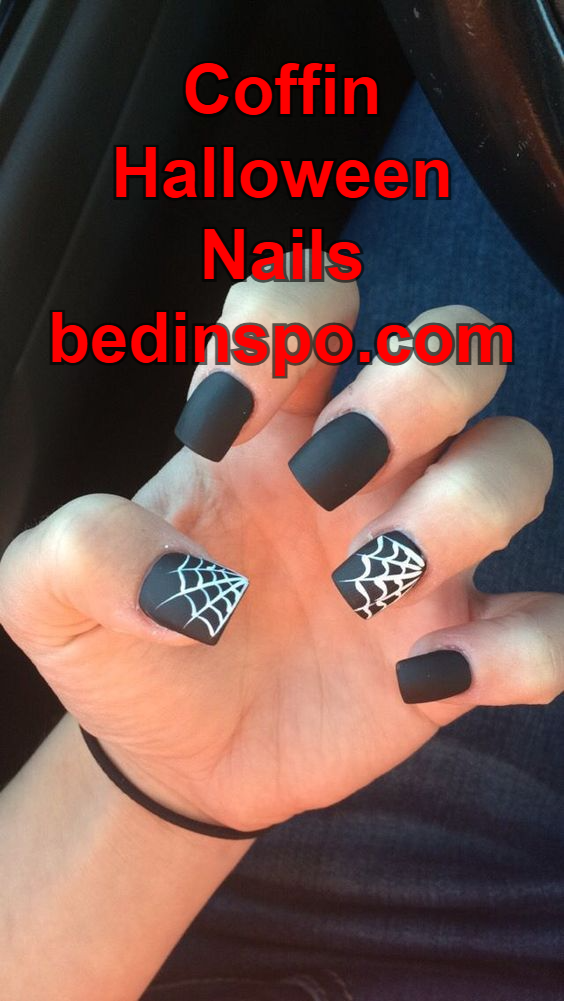
A classic spiderweb design spans beautifully across the flat surface of coffin nails. White or silver thread-like lines are drawn over a black or deep purple base, often with a small 3D spider charm placed at the center.
Skeleton Hand Coffin Nails
Hand-painted skeleton bones across all ten coffin nails create a striking, cohesive design when viewed together. The elongated shape allows for detailed knuckle and joint lines that wouldn’t fit well on shorter nail shapes.
Pumpkin Patch Coffin Nails
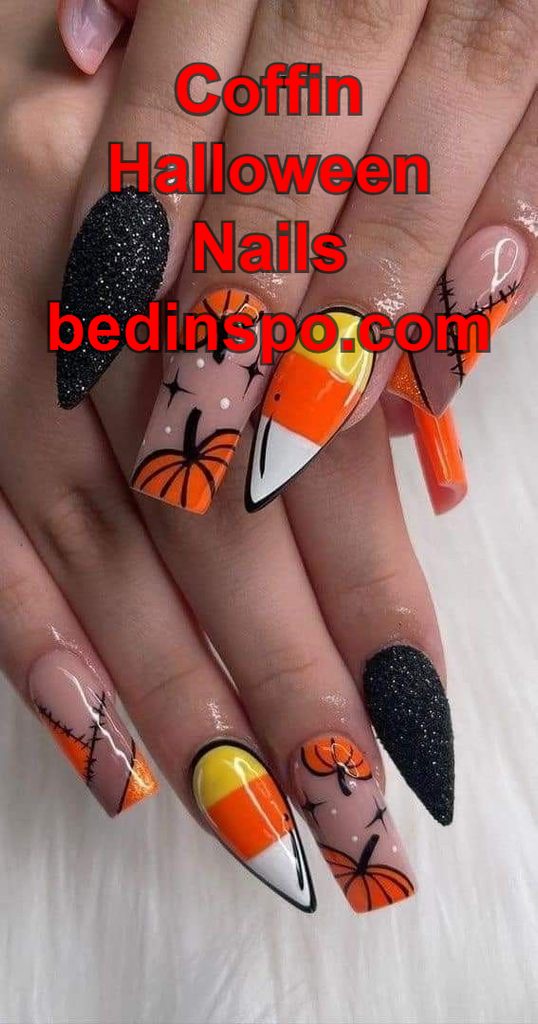
A cheerful alternative to horror-themed designs, this look features multiple small pumpkins painted across an orange, black, or nude coffin nail base, sometimes accented with tiny green vine details.
Witchy Coffin Nails
Moon phases, cauldrons, and potion bottles look particularly elegant on the long coffin shape, giving each symbol enough space to be clearly detailed rather than cramped.
Chrome Horror Coffin Nails
Chrome powder applied over a black or deep purple base creates an otherworldly metallic sheen. Paired with cracked-glass effects, this design gives coffin nails a broken, eerie appearance perfect for a horror-inspired Halloween look.
Step-by-Step Guide to Achieving Coffin Halloween Nails
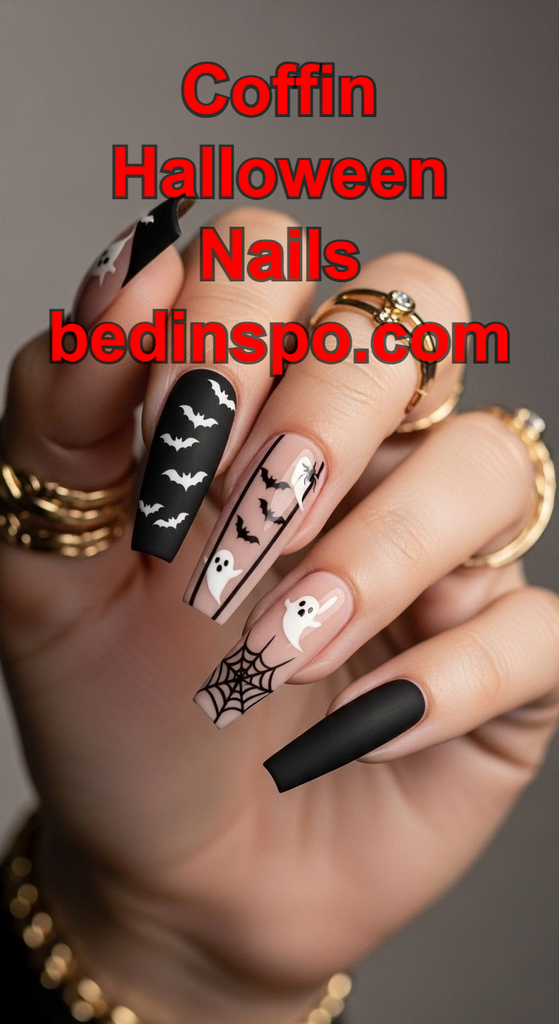
Step 1: Shape Your Nails
If you’re using acrylics or gel extensions, your nail technician will shape them into the coffin form using a nail file, creating straight sides and a flat, squared tip. If you have long natural nails, you can achieve this shape with careful filing.
Step 2: Apply a Base Coat
A quality base coat prevents staining from dark Halloween colors like black and deep red while also helping your polish adhere better and last longer.
Step 3: Paint Your Base Color
Choose a base color that matches your desired theme — black for horror designs, orange for pumpkin themes, or nude for delicate blood-drip effects.
Step 4: Add Your Halloween Design
Use thin detail brushes, dotting tools, or nail art pens to create your chosen design. The flat surface of coffin nails makes this step easier compared to more rounded shapes.
Step 5: Add Embellishments
Consider adding 3D charms, chrome powder, or glitter accents to enhance your design’s dimension and visual impact.
Step 6: Seal With a Top Coat
Finish with a glossy or matte top coat to protect your design and extend the life of your manicure throughout the Halloween season.
Essential Tools for Coffin Halloween Nail Art
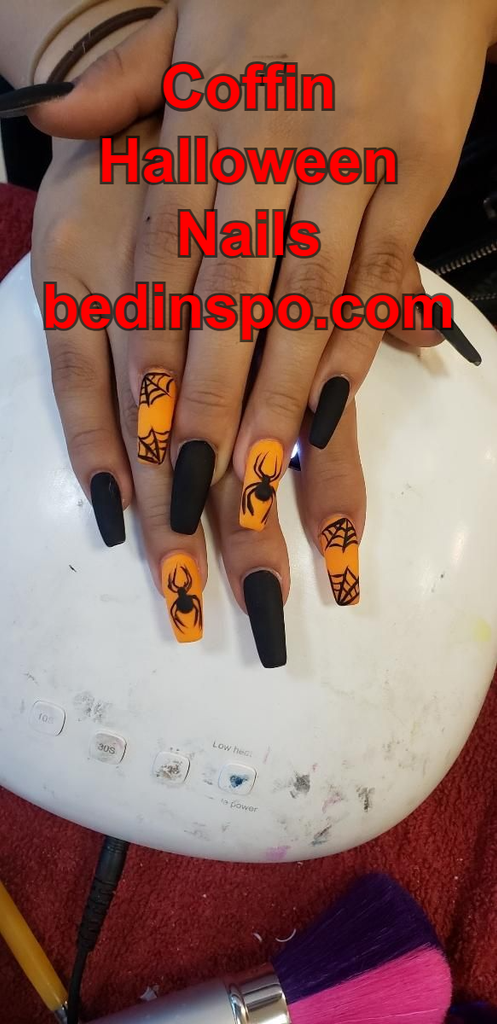
- Fine detail brushes for precise linework
- Dotting tools for creating uniform spider bodies or dots
- Nail forms and tips for building the coffin shape with acrylic or gel
- Chrome powder for metallic horror effects
- 3D nail charms like tiny skulls, spiders, or bats
- Striping tape for clean geometric or gothic lettering designs
Color Combinations That Complement the Coffin Shape
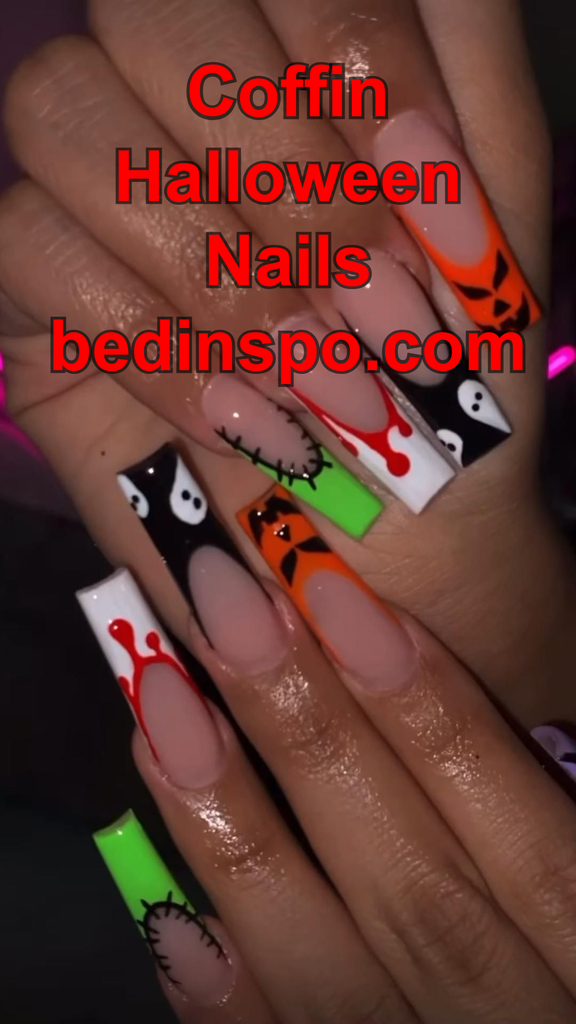
- Black and Blood Red – The ultimate horror-inspired combination.
- Orange and Black – The traditional Halloween palette, elevated by the dramatic coffin shape.
- Deep Purple and Silver – Perfect for witchy, mystical designs.
- Nude and Red – Ideal for subtle yet dramatic blood-drip effects.
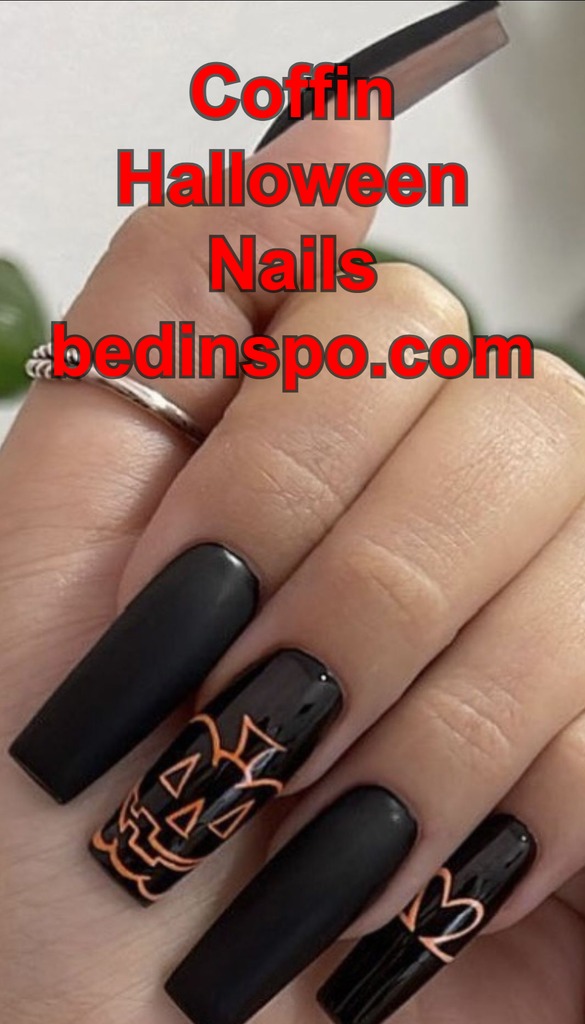
- All Black Matte – A minimalist, gothic option that still makes a statement thanks to the coffin shape alone.
Short vs. Long Coffin Nails for Halloween
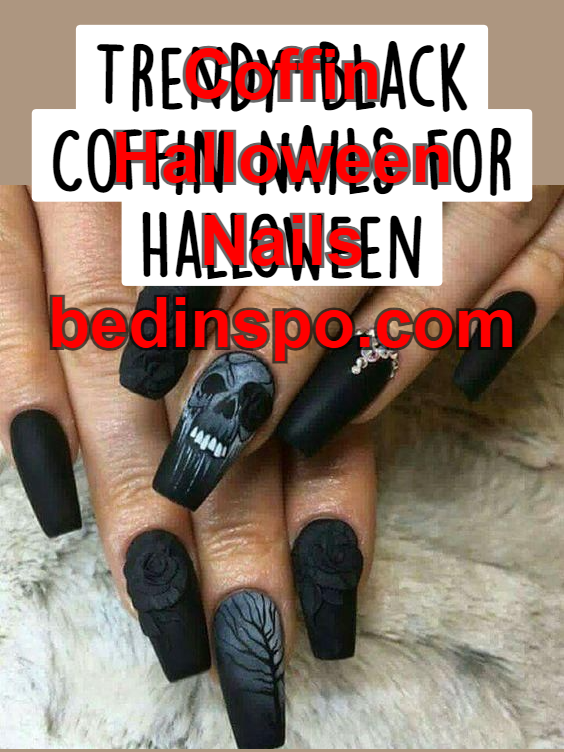
While coffin nails are traditionally associated with dramatic length, shorter coffin nails have also become popular for those who want the shape without the added length. Short coffin Halloween nails work well for:
- Subtle blood-drip tips
- Small accent designs like a single pumpkin or bat
- Minimalist matte black looks
Longer coffin nails, on the other hand, provide more room for elaborate, full-nail horror scenes and 3D embellishments, making them ideal for those wanting maximum drama during Halloween season.
Acrylic vs. Gel-X for Coffin Halloween Nails
Both acrylic and gel-X extensions can achieve the coffin shape, but each has distinct advantages:
- Acrylics are generally more durable and better suited for intricate 3D sculpting, making them ideal for elaborate Halloween designs with raised elements.
- Gel-X tends to feel lighter and more natural, which some people prefer for everyday wear, though it may not hold up as well under heavy 3D embellishments.
How to Maintain Coffin Halloween Nails Throughout the Season
Coffin nails, due to their length and shape, can be more prone to breakage at the tips if not properly cared for. To keep your Halloween coffin nails looking fresh:
- Avoid using your nails as tools to open packages or scratch surfaces
- Apply cuticle oil daily to keep the surrounding skin healthy
- Reinforce the tip area with an extra layer of top coat, since this is the most vulnerable point on a coffin shape
- Wear gloves during activities like pumpkin carving or cleaning to prevent chipping
Removing Coffin Nail Extensions Safely
When Halloween season ends, removing acrylic or gel-X coffin extensions properly is essential to avoid damaging your natural nails. This typically involves soaking the nails in acetone, gently filing down the product, and avoiding forceful peeling, which can thin and weaken the natural nail bed underneath.
Matching Coffin Halloween Nails to Your Costume
Coffin nails pair exceptionally well with a variety of Halloween costumes due to their dramatic, statement-making shape:
- Vampire costume → Blood-drip coffin nails in deep red and black
- Witch costume → Witchy coffin nails with moons and cauldrons
- Zombie costume → Textured, cracked-effect coffin nails in green and gray
- Gothic queen costume → All-black matte coffin nails with subtle silver accents
Frequently Asked Questions About Coffin Halloween Nails
Are coffin nails harder to maintain than other shapes? Coffin nails can be slightly more prone to tip breakage due to their squared edges, but proper care and reinforcement at the tip area can significantly reduce this risk.
Can I get coffin Halloween nails on short natural nails? Yes, though the dramatic coffin shape is most easily achieved with acrylic or gel-X extensions, especially if your natural nails are shorter.
What’s the easiest coffin Halloween design for beginners? A solid black or orange base with a single hand-painted pumpkin or spiderweb accent nail is one of the simplest yet effective designs to start with.
How long do coffin Halloween nail extensions typically last? With proper care, acrylic or gel-X coffin extensions generally last three to four weeks before requiring a fill or replacement.
Final Thoughts on Coffin Halloween Nails
Coffin Halloween nails combine a bold, dramatic shape with the creative freedom that Halloween season inspires. The extended flat surface makes it easier to bring intricate horror scenes, witchy symbols, and 3D embellishments to life in ways that simply aren’t possible with shorter or rounder nail shapes. Whether you prefer subtle blood-drip tips or a full-on 3D horror masterpiece, coffin nails offer the perfect canvas to make your Halloween manicure as memorable as your costume.