The Ultimate Beginner’s Guide to Cake Decorating
If you’ve ever admired beautifully decorated cakes and wondered how to create them yourself, you’re in the right place. Cake decorating is a fun and rewarding skill that anyone can learn with patience and practice. Whether you’re an experienced home baker or just getting started, mastering a few simple techniques can transform ordinary cakes into impressive homemade creations.
Over the years, I’ve spent countless hours learning and improving my decorating skills through practice and experimentation. Along the way, I’ve discovered simple methods that help beginners achieve smooth finishes and elegant designs without needing advanced experience.
In this guide, you’ll learn the essential tools every beginner should have, how to prepare and frost a cake correctly, and several easy decorating techniques that create professional-looking results. By the end, you’ll feel more confident decorating cakes for birthdays, family gatherings, celebrations, or simply for the joy of baking.
Cake Decorating Supplies You’ll Need
Having the right tools makes cake decorating much easier and helps you achieve cleaner, more polished results. Here’s a basic toolkit to get started.
This post contains affiliate links. If you purchase through these links, I may earn a small commission at no additional cost to you.
Essential Cake Decorating Tools
- Cake boards
- Cake turntable
- Cake leveler or serrated knife
- Disposable or reusable piping bags
- Gel or paste food coloring
- Assorted sprinkles
- Offset and straight spatulas
- Bench scraper
- Your favorite buttercream frosting
- Decorating tips and couplers (round and star tips are great for beginners)
- Scissors
- Small spoon
- Parchment paper
- Paper towels
- Small rubber bands
Practice Before Decorating
Before decorating a finished cake, practice your piping techniques on parchment paper placed over a baking tray or cookie sheet. This allows you to reuse the frosting by scraping it back into the piping bag and trying again.
Practicing first helps you become comfortable with pressure control, piping angles, and smooth movements without worrying about making mistakes on your cake.
Beginner Piping Techniques
Learning a few basic piping styles gives you a strong foundation for creating beautiful cake designs.
Shell Border
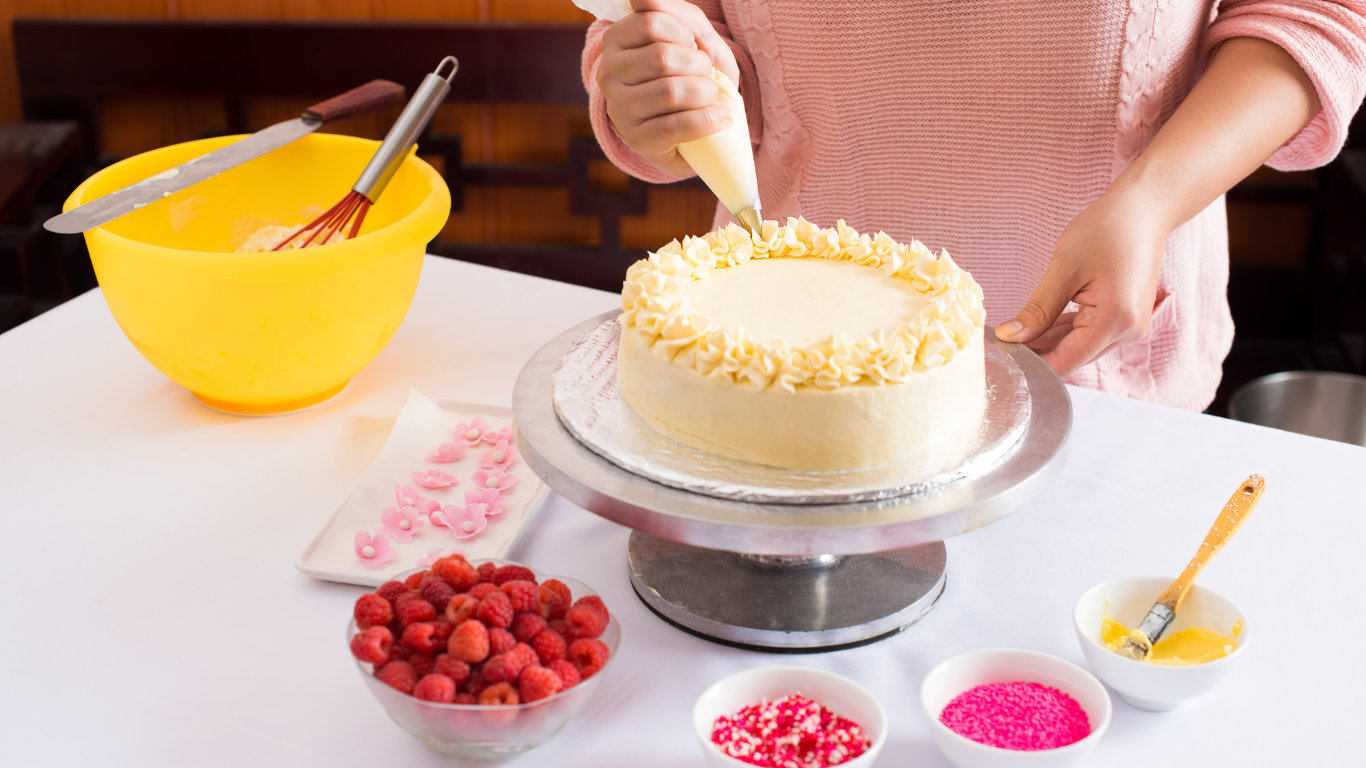
Fit a piping bag with a star tip and hold it at about a 45-degree angle. Squeeze gently to form a shell shape, then release pressure while pulling slightly away to finish each shell. Repeat the process to create an attractive border around your cake.

Beaded Border
Using a round piping tip, pipe small dots side by side. Lightly drag each dot as you move to the next one, creating a neat row of connected beads.
Writing on Cakes
Practice writing words or messages on parchment paper before decorating your cake. For smoother lettering, keep the piping tip slightly above the surface and allow the icing to fall naturally into place instead of dragging the tip directly across the cake.
Try different tip sizes until you find one that produces letters you like.

Rosettes
Rosettes are one of the easiest decorative techniques for beginners. Using a large star tip, start in the center and pipe in a slow circular motion outward until the flower is complete.
Swirls
Swirls begin like rosettes but continue upward, gradually making the circles smaller until they finish in a soft peak. These look beautiful on cupcakes and around the top edge of cakes.

How to Frost a Cake Like a Beginner
A smooth cake starts with proper preparation. The first step is stacking your cake layers, adding the filling, and applying a crumb coat.
A crumb coat is a thin layer of frosting that traps loose crumbs, making it much easier to apply the final coat smoothly.
Step 1: Level the Cake
Trim the tops of each cake layer using a cake leveler or serrated knife so every layer is flat.
For easier decorating, chill or freeze the cake layers for 20–30 minutes before assembling.
Step 2: Stack the Layers
Spread a small amount of frosting on the cake board to keep the first layer from moving.
Pipe a ring of buttercream around the edge of the cake to create a barrier, then fill the center with frosting or your preferred filling, such as jam, lemon curd, or fruit filling. Repeat until all layers are stacked.
Step 3: Apply the Crumb Coat
Cover the entire cake with a thin layer of frosting.
Use an offset spatula to spread the frosting, then smooth the sides using a bench scraper while rotating the turntable.
Refrigerate or freeze the cake for about 20 minutes to allow the crumb coat to firm up.
Step 4: Apply the Final Coat
Spread a thicker layer of buttercream over the chilled cake.
Smooth the sides with a bench scraper and level the top with long, even strokes until the surface looks clean and polished.
If you notice any small gaps, chill the cake briefly, add a little more frosting, and smooth again.

Easy Cake Decorating Ideas
Once your cake has a smooth finish, you can personalize it using beginner-friendly decorating techniques.
Semi-Naked Cake
Leave a thin layer of frosting visible to create a rustic appearance. Decorate with fresh berries, herbs like rosemary, or edible flowers for a simple yet elegant finish.
Rustic Textured Finish
After frosting the cake, gently press a spoon or small spatula into the buttercream while slowly turning the cake to create soft textured lines.
Petal Design
Pipe vertical rows of frosting dots and gently spread each one sideways with a small spatula to create overlapping petals around the cake.
Sprinkle Border
Press colorful sprinkles around the bottom edge of the chilled cake to add texture and color.
Finish with buttercream swirls, shells, or rosettes on top for an attractive final touch.
Final Thoughts
Cake decorating is a skill that improves with practice. Start with simple techniques, experiment with different piping tips and colors, and enjoy the creative process. Before long, you’ll be decorating beautiful homemade cakes with confidence.
Happy baking!